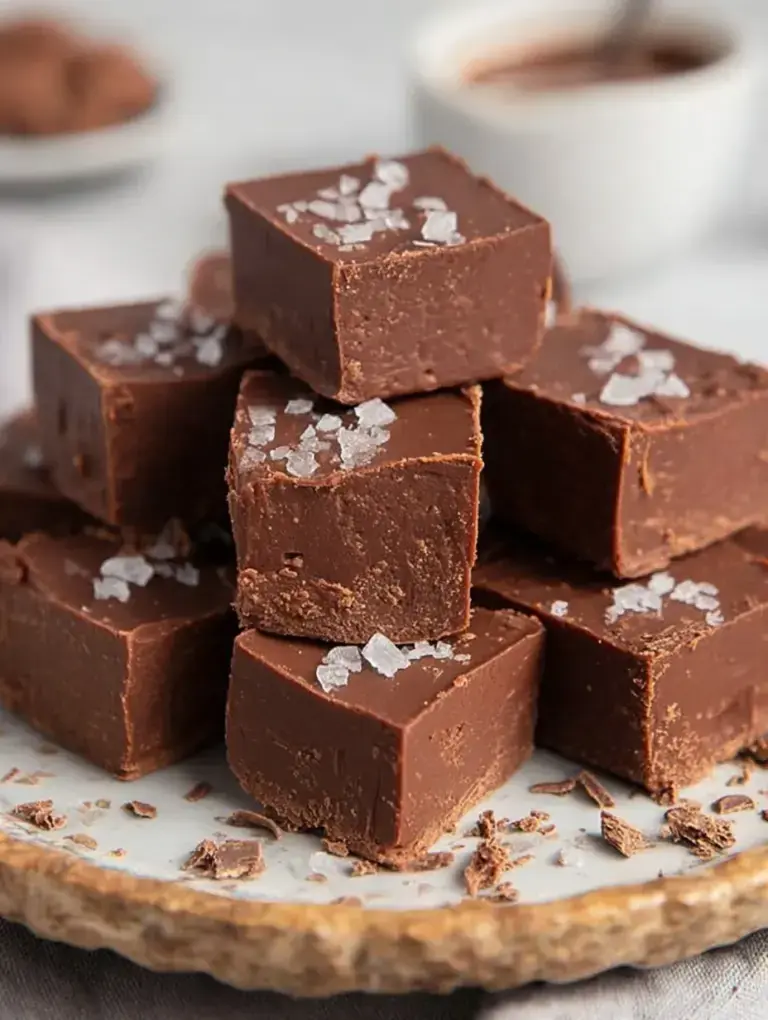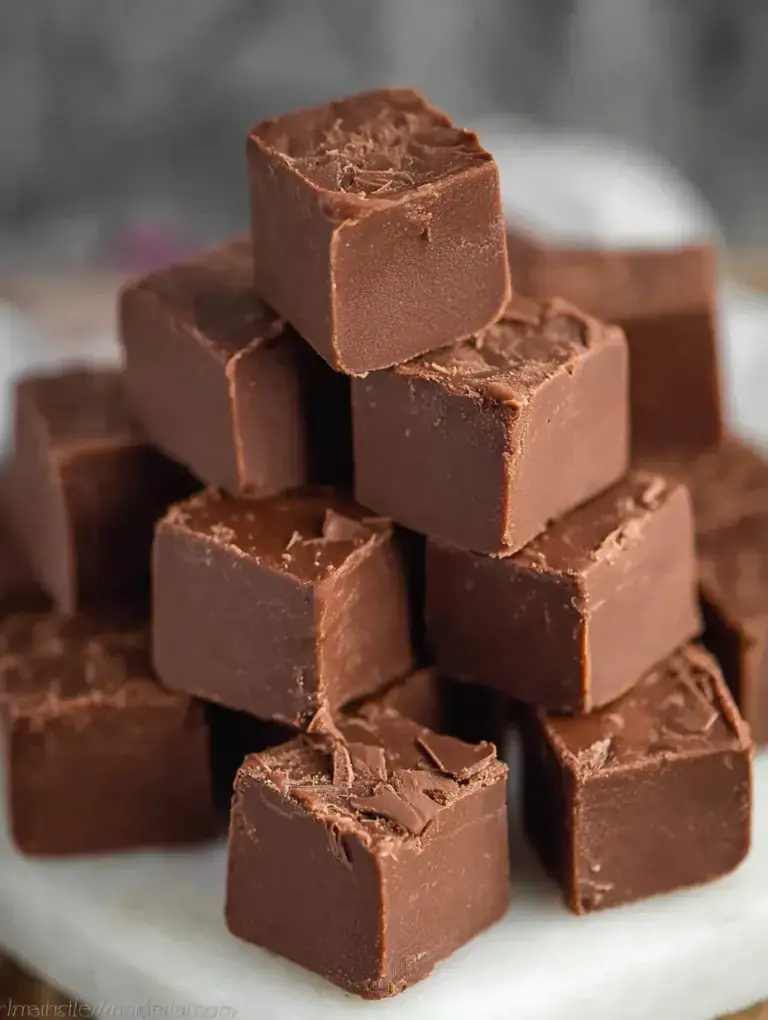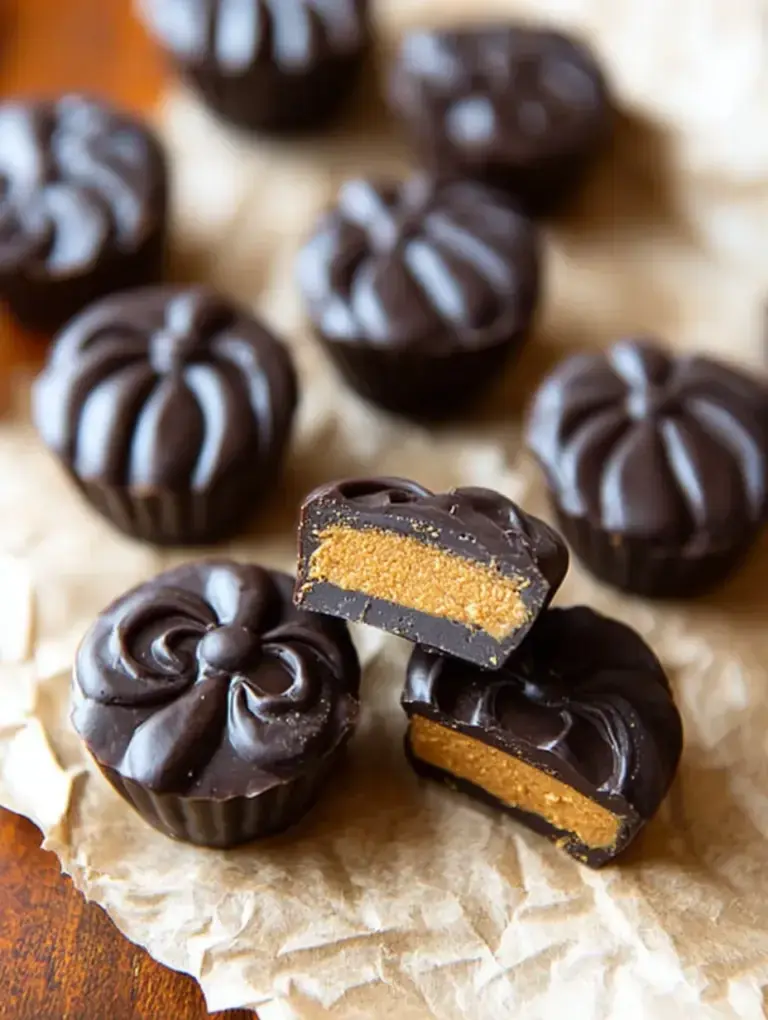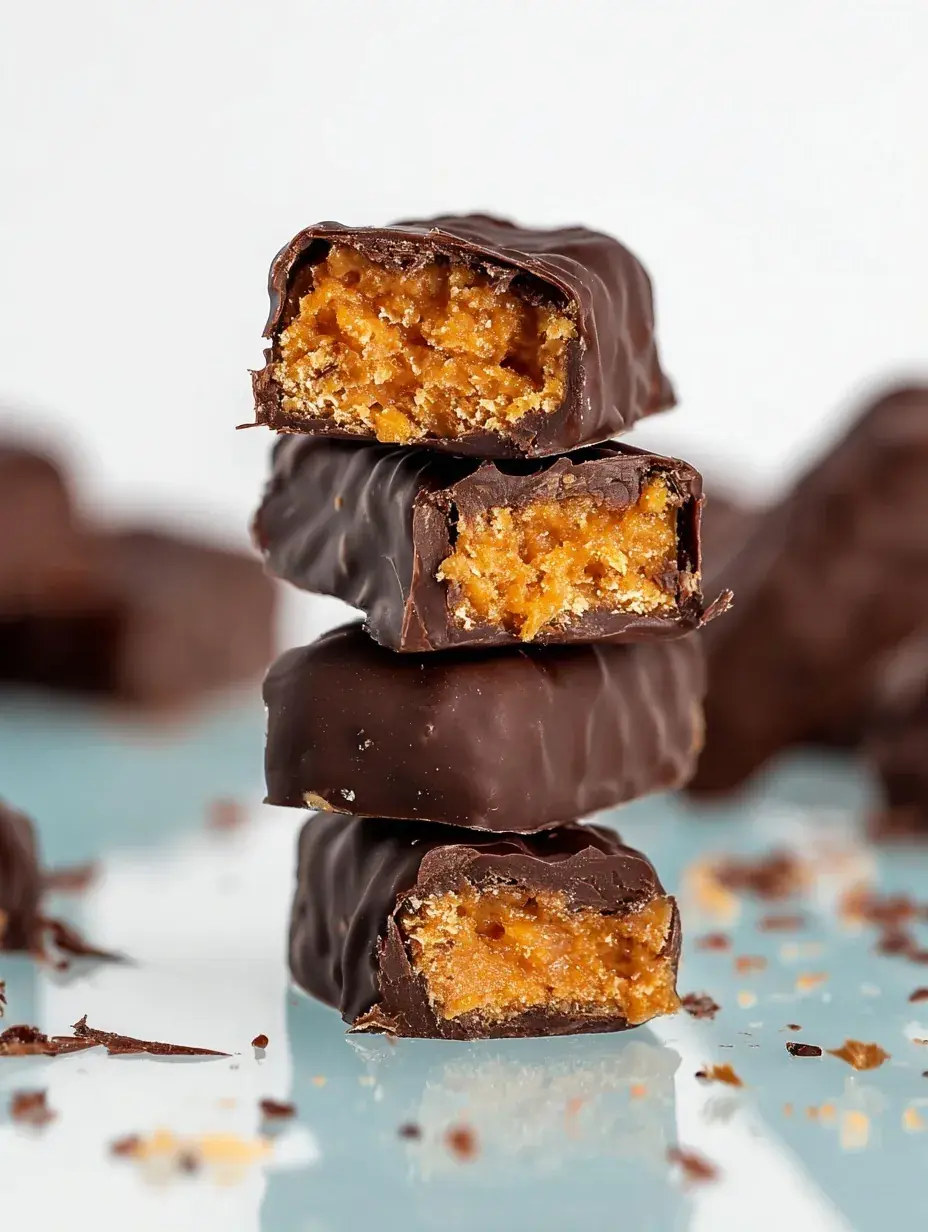
It looks like a professional candy-making project that would require fancy equipment and hours of patience. Honestly, it took me about twenty minutes of active work and used cereal I already had in the pantry. My daughter was convinced I had bought these from a specialty shop until she saw the empty cornflake box on the kitchen counter.
Why You Will Love This Vegan Butterfingers
I remember growing up with those bright yellow candy wrappers and that distinct, flaky crunch that stuck to your teeth in the best way possible. When I started focusing on plant-based treats for my family, I thought those nostalgic textures were gone for good. This recipe changed everything for me because it captures that exact honeycomb snap without any dairy or complicated fillers.
Personally I have found that homemade candy feels so much more special than anything you can grab at the checkout line. The first time I made these, I was worried the cornflakes would stay soggy, but the sugar syrup transforms them into a brittle, crispy delight. It is a wonderful way to spend a rainy Saturday afternoon in the kitchen with a little helper by your side.
What Makes This Vegan Butterfingers Special
- Key feature: The texture is remarkably close to the original candy bar with a distinct flaky snap that shatters when you bite into it.
- Key ingredient: Cornflakes provide the essential airy crunch that makes these bars feel authentic rather than just being a dense peanut butter bar.
- Ease factor: You do not need to be a chocolatier to master this because the process is straightforward and very forgiving.
- Seasonal fit: I love making these during the holidays to tuck into gift boxes, but they are equally good as a cold fridge snack in the summer.
- Kid-friendly note: My daughter loves helping me crush the cereal into tiny bits and watching the sugar bubble into a golden syrup.
The Best Vegan Butterfingers Recipe
This recipe is one of those kitchen miracles where a few simple pantry staples turn into something that tastes quite expensive. I usually make a double batch because they disappear from the container within twenty-four hours in my house.
Ingredient Notes
- Cornflakes: These are the secret to that flaky texture, but make sure to check the brand to ensure they are vegan-friendly.
- Creamy Peanut Butter: Use a standard creamy version rather than the oily natural kind for the most consistent candy center.
- Corn Syrup: This is necessary to reach the hard-crack stage which gives the bar its iconic brittle snap.
- Vegan Chocolate Chips: I prefer a semi-sweet dark chocolate to balance out the sweetness of the peanut butter filling.
- Coconut Oil: Adding a tiny bit to the melted chocolate helps it set smoothly and gives it a nice shine.
Instructions
- Prepare the Pan. Line an 8×8 inch baking pan with parchment paper, leaving a little overhang on the sides for easy lifting. This ensures your candy will not stick to the bottom as it cools.
- Boil the Syrup. Combine the sugar, corn syrup, and water in a saucepan over medium-high heat until it bubbles vigorously. You are looking for it to reach 300°F on a thermometer, which is the stage where the sugar becomes hard and brittle.
- Mix in Peanut Butter. Remove the pan from the heat immediately and stir in the peanut butter and salt until the mixture is completely smooth. It should look like a thick, glossy caramel sauce.
- Fold in Flakes. Quickly stir in the crushed cornflakes until every piece is coated in the peanut butter mixture. Work fast here because the sugar starts to set as soon as it begins to cool down.
- Press and Cool. Firmly press the mixture into your prepared pan using a spatula to create an even layer. Let it sit on the counter for about 30 minutes until it is firm enough to slice into bars.
- Dip in Chocolate. Melt your chocolate chips with coconut oil and dip each sliced bar until fully coated. Place them on parchment and chill in the fridge until the chocolate is snappy and set.
Billy’s Tips and Mistakes to Avoid
- Tip 1: Do not skip the candy thermometer because hitting 300°F is the only way to get that authentic crunch instead of a chewy bar.
- Tip 2: Crush your cornflakes thoroughly before you start so you aren’t rushing while the sugar syrup is hot.
- Tip 3: If the mixture starts hardening in the pan before you finish pressing it down, use a piece of parchment paper on top to help smooth it out.
- Tip 4: Store these in an airtight container in the refrigerator to keep them from getting too soft at room temperature.
- Tip 5: Let your kids help with the chocolate dipping once the bars have cooled because it is a fun, messy holiday activity.
Storage Tips
These bars stay perfectly crispy for up to 7 days when kept in an airtight container in the fridge. If you want to keep them longer, they actually freeze beautifully for up to 2 months. Just make sure to place a piece of parchment paper between the layers so the chocolate coating does not stick together.
Variations and Swaps
- Try using crunchy peanut butter if you want even more texture in the center of your bars.
- Substitute the cornflakes with a gluten-free puffed rice cereal if you need a gluten-free option for your family.
- Sprinkle a little flaky sea salt on top of the wet chocolate for a more grown-up, salty-sweet version.
Why This Recipe Works Every Time
The science of the hard-crack sugar stage is what really makes this recipe successful. By heating the syrup to a specific temperature, you ensure that the peanut butter holds its shape while staying light and airy. It is a reliable method that gives you consistent results every time you crave something sweet.
After testing this recipe four times, I learned that the speed at which you mix in the cornflakes is everything. The first batch I made was a bit lumpy because I hesitated, but now I have my cereal ready and waiting right next to the stove. That small adjustment made the bars much easier to press into the pan and improved the final texture immensely.

Ingredients
- 1 cup granulated sugar
- 1/2 cup light corn syrup
- 1/4 cup wate r
- 1 cup creamy peanut butter
- 3 cups corn flakes, crushed
- 1/2 teaspoon sea salt
- 1 cup vegan semi-sweet chocolate chips
- 1 tablespoon refined coconut oil
Instructions
- Line an 8x8 inch baking pan with parchment paper.
- In a medium saucepan, combine sugar, corn syrup, and water over medium-high heat.
- Boil the mixture until it reaches 300°F (149°C) on a candy thermometer, known as the hard crack stage.
- Remove from heat and immediately stir in the creamy peanut butter and sea salt until smooth.
- Quickly fold in the crushed corn flakes until they are evenly coated by the peanut butter mixture.
- Press the mixture firmly and evenly into the prepared baking pan using a heat-resistant spatula.
- Allow the mixture to cool for 30 minutes at room temperature, then cut into 12 rectangular bars.
- Melt the vegan chocolate chips and coconut oil together in a microwave-safe bowl in 30-second intervals, stirring until smooth.
- Dip each bar into the melted chocolate to coat completely and place back on parchment paper.
- Refrigerate for at least 30 minutes until the chocolate coating is fully set.
Frequently Asked Questions
Can I make these without corn syrup?
For this specific recipe, corn syrup is necessary to prevent the sugar from crystallizing and to reach the brittle texture. While some use brown rice syrup, I find corn syrup gives the most authentic candy bar snap. It really is the best way to get that classic feel.
Do I have to use a candy thermometer?
I highly recommend using one to ensure you reach the 300°F mark exactly. If the mixture doesn’t get hot enough, the bars will be chewy and sticky rather than crunchy. It is a small tool that makes a massive difference in your baking success.
Are cornflakes always vegan?
Most cornflakes are naturally vegan, but some brands use vitamin D derived from animal products. I always suggest checking the label on the back of the box just to be sure. There are many organic and natural brands that are definitely plant-based.
The Bottom Line
Making your own candy at home is such a rewarding experience, especially when it tastes better than the store-bought version. These bars are a staple in my kitchen whenever we want a little bit of nostalgia and a whole lot of crunch. Sweet moments don’t have to be complicated. Let’s make something wonderful together.
I hope these bring a little bit of chocolatey joy to your kitchen this week. Happy candy making! Billy
Billy