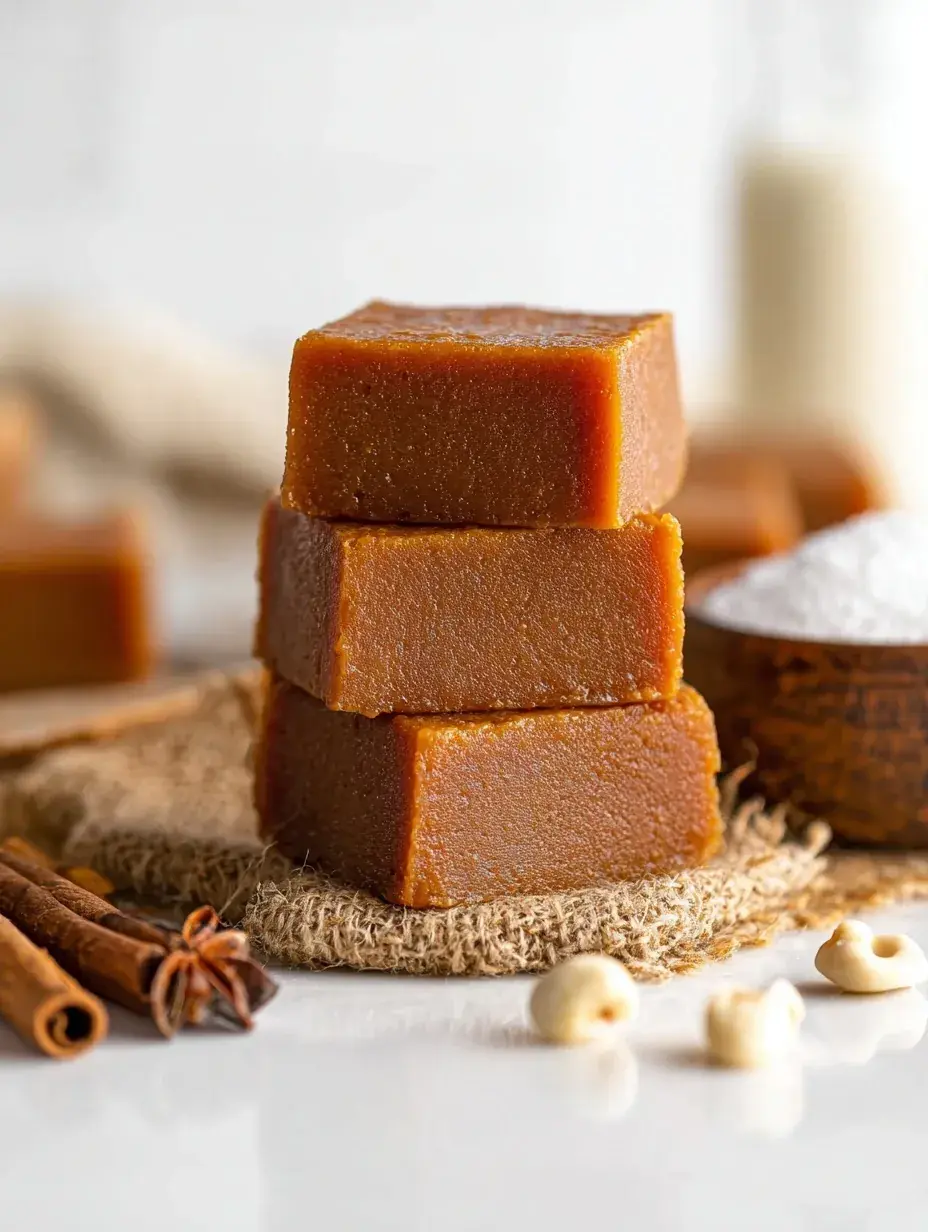
Have you ever found yourself craving that warm, spicy pumpkin flavor but just didn’t want to deal with a pie crust? My daughter and I were looking for a quick treat last Sunday while the rain tapped against the kitchen window. This fudge was the happy result of wanting something cozy without the afternoon-long commitment of baking a traditional pie.
Why You Will Love This Pumpkin Pie Fudge
I remember my grandmother always having a tin of fudge on the counter during the holidays, but it was usually just plain chocolate. When I first tried adding real pumpkin puree to a white chocolate base, I was worried it wouldn’t set properly, but the result was even creamier than the original.
It has become our favorite little shortcut to that autumn feeling. After testing this recipe three times last November, I found that the secret is all in the ratio of spice to chocolate.
What Makes This Pumpkin Pie Fudge Special
- Key feature: The texture is incredibly silky and melt-in-your-mouth soft compared to traditional grainy fudge recipes.
- Key ingredient: Real pumpkin puree gives it an authentic flavor and a beautiful natural orange hue that looks so festive on a platter.
- Ease factor: Since this is a no-bake recipe, it’s perfect for those busy days when your oven is already full of roasting turkey or potatoes.
- Seasonal fit: I usually make this starting in early October and keep a batch in the fridge all through December for unexpected guests.
- Kid-friendly note: My daughter loves helping me stir the white chocolate chips and smoothing out the top of the pan with her little spatula.
The Best Pumpkin Pie Fudge Recipe
There is something so satisfying about watching white chocolate melt into a smooth, glossy pool. I made this last week for a small neighborhood gathering, and honestly, the tray was empty before the coffee was even finished brewing.
Ingredient Notes
- White Chocolate Chips: These act as the base; I recommend using a high-quality brand so they melt smoothly without any grainy bits.
- Pumpkin Puree: Make sure to use plain pumpkin puree and not the pre-spiced pie filling for the best flavor control.
- Pumpkin Pie Spice: This brings those warm notes of cinnamon and nutmeg that make the whole house smell like a holiday morning.
- Sweetened Condensed Milk: This provides the sweetness and that signature chewy fudge structure we all love so much.
- Vanilla Extract: A splash of pure vanilla rounds out the sweetness and makes the pumpkin flavor really pop.
Instructions
- Prepare Pan. Line your square baking dish with parchment paper, leaving a little overhang on the sides for easy lifting. This ensures you won’t have to struggle with sticky corners when it’s time to serve.
- Melt Base. Combine the chips and milk in a saucepan over very low heat, stirring constantly with a spatula. You want it to look like a smooth, thick ribbon with no lumps left behind in the pan.
- Add Flavor. Take the pan off the heat and fold in the pumpkin, spices, vanilla, and salt. Stir until the color is completely uniform and you don’t see any white streaks remaining.
- Spread Evenly. Pour the thick mixture into your prepared pan and use the back of a spoon to level it out. I like to tap the pan gently on the counter to get rid of any tiny air bubbles.
- Chill Thoroughly. Place the pan in the fridge for at least two hours so it can firm up completely. It should feel solid to the touch when you press the center of the fudge lightly.
- Slice Squares. Use the parchment paper to lift the block onto a cutting board before slicing into small bite-sized pieces. I find a warm knife helps get those clean, sharp edges that look so professional.
Billy’s Tips and Mistakes to Avoid
- Tip 1: Always use low heat when melting white chocolate because it burns much faster than dark chocolate. I learned this the hard way after ruining an entire bag of chips during my first attempt.
- Tip 2: Blot your pumpkin puree with a paper towel if it looks watery to ensure the fudge sets up nice and firm.
- Tip 3: Don’t skip the salt as it balances the richness of the white chocolate and keeps it from being too sweet.
- Tip 4: You can make this up to three days in advance, making it a stress-free addition to your holiday dessert spread.
- Tip 5: Let your kids help sprinkle a little extra cinnamon or some festive sprinkles on top before it sets for a pretty finish.
Storage Tips
You can keep this fudge in an airtight container in the refrigerator for up to 7 days. If you want to save it for later, it actually freezes beautifully for about 2 months when wrapped tightly in plastic and placed in a freezer bag. Always serve it straight from the fridge for the best firm texture.
Variations and Swaps
- Sprinkle some toasted pecans or walnuts on top for a bit of crunch that mimics a traditional pie topping.
- Use a dairy-free condensed milk and vegan white chocolate chips if you need a plant-based version for your guests.
- Drizzle some melted dark chocolate over the set fudge for a pretty marbled look that really stands out.
Why This Recipe Works Every Time
The ratio of white chocolate to pumpkin is the secret to getting that perfect sliceable consistency every single time. I spent several afternoons testing different amounts because too much puree makes it soft like pudding, but this version hits the sweet spot.
Personally, I have found that letting the mixture sit on the counter for five minutes before putting it in the fridge helps prevent any condensation from forming on top. It is a small detail, but it makes the final result look much cleaner when you go to slice it.
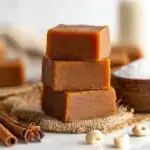
Ingredients
- 3 cups white chocolate chips
- 14 ounces sweetened condensed milk
- 1/2 cup pumpkin puree
- 1 teaspoon pumpkin pie spice
- 1 teaspoon vanilla extract
- 1/4 teaspoon sal t
Instructions
- Line an 8x8 inch square baking pan with parchment paper.
- In a medium saucepan over low heat, combine the white chocolate chips and sweetened condensed milk.
- Stir continuously until the chips are completely melted and the mixture is smooth.
- Remove from heat and stir in the pumpkin puree, pumpkin pie spice, vanilla extract, and salt until well combined.
- Pour the mixture into the prepared pan and smooth the top with an offset spatula.
- Refrigerate for at least 2 hours or until the fudge is completely set.
- Lift the fudge out of the pan using the parchment paper and cut into 1-inch squares.
Frequently Asked Questions
Can I use pumpkin pie filling instead of puree?
I wouldn’t recommend it because the filling has extra sugar and liquids that might prevent the fudge from setting properly. Stick to plain puree and add your own spices for the best results.
Why is my pumpkin fudge too soft?
It might just need more time in the fridge, or the pumpkin puree you used was a bit too wet. Cooling it for a full four hours or even overnight usually solves most texture issues.
Does this fudge need to be refrigerated?
Yes, because of the real pumpkin and milk, it stays best and keeps its shape much better when kept cold. It can sit out for an hour or so during a party, but then it should go back in the fridge.
The Bottom Line
Sometimes the most memorable treats are the ones that take the least amount of work in the kitchen. I hope this becomes a new little tradition in your home like it has in ours during the cozy months. Sweet moments don’t have to be complicated. Let’s make something wonderful together.
I’m off to put on some Christmas music and finish our holiday cards now. Enjoy every bite! Billy
Billy