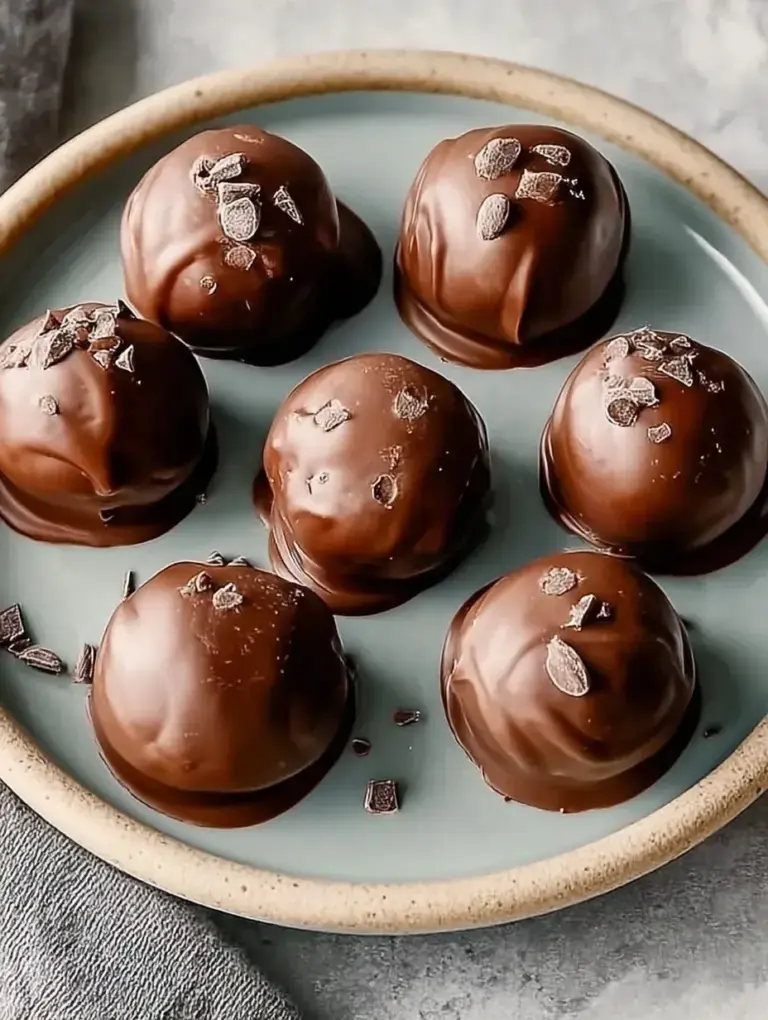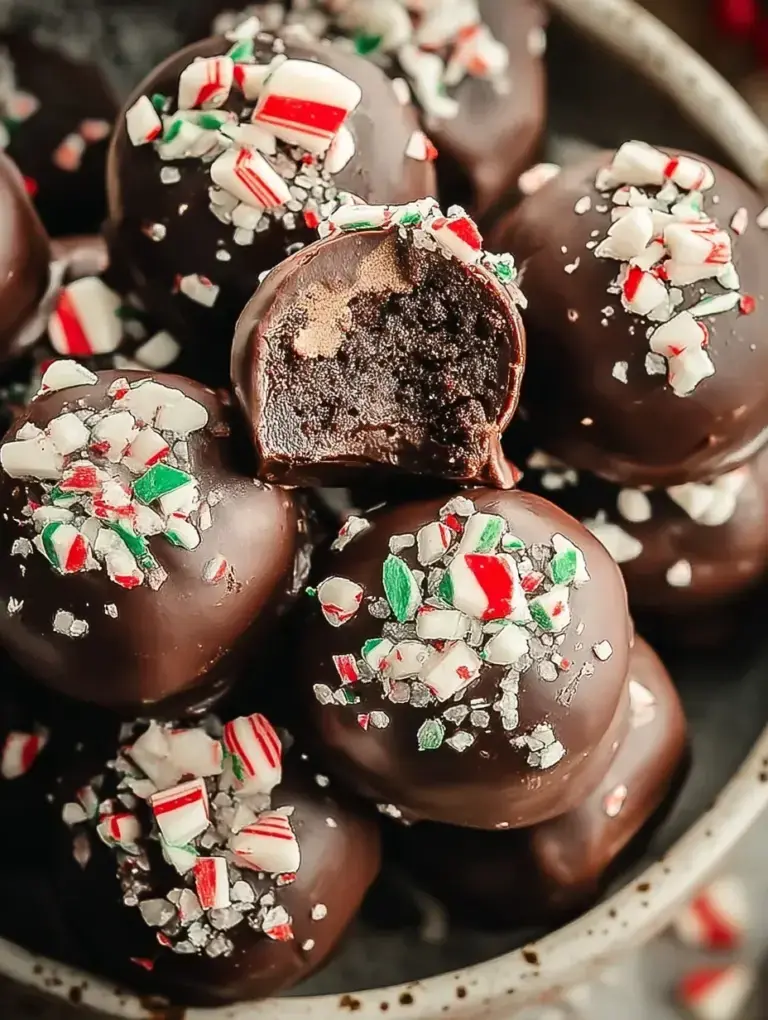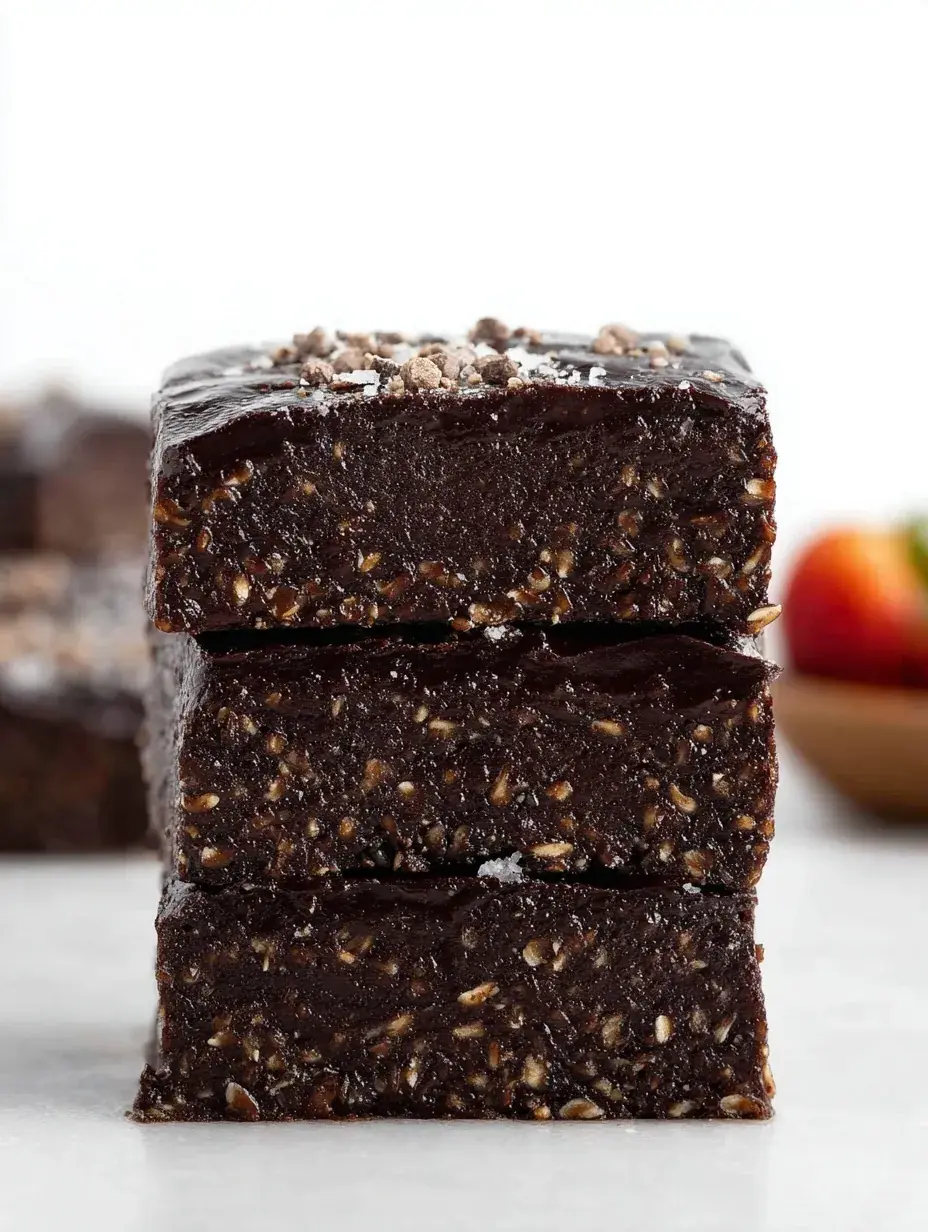
It looks like a dense, decadent treat that spent hours in the oven. In reality, it never even saw the heat of a stove and took almost no effort to assemble. My daughter and I put these together on a whim when the house was already too warm for baking, and they turned out better than most traditional recipes.
Why You Will Love This No-Bake Vegan Brownies
I used to struggle with finding a late-night treat that didn’t leave me cleaning up flour-dusted counters and sticky cake pans at 9 PM. These brownies solve the problem of wanting a rich, chocolatey fix without the heavy lifting or the sugar crash that often follows a standard dessert.
After testing this recipe four times, I learned that the secret is all in the dates. They provide a natural caramel-like sweetness that eliminates the need for refined sugar, making this a win for anyone looking for a more wholesome snack. My daughter loves that she can sneak a taste of the dough since there are no raw eggs involved.
What Makes This No-Bake Vegan Brownies Special
- Natural Sweetness: Medjool dates create a chewy, caramel-like base that makes these taste far more indulgent than they actually are.
- Buttery Walnut Base: Raw walnuts provide a healthy fat source and a dense texture that perfectly mimics a traditional fudge brownie.
- No-Heat Preparation: This is the ultimate summer dessert because you do not have to turn on the oven and heat up your entire kitchen.
- Kid-Safe Mixing: Since the ingredients are all plant-based and raw, little ones can help press the dough into the pan and lick the spoon without any worry.
- Deep Cocoa Flavor: Using unsweetened cocoa powder allows the chocolate intensity to shine through without being masked by excessive sugar.
The Best No-Bake Vegan Brownies Recipe
I remember making these on a rainy Tuesday when we realized we were out of eggs and flour. It turns out that some of the best kitchen discoveries happen when you are forced to improvise with what is in the pantry.
Ingredient Notes
- Raw Walnuts: These provide the structure and fat for the brownie; make sure they are fresh so they do not taste bitter.
- Medjool Dates: These must be soft and pitted; if yours feel a bit dry, soak them in warm water for ten minutes before blending.
- Cocoa Powder: Use a high-quality unsweetened version for the richest chocolate profile.
- Maple Syrup: This helps bind the dough together and adds a subtle floral sweetness that balances the cocoa.
- Sea Salt: Do not skip this, as a small pinch really wakes up the chocolate flavor and cuts through the sweetness of the dates.
Instructions
- Grind Walnuts. Pulse the walnuts in your food processor until they look like a coarse, sandy meal. Be careful not to go too far, or you will end up with walnut butter instead of a brownie base.
- Blend Dates. Add the pitted dates one by one while the processor is running. You will see the mixture start to clump together into a thick, sticky dough that pulls away from the sides.
- Add Flavorings. Pour in the cocoa powder, maple syrup, vanilla, and salt. Process until the color is a deep, uniform dark brown and the ingredients are fully incorporated.
- Prep Pan. Line your 8×8 inch pan with parchment paper, leaving a little overhang on the sides. This makes it so much easier to lift the whole block out later for clean slicing.
- Press Firmly. Transfer the mixture to the pan and use the back of a large spoon to press it down hard. You want a very compact, even layer so the brownies hold their shape when cut.
- Top and Chill. Sprinkle the chocolate chips over the top and press them lightly into the surface with your palm. Place the pan in the fridge to set for at least an hour before you try to slice it.
Billy’s Tips and Mistakes to Avoid
- Process the nuts first alone because if you add everything at once, you might end up with large, crunchy chunks of walnut in an otherwise smooth brownie.
- If your dough feels too dry to hold together, add one extra teaspoon of maple syrup or a tiny splash of water.
- Always use parchment paper because these are naturally sticky and will be very difficult to remove from a bare metal or glass pan.
- You can make these several days in advance and keep them tucked away in the back of the fridge for a quick snack.
- Let my daughter help with the chocolate chips; it is the perfect job for small hands and makes them feel like part of the process.
Storage Tips
These treats stay fresh in an airtight container in the refrigerator for up to 7 days. If you want them to last longer, you can freeze them for up to 2 months. Personally, I think they taste best straight from the fridge when they are at their firmest and coldest.
Variations and Swaps
- Swap the walnuts for pecans if you prefer a slightly sweeter, more buttery nut flavor.
- For a nut-free version, I have tried using sunflower seeds, though the flavor is a bit more earthy.
- Stir in some shredded coconut or dried cranberries for a different texture and a pop of color.
Why This Recipe Works Every Time
The science behind this recipe is really about the ratio of sticky fruit to dry nuts. By using Medjool dates, you get a natural binder that stays flexible even when chilled, ensuring the brownies never become crumbly or dry.
Honestly, I found that the texture improves significantly after a full hour in the fridge. The first time I made these, I was too impatient and cut them right away, but they were a bit too soft; waiting for that chill makes all the difference for that perfect bite.
Ingredients
- 2 cups raw walnuts
- 1 cup Medjool dates, pitted and packed
- 1/2 cup unsweetened cocoa powder
- 1/4 cup pure maple syrup
- 1/2 teaspoon vanilla extract
- 1/4 teaspoon sea salt
- 1/4 cup vegan mini chocolate chips
Instructions
- Place walnuts in a high-speed food processor and pulse until finely ground.
- Add the pitted dates to the food processor and blend until the mixture begins to clump together into a dough.
- Incorporate the cocoa powder, maple syrup, vanilla extract, and salt; process until the mixture is uniform and dark.
- Line an 8x8 inch baking pan with parchment paper and transfer the mixture into the pan.
- Press the mixture down firmly and evenly using a spatula or the back of a spoon.
- Distribute chocolate chips over the top and press them lightly into the dough.
- Refrigerate for 1 hour to allow the brownies to firm up before cutting into 12 equal squares.
Frequently Asked Questions
Can I use regular dates instead of Medjool?
You can use Deglet Noor dates, but they are usually smaller and drier. I recommend soaking them in hot water for about 15 minutes to soften them up before blending so your brownies stay fudgy.
Are these brownies actually healthy?
While they are still a dessert, they are made with whole food ingredients like nuts and fruit. They provide fiber and healthy fats, making them a much better alternative to processed store-bought treats.
Do I need a high-speed blender for this?
A food processor actually works much better than a blender for this specific recipe. It allows the ingredients to circulate and clump together without getting stuck under a blade.
The Bottom Line
These brownies are proof that you do not need a long list of ingredients or a hot oven to create something truly special. Whether you are looking for a healthier snack or a quick weekend treat, these will definitely hit the spot. Sweet moments don’t have to be complicated. Let’s make something wonderful together.
I hope your kitchen feels as warm and cozy as mine does when we are snacking on these. Happy no-baking! Billy
Billy