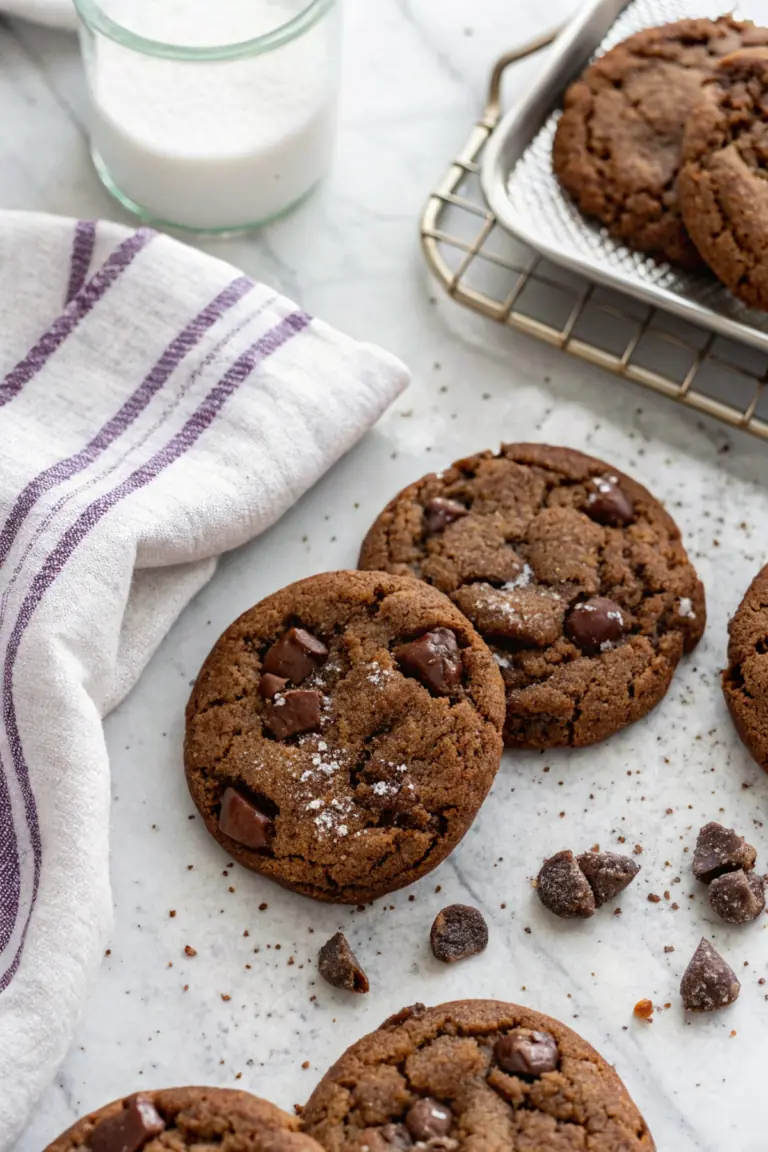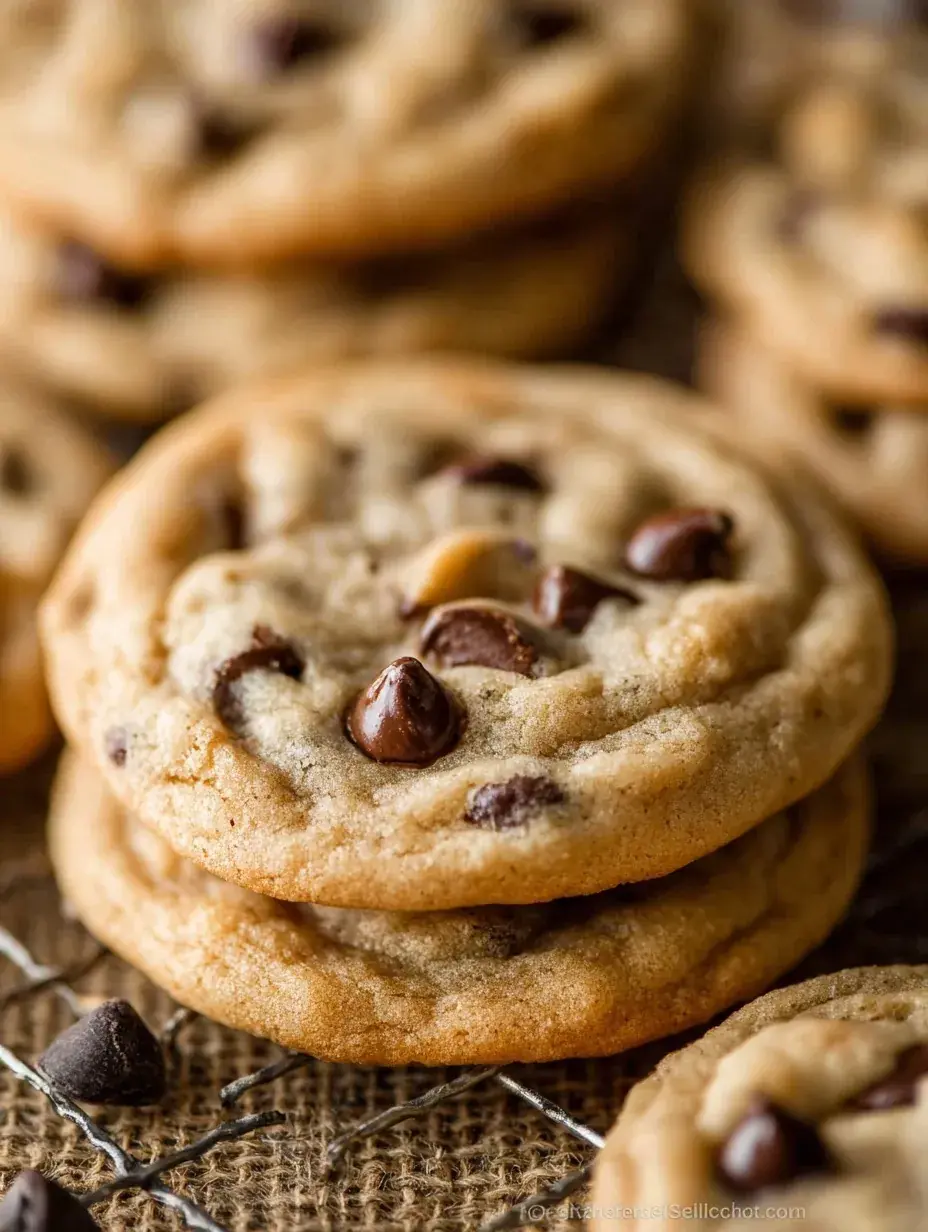
Sometimes the most basic pantry staples create the most magic in a warm kitchen. I spent years trying to find the right balance between a cookie that was too crunchy and one that just fell apart. My daughter and I finally landed on this version during a snowy weekend when we decided to experiment with every trick in the book.
Why You Will Love This Soft Chocolate Chip Cookies
I remember the afternoon I first tried adding cornstarch to my dough, honestly expecting very little change. I was standing in my kitchen with flour on my apron, watching the first batch come out of the oven, and I could not believe how they held their shape without becoming hard. It was a complete discovery moment for me that changed how I look at my spice cabinet.
Since that day, these have become the only cookies my daughter asks for when we have a rainy afternoon to fill. Personally I have found that the extra egg yolk I added on a whim one day makes the texture almost like fudge. This recipe is the result of many happy accidents in my own kitchen.
What Makes This Soft Chocolate Chip Cookies Special
- Cornstarch magic: This simple addition keeps the centers pillowy and prevents the cookies from spreading into flat puddles.
- Melted butter: Using melted rather than softened butter creates a much chewier, denser texture that feels like a bakery treat.
- Extra egg yolk: Adding just one extra yolk provides a richness and soft quality that you just cannot get with whole eggs alone.
- High brown sugar ratio: The moisture in the light brown sugar ensures every bite stays soft for days after baking.
The Best Soft Chocolate Chip Cookies Recipe
This is the recipe I pull out whenever we need a little comfort on a Tuesday or a plate of treats for a school bake sale. It is reliable and simple, which is exactly how I think baking should be during the busy holiday season.
Ingredient Notes
- Cornstarch: This is the secret to the soft texture, as it helps tenderize the flour proteins.
- Melted Butter: I prefer using unsalted butter that has cooled slightly so it does not scramble the eggs.
- Light Brown Sugar: Make sure to pack it tightly into the measuring cup to get that deep caramel flavor.
- Egg Yolk: Using one whole egg plus an extra yolk is my favorite way to ensure a chewy center.
- Chocolate Chips: I usually go with semi-sweet, but milk chocolate is a wonderful kid-friendly swap.
Instructions
- Whisk dry ingredients. Combine the flour, baking soda, cornstarch, and salt in a bowl until perfectly blended. You want to make sure the cornstarch is evenly distributed through the flour.
- Mix wet ingredients. Whisk the melted butter with both sugars until the mixture is smooth and no lumps remain. It should look like thick, dark caramel at this stage.
- Add eggs and vanilla. Stir in the room temperature egg, the extra yolk, and the vanilla extract. The mixture will become slightly glossy and very fragrant.
- Combine the dough. Gently fold the dry ingredients into the wet ones using a large spoon. Stop as soon as you see no more streaks of white flour to avoid a tough cookie.
- Fold in chocolate. Stir in the chocolate chips until they are evenly spread throughout the thick dough. The dough will be quite soft and greasy because of the melted butter.
- Chill and bake. Let the dough rest in the fridge for at least 2 hours before scooping onto sheets. Bake until the edges are just barely golden while the tops still look a little pale.
Billy’s Tips and Mistakes to Avoid
- Do not skip the chilling time because the melted butter needs to firm up or the cookies will spread too much.
- I learned the hard way that overbaking is the enemy of softness, so take them out even if they look slightly underdone.
- Always use room temperature eggs so the melted butter does not seize up and create a lumpy dough.
- You can make the dough up to three days in advance, which is a life saver during Christmas week.
- Let the cookies cool on the hot pan for ten minutes to let the centers set without getting crispy.
Storage Tips
These treats stay fresh for up to 4 days when kept in an airtight container at room temperature. If you want to save them for later, you can freeze the baked cookies for up to 3 months. I like to pop a frozen one in the microwave for five seconds to get that melty chocolate feeling again.
Variations and Swaps
- Try swapping the semi-sweet chips for white chocolate and dried cranberries for a festive holiday look.
- You can use a gluten-free all-purpose flour blend if it contains xanthan gum for a similar chewy result.
- My daughter loves adding a handful of colorful chocolate candies on top before they go into the oven.
Why This Recipe Works Every Time
The science behind this recipe is what makes it so dependable for home bakers. By using melted butter and a higher ratio of brown sugar to white sugar, we are creating a dough that is naturally heavy on moisture. This means even if your oven temperature is slightly off, the cookies remain tender and soft.
On my third batch of testing, I discovered that the cornstarch acts like a safety net for the flour. It keeps the structure light while allowing the fats to do their job of making the edges crispy. It is a small detail that truly changed everything for my family baking sessions.
Ingredients
- 2 1/4 cups all -purpose flour
- 1 teaspoon baking soda
- 1 1/2 teaspoons cornstarc h
- 1/2 teaspoon sal t
- 3/4 cup unsalted butter, melted and slightly cooled
- 3/4 cup light brown sugar, packed
- 1/2 cup granulated white sugar
- 1 large egg , room temperature
- 1 large egg yolk, room temperature
- 2 teaspoons pure vanilla extract
- 1 1/4 cups semi -sweet chocolate chips
Instructions
- Whisk the flour, baking soda, cornstarch, and salt together in a medium bowl and set aside.
- In a large bowl, whisk the melted butter, brown sugar, and granulated sugar together until no sugar lumps remain.
- Whisk in the egg, then the egg yolk, followed by the vanilla extract.
- Pour the dry ingredients into the wet ingredients and mix together with a large spoon or rubber spatula until just combined.
- Fold in the chocolate chips.
- Cover the dough tightly and chill in the refrigerator for at least 2 hours or up to 3 days.
- Preheat oven to 325°F (163°C) and line baking sheets with parchment paper or silicone baking mats.
- Scoop rounded tablespoons of dough, approximately 1.5 tablespoons each, and place onto baking sheets 2 inches apart.
- Bake for 9-11 minutes until the edges are very lightly browned but the centers still look soft and slightly underbaked.
- Cool on the baking sheet for 10 minutes before transferring to a wire rack to cool completely.
Frequently Asked Questions
Why do you add cornstarch to cookies?
Cornstarch helps create a protective barrier that keeps the cookies soft and thick. It prevents the flour from becoming too tough, resulting in a pillowy texture that lasts for days.
Do I really have to chill the dough?
Yes, chilling is essential when using melted butter. It allows the fats to solidify so the cookies do not spread into thin crackers while they bake in the oven.
Can I use salted butter instead?
You can certainly use salted butter if that is all you have on hand. Just be sure to reduce the added salt in the recipe to a small pinch so the flavor stays balanced.
The Bottom Line
There is nothing quite like the smell of butter and chocolate filling the house on a quiet evening. Whether you are baking these for a gift or just for a movie night, they are sure to bring a smile to everyone’s face. Sweet moments don’t have to be complicated. Let’s make something wonderful together.
I hope your kitchen feels extra cozy today while these are in the oven. My daughter and I are already planning our next batch for the neighbors. Billy
Billy