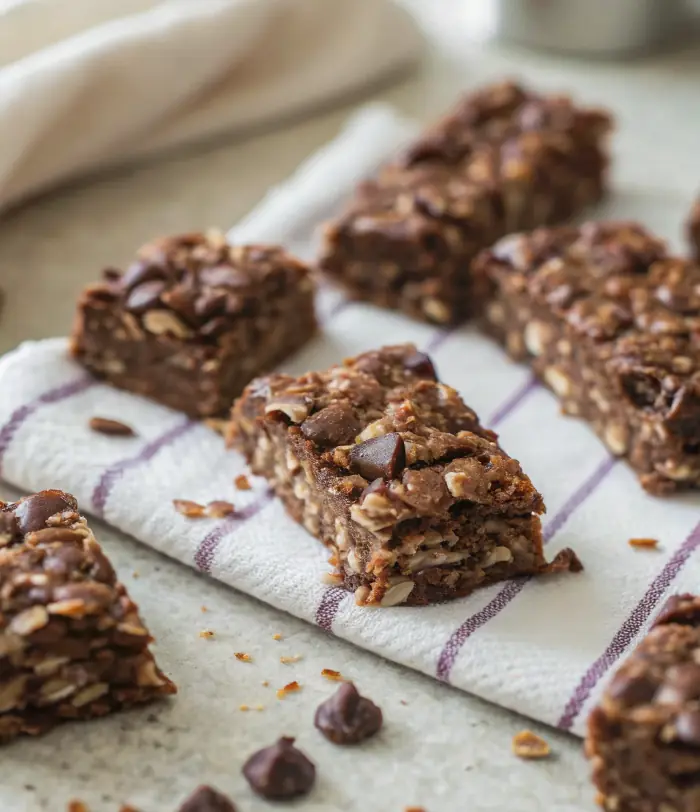
After a weeknight dinner that needed a fast sweet ending, I found myself in the kitchen with a craving for something chocolatey and satisfying. I turned to my trusty no-bake chocolate granola bars, which come together so quickly and disappear even faster. The best part? They are simple enough that my daughter loves to help, and the results are always a winner.
Why You’ll Love This Easy No Bake Chocolate Granola Bars
I still remember the first time my daughter and I whipped these up together; her excitement was contagious. It was fun to mix everything in a bowl, and the warm chocolatey scent filling the kitchen made it all the better. These bars have quickly become a staple for our busy family nights, providing that perfect sweet treat without the fuss of baking.
There’s something immensely satisfying about grabbing these bars straight from the fridge after a long day. They make for a fantastic snack, packed with wholesome ingredients. Plus, they’re customizable, so you can make them just the way you like.
What Makes this Recipe Unique
– **Speed:** Ready in a matter of minutes without touching the oven.
– **Simple Ingredients:** You probably have everything in your pantry, from nut butter to chocolate chips.
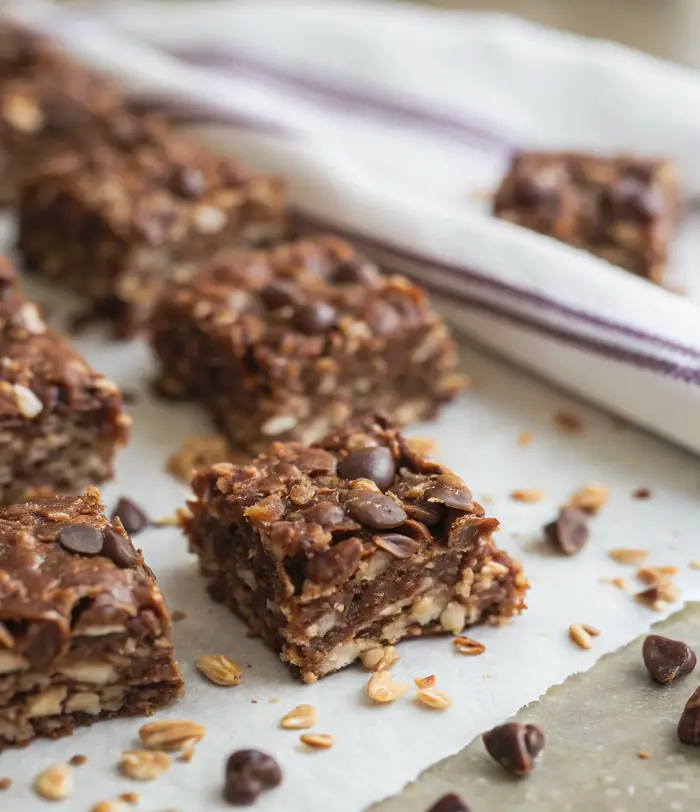
– **Texture:** A delightful blend of chewy oats and creamy chocolate, each bite feels decadent.
– **Customizable:** Add in nuts, seeds, or your favorite dried fruits for a personal touch.
Estimated Macros & Calories
Here’s a little nutritional snapshot for you!
(estimated per serving, without optional ingredients)
- Calories: 150
- Protein: 4g
- Carbohydrates: 19g
- Fat: 7g
- Fiber: 2g
The Most Authentic Easy No Bake Chocolate Granola Bars Recipe
These bars are an absolute joy to make, perfect for turning the ordinary into something special in no time. Trust me, they won’t last long once you share them with family and friends!
Ingredient Notes
– Creamy Nut Butter: This is the backbone of the bars, ensuring they hold together. I love almond butter, but peanut butter adds a lovely flavor too!
– Honey: It’s not just a sweetener; it helps bind the mixture together. Maple syrup can be a great vegan alternative.
– Rolled Oats: Old-fashioned oats lend that fantastic chewiness. If gluten-free is your goal, make sure to grab certified gluten-free oats.
– Chocolate Chips: They melt slightly when mixed in, creating gooey pockets of chocolate in each bar. I usually use mini chocolate chips for that extra sprinkle of sweetness.
– Fine Sea Salt: Just a pinch boosts the overall flavor. Don’t skip it, or the bars might taste flat!
Instructions
Step 1: Prepare the Pan
Start by lining an 8×8-inch pan with parchment paper. I like to leave some overhang so I can easily lift the bars out later. A light oiling helps with release, too.
Step 2: Melt the Base
In a small saucepan over low heat, combine the nut butter, honey, and your choice of butter or coconut oil. Stir gently until it becomes a glossy, smooth mixture, then take it off the heat and add the vanilla extract.
Step 3: Mix the Dry Ingredients
Grab a large bowl and whisk together the rolled oats, flaked coconut, chocolate protein powder if you’re using it, and that measured pinch of sea salt. This will ensure everything is evenly incorporated.
Step 4: Combine Wet and Dry
Pour your warm nut-butter blend over the oat mixture. Use a sturdy spatula to fold everything together, making sure every bit of oat gets coated nicely.
Step 5: Add Chocolate Chips
Gently fold in half of the chocolate chips, mixing them through the sticky mixture. Then, transfer everything to your prepared pan, pressing it in firmly to form an even layer.
Step 6: Top with More Chocolate
Scatter the remaining chocolate chips on top and press them lightly into the surface for a neat finish. A sprinkle of flaky sea salt adds a delicious touch, bringing out the chocolate flavor.
Step 7: Chill to Set
Pop the pan in the freezer for a quick 15 minutes, then move it to the refrigerator for about 30 minutes. This two-step chilling ensures everything sets beautifully, making slicing much easier.
Step 8: Slice and Store
Once the time is up, lift the slab out using the parchment overhang and place it on a cutting board. You can trim any edges and slice them into bars. I usually go for 18 pieces, but you can cut them to your liking. Store them in an airtight container in the fridge for about a week or freeze for longer enjoyment.
Tips and Mistakes to Avoid
– Make sure not to overheat the nut butter mixture; you want it warm but not simmering.
– Don’t skip packing the mixture down firmly in the pan. It helps the bars hold their shape when slicing.
– If using chocolate protein powder, balance it with a bit more nut butter or honey to maintain the right texture.
Storage Tips
You can keep these bars in the fridge for about ten days, making them great for a snag-and-go snack. They also freeze well, so feel free to double the batch and save some for later. Just wrap them in parchment or plastic wrap.
Variations and Substitutions
Want a twist? Try adding dried fruits like cranberries or cherries for a bit of tartness. You can also swap the nut butter for sunflower seed butter to make this nut-free.
Why This Recipe Is The Real Deal
The beauty of these chocolate granola bars lies in their simplicity and how quickly they come together. I find joy in the little moments, like when my daughter helps stir and eagerly waits for her “treat” after dinner. They’re the kind of snack that makes family moments sweeter.
Plus, it’s all about that no-bake method — you can whip them up even on the busiest of nights, which is a win in my book!
The Bottom Line
These bars are a delightful way to satisfy a chocolate craving, all while being so easy to make. I can’t wait for you to try them and share your experience!
Billy Mackenzie
Founder of MerryDessert.com
Simple, joyful homemade desserts — sweet moments, made with love.
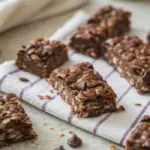
Easy No Bake Chocolate Granola Bars
Ingredients
Wet ingredients
- 1/2 cup creamy nut butter (peanut or almond)
- 1/4 cup honey
- 1/4 cup unsalted butter or coconut oil
- 1/2 tsp pure vanilla extract
Dry ingredients
- 1 1/4 cups old‑fashioned rolled oats (or gluten‑free oats)
- 1/4 cup unsweetened flaked coconut
- 1/2 cup semisweet chocolate chips (mini or regular)
- 1/4 cup chocolate protein powder (optional)
- 1/8 tsp fine sea salt (plus extra to finish)
Instructions
Preparation Steps
- Line an 8×8-inch pan with parchment paper, leaving an overhang on two sides to lift the slab out later. Lightly oil the parchment if you prefer easier release.
- Combine the nut butter, honey, and butter (or coconut oil) in a small saucepan set over low heat. Warm gently, stirring constantly, until the mixture is glossy and smooth — about 2 to 3 minutes. Remove from heat and stir in the vanilla.
- In a large bowl, whisk together the oats, flaked coconut, protein powder (if using) and the measured 1/8 tsp sea salt so the dry items are evenly distributed.
- Pour the warm nut-butter mixture over the oat mixture. Use a sturdy spatula or wooden spoon to fold and press the wet ingredients into the oats until every bit is coated and the mixture holds together when squeezed.
- Fold in half of the chocolate chips so they are mixed through. Transfer the mixture to the prepared pan and press it very firmly into an even layer — use the bottom of a measuring cup or a piece of parchment to compact it tightly.
- Scatter the remaining chocolate chips on top. For a neat finish, press them lightly into the surface. Sprinkle a small pinch of flaky sea salt across the top to boost flavor.
- Chill the pan in the freezer for 15 minutes to set quickly, then move it to the refrigerator for another 30 minutes until firm. This two-step chilling firms the bars evenly and helps slicing cleanly.
- Lift the chilled slab from the pan using the parchment overhang and place it on a cutting board. Trim any uneven edges and slice into 18 bars (3 rows by 6 columns) or your preferred size. Store bars in an airtight container in the fridge for up to 10 days or freeze for longer storage.