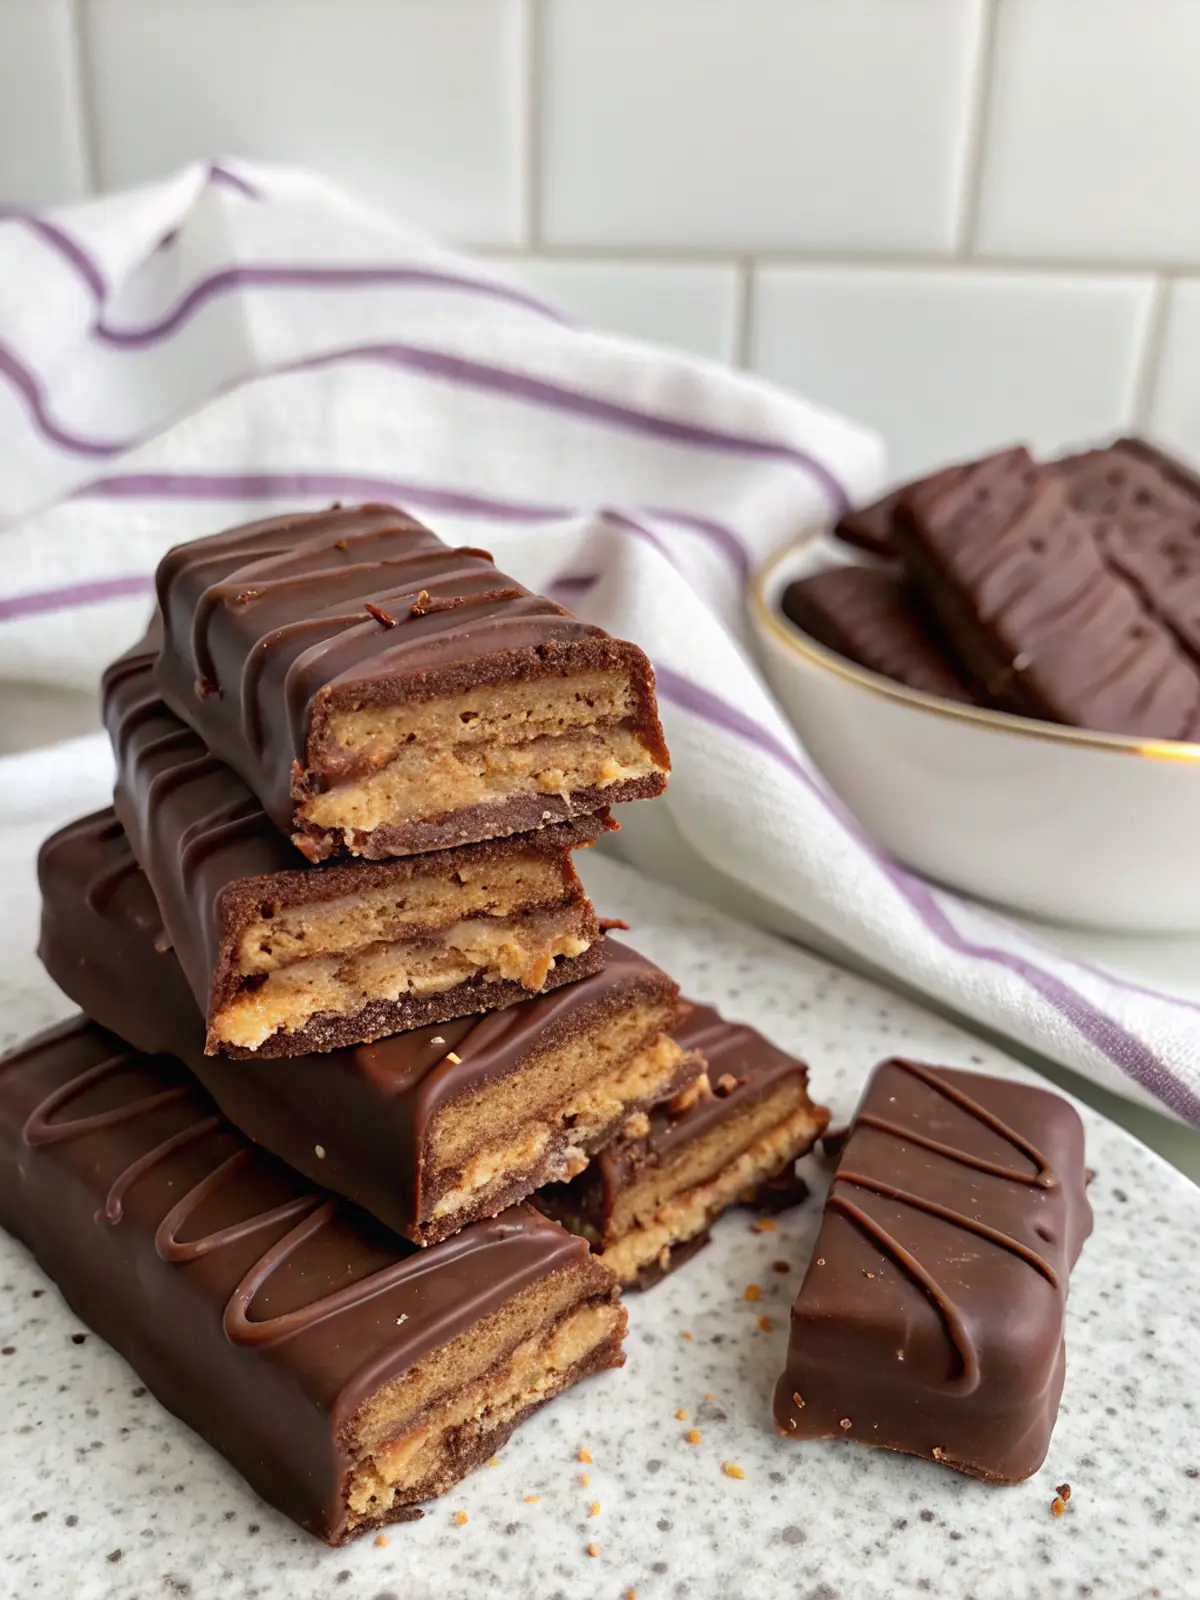
A dessert that became a family tradition without anyone planning it often springs from a simple solution to a sweet craving. I found myself thinking about how the nostalgic crunch of a childhood favorite could fit into our family’s desire for simpler, wholesome treats. That’s when these Easy Paleo Kit Kat Bars came into play. Now, they’re a staple for movie nights, lunchboxes, and holiday get-togethers—no planning necessary!
Why You’ll Love This Easy Paleo Kit Kat Bars
These bars hold a special place in our home, creating a joyful treat that’s always welcome. The first time I made them with my daughter, the delight on her face as she layered the wafers was a moment I’ll always cherish. We stumbled into a family tradition; now, when the craving hits, we whip these up together, embracing the fun of baking and the joy of later indulging.
What Makes this Recipe Unique
– **Texture**: The crispy wafers and creamy filling mimic the classic, but with a homemade twist that makes it extra special.
– **Key Ingredients**: Using blanched almond flour and natural sweeteners keeps it true to our paleo roots without sacrificing flavor.
– **Speed**: These bars can come together fairly quickly, making them perfect for last-minute treats or those spontaneous baking afternoons with my little one.
– **Method**: Rolling out the dough and trimming it into rectangles is an enjoyable activity for kids, turning baking into a hands-on experience.
Estimated Macros & Calories
These delightful bars are surprisingly balanced. (estimated per serving, without optional ingredients)
- Calories: 150
- Protein: 5 g
- Carbohydrates: 10 g
- Fat: 12 g
- Fiber: 2 g
The Most Authentic Easy Paleo Kit Kat Bars Recipe
This is a cozy treat that you can personalize with your favorite nut butter or chocolate type. It’s simple yet surprisingly satisfying, perfect for family gatherings or quiet evenings at home.
Ingredient Notes
– Blanched Almond Flour: Creates that light, crispy texture reminiscent of wafers. Don’t substitute with almond meal; the texture will change.
– Coconut Sugar: Adds a gentle sweetness without being overpowering. You could try other natural sweeteners, but the flavor might vary.
– Ground Flaxseed: Acts as a binding agent while adding a touch of nuttiness; it’s a crucial ingredient to note!
– Natural Peanut Butter: A must for that creamy, rich filling. You can swap it with sunflower seed butter for a nut-free option.
– Dark Chocolate: Using quality chocolate enhances the bars’ richness. Try to keep it on the darker side for a deeper flavor.
Instructions
Step 1: Preheat the Oven
Heat the oven to 350°F and line a baking sheet with parchment paper. It sets the stage for a nice bake that helps those edges turn golden.
Step 2: Mix Dry Ingredients
In a medium bowl, whisk together almond flour, coconut sugar, ground flaxseed, sea salt, and the cinnamon if you choose to add it. This mix will be the base of your wafers.
Step 3: Combine Wet Ingredients
Stir in melted coconut oil and vanilla until the mixture starts to hold together. If it feels dry, press it down firmly—it should clump without being overworked.
Step 4: Roll Out the Dough
Place the dough between two sheets of parchment and roll to about 1/8 inch thick. The even thickness ensures a consistent bake and that delightful crunch.
Step 5: Bake the Wafers
Slide your rolled dough onto the baking sheet and bake until the edges turn a lovely golden hue. This is the moment you’re waiting for; it fills the kitchen with warmth!
Step 6: Cut and Cool
Carefully trim the baked dough into rectangles while it’s still warm. It’s the perfect opportunity to get your little one involved, making shapes together!
Step 7: Prepare the Filling
In a small bowl, melt together your chopped chocolate, peanut butter, and espresso powder until smooth. Let it cool slightly before using; it needs to be spreadable!
Step 8: Assemble the Bars
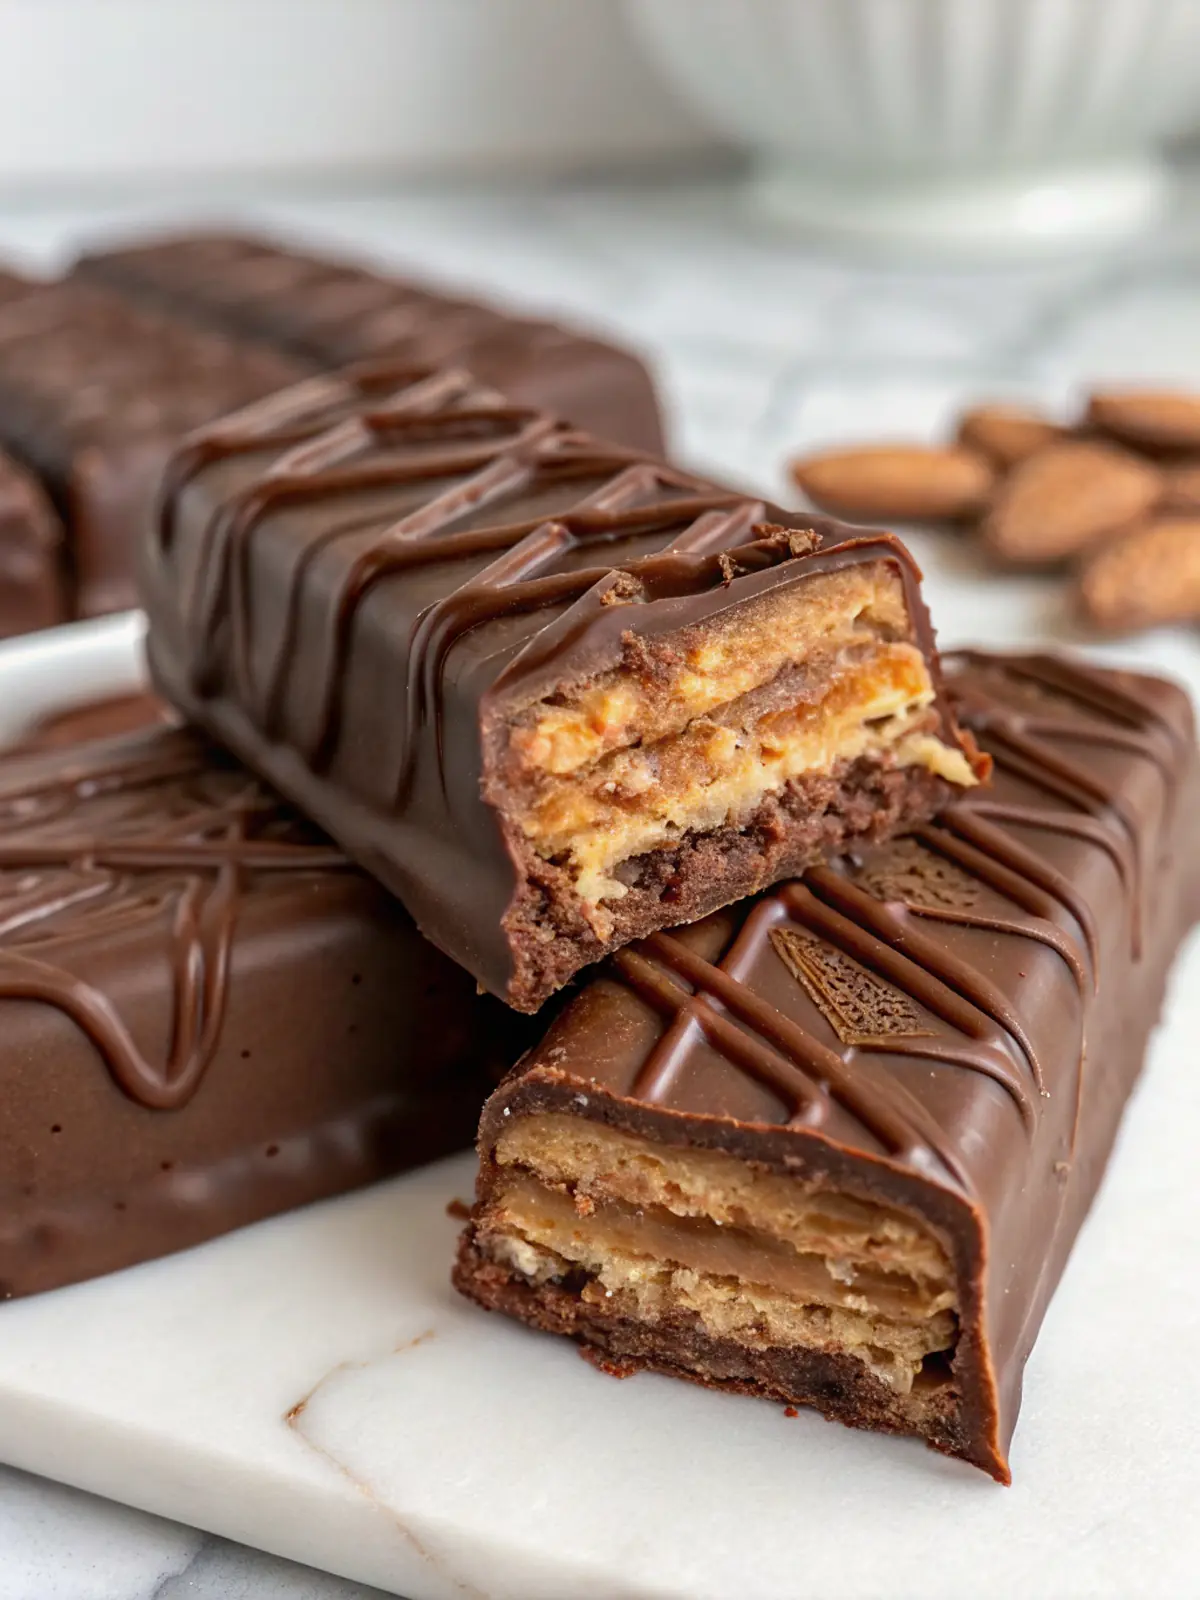
Layer three wafers with two thin fillings in between each wafer. Gently press down to secure them nicely, aligning the edges for a tidy finish.
Step 9: Chill the Assembled Bars
Place the assembled bars in the freezer briefly. This helps everything firm up and keeps it together when you coat them.
Step 10: Make the Chocolate Coating
Melt the dark chocolate with a bit of coconut oil in a bowl over simmering water. Mixing until smooth, you’ll have a lovely coating ready for your chilled bars.
Step 11: Coat the Bars
Dip each bar in the melted chocolate, tapping off the excess. Sprinkle a touch of flaky sea salt on top before they head back to chill. It adds a nice contrast!
Step 12: Serve and Enjoy
After chilling, let the bars sit at room temperature briefly before serving. Just enough to ensure they’re deliciously soft but not frozen!
Tips and Mistakes to Avoid
– Make sure your dough isn’t too dry when you roll it out; it should hold together well. Press if it crumbles!
– When melting chocolate, be patient. Stir often to prevent burning; it’s worth the time!
– After assembly, don’t skip the chilling step! It keeps everything crisp and neat while you do the chocolate dipping.
Storage Tips
These bars can be kept in the fridge for about a week or frozen for longer storage, just make sure they’re wrapped well. They’re perfect to pull out for a quick treat that’s ready in moments!
Variations and Substitutions
Feel free to swap out the nut butter for a different taste, like almond or cashew butter. If you need a nut-free version, sunflower seed butter works a charm. You could also mix in some crunchy nuts or coconut flakes to the filling for extra texture!
Why This Recipe Is The Real Deal
Quick and straightforward, this is one of those recipes that I can whip up while my daughter is stirring something else at the counter. It’s all about creating memories as much as it is about the dessert itself. The blend of crispy and creamy textures will have your family asking for seconds!
The Bottom Line
It’s just the kind of dessert that slipped seamlessly into our family traditions, and I think you’ll enjoy creating your own joyful memories with it. Give it a try, and let me know how your family loves it!
Billy Mackenzie
Founder of MerryDessert.com
Simple, joyful homemade desserts — sweet moments, made with love.
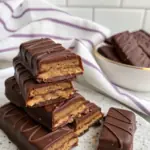
Easy Paleo Kit Kat Bars
Ingredients
Almond Wafer Dough
- 1 1/3 cup blanched almond flour
- 3 1/2 Tbsp coconut sugar
- 1 Tbsp ground flaxseed
- 1/4 tsp fine sea salt
- 3 Tbsp melted coconut oil
- 1 tsp vanilla extract
- 1/8 tsp ground cinnamon optional, for a warm note
Chocolate–Peanut Filling
- 2 Tbsp dark chocolate, finely chopped
- 3 1/2 Tbsp natural peanut butter (or sunflower seed butter)
- 1/4 tsp instant espresso powder deepens chocolate flavor
- pinch salt
Coating & Finish
- 5 oz dark chocolate (chopped or chips)
- 1/2 Tbsp coconut oil to thin chocolate
- to taste flaky sea salt for sprinkling
Instructions
Preparation Steps
- Heat the oven to 350°F (177°C). Line a baking sheet with parchment paper and set aside.
- In a medium bowl, whisk the almond flour, coconut sugar, ground flaxseed, sea salt and cinnamon until evenly combined.
- Stir in the melted coconut oil and vanilla until the mixture clumps together. If the dough seems dry, press it with the back of a spoon — it should hold when squeezed. Don’t overwork.
- Place the dough between two sheets of parchment and roll to an even thickness of about 1/8 inch. Transfer the top parchment and rolled dough to the baking sheet.
- Bake 9–11 minutes, until the edges are just turning golden. Remove from oven and let cool on the sheet for 5 minutes.
- While still warm but cool enough to handle, slide the parchment onto your counter. Use a ruler and a sharp knife or pizza cutter to trim the dough into rectangles roughly 3.5 x 0.75 inches. Re-roll scraps and bake any extra pieces for 6–8 minutes.
- Set the cut wafers on a wire rack to finish cooling completely (about 15 minutes). Cooling fully keeps the layers crisp when assembled.
- Make the filling: place the chopped chocolate, peanut butter and espresso powder in a small microwave-safe bowl. Microwave in 20-second bursts, stirring between, until smooth and thick (or melt gently in a double boiler). Let the mixture cool 8–10 minutes so it’s spreadable but not runny.
- Assemble each bar by layering three wafers with two thin layers of the chocolate–peanut filling in between (wafer, filling, wafer, filling, wafer). Press gently so edges align. Place assembled bars on a parchment-lined tray and freeze for 10–15 minutes to firm.
- Make the coating: melt the 5 oz dark chocolate with 1/2 Tbsp coconut oil in a heatproof bowl over simmering water or in short microwave bursts, stirring until smooth.
- Working quickly, dip each chilled bar into the melted chocolate, tapping off excess, or spoon chocolate over each bar to coat. Return to the parchment-lined tray, sprinkle a little flaky sea salt over the tops, and chill in the freezer 10 minutes to set.
- Let the bars come to room temperature for 5–10 minutes before serving so the coating is not rock-hard — they’re best slightly chilled but not frozen.