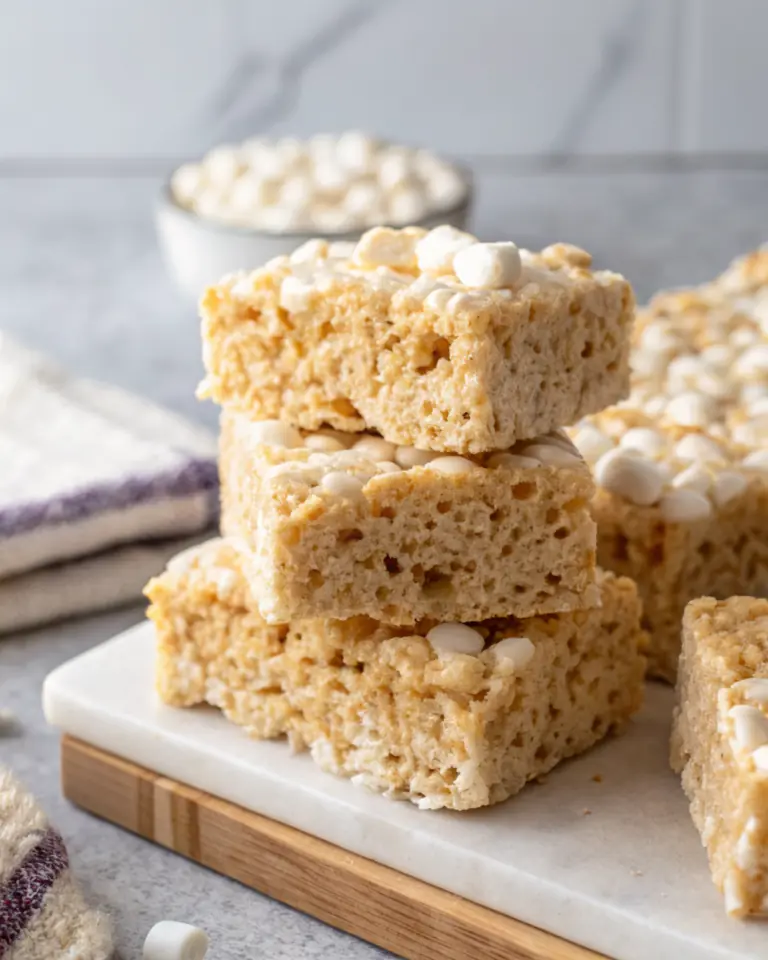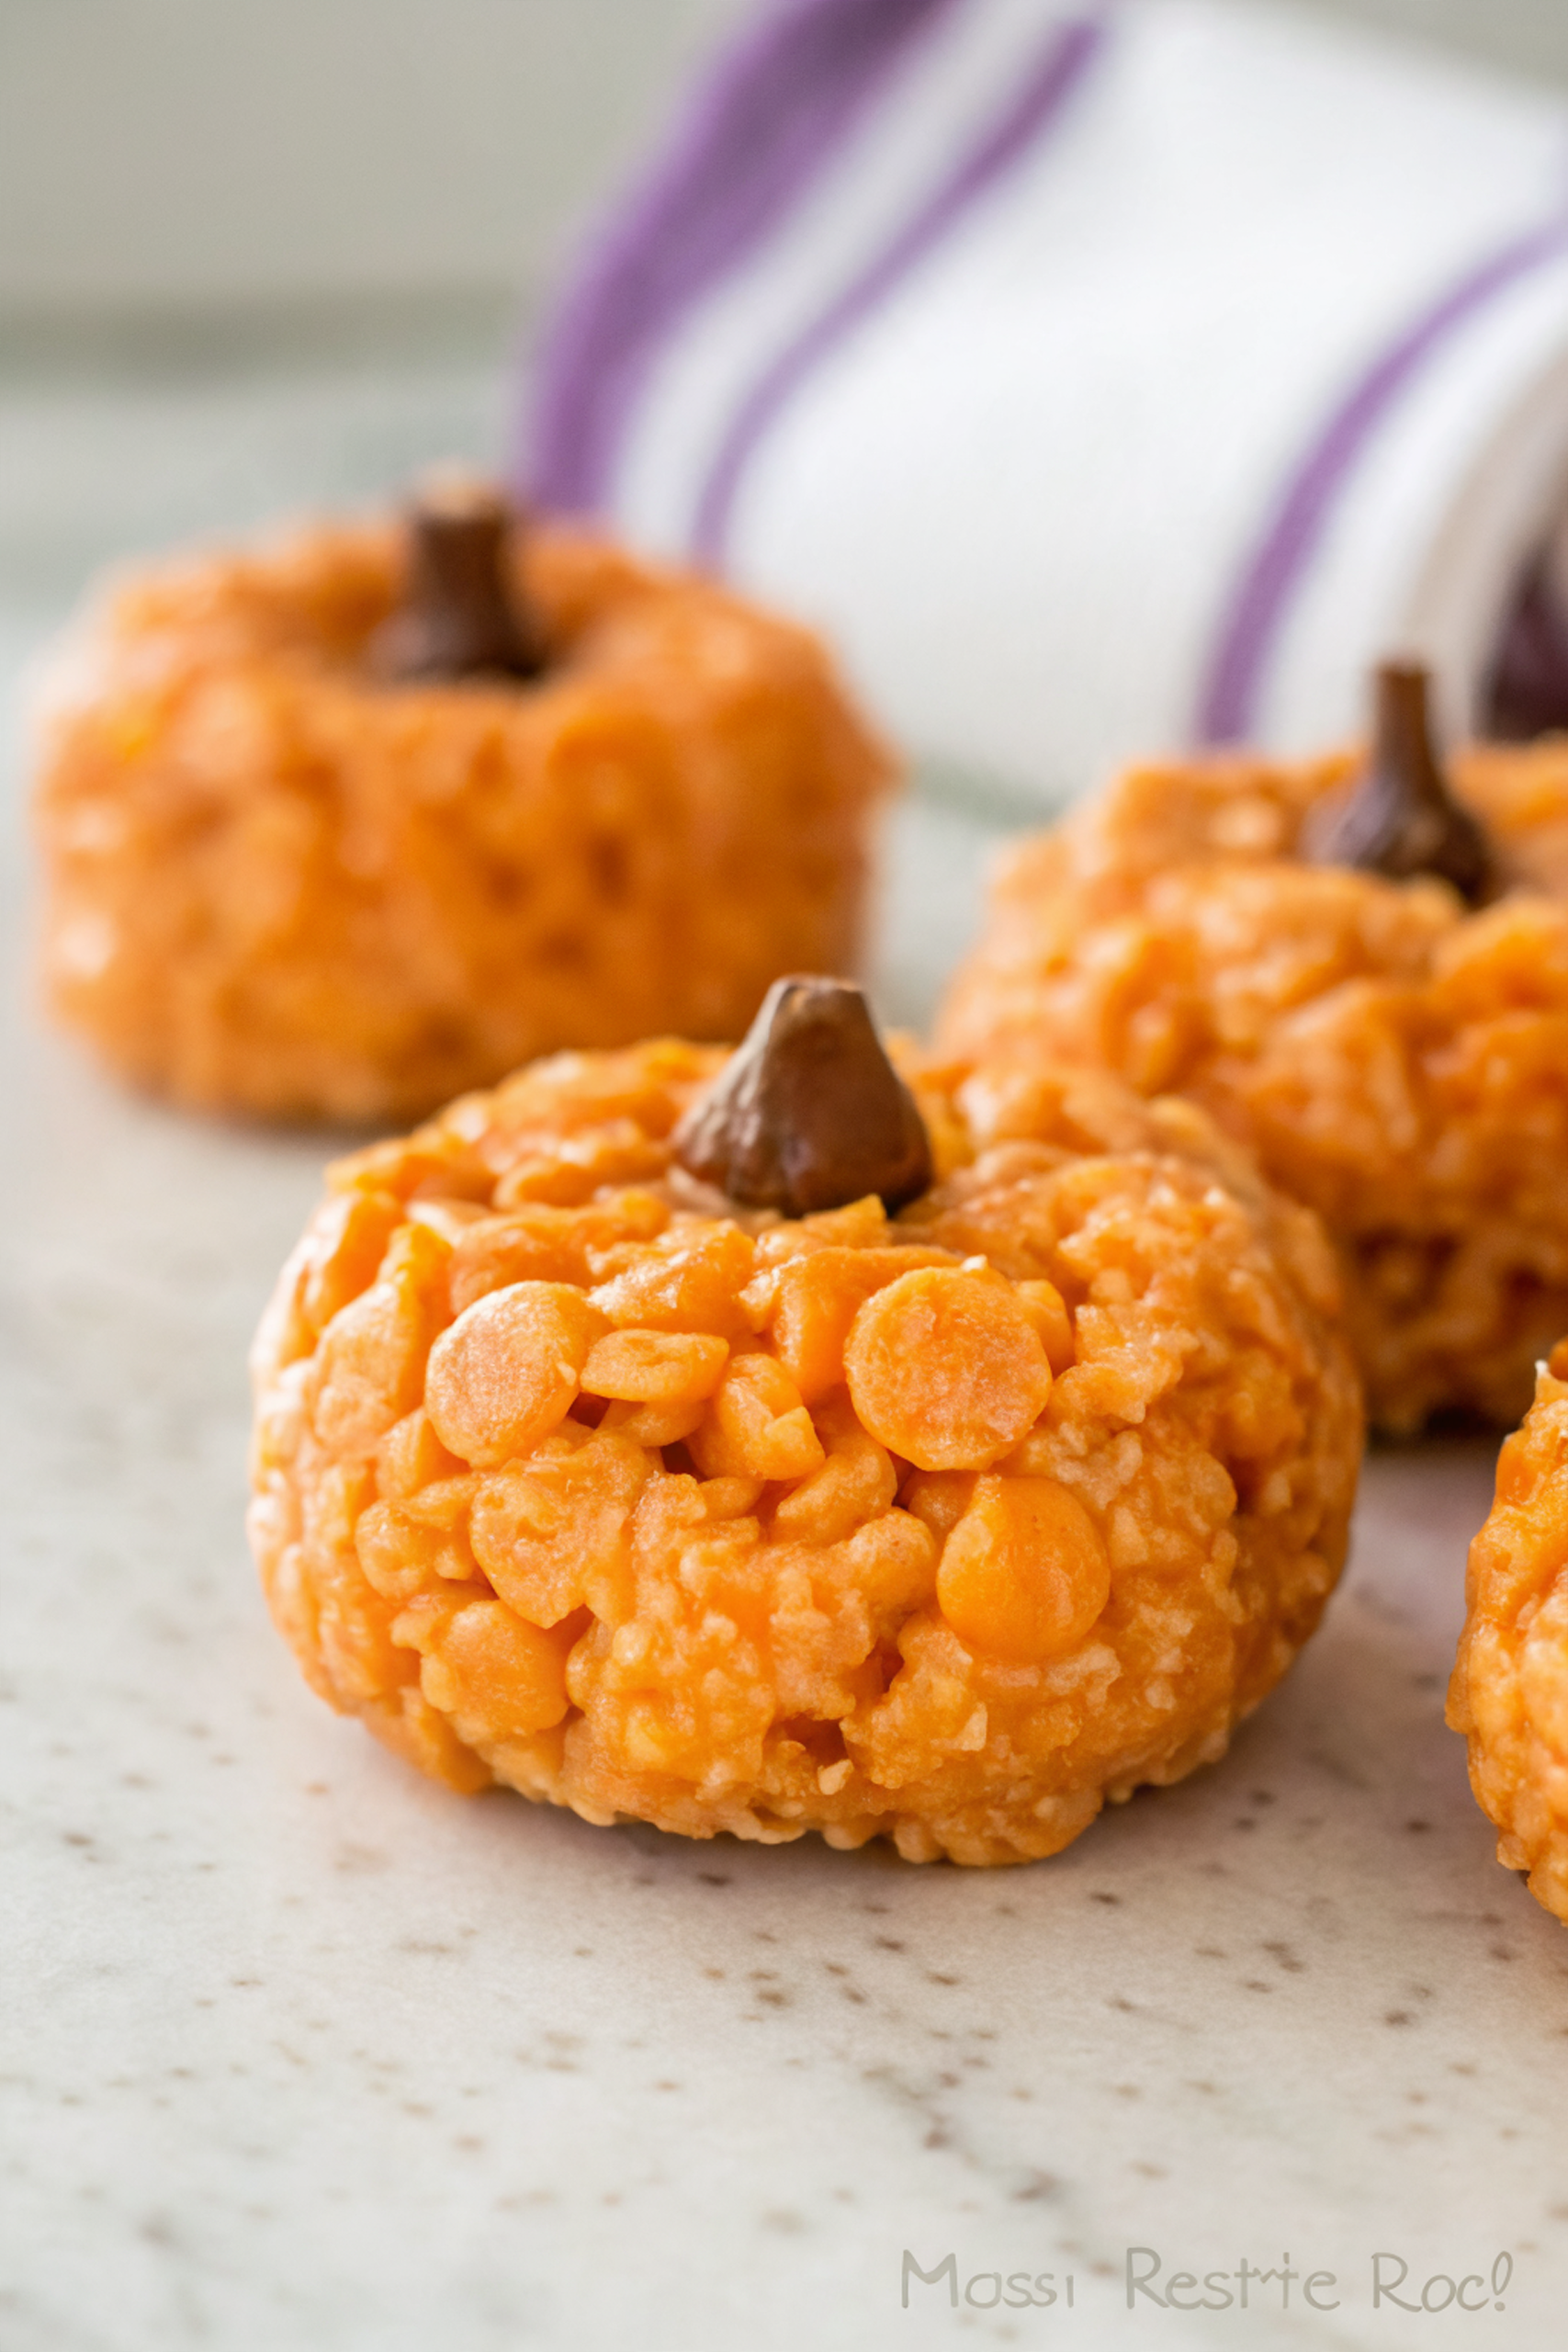
The sticky, buttery scent of melted marshmallow will pull you into the kitchen before you even know what you’re making, which is perfect for those mid-week moments when you’re running out of fresh dessert ideas for lunchbox treats. My daughter and I made these tiny rice krispie pumpkins one afternoon when the cookie jar was empty and the school week still long, and the whole counter ended up gloriously messy. They’re playful, bright orange, and just the right size for a lunchbox surprise.
Why You’ll Love This Crunchy Rice Krispie Pumpkins Recipe
They come together with pantry staples and a little hands-on fun, which is exactly what a busy family afternoon needs. I can pull this out between errands and homework and everyone still thinks I planned something special.
These pumpkins pack crunchy cereal and gooey marshmallow into a portable treat that my daughter insists I make “her way” every time. They travel well in lunchboxes and are a cheerful pick-me-up for a mid-week snack.
What Makes this Recipe Unique
– Texture: The crunchy cereal against the soft, sticky marshmallow gives a satisfying contrast that feels playful to bite into.
– Key ingredient: Mini marshmallows melt into a glossy, pliable coating that helps the rice cereal bind without extra tools.
– Method: Melting butter and marshmallows on low keeps the mixture smooth and manageable for shaping.
– Speed: This comes together quickly with no oven required, which is a lifesaver on busy afternoons.
– Playful finish: Tootsie Roll stems are an easy, edible touch to make each piece look like a pumpkin.
Estimated Macros & Calories
A rough estimate for one of these pumpkin treats is below. (estimated per serving, without optional ingredients)
- Calories: 260 kcal
- Protein: 2 g
- Carbohydrates: 45 g
- Fat: 8 g
- Fiber: 0.5 g
The Most Authentic Crunchy Rice Krispie Pumpkins Recipe
This is written like I’d tell a friend over the sink: simple, a little messy, and entirely do-able with grocery-store ingredients and curious little hands eager to help.
Ingredient Notes
– Unsalted butter: Adds richness and helps the marshmallows melt smoothly; keep the heat low so it doesn’t brown.
– Mini marshmallows: The glue of the recipe — they melt glossy and make the mixture easy to shape; stir until completely smooth.
– Pure vanilla extract: Brightens the sweet base; stir it in off the heat so the flavor stays fresh.
– Orange gel food coloring (or a few drops red + yellow): Use a little at a time to reach a vibrant pumpkin hue; gel gives intense color without watering down the mixture.
– Crispy rice cereal: Provides the signature crunch; scoop it into a large bowl before the marshmallow mix is ready so you can work quickly.
– Fine sea salt (optional): A tiny pinch enhances sweetness and rounds the flavor, but it’s optional.
– Tootsie Roll Midgies: These make the cutest edible stems; soften briefly so they reshape easily.
Instructions
Step 1: Prep your workspace
Line a rimmed baking sheet with parchment paper so finished pumpkins have a waiting place. Pour the crispy rice cereal into a large heatproof bowl ahead of time to speed up the process.
Step 2: Melt the butter
Melt the unsalted butter in a saucepan set over low heat until it’s fully liquid and fragrant; keep the temperature low to avoid browning. This gentle start makes the marshmallows melt evenly.
Step 3: Add marshmallows and salt
Add the mini marshmallows and the pinch of salt to the melted butter and stir constantly with a heatproof spatula. Keep stirring until the marshmallows are completely melted and the mixture is smooth.
Step 4: Finish the marshmallow mixture
Remove the pan from the heat and stir in the vanilla extract right away. Add the orange coloring a little at a time, mixing until you get a lively pumpkin color.
Step 5: Combine with the cereal
Pour the marshmallow mixture evenly over the cereal and, using a spatula, fold the cereal into the marshmallow with several quick strokes until everything is coated. Work briskly while the mixture is still pliable.
Step 6: Let it cool just enough
Allow the mixture to sit off the heat until it’s cool enough to handle but still soft and pliable. This brief rest makes shaping easier and keeps fingers safe.
Step 7: Shape the pumpkins
Lightly spray your hands with nonstick cooking spray or rub them with a little butter. Scoop a portion of the mixture for each pumpkin, roll into a tight ball, then gently press to form a slightly flattened sphere.
Step 8: Add pumpkin ridges
Press shallow grooves around each ball with the back of a fork, the handle of a wooden spoon, or your fingers so each one looks like a miniature pumpkin.
Step 9: Make and insert stems
Soften a Tootsie Roll briefly in the microwave, then roll it between your palms into a short stub to serve as a stem. Insert one stem into the top center of each pumpkin and place them on the prepared sheet.
Step 10: Chill and store
Chill the pumpkins in the refrigerator until they’re firm enough to handle before serving. Store leftovers in an airtight container at room temperature for a few days.
Tips and Mistakes to Avoid
– Don’t rush the melting: keep heat low so the butter and marshmallows don’t scorch.
– Mix the cereal in while the marshmallow is still warm; waiting too long makes the mixture hard to shape.
– If your hands stick, lightly oil or butter them before rolling; that little step keeps things tidy and speeds shaping.
Storage Tips
Keep finished pumpkins at room temperature in an airtight container for a few days for best texture. Refrigerate only to firm them up quickly before serving. I don’t usually freeze these because the texture changes once thawed.
Variations and Substitutions
– Use the red and yellow drops called out in the ingredients instead of orange gel to mix your own hue.
– For a gluten-free approach, be sure to choose a certified gluten-free crispy rice cereal.
– Keep the method the same but let kids press the ridges their own way; it becomes part of the fun.
Why This Recipe Is The Real Deal
What sells these little pumpkins is the crunch-soft contrast: crisp cereal wrapped in sticky, buttery marshmallow creates a texture that keeps everyone coming back. I’ve served these at after-school snack time and they vanish fast because kids love the shape and adults appreciate the simplicity.
I usually let my daughter press the ridges and pop in the Tootsie Roll stems, and those small, silly moments are why I make them again and again.
The Bottom Line
If you need a cheerful, hands-on lunchbox treat that comes from pantry basics and gives you a playful finish, give these a try and leave a note about how your family shaped theirs.
Billy Mackenzie
Founder of MerryDessert.com
Simple, joyful homemade desserts — sweet moments, made with love.
Crunchy Rice Krispie Pumpkins Recipe
Ingredients
Pumpkin Rice Krispie Base
- 1/4 cup unsalted butter
- 4 1/2 cups mini marshmallows
- 1/2 tsp pure vanilla extract
- 3 drops orange gel food coloring (or a few drops red + yellow)
- 5 1/2 cups crispy rice cereal (Rice Krispies or similar)
- 1/8 tsp fine sea salt optional, enhances flavor
Decoration
- 10 pieces Tootsie Roll Midgies (for stems)
Instructions
Preparation Steps
- Line a rimmed baking sheet with parchment paper and set nearby. Pour the crispy rice cereal into a large heatproof mixing bowl so it's ready when the marshmallow mixture is done.
- In a large saucepan over low heat, melt the butter until it becomes fragrant and fully liquid — about 1 to 2 minutes. Keep the heat low so it doesn't brown.
- Add the mini marshmallows and the pinch of salt to the melted butter. Stir constantly with a heatproof spatula until the marshmallows are completely melted and smooth, about 3 to 4 minutes.
- Remove the pan from the heat and immediately stir in the vanilla extract. Add the orange food coloring a drop at a time and mix until you reach a vibrant pumpkin hue.
- Pour the marshmallow mixture evenly over the bowl of cereal. Using the spatula, fold the cereal into the marshmallow in several quick strokes until the cereal is thoroughly coated. Work briskly — the mixture sets as it cools.
- Let the mixture cool off the heat for 4 to 5 minutes so it’s safe to handle but still pliable.
- Lightly spray your hands with nonstick cooking spray (or rub with a little butter). Scoop approximately 1/3 cup of mixture for each pumpkin, roll into a tight ball, then gently press to form a slightly flattened sphere.
- To create pumpkin ridges, press shallow grooves around each ball with the back of a fork, the handle of a wooden spoon, or your fingers so it looks like a miniature pumpkin.
- Soften a Tootsie Roll in the microwave for 3 to 4 seconds, then roll it between your palms into a short stub to serve as a stem. Insert one stem into the top center of each pumpkin. Place finished pumpkins on the prepared sheet.
- Chill the pumpkins in the refrigerator for 10 to 15 minutes to firm up before serving. Store leftovers in an airtight container at room temperature for up to 3 days.