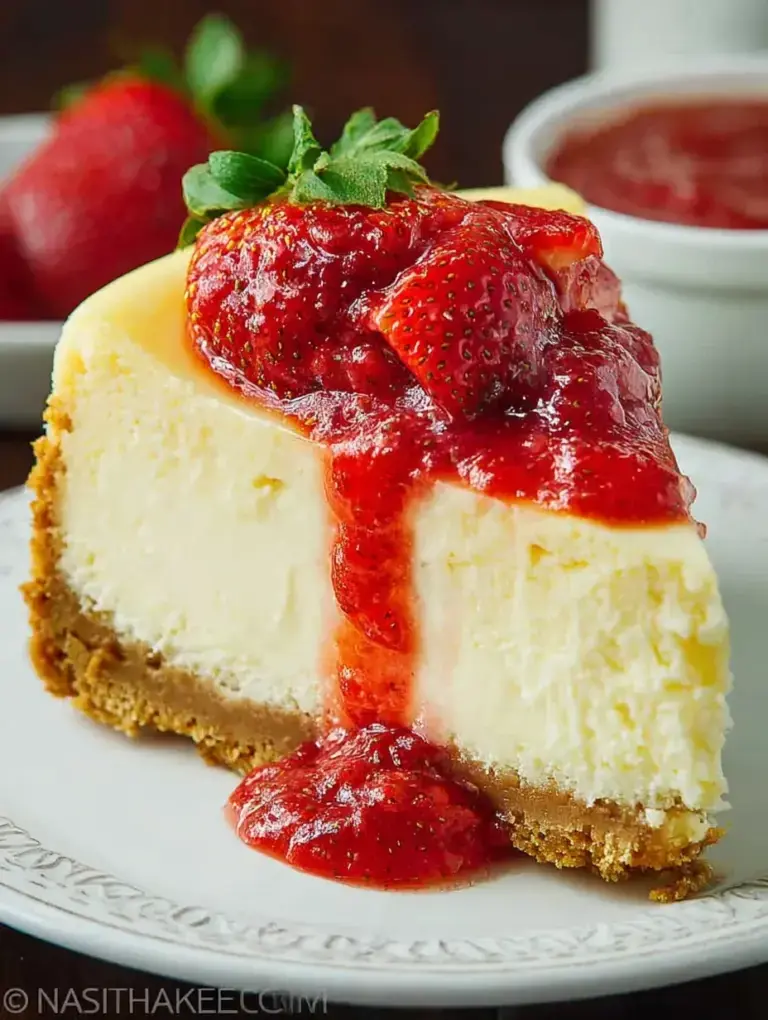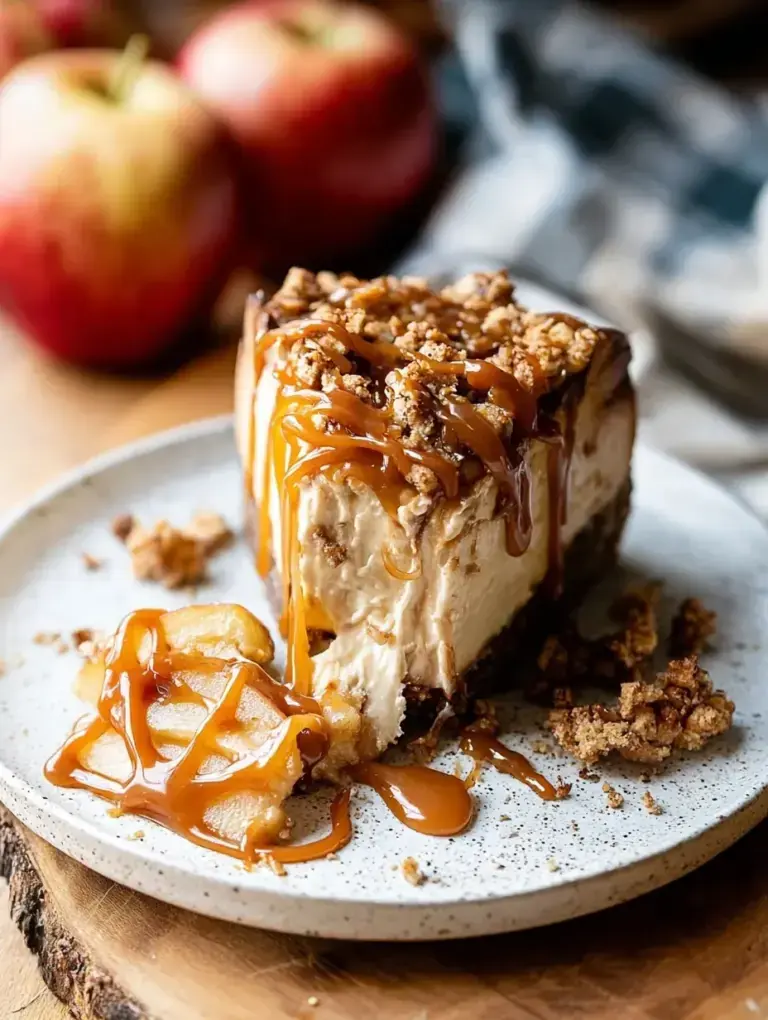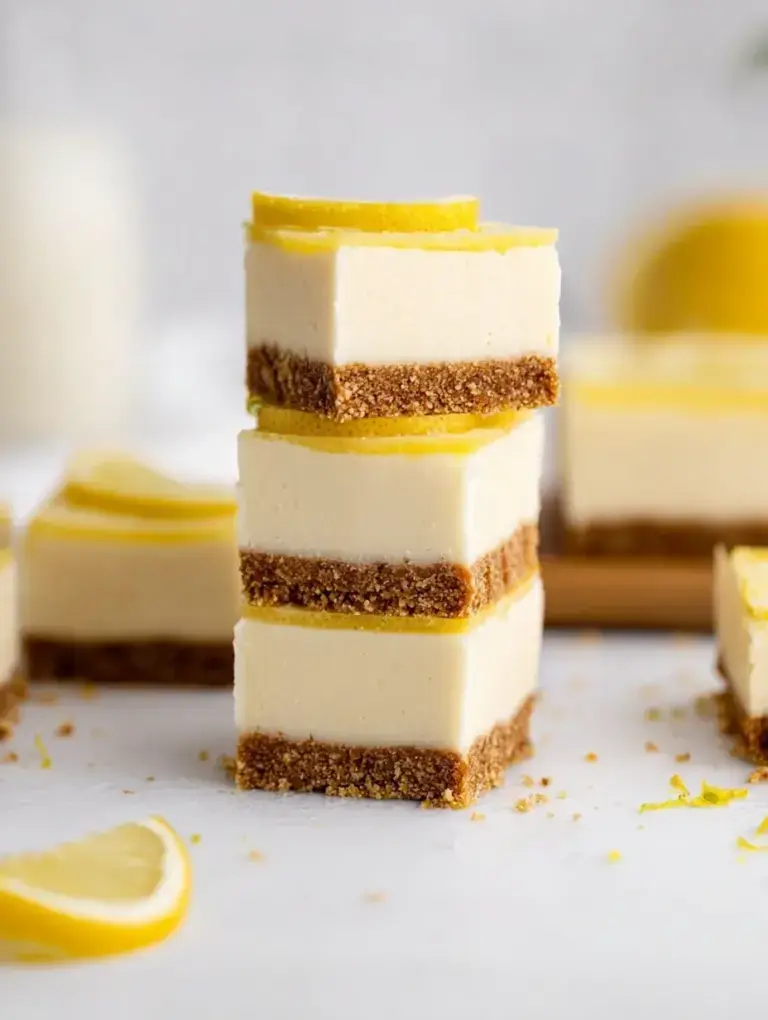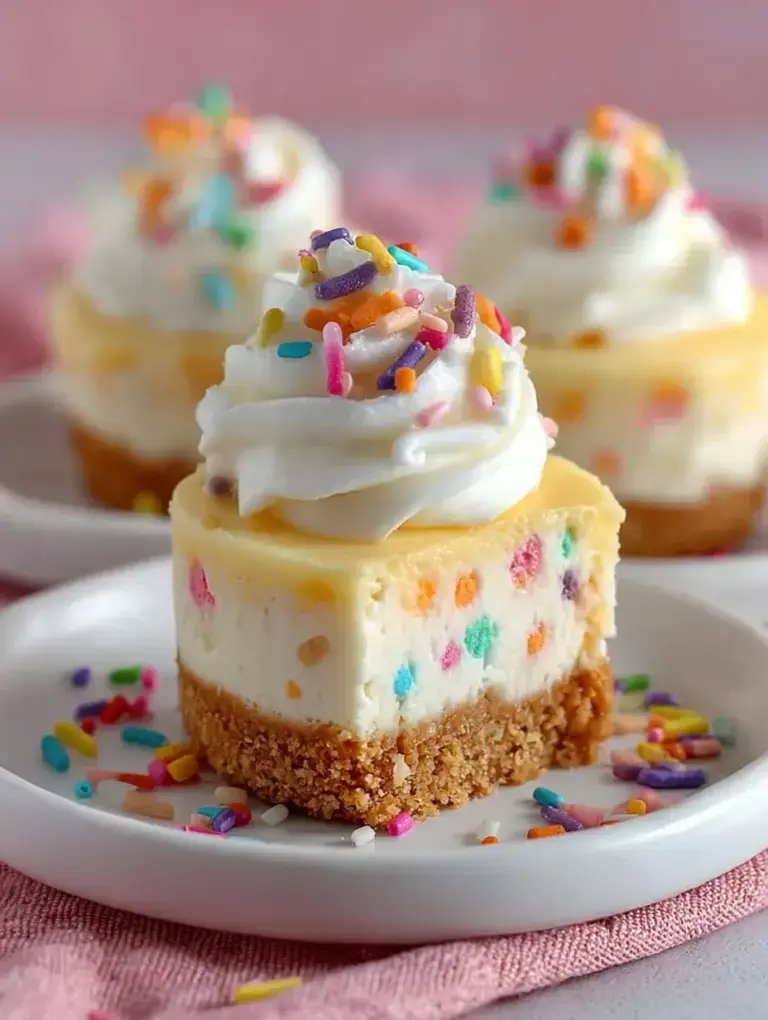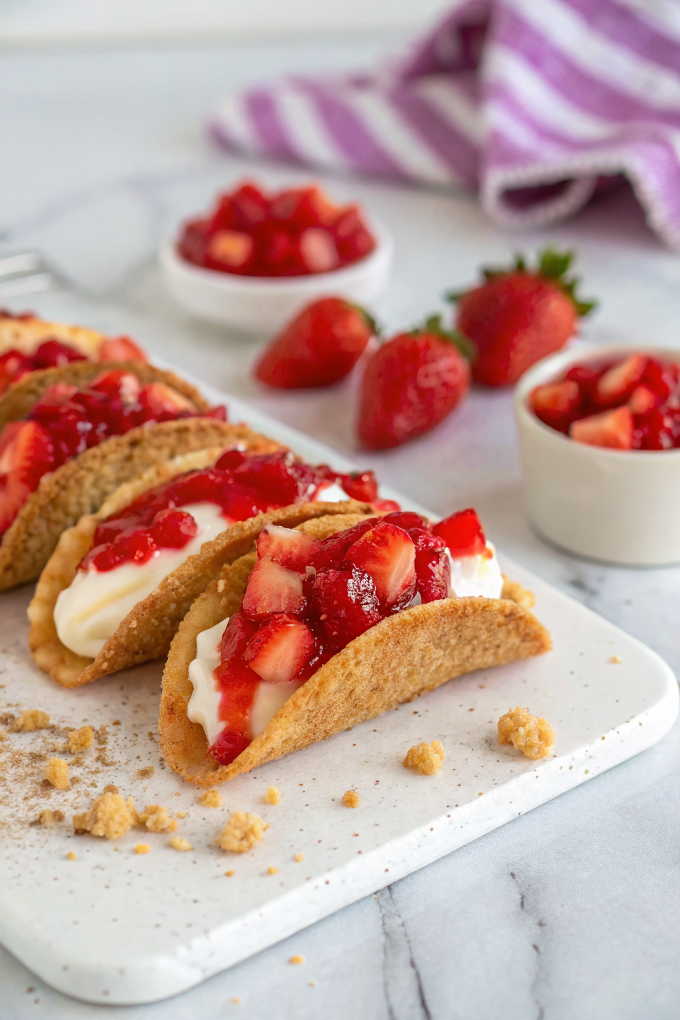
Confession time: I often start a simple weeknight dinner with grand plans and then realize I forgot dessert. The other night I needed something fast and family-friendly, so I pulled together these cheesecake tacos with things I already had on the counter. My daughter helped press crumbs on the shells and then decorated them her way while I filled them, and somehow a rushed ending turned into a favorite.
Why You’ll Love This Delicious Cheesecake Tacos Recipe
I made these on a weeknight when there was little time to fuss but plenty of hungry faces at the table. The method turns ordinary tortillas and a few pantry items into crisp little shells you can fill in no time.
Because it uses a few simple store-bought staples and a quick filling, you can have a last-minute dessert that still feels special. These are great for family dessert nights, holiday add-ons, or when you need a sweet finish that doesn’t require a lot of hands-on time.
What Makes this Recipe Unique
– Shortcut technique: Turning tortillas into crisp taco shells is fast and clever, so you skip a long crust step and still get a crunchy base.
– Single-bowl filling: The cream cheese and instant pudding mix make an ultra-smooth filling with minimal effort.
– Textural contrast: Buttery, crumb-coated shells meet airy, whipped filling for great mouthfeel.
– Fresh finish: Bright strawberries and glaze add a fresh, slightly shiny topping without extra baking.
– Kid-friendly assembly: Little hands can help roll crumbs, press shells, and spoon on berries for a joyful kitchen mess.
Estimated Macros & Calories
A quick estimated breakdown to guide you. (estimated per serving, without optional ingredients)
- Calories: 250
- Protein: 3 g
- Carbohydrates: 29 g
- Fat: 17 g
- Fiber: 1 g
The Most Authentic Delicious Cheesecake Tacos Recipe Recipe
This is written the way I bake at home: relaxed, practical, and with a few little tricks that keep things from getting messy. It follows the original steps but keeps things friendly for a busy kitchen.
Ingredient Notes
– Flour tortillas: These become the taco shells; warm them slightly if they crack when cutting and shaping.
– Graham cracker crumbs: They add crunch and a familiar graham flavor on the outside; press them onto the buttered surface so they stick.
– Unsalted butter: Brushing the tortillas with melted butter helps crumbs adhere and browns the shells as they bake.
– Cream cheese + pudding mix: Beating the cream cheese smooth before adding pudding mix prevents lumps and creates that cheesecake flavor without extra steps.
– Heavy whipping cream: Whipping to stiff peaks and folding gently gives an airy filling that isn’t dense.
– Strawberries & strawberry glaze: Tossing the berries in glaze makes a glossy, sweet topping that’s easy to spoon over the filling.
Instructions
Step 1: Preheat and prep
Preheat your oven and place a rack in the middle so shells bake evenly. Have an upside-down muffin tin ready to shape the tortillas while they bake.
Step 2: Make the crumb mixture
Combine graham cracker crumbs, granulated sugar, and a pinch of kosher salt in a shallow bowl. Set this mixture near your work area for easy dipping.
Step 3: Cut the tortillas
Use a round cutter to cut circles from each tortilla so you can make several shells. Save scraps and re-roll them to make the most of the tortillas.
Step 4: Dock, butter, and coat
Lightly prick one side of each circle with a fork to prevent air pockets while baking. Brush that same side with melted butter, then press it into the graham mixture so both sides pick up crumbs.
Step 5: Shape the shells
Fold each coated circle and pinch the seam gently into a taco shape. Drape them across the inverted muffin tin cups so they keep their shape, leaving space between shells.
Step 6: Bake until set
Bake the shells until the edges turn golden and they feel firm to the touch, watching closely near the end so they don’t over-brown. Let them sit in the tin briefly so they hold their shape.
Step 7: Cool and chill for crispness
Transfer the shells to a wire rack to cool completely before filling; for extra crispness, chill the cooled shells briefly in the refrigerator. Cooling fully helps them keep their taco shape when filled.
Step 8: Prepare the cheesecake filling base
Beat the cream cheese until smooth and free of lumps, then stir in the cheesecake instant pudding mix, powdered sugar, vanilla, and fresh lemon zest until combined. This creates a rich, flavored base that carries the filling.
Step 9: Whip and fold
Whip the heavy cream in a chilled bowl to stiff peaks. Fold a small portion into the cream cheese mixture to loosen it, then gently fold in the remainder until the filling is light and uniform.
Step 10: Fill the shells
Spoon the filling into a piping bag or a zip-top bag with the corner snipped, and pipe into each cooled shell using short back-and-forth swirls so every taco is evenly filled. Start at one end and work to the other for tidy results.
Step 11: Glaze the strawberries and finish
Toss the chopped strawberries with the strawberry glaze in a small bowl, then spoon or drizzle them over the filled tacos. Serve right away or refrigerate briefly for a firmer texture.
Tips and Mistakes to Avoid
– Don’t skip docking the circles; trapping air will make shells puff and lose their shape.
– Make sure cream cheese is softened before beating to avoid lumps in the filling.
– Chill the shells if they feel floppy after cooling; a short chill firms them for filling.
– Use a piping bag for neater filling; spooning can overfill and make the shells soggy.
– Keep an eye on the oven toward the end so the crumb coating doesn’t burn.
Storage Tips
Filled tacos are best served soon after assembling or refrigerated for a short time to firm up the filling. Unfilled shells can be stored cooled in the refrigerator to keep crisp until you’re ready to fill. I don’t recommend freezing the filled tacos, as the whipped filling and glazed strawberries don’t reheat or thaw well.
Variations and Substitutions
– Try swirling a little of the strawberry glaze into the cheesecake filling before folding in the whipped cream for a strawberry-marble flavor.
– If you want a citrus lift, add an extra dusting of lemon zest to the filling for more brightness.
– For a different berry finish, use the same glaze idea with other fresh berries you have on hand.
Why This Recipe Is The Real Deal
Texture is where these tacos shine: the buttery, crumb-coated shell gives a crisp snap and the filling stays airy and creamy from folding in whipped cream. I love how each bite gives a contrast my family notices; my daughter always goes straight for the corners.
I’ve made these when I needed dessert fast, and the creaminess of the filling with the glazed strawberries feels indulgent without being fussy. They’re proof that simple steps can produce a dessert that feels made with care.
The Bottom Line
Give these cheesecake tacos a try the next time a weeknight calls for something sweet but you don’t have a lot of time — they’re fun to assemble, and kids love helping. Tell me how yours turned out in the comments; I get a kick out of seeing family versions.
Billy Mackenzie
Founder of MerryDessert.com
Simple, joyful homemade desserts — sweet moments, made with love.
Delicious Cheesecake Tacos Recipe
Ingredients
Shells
- 6 9-inch flour tortillas
- 1 cup graham cracker crumbs
- 1 tablespoon granulated sugar
- 6 tablespoons unsalted butter, melted
- 1 pinch kosher salt
Cheesecake Filling
- 8 ounces cream cheese, room temperature
- 3 tablespoons cheesecake instant pudding mix
- 1/2 cup powdered sugar
- 1 teaspoon vanilla extract
- 1 teaspoon fresh lemon zest
- 1 cup heavy whipping cream, divided
Topping
- 1/2 cup fresh strawberries, chopped
- 3/4 cup strawberry glaze
Instructions
Preparation Steps
- Heat the oven to 350°F and position a rack in the center.
- In a shallow bowl combine the graham cracker crumbs, granulated sugar and a pinch of salt; set aside.
- Using a 3 3/4-inch round cutter, cut three circles from each 9-inch tortilla (6 tortillas will yield about 18 shells). Stack scraps to re-roll if needed.
- Lightly dock each tortilla circle on one side with a fork to help release air while baking. Brush the same side with melted butter, then press into the graham mixture so both sides pick up crumbs; repeat for all circles.
- Fold each coated circle in half and pinch the seam gently to form a taco shape. Arrange the folded shells across an upside-down muffin tin so they drape between cups and hold their shape (stagger them so they don’t touch).
- Bake the shells for 12–13 minutes, or until the edges are golden and the shells feel firm to the touch. Keep an eye after 10 minutes so they don’t over-brown.
- Remove the shells and let them cool in the muffin tin 8–10 minutes so they keep their shape, then transfer to a wire rack to cool completely. For extra crispness chill the cooled shells in the refrigerator 10 minutes before filling.
- While shells are cooling, make the filling: beat the cream cheese in a medium bowl with a hand mixer or sturdy spatula until smooth and free of lumps. Add the cheesecake pudding mix, powdered sugar, vanilla and lemon zest and mix until combined.
- In a separate chilled bowl whip 1 cup of heavy cream to stiff peaks. Fold about one-third of the whipped cream into the cream-cheese mixture to loosen it, then gently fold in the remaining cream until the filling is airy and uniform.
- Spoon the cheesecake filling into a piping bag fitted with a large star or round tip (or use a zip-top bag and snip a corner). Pipe the filling into each cooled shell, starting at one end and working in short back-and-forth swirls to the other end so each taco is evenly filled.
- Toss the chopped strawberries with the strawberry glaze in a small bowl. Spoon or drizzle the glazed strawberries over the filled tacos, then serve at once or refrigerate up to 1 hour for a slightly firmer texture.