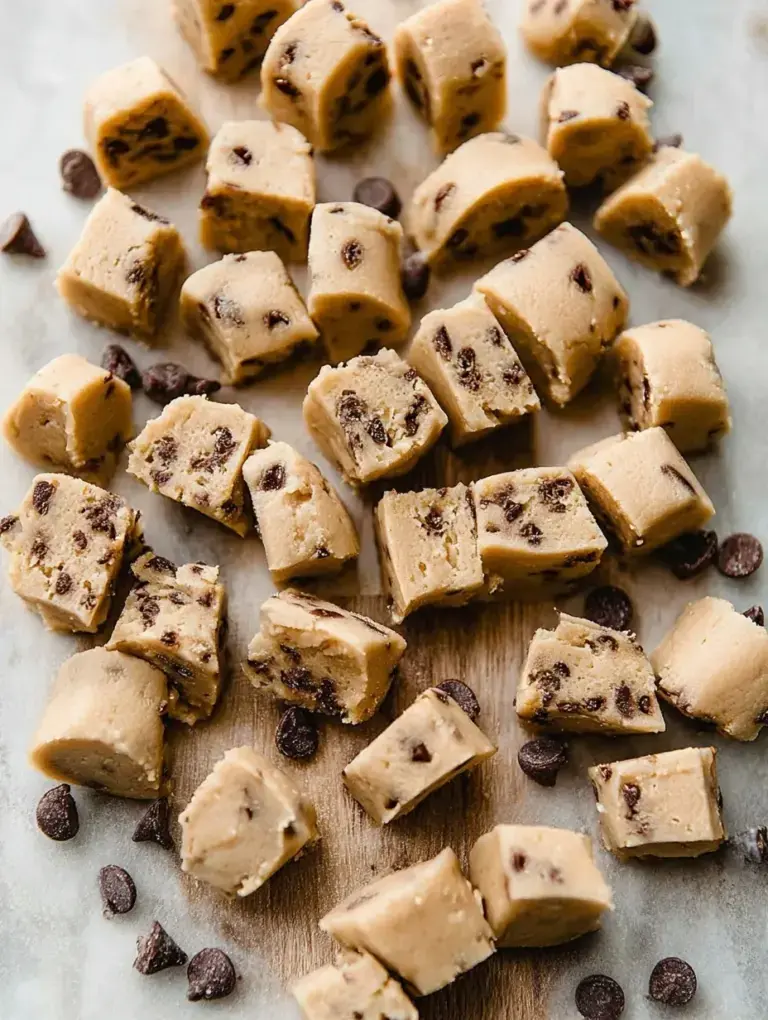
I will admit I used to buy the expensive store-bought bars because I was terrified of getting the texture wrong at home. My first homemade batch was so hard I nearly broke a tooth, but I refused to give up on my cookie dough dreams. Now, my daughter and I make these every Sunday afternoon to get us through the school week.
Why You Will Love This Vegan and Gluten-Free Cookie Dough Protein Bars
This discovery happened during a rainy Tuesday when we were stuck inside and craving something sweet but substantial. I was shocked at how the cashew butter completely transformed the oat flour into something that felt indulgent and nostalgic without any oven time.
I personally found that the secret was all in the protein powder blend, which I only figured out after my third attempt. It was a wonderful surprise to see my daughter reach for one of these instead of the candy jar after school.
What Makes This Vegan and Gluten-Free Cookie Dough Protein Bars Special
- Authentic Texture. The combination of certified gluten-free oat flour and cashew butter mimics the soft, slightly gritty feel of real raw dough.
- Plant-Based Power. We use a vegan vanilla protein blend to ensure these are satisfying enough for a busy morning or a post-workout treat.
- Natural Sweetness. Pure maple syrup provides a deep, caramel-like sweetness that avoids the metallic aftertaste of many store-bought bars.
- No-Bake Simplicity. This recipe requires zero heat, making it a safe and fun way to get children involved in the kitchen without worrying about hot pans.
The Best Vegan and Gluten-Free Cookie Dough Protein Bars Recipe
The last time I made these, the whole tray was gone before the sun went down. It is a reliable, straightforward recipe that I keep pinned to my fridge for those weeks when we need a healthy grab-and-go option.
Ingredient Notes
- Gluten-Free Oat Flour: This provides the structural base and that classic cookie dough flavor. Make sure it is certified gluten-free if you have a sensitivity.
- Vegan Vanilla Protein Powder: Use a brand you actually enjoy the taste of, as this provides a lot of the final flavor profile.
- Creamy Cashew Butter: This is my personal favorite because it has a neutral, buttery taste that does not overpower the chocolate.
- Pure Maple Syrup: This acts as our liquid gold to bind everything together while adding a natural sweetness.
- Mini Dark Chocolate Chips: Mini chips are essential here so you get a little chocolate in every single bite without the bars falling apart.
Instructions
- Line the pan. Cover an 8×4-inch loaf pan with parchment paper, leaving a bit hanging over the edges. This makes it so much easier to lift the bars out once they have set.
- Sift the dry ingredients. Whisk the oat flour, protein powder, and sea salt in a large bowl. You want a uniform, fine powder with no large clumps of protein.
- Mix in the wet ingredients. Add the cashew butter, maple syrup, and vanilla extract to the bowl. Stir with a sturdy spatula until a thick, heavy dough begins to form.
- Adjust the consistency. Add almond milk one tablespoon at a time if the dough feels too crumbly. It should feel pliable and hold its shape when you press a piece between your fingers.
- Fold in the chips. Gently stir in the mini chocolate chips by hand. Ensure they are scattered evenly so no one gets a bar without chocolate.
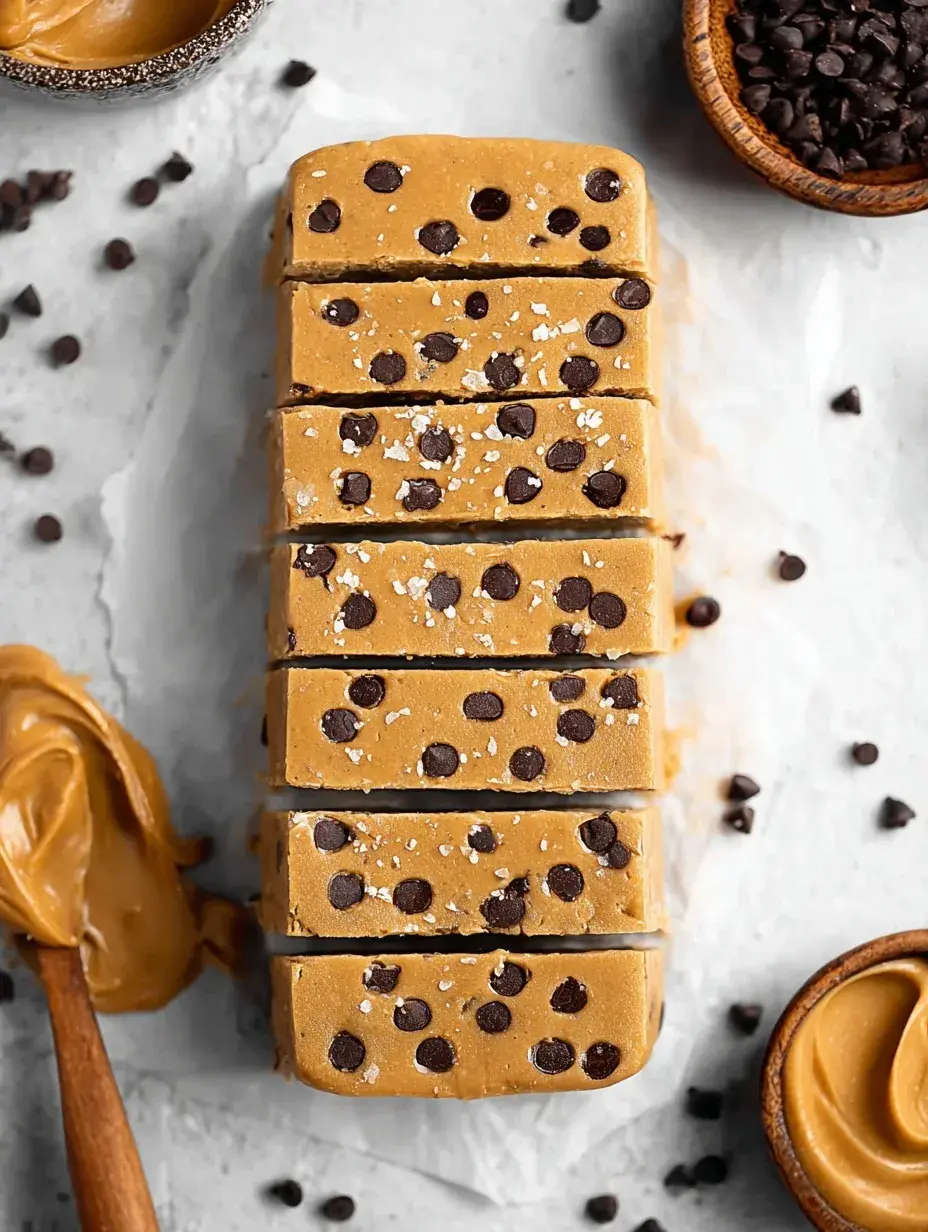
- Press and chill. Pack the dough firmly into your prepared pan and smooth the top. Let it rest in the fridge for at least 30 minutes to allow the flour to fully hydrate.
Billy’s Tips and Mistakes to Avoid
- Do not skip the chilling time because the oat flour needs that window to absorb the moisture and lose its raw taste.
- I once used a gritty protein powder and it ruined the whole batch, so always taste your powder before you start.
- If you find the dough sticking to your hands while pressing it into the pan, lightly dampen your fingers with water.
- Keep these bars in the fridge until the very moment you want to eat them to maintain that firm, fudgy bite.
- Let your kids help with the mixing since there are no raw eggs or hot surfaces to worry about.
Storage Tips
These bars keep beautifully in an airtight container in the refrigerator for up to 7 days. If you want to make a double batch, you can freeze them for up to 2 months. Simply wrap each bar individually in parchment paper so you can pull one out whenever a craving hits.
Variations and Swaps
- Swap the cashew butter for peanut butter if you prefer a classic peanut butter cup flavor profile.
- Use a chocolate protein powder and add a tablespoon of cocoa for a double chocolate brownie version.
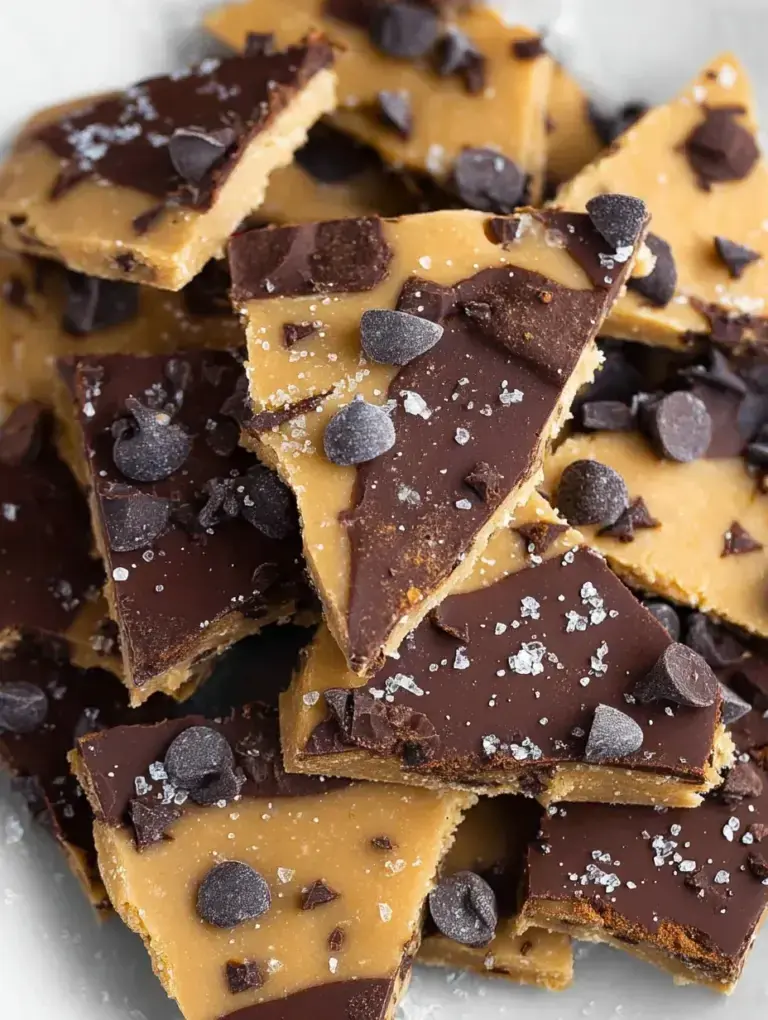
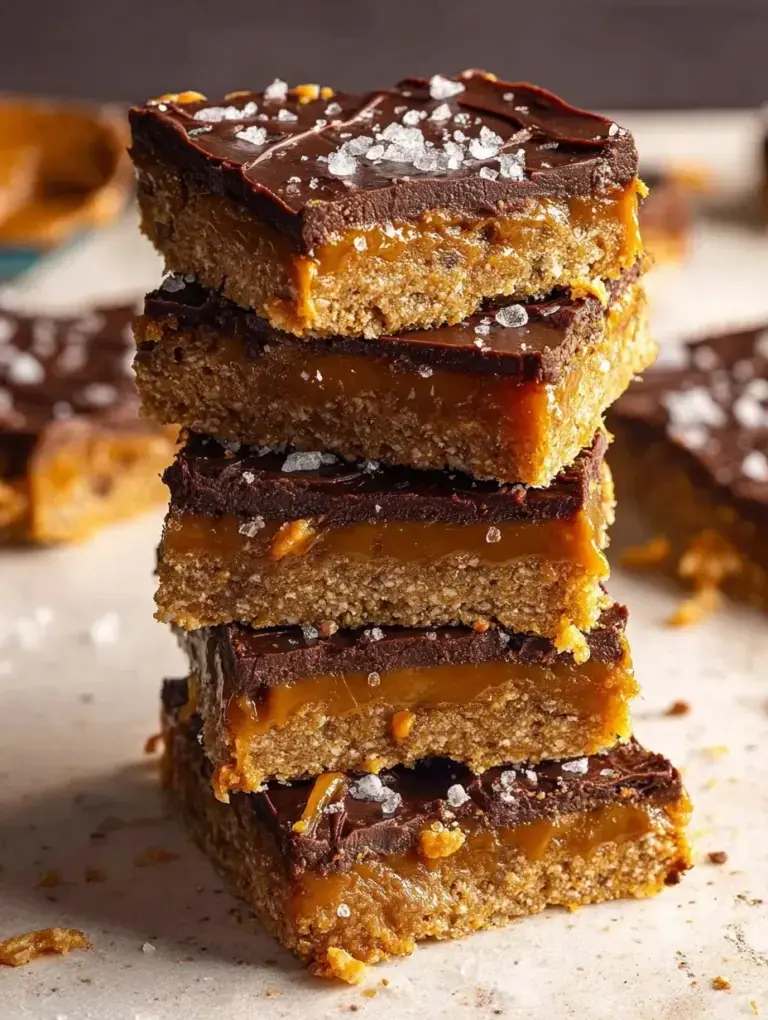
- Add a sprinkle of flaky sea salt on top before chilling for a more grown-up, salty-sweet finish.
Why This Recipe Works Every Time
The balance of fats from the nut butter and the fiber from the oat flour creates a stable structure that does not melt at room temperature. This recipe relies on the natural stickiness of the maple syrup to act as a glue, ensuring the bars stay together when sliced.
I learned the hard way that adding too much almond milk too fast makes the bars mushy. After testing this recipe five times, I found that the slow addition of liquid is what ensures that perfect, dense cookie dough crumb every single time.
Ingredients
- 1 cup Certified Gluten-Free Oat Flour
- 0.5 cup Vegan Vanilla Protein Powder (Pea or Rice blend)
- 0.25 tsp Fine Sea Salt
- 0.5 cup Creamy Natural Cashew Butter
- 0.33 cup Pure Maple Syrup
- 1 tsp Pure Vanilla Extract
- 2 tbsp Unsweetened Almond Milk
- 0.33 cup Vegan Mini Dark Chocolate Chips
Instructions
- Line an 8x4-inch loaf pan with parchment paper, leaving a slight overhang on the sides.
- In a large mixing bowl, sift together the gluten-free oat flour, vanilla protein powder, and sea salt until homogenized.
- Add the creamy cashew butter, pure maple syrup, and vanilla extract to the dry mixture.
- Agitate the mixture with a stiff spatula until a thick dough forms. If the texture remains crumbly, incorporate almond milk one tablespoon at a time until the dough is cohesive and pliable.
- Fold in the vegan mini chocolate chips by hand until evenly distributed throughout the dough.
- Transfer the dough into the prepared loaf pan and press firmly into a uniform layer, ensuring the edges are packed tightly.
- Refrigerate the pan for a minimum of 30 minutes to allow the fibers in the oat flour to hydrate and the bars to reach peak structural integrity.
- Lift the parchment paper to remove the slab and slice into 8 equal rectangular bars. Store in an airtight container under refrigeration.
Frequently Asked Questions
Can I eat raw oat flour?
Yes, oat flour is generally safe to eat raw in no-bake recipes. If you have concerns, you can heat-treat the flour in the oven at 350 degrees for 5 minutes before using it.
What is the best protein powder for these bars?
I recommend a plant-based pea or rice protein blend because it absorbs moisture well. Whey protein can sometimes make the bars feel a bit rubbery or sticky.
Can I make these without a loaf pan?
Absolutely, you can roll the dough into small bite-sized balls instead. This is actually my daughter’s favorite way to eat them during our movie nights.
The Bottom Line
Whether you need a quick breakfast or a sweet treat after dinner, these bars are such a joy to have in the fridge. They remind me that we can still enjoy our favorite childhood flavors in a way that feels good for our bodies. Sweet moments don’t have to be complicated. Let’s make something wonderful together.
I hope these bars bring a little bit of easy joy to your busy week. We are currently listening to holiday music while we snack on ours. Billy
Billy