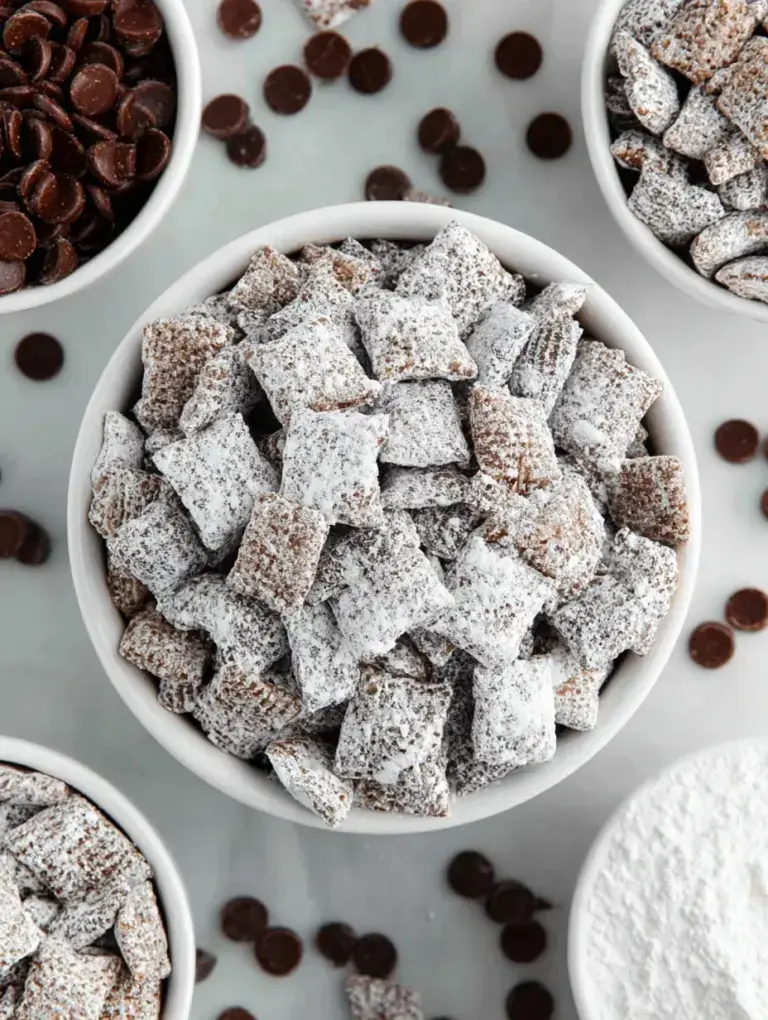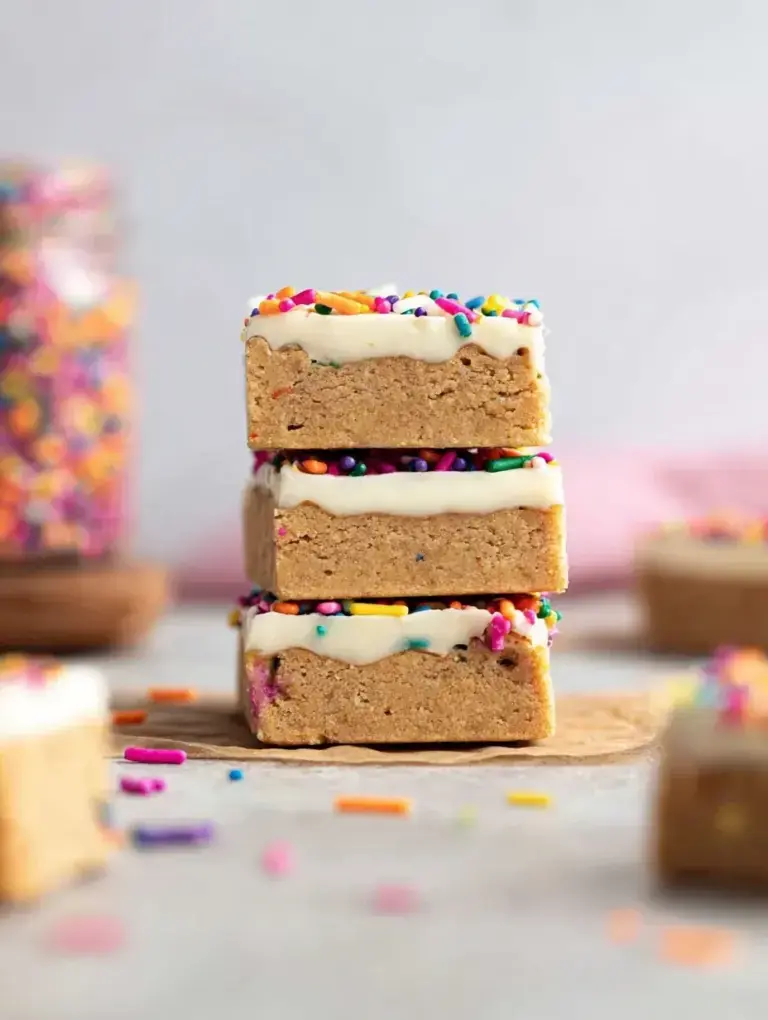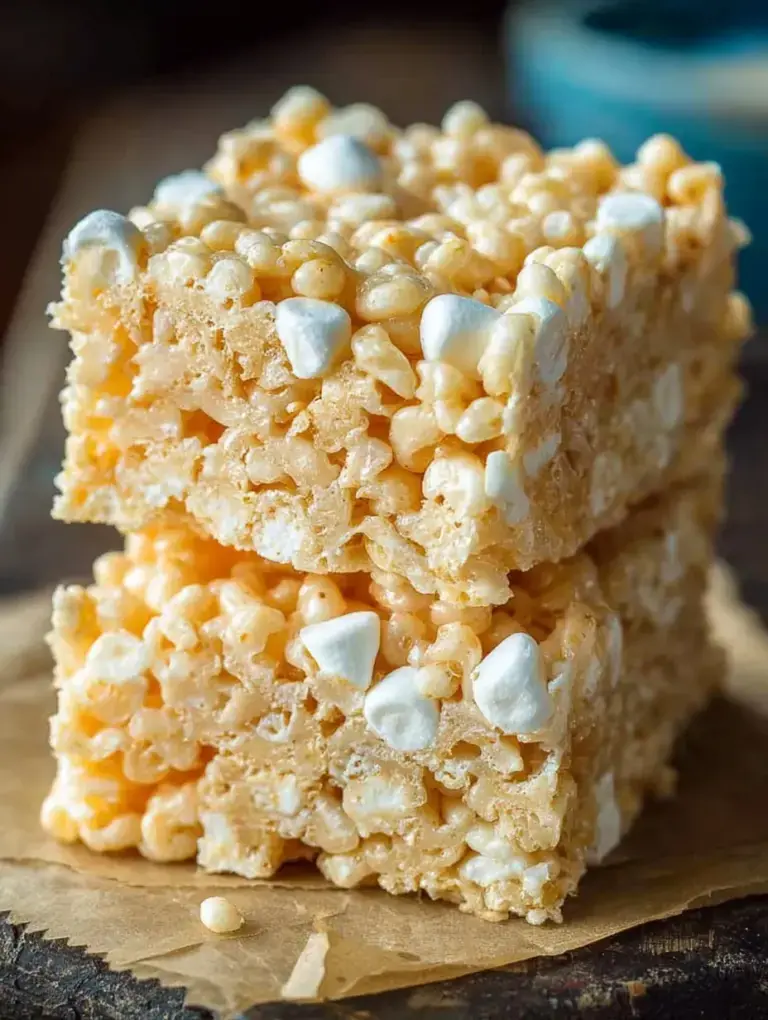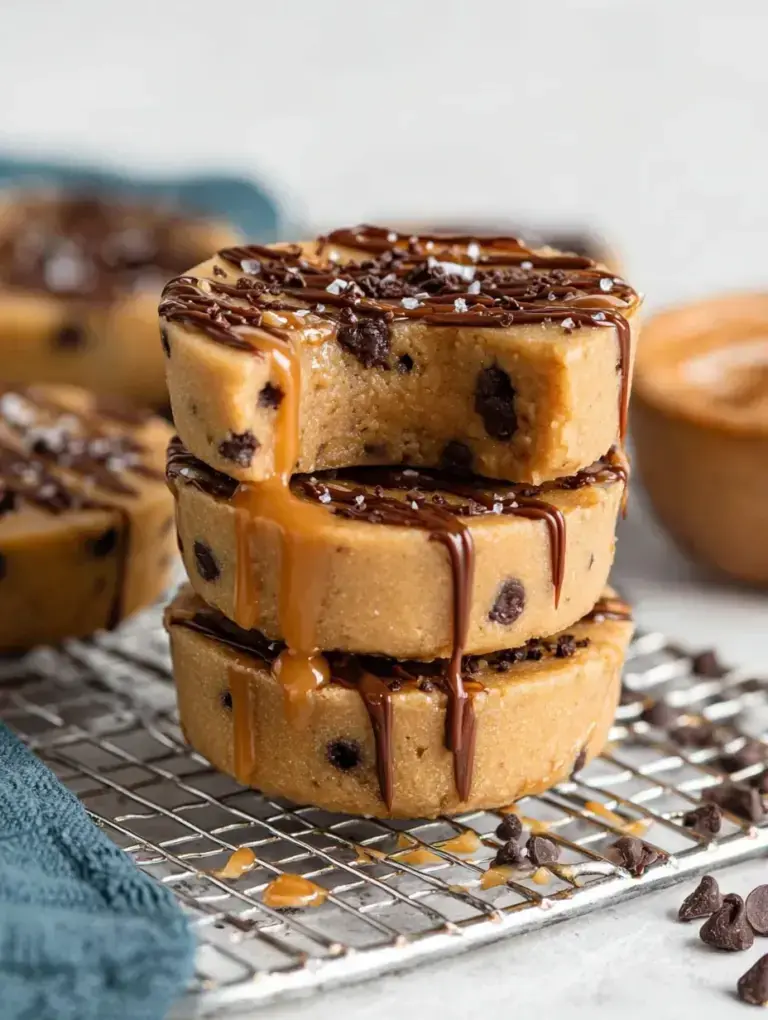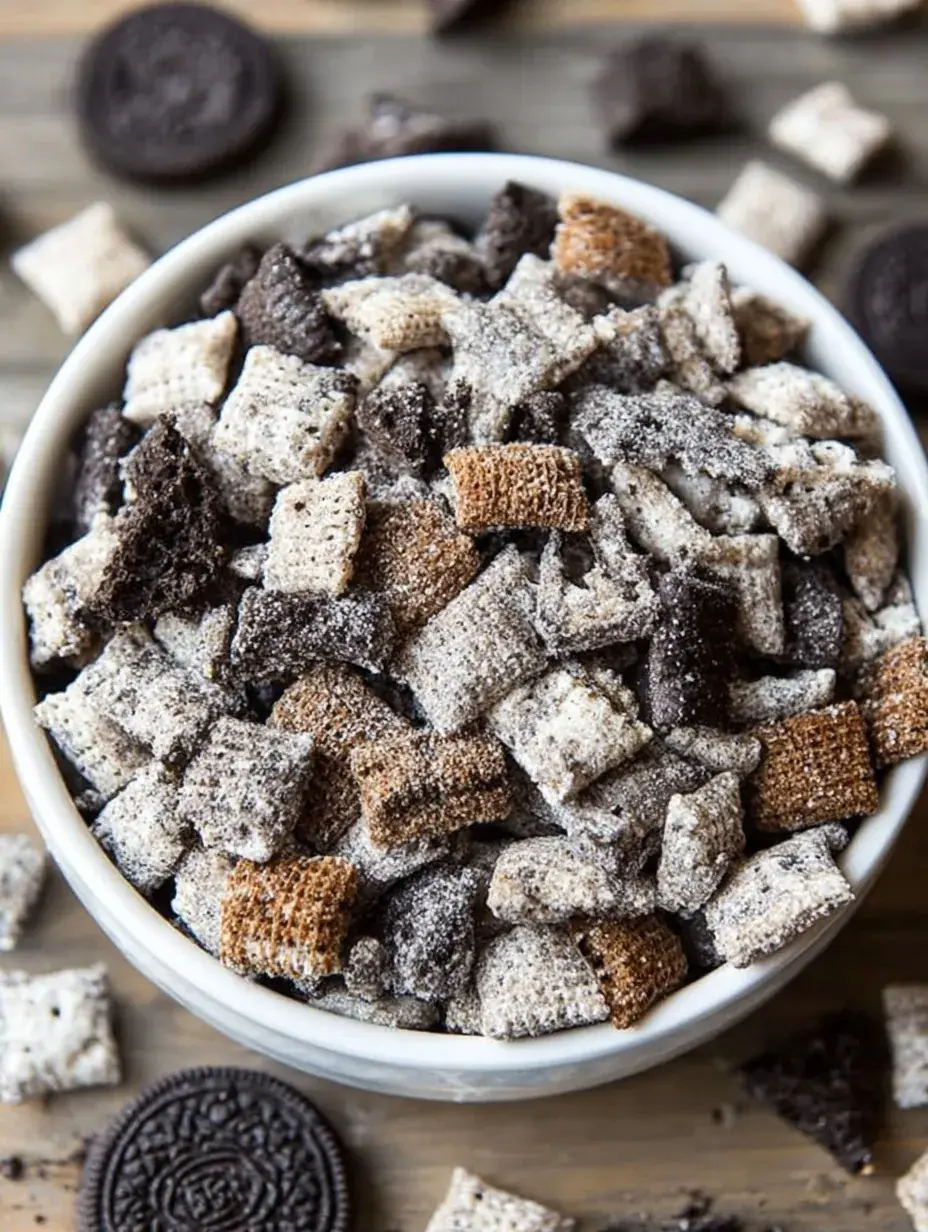
It looks like a gourmet snack shop treat that took all morning to prep. Honestly, making these Cookies and Cream Muddy Buddies took me less than twenty minutes between my daughter’s school pick-up and starting dinner. It is the kind of simple magic I love having in my kitchen during the busy holiday season.
Why You Will Love This Cookies and Cream Muddy Buddies
I remember the first time I set a bowl of these Cookies and Cream Muddy Buddies out during our annual neighborhood movie night. Everyone kept asking which bakery I bought them from because the coating looked so perfectly speckled and professional. It was my little secret that they were actually made in a plastic bag on my counter.
My daughter and I have made this so many times that we can practically do it with our eyes closed now. One year, we even forgot to buy the extra sugar, but I learned that the cookie crumbs do most of the heavy lifting anyway. It is a forgiving and joyful recipe that never fails to put a smile on everyone’s face.
What Makes This Cookies and Cream Muddy Buddies Special
There is something so satisfying about the way the silky white chocolate sets against the dark cookie dust. It creates a texture that is both creamy and incredibly crunchy at the same time.
- High Texture: The crisp cereal squares paired with the fine grit of the cookie crumbs is truly addictive.
- White Chocolate Base: Using real butter with the chips makes the coating much silkier than just melting chocolate alone.
- Kid Participation: It is the perfect job for little hands to shake the bag and see the magic happen.
It really is the ultimate snack for a cozy Friday night in with the family.
The Best Cookies and Cream Muddy Buddies Recipe
I love how this version trades the traditional peanut butter for a creamy, milky flavor that feels a bit more like a treat from a candy store. It is our favorite way to use up that half-pack of sandwich cookies sitting in the pantry.
Ingredient Notes
- Corn Cereal: This is the base that gives you that iconic crunch without being too heavy or overwhelming.
- White Chocolate Chips: I prefer a high-quality brand here because they melt much smoother and don’t seize up as easily.
- Butter: Adding a little unsalted butter helps the chocolate stay soft enough to coat every single nook and cranny of the cereal.
- Sandwich Cookies: You want these pulverized into a fine sand so they stick to the wet chocolate properly.
- Confectioners’ Sugar: This adds that final touch of sweetness and helps keep the individual pieces from sticking together.
Instructions
- Measure Cereal. Pour your cereal into a large bowl so you have plenty of room to toss it later. Make sure the bowl is heat-proof just in case the chocolate is still quite warm when you pour it.
- Crush Cookies. Pulse the sandwich cookies in a food processor until they look like dark sand. If you do not have a processor, a rolling pin and a sealed bag work just as well for a bit of stress relief.
- Melt Chocolate. Combine the chips and butter in the microwave, heating in short bursts to avoid burning. Stir it until it is completely glossy and there are no lumps left.
- Coat Cereal. Drizzle the warm mixture over your cereal and fold it gently with a silicone spatula. You want to see every square glistening with white chocolate before moving to the next step.
- Shake Bag. Toss the sugar and cookie crumbs into a large bag, then add your coated cereal. Shake it vigorously until you can no longer see the plain white chocolate through the dark cookie coating.
- Set Mixture. Spread the mix onto a tray lined with parchment paper to let it firm up. It usually takes about fifteen minutes before it is ready to be stored or devoured.
Billy’s Tips and Mistakes to Avoid
- Do not overheat the white chocolate or it will become grainy and impossible to spread. I learned the hard way that 30-second intervals are the safest way to go.
- Make sure the cookies are crushed very finely so they act like a powder rather than heavy chunks that fall off.
- If you skip the butter, the chocolate might set too quickly before you can get the cereal into the bag.
- Store these in an airtight container immediately after they set to keep the cereal from getting stale.
- Let your kids help with the shaking part because it is the most fun and very hard to mess up.
Storage Tips
You can keep these in a sealed container at room temperature for up to 5 days. If your kitchen is particularly warm, they stay even crispier in the fridge for about a week. You can also freeze them in a freezer bag for up to 3 months, which makes for a great cold snack.
Variations and Swaps
- Add a handful of mini chocolate chips at the very end for a triple chocolate version.
- Use gluten-free sandwich cookies and certified gluten-free cereal to make this safe for everyone at the party.
- Sprinkle in some festive red and green sprinkles while the chocolate is wet to match the Christmas season.
Why This Recipe Works Every Time
The balance of the salty cereal squares and the sweet, milky white chocolate is what keeps people reaching back into the bowl. It is a simple technique that relies on the contrast between the smooth coating and the gritty cookie crumbs.
After testing this recipe a few times, I realized that the ratio of cookie crumbs to sugar is vital. Too much sugar hides the chocolate flavor, so I settled on this blend to make sure the cookies and cream taste really shines through every bite.
Ingredients
- 9 cups corn cereal squares
- 1.5 cups white chocolate chips
- 0.25 cup unsalted butter
- 1.5 cups chocolate sandwich cookies, finely crushed
- 0.5 cup confectioners ' sugar
Instructions
- Measure the corn cereal squares into a large heat-proof mixing bowl.
- Place the chocolate sandwich cookies in a food processor and pulse until they reach a fine crumb consistency.
- In a medium microwave-safe bowl, combine the white chocolate chips and butter.
- Microwave the white chocolate mixture in 30-second intervals, stirring between each, until completely smooth.
- Pour the melted white chocolate over the cereal and use a silicone spatula to gently fold until every cereal piece is evenly coated.
- In a large gallon-sized resealable plastic bag, combine the crushed cookies and the confectioners' sugar.
- Transfer the coated cereal into the bag, seal tightly, and shake vigorously until the cereal is uniformly coated in the cookie-sugar mixture.
- Spread the mixture out in a single layer on a parchment-lined baking sheet to set for approximately 15 minutes.
Frequently Asked Questions
Can I use white candy melts instead of chocolate chips?
Yes, candy melts work perfectly and often melt even easier than chips. The flavor is slightly more vanilla-forward, but they provide a great, sturdy coating for the cereal.
Why is my muddy buddy mix clumping together?
This usually happens if the cereal is too wet when you add it to the bag or if you do not shake it enough. Spreading it out on the tray to cool in a single layer helps separate the pieces.
Can I make this without a food processor?
Absolutely, just put the cookies in a heavy-duty bag and crush them with a pan or rolling pin. Just make sure you get them as fine as possible so they stick to the chocolate.
The Bottom Line
These Cookies and Cream Muddy Buddies are a guaranteed hit whether you are hosting a party or just want a special treat for the family. They prove that you don’t need a lot of time to create something that feels truly celebratory. Sweet moments don’t have to be complicated. Let’s make something wonderful together.
I hope your kitchen smells like sweet cream and cookies today. Happy snacking! Billy
Billy