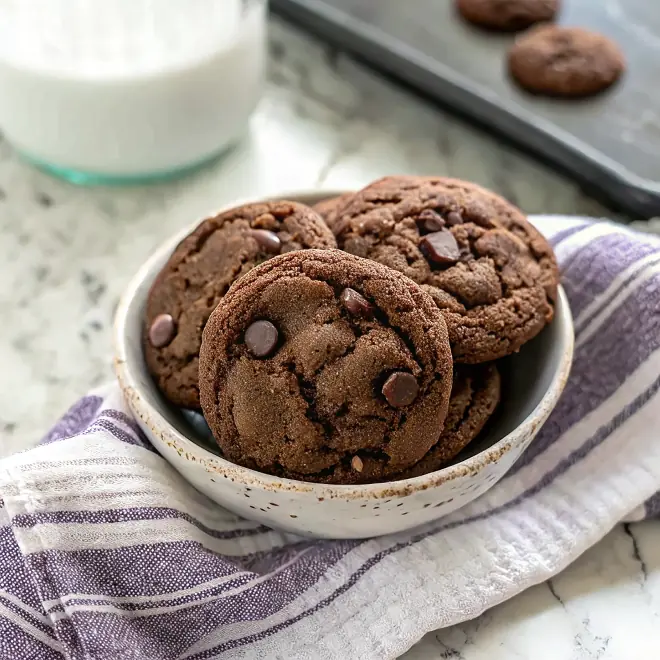
Have you ever noticed how a simple cookie can make the whole house feel like spring has finally arrived? My daughter and I spent this morning clearing off the counter to make room for all our pastel icing bowls while listening to the birds outside. It is our favorite way to celebrate the sunshine coming back after a long winter.
Why You Will Love This Easter Sugar Cookies
Easter baking always feels like a fresh start in my kitchen and these cookies are the heart of our celebration. There is something so special about seeing a tray of bright eggs and bunnies sitting on the counter while the flowers start to bloom in the garden. I have made these every year since my daughter was tiny and they never fail to bring a smile to everyone’s face.
I personally find that having a reliable recipe for the holidays takes all the stress out of hosting. I spent a few years testing different flour ratios until I found the version that holds its shape perfectly every single time. It is a relief to know the bunnies will actually look like bunnies when they come out of the oven.
What Makes This Easter Sugar Cookies Special
- Reliable Shape: The dough is designed to stay exactly where you cut it so your intricate bunny ears and flower petals do not spread.
- Tender Texture: We use just enough baking powder to keep things soft without making the cookies puff up too much.
- Simple Ingredients: You likely have everything in your pantry right now which makes this a great project for a quiet Sunday afternoon.
- Versatile Icing: This royal icing is sturdy enough for stacking but soft enough that it remains sweet and melt-in-your-mouth.
The Best Easter Sugar Cookies Recipe
The last time I made these was for a neighborhood tea party and they disappeared faster than I could plate them. They have that classic buttery taste that reminds me of the cookies my grandmother used to keep in her ceramic jar.
Ingredient Notes
- All-Purpose Flour: This provides the essential structure needed for rolling out shapes without the dough tearing.
- Unsalted Butter: I always use unsalted so I can control the saltiness of the dough myself for a cleaner flavor.
- Meringue Powder: This is the secret to icing that sets firm without using raw egg whites.
- Vanilla Extract: Use the good stuff here because the flavor really shines through in a simple sugar cookie recipe.
- Milk: A tiny splash helps the dough come together smoothly without making it too sticky to handle.
Instructions
- Whisk Dry Ingredients. Combine your flour, baking powder, and salt in a medium bowl until they are well mixed. This ensures the leavening is even so you do not get any weird lumps or air bubbles.
- Cream Butter and Sugar. Beat the softened butter and sugar together at medium speed until the mixture looks pale and fluffy. I usually let the mixer run for a good three minutes to get the texture just right.
- Incorporate Wet Ingredients. Add your egg, milk, and vanilla to the butter and keep mixing until everything is fully incorporated. The mixture should look smooth and smell wonderful at this stage.
- Form the Dough. Slowly pour in the dry ingredients while the mixer is on low speed until a cohesive dough forms. Stop as soon as it clumps together so you do not overwork the flour.
- Chill the Dough. Divide the dough in half and wrap it tightly in plastic before letting it rest in the fridge for at least an hour. I have learned the hard way that skipping this step leads to messy dough that is impossible to cut.
- Roll and Bake. Roll the chilled dough on a floured surface and cut into festive shapes before baking at 375 degrees. The edges should feel set but the tops must remain pale for the best soft texture.
Billy’s Tips and Mistakes to Avoid
- If the dough gets too soft while you are cutting shapes, just pop it back in the freezer for five minutes to firm up.
- I always use gel food coloring for the icing because it gives vibrant colors without watering down the consistency.
- Do not wait for the cookies to brown in the oven or they will be too hard once they cool down.
- You can make the dough up to two days in advance and keep it in the fridge until you are ready to bake.
- Let the kids help with the sprinkles while the icing is still wet to keep them involved in the holiday fun.
Storage Tips
These treats stay fresh in an airtight container at room temperature for up to 4 days. If you need to stack them, make sure the icing is completely dry or use parchment paper between the layers to prevent sticking. You can also freeze the undecorated baked cookies for up to 30 days if you want to get a head start on your holiday prep.
Variations and Swaps
- Add a teaspoon of fresh lemon zest to the dough for a bright and citrusy spring flavor that pairs well with sweet icing.
- Use a gluten free 1-to-1 baking flour if you need a version for friends with dietary restrictions.
- Dip half the cookie in melted white chocolate and top with pastel sprinkles for a quicker decorating option when you are in a rush.
Why This Recipe Works Every Time
The secret to this recipe is the balance between the chilling time and the oven temperature. By starting with cold dough and a hot oven, the edges set quickly which prevents the butter from melting too fast and losing the shape. I have tested this dozens of times and it is the most reliable way to get those clean lines on your bunny ears.
The first time I made these, I used too much baking powder and all my bunnies looked like little clouds. I adjusted the recipe to use just a tiny bit so the cookies stay flat and perfect for icing. It makes the decorating process so much easier when you have a smooth and level surface to work on.

Ingredients
- 3 cups all -purpose flour
- 3/4 teaspoon baking powder
- 1/4 teaspoon sal t
- 1 cup unsalted butter, softened
- 1 cup granulated sugar
- 1 large eg g
- 1 tablespoon mil k
- 2 teaspoons vanilla extract
- 4 cups confectioners ' sugar
- 3 tablespoons meringue powder
- 6 tablespoons warm water
- Food coloring gels (pastel colors)
Instructions
- Whisk together flour, baking powder, and salt in a medium mixing bowl.
- In a stand mixer fitted with a paddle attachment, cream the softened butter and granulated sugar at medium speed until light and aerated.
- Add the egg, milk, and vanilla extract to the butter mixture and beat until fully incorporated.
- Reduce mixer speed to low and gradually add the dry ingredients until a cohesive dough forms.
- Divide the dough into two equal portions, wrap in plastic film, and refrigerate for at least 60 minutes.
- Preheat oven to 375°F (190°C) and line baking sheets with parchment paper.
- Roll out chilled dough on a lightly floured surface to a consistent 1/4-inch thickness.
- Cut into Easter shapes using egg, bunny, or flower cutters and transfer to prepared baking sheets.
- Bake for 7 to 9 minutes until the edges are just set but not browned.
- Cool cookies completely on a wire rack before decorating.
- Whisk confectioners' sugar, meringue powder, and water for 5 minutes until stiff peaks form to create royal icing.
- Tint icing with food coloring and decorate the cooled cookies.
Frequently Asked Questions
How do I keep my sugar cookies from spreading?
The best trick is to chill the cut shapes on the baking sheet for ten minutes before they go into the oven. This ensures the butter is cold and the structure sets before the cookies have a chance to melt outward.
Can I use liquid food coloring for the icing?
I really recommend using gel colors because liquid can change the consistency of your royal icing and make it too runny. Gel gives you those beautiful pastel Easter shades without affecting how the icing sets.
How long does royal icing take to dry?
It usually takes about four to six hours to set completely firm at room temperature. I often let mine sit on the counter overnight just to be absolutely safe before I try to stack them in a jar.
The Bottom Line
These cookies are a little piece of holiday joy that you can share with your neighbors or keep all for yourself. Baking should be about the memories you make in the kitchen and these are the perfect excuse to slow down and enjoy the season. Sweet moments don’t have to be complicated. Let’s make something wonderful together.
I hope your kitchen is filled with flour and laughter this weekend. Happy Easter baking from my family to yours. Billy
Billy