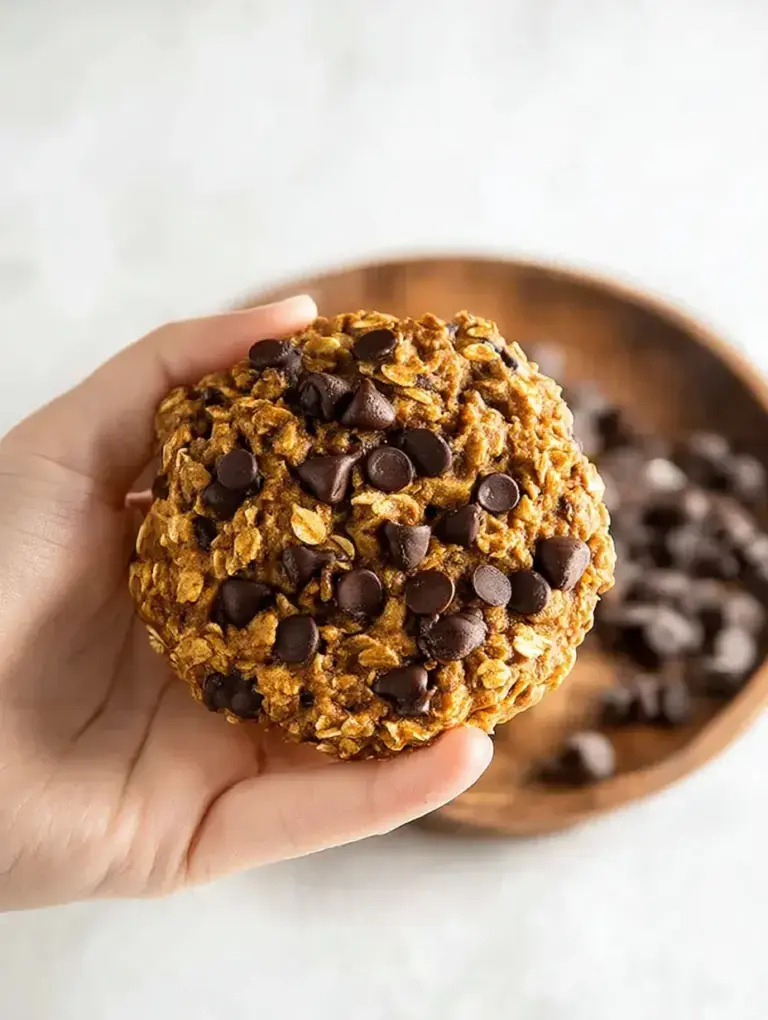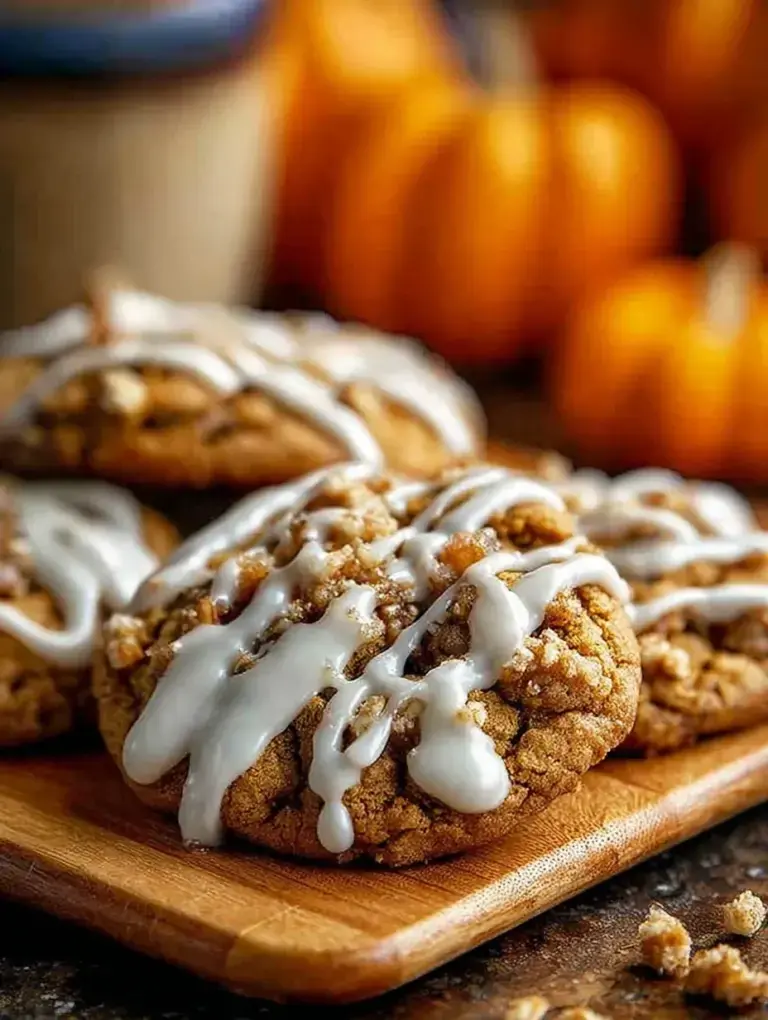
My daughter pulled her little wooden stool up to the counter the moment she saw the mixing bowl come out of the cupboard. She loves the part where we roll the dough into little balls and dip them into the sparkling sugar. It is such a quiet, happy moment we share together during our weekend baking sessions.
Why You Will Love This Chewy Sugar Cookies
I always find that these cookies are the perfect addition to the holiday season because they feel so festive without requiring hours of decorating. When the house starts to smell like warm vanilla and butter, it truly feels like the Christmas countdown has officially begun in our kitchen. They are a wonderful staple for any winter gathering or a snowy afternoon spent indoors.
Personally, I have found that while many people reach for complicated gingerbread, my family always asks for these first. I made the mistake of only making one batch last year, and they were gone before the sun went down. Now, I make sure to have plenty of dough ready for whenever friends stop by for a cup of cocoa.
What Makes This Chewy Sugar Cookies Special
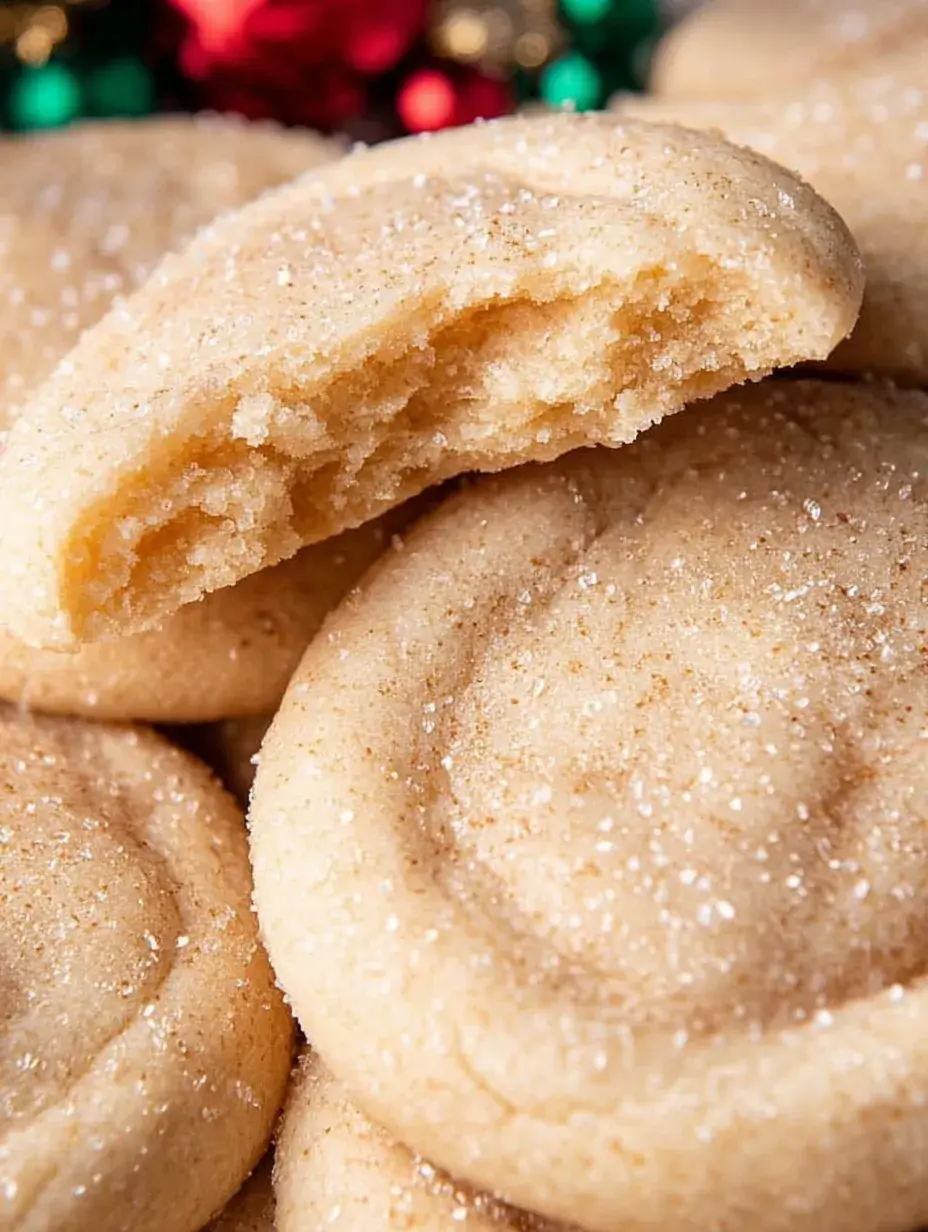
What really sets this recipe apart is the incredible texture that stays soft for days. Unlike many sugar cookies that turn into hard discs after an hour, these have a pillowy center and just a hint of a crisp edge. The secret is the specific way the butter and sugar cream together to create those beautiful crinkles on top.
I also love that this is a no-chill recipe, which means you can go from craving a treat to eating one in about thirty minutes. Honestly, I prefer this version over any fancy store-bought cookie because you can really taste the quality of the real vanilla. It is a simple, honest dessert that never fails to make people smile.
The Best Chewy Sugar Cookies Recipe
I have made these so many times that I could probably do it with my eyes closed, but I still get excited every time I see them puff up in the oven. They are the ultimate comfort food for any cookie lover.
Ingredient Notes
- Unsalted Butter: Make sure it is softened but not greasy, as this creates the airy structure the cookies need.
- Granulated Sugar: This provides the sweetness and the classic crinkled finish when you roll the dough.
- Vanilla Extract: Use a high-quality pure vanilla to get that rich, bakery-style flavor.
- Baking Soda and Powder: The combination of both ensures the cookies rise perfectly and stay tender.
- Room Temperature Egg: This helps the dough emulsify properly so the texture is consistent throughout.
Instructions
- Prep the Kitchen. Preheat your oven to 350 degrees and line your sheets with parchment paper. This prevents sticking and helps the bottoms brown evenly.
- Cream the Base. Beat the butter and sugar together for about 3 to 5 minutes until the mixture looks pale and fluffy. You will see it transform from yellow to a light cream color.
- Add Wet Ingredients. Mix in the egg and vanilla extract until the dough is smooth. Be sure to scrape down the sides of the bowl so everything is incorporated.
- Mix Dry Ingredients. Whisk the flour, baking soda, powder, and salt in a separate bowl. Gradually add this to the wet ingredients on low speed until you no longer see white streaks.
- Roll the Dough. Shape the dough into one-inch balls and roll them generously in the extra sugar. They should be completely coated and look like little sparkling snowballs.
- Bake and Cool. Bake for about 10 minutes until the edges are set but the centers still look slightly soft. Let them rest on the pan for 5 minutes to finish setting up.
Billy’s Tips and Mistakes to Avoid
- Do not overbake these cookies even if they look a little pale in the middle. They will firm up as they cool on the hot pan.
- I learned the hard way that using cold eggs can cause the butter to clump, so let your egg sit out for a bit.
- Measure your flour using the spoon-and-level method to avoid dry, crumbly cookies.
- If you want extra sparkle, use a coarse sanding sugar for the outer coating.
- Let your daughter help with the rolling; it is a great way to get kids involved without making a huge mess.
Storage Tips
You can keep these in an airtight container at room temperature for up to 4 days. If you want to save them for later, they freeze beautifully for up to 3 months. Just make sure to let them thaw completely on the counter before serving so they regain that soft bite.
Variations and Swaps
- Add half a teaspoon of almond extract for a subtle, nutty flavor that tastes like a professional bakery.
- Swap the white sugar coating for colored sprinkles to match a specific holiday or birthday theme.
- If you need a dairy-free option, a good quality vegan butter stick usually works well in this specific ratio.
Why This Recipe Works Every Time
The science behind this recipe is all about the balance of leavening agents and the creaming process. By beating the butter and sugar thoroughly, you trap air that expands in the oven, creating that signature soft crumb. It is a reliable method that yields a perfect result whether you are an expert or a beginner.
The first time I made these, I tried to rush the creaming step and the cookies came out flat. I learned that taking those extra few minutes to let the mixer run makes all the difference in the world. Now, every batch comes out looking exactly like the ones in the pictures.

Ingredients
- 1 cup unsalted butter, softened
- 1.5 cups granulated sugar
- 1 large egg , room temperature
- 2 teaspoons vanilla extract
- 2.75 cups all -purpose flour
- 1 teaspoon baking soda
- 0.5 teaspoon baking powder
- 0.5 teaspoon sal t
- 0.25 cup granulated sugar for coating
Instructions
- Preheat oven to 350°F (175°C) and line two large baking sheets with parchment paper.
- In a large mixing bowl, cream the softened butter and 1.5 cups of granulated sugar until light and fluffy, approximately 3 to 5 minutes using a stand mixer or hand mixer.
- Add the egg and vanilla extract, beating until fully incorporated.
- In a medium bowl, whisk together the flour, baking soda, baking powder, and salt.
- Gradually add the dry ingredients to the wet ingredients, mixing on low speed until just combined. Do not overmix.
- Scoop rounded tablespoons of dough and roll them into 1-inch balls using your hands.
- Roll each dough ball in the additional 0.25 cup of sugar until evenly coated.
- Place the balls on the prepared baking sheets, spaced approximately 2 inches apart to allow for spreading.
- Bake for 10 to 12 minutes, or until the edges are just set and very lightly golden; the centers should remain soft and appear slightly underbaked.
- Remove from oven and allow the cookies to cool on the baking sheet for 5 minutes before transferring to a wire rack to cool completely.
Frequently Asked Questions
Why are my sugar cookies hard instead of chewy?
This usually happens if you bake them for too long or if you added too much flour to the dough. Try taking them out when the centers still look a little underdone, as they will continue to cook on the warm baking sheet.
Can I make the dough ahead of time?
Yes, you can store the dough in the fridge for up to two days before baking. Just let it sit at room temperature for about 15 minutes so it is soft enough to roll into balls.
Do I have to use unsalted butter?
I prefer unsalted butter so I can control the salt content myself. If you only have salted butter, just reduce the added salt in the recipe to a tiny pinch.
The Bottom Line
There is something so nostalgic about a simple plate of sugar cookies sitting on the kitchen table. Whether you are baking for a holiday swap or just a quiet night in, these will always be a hit. Sweet moments don’t have to be complicated. Let’s make something wonderful together.
I hope these bring as much joy to your kitchen as they do to mine every single time we bake them. Happy whisking! Billy
Billy