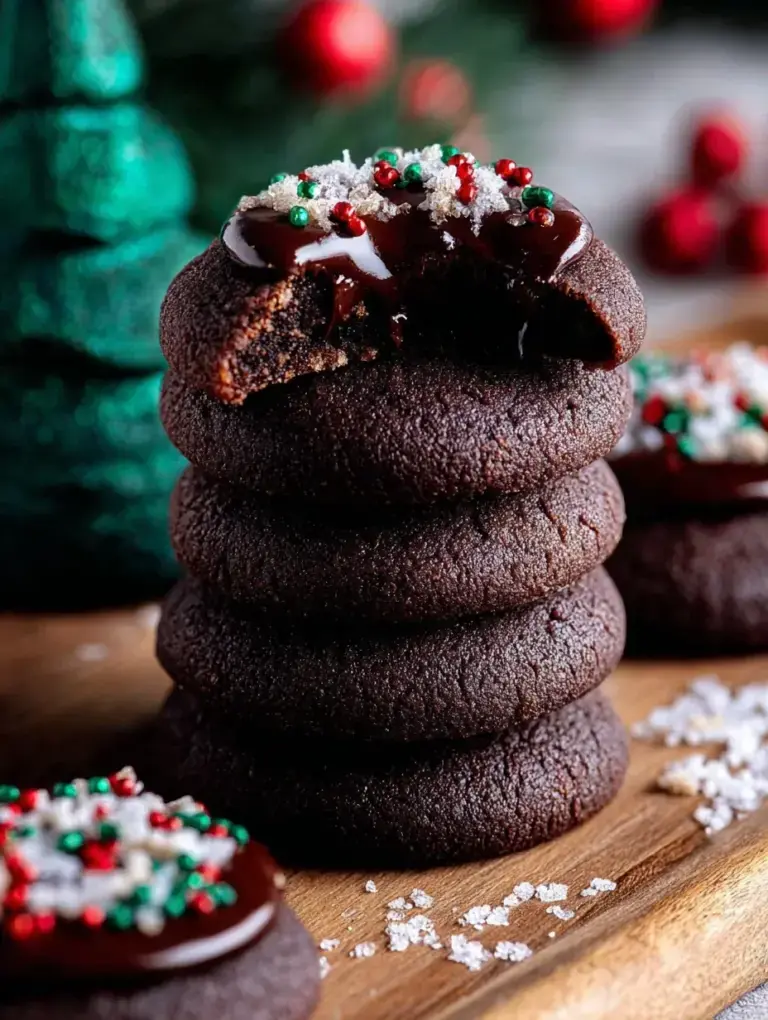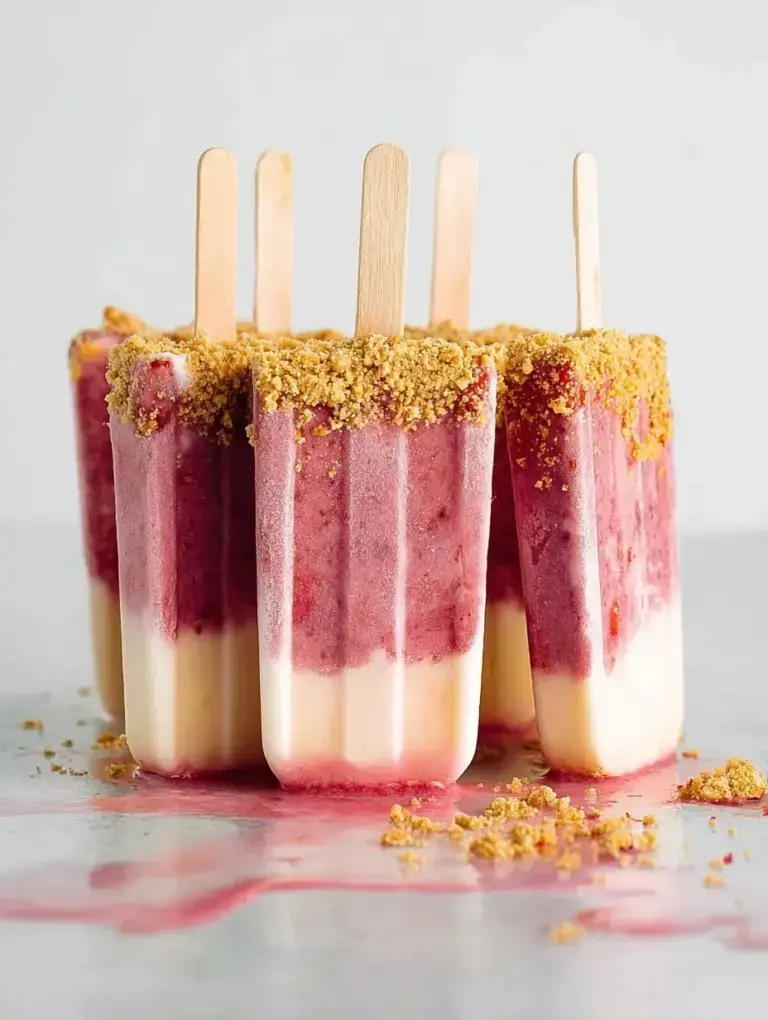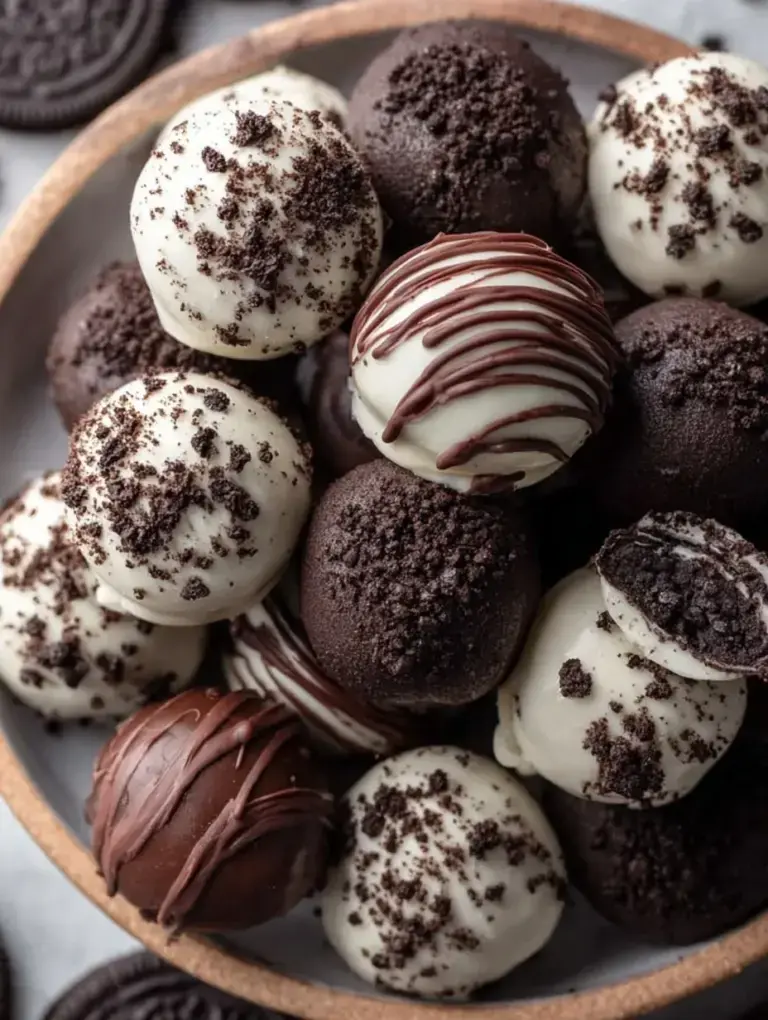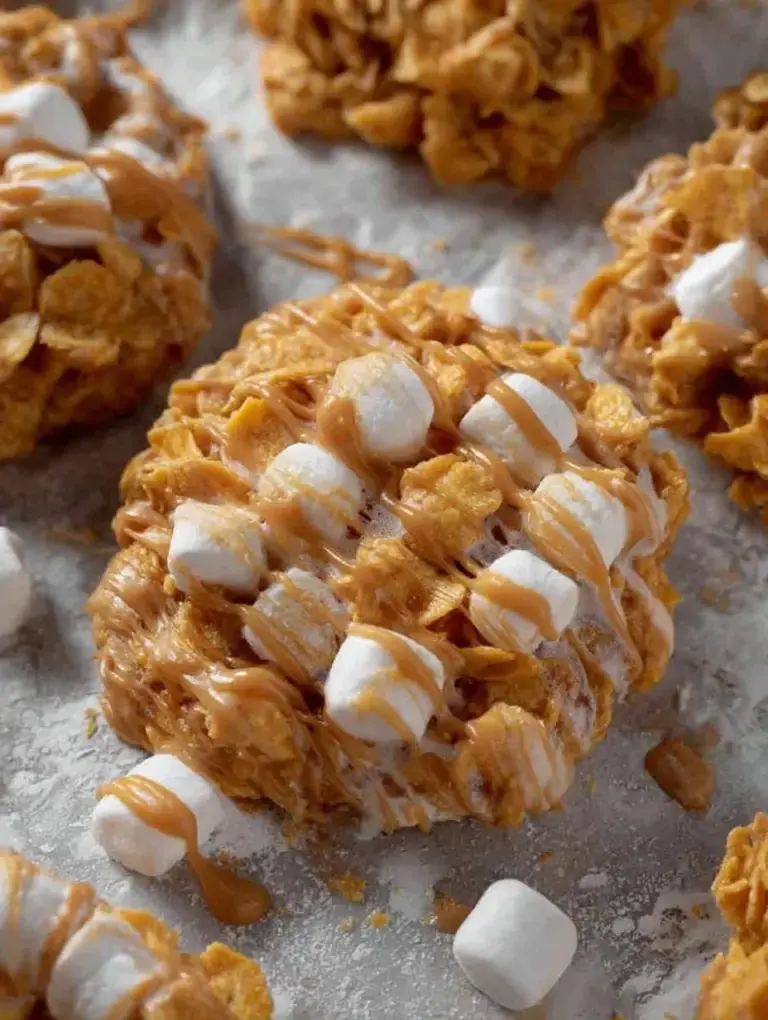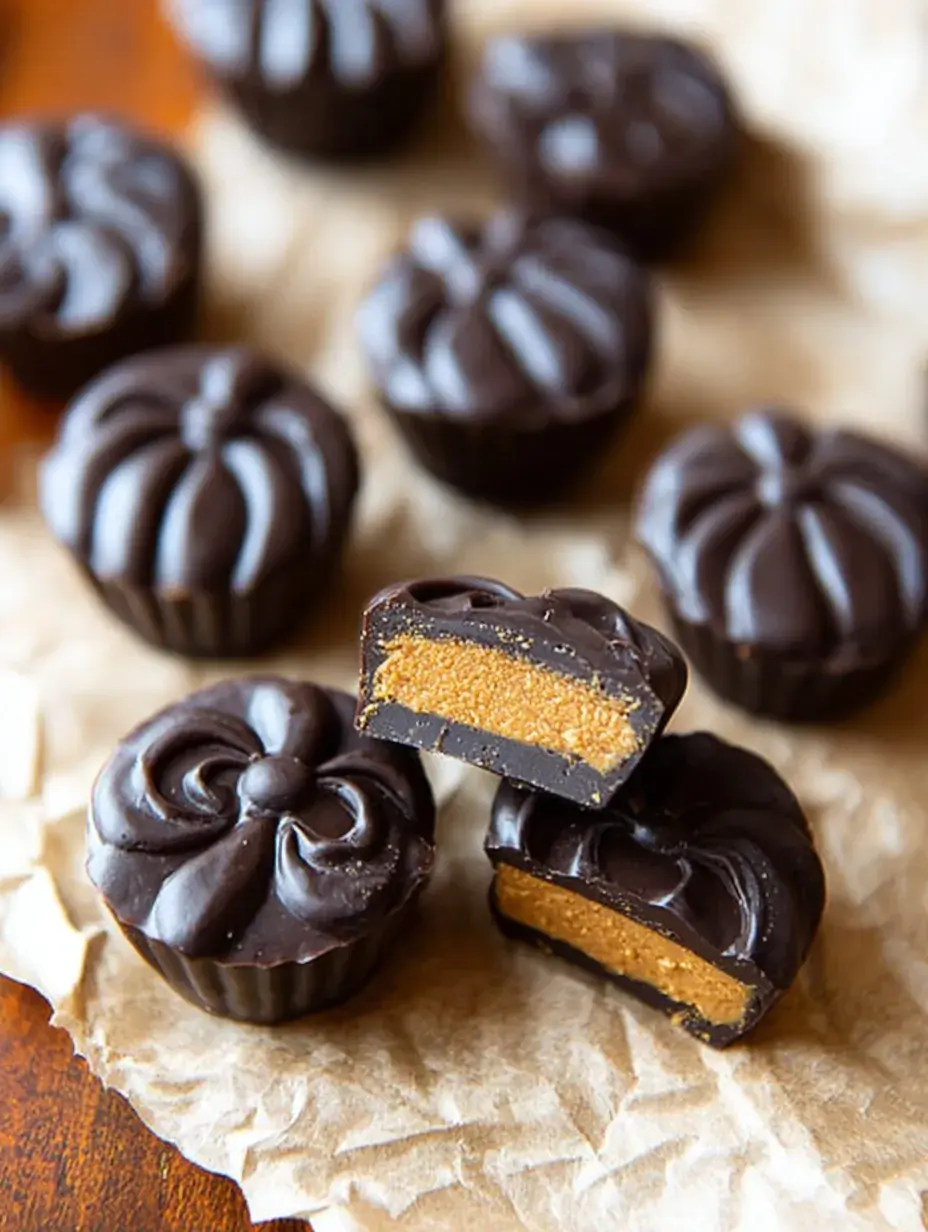
They look like they came from a professional chocolate shop. They actually take less than twenty minutes of active work in the kitchen. These Chocolate Pumpkin Butter Cups are the perfect way to satisfy an autumn craving while the rain pitter-patters against the window.
Why You Will Love This Chocolate Pumpkin Butter Cups
My daughter is currently in a phase where she wants to help with everything, and this recipe is her absolute favorite project. She loves being the one to drop the creamy pumpkin filling into the center of the chocolate cups, even if she occasionally gets more on her fingers than in the tin. We spend our quiet afternoons listening to music and assembling these together, and it has become such a special little tradition for us.
It is honestly one of those rare recipes where I do not have to worry about her being near a hot stove or sharp knives. Seeing her face light up when she bites into the center we made together makes the tiny bit of kitchen mess completely worth it for me. I have found that these are the first things to disappear whenever we have family over for a Sunday visit.
What Makes This Chocolate Pumpkin Butter Cups Special
- Spiced Pumpkin Center: The blend of pumpkin puree and pumpkin pie spice creates a warm, seasonal flavor that pairs perfectly with the dark chocolate.
- Almond Butter Base: Using almond butter instead of peanut butter adds a subtle nuttiness that does not overpower the delicate pumpkin notes.
- No-Bake Simplicity: This recipe requires zero oven time, making it a stress-free option when your kitchen is already busy with holiday cooking.
- Natural Sweetness: We use pure maple syrup to sweeten the filling, which provides a rich depth of flavor that processed sugars just cannot match.
The Best Chocolate Pumpkin Butter Cups Recipe
I remember the first time I tried making these, I tried to skip the freezer step for the base because I was in a hurry. It was a total disaster because the filling just sank right through the soft chocolate! Now, I take my time and enjoy the simple process of layering these beautiful seasonal treats with my daughter.
Ingredient Notes
- Semi-Sweet Chocolate Chips: These provide the sturdy shell and the right amount of sweetness to balance the earthy pumpkin.
- Canned Pumpkin Puree: Make sure you use 100% pure pumpkin and not the pre-spiced pie filling for the best texture.
- Creamy Almond Butter: I prefer the drippy, natural kind because it whisks into the maple syrup much more smoothly.
- Pure Maple Syrup: This is my favorite liquid sweetener here as it complements the warm spices of the autumn season.
- Pumpkin Pie Spice: This single jar gives you all the notes of cinnamon, ginger, and nutmeg without needing five different bottles.
Instructions
- Prepare Liners. Line a standard muffin tin with paper liners to ensure your cups release easily later on. This keeps the edges neat and prevents the chocolate from sticking to the metal.
- Melt Chocolate. Combine the chocolate chips and coconut oil in a microwave-safe bowl and heat in short bursts. Stir frequently until the mixture is glossy and flows like liquid silk.
- Form Base. Spoon a tablespoon of chocolate into each liner and tilt the pan to coat the bottom surface. You want a solid base that will hold up the weight of the filling once it sets.
- Chill Tin. Place the tin in your freezer for about ten minutes so the chocolate becomes completely firm. If the base is still soft when you add the pumpkin, the layers will just swirl together.
- Whisk Filling. In a separate bowl, stir the pumpkin, almond butter, syrup, and spices until the mixture is totally smooth. It should look like a thick, creamy paste that smells like a cozy fall afternoon.
- Layer and Seal. Add the pumpkin mixture to each cup and cover with the remaining melted chocolate. Use a small spoon to smooth the top so the edges are sealed and the filling is hidden.
Billy’s Tips and Mistakes to Avoid
- Do not skip the coconut oil in the chocolate; it helps the shell stay slightly softer so it does not crack when you take a bite.
- I learned that tapping the muffin tin on the counter after the final chocolate layer helps remove air bubbles.
- If your pumpkin puree seems very watery, blot it with a paper towel before mixing to keep the center thick.
- Keep these in the fridge until the very moment you want to serve them so they stay crisp and snappy.
- Let your kids help with the liners and the whisking; it is a great way to get them involved in the kitchen safely.
Storage Tips
These Chocolate Pumpkin Butter Cups stay perfectly fresh in an airtight container in the refrigerator for up to 7 days. If you want to keep them longer, you can freeze them for up to 2 months. I usually pull them out of the freezer five minutes before eating so they are just soft enough to enjoy without losing that satisfying chocolate snap.
Variations and Swaps
- Try using white chocolate for the top layer to create a beautiful two-tone look that looks stunning on a dessert platter.
- Swap the almond butter for sunflower seed butter if you need a nut-free version for school lunches or parties.
- Add a tiny pinch of flaky sea salt on top of the wet chocolate before it sets for a savory contrast that adults love.
Why This Recipe Works Every Time
The magic here is in the contrast between the cold, snappy chocolate shell and the creamy, spiced center. I have found that the ratio of almond butter to pumpkin is the key to getting that perfect butter cup feel without it being too runny. It feels indulgent but the ingredients are actually quite simple and wholesome, which makes me feel better about serving them to my family.
One thing I learned after a few failed batches is that the temperature of the pumpkin mixture matters quite a bit. If it is too warm, it melts the chocolate base, so I always make sure my almond butter is at room temperature. This small detail ensures those clean, beautiful layers every single time I make these Chocolate Pumpkin Butter Cups for a holiday gathering.
Ingredients
- 12 ounces semi -sweet chocolate chips
- 1 tablespoon coconut oil
- 1/2 cup canned pumpkin puree
- 1/4 cup creamy almond butter
- 2 tablespoons pure maple syrup
- 1 teaspoon pumpkin pie spice
- 1/2 teaspoon vanilla extract
- 1/8 teaspoon fine sea salt
Instructions
- Line a standard 12-cup muffin tin with paper liners.
- Combine chocolate chips and coconut oil in a microwave-safe bowl; heat in 30-second intervals, stirring until smooth.
- Spoon 1 tablespoon of melted chocolate into each liner, tilting to coat the bottom evenly.
- Place the tin in the freezer for 10 minutes to set the base layer.
- In a medium bowl, whisk together pumpkin puree, almond butter, maple syrup, pumpkin pie spice, vanilla, and salt until completely smooth.
- Remove the tin from the freezer and place 2 teaspoons of the pumpkin mixture into the center of each chocolate base.
- Pour the remaining melted chocolate over the pumpkin filling, smoothing the tops with a spatula to seal the edges.
- Refrigerate for at least 1 hour or until the chocolate is completely firm before serving.
Frequently Asked Questions
Can I use peanut butter instead of almond butter?
Yes, you certainly can, though the peanut flavor is much stronger and might mask some of the pumpkin notes. I personally think almond butter lets the autumn spices shine a bit more, but both versions are delicious.
Do these need to be kept refrigerated?
Yes, because of the fresh pumpkin puree in the center, they will soften too much if left out at room temperature. Keeping them chilled in the fridge ensures the chocolate stays firm and the filling stays fresh for your family to enjoy.
Can I use homemade pumpkin puree?
You can use homemade puree, but make sure it is strained very well through a cheesecloth so it is not too liquidy. I usually stick to the canned version for consistency in the texture of the filling so it stays creamy but firm.
The Bottom Line
These treats are the perfect way to bring a little bit of autumn magic into your home without a lot of fuss or heat from the oven. Whether you are sharing them with friends or keeping a secret stash in the fridge for late-night snacking, they are sure to be a seasonal hit. Sweet moments don’t have to be complicated. Let’s make something wonderful together.
I hope these bring as much joy to your kitchen as they do to mine and my daughter’s. Happy autumn baking! Billy
Billy