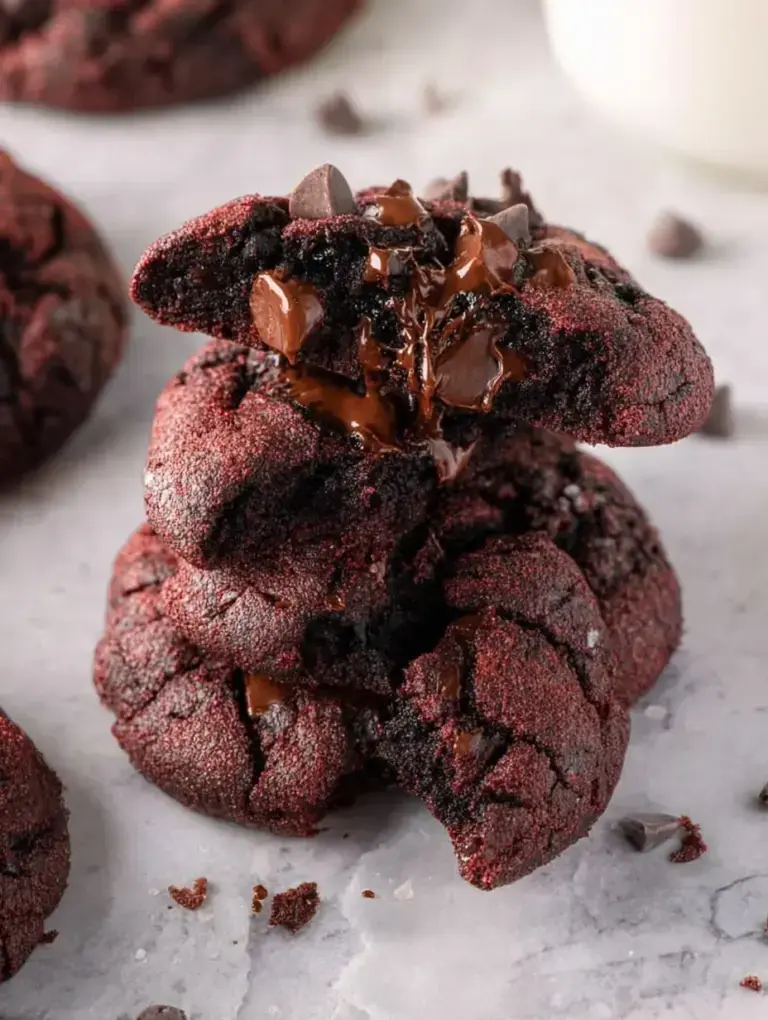
Every March, the first hint of sunshine makes me reach for the pastel sanding sugar in my pantry. My daughter and I love watching the garden wake up, and these Spring Blossom Cookies are our way of celebrating the end of winter. It feels like we are bringing the first flowers of the year right onto our kitchen table.
Why You Will Love This Spring Blossom Cookies
Finding a dessert that looks impressive for a spring brunch but doesn’t take all afternoon used to be a real struggle for me. I often felt overwhelmed by complicated floral decorations or finicky doughs that required hours of chilling before they were ready. These cookies solved that perfectly because they are quick to assemble and the colorful sugar does all the heavy lifting for you.
The first time I made these, I was worried the chocolate would melt too much, but I discovered that pressing them in right after the timer dings creates the perfect bond. It is the ultimate solution for a last-minute school bake sale or a Sunday treat when you want something beautiful without the stress.
What Makes This Spring Blossom Cookies Special
What really sets these Spring Blossom Cookies apart is how the crunch of the sanding sugar contrasts with the soft, buttery center. Most people expect a standard sugar cookie, but the texture here is much more delicate and melt-in-your-mouth. We use pastel colors to make them look like little spring buds, which always brings a smile to my daughter’s face.
I personally love that you don’t need any special equipment or even a rolling pin to get that signature look. Just your hands and a bowl of sugar are enough to turn a simple dough into something that feels truly festive. It is the kind of recipe that reminds me that the best things in life are often the simplest ones I make with my daughter.
The Best Spring Blossom Cookies Recipe
I have made these so many times that I can almost do it with my eyes closed, and they never fail to cheer up a rainy afternoon. My daughter usually takes charge of the unwrapping duty for the chocolate kisses while I handle the oven.
Ingredient Notes
- Unsalted Butter: Using softened butter ensures the dough creams together perfectly for a soft, tender crumb.
- Pastel Sanding Sugar: This adds a beautiful seasonal sparkle and a slight crunch that you shouldn’t skip if you want that blossom look.
- Egg: I always use room temperature eggs because they incorporate more smoothly into the butter for a better rise.
- Vanilla Extract: The floral notes of a high-quality vanilla extract really make the simple butter dough taste like it came from a bakery.
- Chocolate Kisses: You can unwrap these ahead of time so they are ready the second your timer goes off.
Instructions
- Preheat and Prepare. Set your oven to 375 degrees and line your pan with parchment paper. This ensures the cookies do not stick and helps them bake evenly.
- Cream the Base. Mix the softened butter and sugar until the mixture looks pale and fluffy. I usually find that three minutes of mixing makes the texture just right.
- Add Wet Ingredients. Beat in the egg and vanilla until everything is smooth. You want a consistent yellow color before moving to the dry ingredients.
- Mix the Dough. Gradually stir in the flour and salt until a soft dough forms. It should pull away from the sides of the bowl without being overly sticky.
- Shape and Roll. Roll the dough into one-inch balls and coat them thoroughly in the pastel sugar. They should look like little glittering jewels before you place them on the baking sheet.
- Bake and Top. Bake for eight to ten minutes until the edges are just set but the centers are still soft. Press the chocolate kiss into the middle immediately after taking them out so it sticks.
Billy’s Tips and Mistakes to Avoid
- Do not overbake these cookies or they will lose that soft, buttery texture you want. I learned the hard way that they look underdone when you pull them out, but they firm up perfectly on the pan.
- Unwrap all your chocolate candies before the cookies come out of the oven. If you wait until the cookies are cooling, the chocolate won’t melt slightly at the base to stay in place.
- Wait for the butter to soften naturally on the counter rather than using the microwave. Microwaved butter can lead to flat cookies that spread too much.
- If the dough feels too soft to roll, pop it in the fridge for ten minutes. This makes it much easier to handle if your kitchen is warm.
- This is a great task for little hands since rolling the dough in sugar is like playing with sand. My daughter loves picking out different rainbow colors for each batch of Spring Blossom Cookies for a party.
Storage Tips
Keep these treats in an airtight container at room temperature for up to 5 days. If you want to keep them longer, they actually freeze quite well for about 3 months, though the sugar might lose a little sparkle. I usually just leave them on a pretty plate on the counter because they never last more than two days in our house anyway.
Variations and Swaps
- Try using lemon extract instead of vanilla for a bright, citrusy spring flavor that pairs beautifully with the sugar.
- For a dairy-free version, use a high-quality plant-based butter stick that is designed specifically for baking.
- Let the kids choose different colors of sugar to create a vibrant rainbow of treats for a birthday or school event.
Why This Recipe Works Every Time
The balance of ingredients ensures a dough that holds its shape while staying tender. I have tested several ratios of flour to butter, and this version provides the most reliable results every single time. It is a foolproof base that handles the weight of the chocolate without collapsing.
The first time I tried this, I used regular granulated sugar, but switching to the coarser sanding sugar made a huge difference in the final look. It adds a lovely little crunch that makes the whole experience feel more special. Honestly, it is the one recipe I never have to worry about when I have guests coming over.

Ingredients
- 1/2 cup unsalted butter, softened
- 1/2 cup granulated sugar
- 1 large eg g
- 1 teaspoon vanilla extract
- 1 1/2 cups all -purpose flour
- 1/4 teaspoon sal t
- 1/4 cup pastel -colored sanding sugar
- 24 milk chocolate kiss candies, unwrapped
Instructions
- Preheat oven to 375°F (190°C) and line a baking sheet with parchment paper.
- In a large bowl, cream together softened butter and granulated sugar until light and fluffy.
- Beat in the egg and vanilla extract until well combined.
- Gradually stir in the all-purpose flour and salt until a cohesive dough forms.
- Shape the dough into 1-inch spherical balls.
- Roll each dough ball in the pastel-colored sanding sugar until thoroughly coated.
- Place the balls on the prepared baking sheet, spacing them approximately 2 inches apart.
- Bake for 8 to 10 minutes until the edges are set.
- Immediately upon removal from the oven, press one chocolate kiss firmly into the center of each cookie.
- Transfer the cookies to a wire rack to cool completely until the chocolate is stable.
Frequently Asked Questions
Can I use a different type of chocolate?
Yes, you can use dark chocolate, white chocolate, or even striped kisses for a different look. Just make sure to press them in while the cookies are hot so they fuse correctly.
Why did my cookies spread too much?
This usually happens if the butter was too melted or if the oven wasn’t fully preheated. Make sure your butter is just soft to the touch and not oily or liquid before you start mixing.
Can I make the dough ahead of time?
You can definitely make the dough a day early and keep it wrapped in the fridge. Just let it sit at room temperature for a few minutes before rolling so the sugar sticks to the surface.
The Bottom Line
These little blossoms are the perfect way to welcome the warmer weather into your home. They are simple, sweet, and always a hit with both kids and adults. Sweet moments don’t have to be complicated. Let’s make something wonderful together.
I hope your kitchen smells like butter and chocolate this weekend. My daughter is already asking when we can make the next batch. Billy
Billy