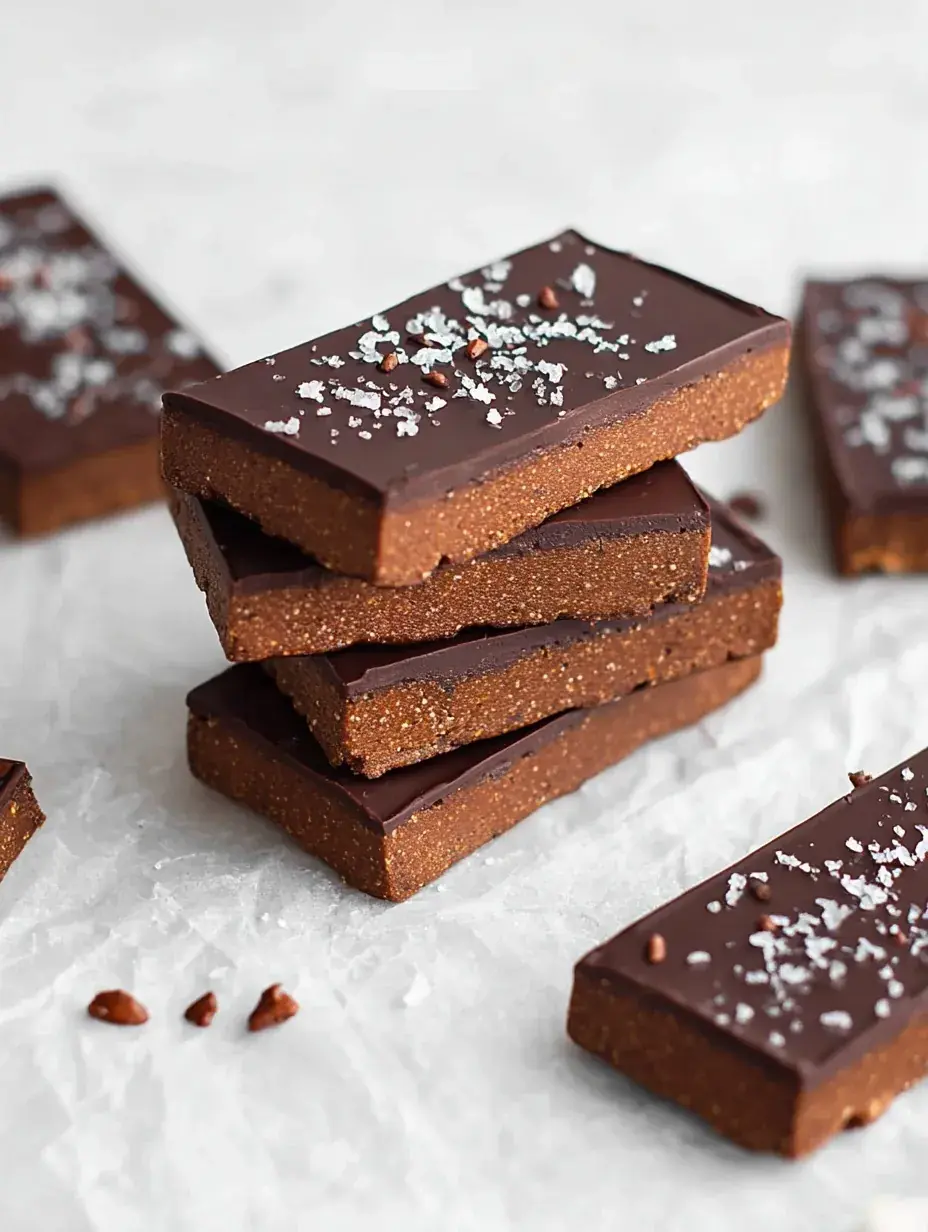
Sometimes the best snacks come from a quiet Sunday afternoon spent in the kitchen without even turning on the oven. My daughter and I were looking for something sweet but filling after our long walk in the chilly air. We ended up creating these dense, fudgy bars that actually keep us full until dinner time.
Why You Will Love This No-Bake Chocolate Protein Bars
Watching my daughter help measure out the oats and cocoa powder is honestly the highlight of my week. She loves being the official taste tester for the chocolate chips, and I love that we are making something together that isn’t just full of sugar.
The first time we tried this, we made a huge mess with the peanut butter, but the laughter was worth it. Personally I have found that preparing a batch on Sunday evenings ensures she has a special treat in her lunchbox all week long.
What Makes This Special
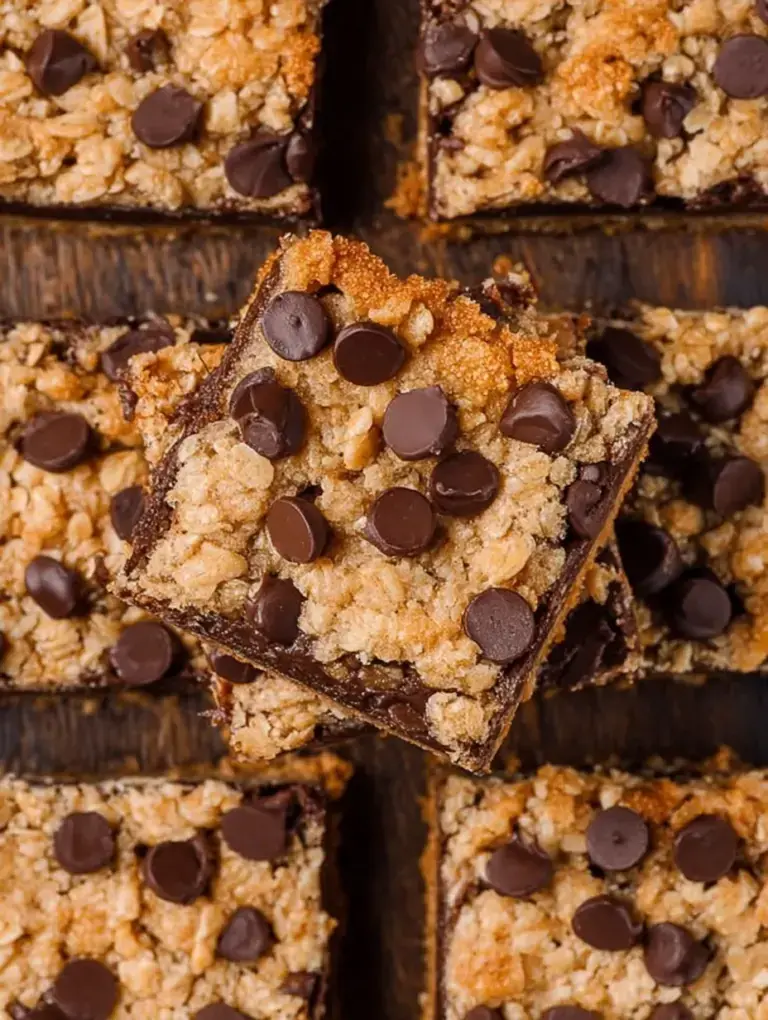
These bars have a perfectly dense and chewy texture that reminds me of a fudge brownie. You get all that chocolatey goodness without any of the guilt of a traditional dessert.
The recipe is incredibly forgiving, which is why it is my favorite for busy days. You can swap the nut butter or protein powder flavor and they still turn out great every single time.
Since there is no baking involved, it is the safest way to get kids involved in the kitchen. They can do every single step from stirring the oats to pressing the dough into the pan.
The Best No-Bake Chocolate Protein Bars Recipe
I have tried plenty of store-bought versions, but they always taste a little like cardboard to me. This homemade version is much softer and actually tastes like real food because we use simple pantry staples.
Ingredient Notes
- Old-fashioned rolled oats: These provide the structure and a nice chewy bite that lasts for days.
- Chocolate protein powder: Use one you actually like the taste of because it provides the main flavor here.
- Creamy natural peanut butter: This acts as the glue that holds everything together while adding healthy fats and a salty kick.
- Pure maple syrup: I prefer this over honey because it mixes in more easily with the dry ingredients without being too sticky.
- Mini chocolate chips: These add little bursts of sweetness in every bite and make the bars feel like a real treat.
Instructions
- Prep the pan. Line your square baking pan with parchment paper so the bars are easy to lift out later. Make sure you have a little bit of paper hanging over the edges for easy grabbing.
- Mix dry ingredients. Whisk the oats, protein powder, and cocoa in a big bowl until the color is even. You want to make sure there are no large white clumps of powder left in the bottom.
- Combine wet ingredients. Pour in the peanut butter, maple syrup, and milk. Use a sturdy spatula because the dough will get very thick and heavy quite quickly as the oats absorb the liquid.
- Add chocolate chips. Fold in those mini chips until they are scattered throughout the sticky dough. My daughter usually tries to sneak a few extra in at this stage which I never mind.
- Press into pan. Transfer the mixture to your prepared pan and press it down as hard as you can. I like to use the bottom of a measuring cup to get it really flat and compact.
- Chill and slice. Let the bars set in the fridge for at least two hours so they firm up completely. Once they are cold, lift the slab out and cut it into eight even rectangular pieces.
Billy’s Tips and Mistakes to Avoid
- Use a stiff spatula because I once tried using a flimsy wooden spoon and it almost snapped in the thick dough.
- Check your protein powder brand as some absorb more liquid than others, so you might need an extra splash of milk if it looks too crumbly.
- Do not skip the chill time or the bars will be too soft and might fall apart in your hands when you try to eat them.
- Natural peanut butter is best because the runny consistency blends much better than the thick, processed brands found on most shelves.
- Press as firmly as possible to ensure the bars have no air pockets and hold their shape once they are sliced.
Storage Tips
Keep these in an airtight container in the refrigerator for up to 7 days for the best texture. They stay much firmer when they are cold, so I do not recommend leaving them on the counter for long periods. You can also freeze them for up to 3 months if you wrap them individually in plastic wrap.
Variations and Swaps
- Swap the peanut butter for almond or cashew butter if you have an allergy or just prefer a milder nut flavor.
- Use a plant-based protein powder and dairy-free milk to make these No-Bake Chocolate Protein Bars completely vegan.
- Add a sprinkle of coarse sea salt on top before chilling for a delicious salted chocolate version that feels fancy.
Why This Recipe Works Every Time
The balance of fats from the peanut butter and the fiber from the oats creates a texture that is satisfying without being dry. I spent a few tries getting the ratio of milk to powder just right so they wouldn’t feel powdery on the tongue.
I learned the hard way that using too much cocoa can make them slightly bitter, so sticking to the measurements is key. After my second batch, I discovered that pressing the mixture with a flat-bottomed cup makes them look much more professional.
Ingredients
- 1.5 cups old -fashioned rolled oats
- 0.5 cup chocolate whey protein powder
- 0.25 cup unsweetened cocoa powder
- 0.5 cup creamy natural peanut butter
- 0.33 cup pure maple syrup
- 0.25 cup unsweetened almond milk
- 0.25 cup mini semi-sweet chocolate chips
Instructions
- Line an 8x8 inch square baking pan with parchment paper, leaving an overhang on two sides.
- In a large mixing bowl, whisk together the rolled oats, chocolate protein powder, and cocoa powder until well incorporated.
- Add the peanut butter, maple syrup, and almond milk to the dry mixture.
- Stir the mixture vigorously with a stiff spatula until a thick, cohesive dough forms.
- Fold in the mini chocolate chips until evenly distributed.
- Transfer the dough to the prepared pan and press down firmly using a flat spatula or the bottom of a measuring cup to create an even, compact layer.
- Place the pan in the refrigerator for a minimum of 2 hours or until the mixture is completely firm.
- Lift the slab out of the pan using the parchment overhang and cut into 8 equal rectangular bars.
Frequently Asked Questions
Can I use quick oats instead of rolled oats?
Yes, you can use quick oats if that is what you have in the pantry today. The texture will be a bit softer and less chewy, but they will still hold together just fine for a quick snack.
What if my No-Bake Chocolate Protein Bars are too dry?
If the mixture is still crumbly after stirring, add one tablespoon of almond milk at a time. You want it to look like a very thick, sticky cookie dough before you press it into the pan.
Does the brand of protein powder matter for the flavor?
It definitely does because some brands are much sweeter or have a stronger aftertaste than others. I always recommend using a brand you already enjoy drinking as a regular shake for the best results.
The Bottom Line
These bars are proof that you do not need a hot oven to make something delicious and nutritious for your family. They are the perfect way to keep everyone energized during those long holiday afternoons or busy school weeks. Sweet moments don’t have to be complicated. Let’s make something wonderful together.
The kitchen feels so much warmer when we are creating something together, even when the oven is off. Happy snacking! Billy
Billy