The radio was humming a soft tune in the background, my daughter had a smudge of flour on her nose, and the kitchen felt incredibly still and warm. There is something so grounding about a quiet afternoon spent mixing treats without even needing to turn on the oven. It is moments like these where the best memories are made, right in the heart of our home.
Why You Will Love This No-Bake Cookie Dough Bars (Vegan & Gluten-Free)
I stumbled upon the idea for these No-Bake Cookie Dough Bars during a particularly busy week when I wanted something sweet but couldn’t face the heat of the oven. Honestly, I was surprised by how much the texture reminded me of the raw dough I used to sneak from the bowl as a child, only this version is actually meant to be eaten this way.
After testing this recipe a few times, I realized that the secret is in the simplicity of the ingredients. It felt like a little discovery in my own kitchen, finding a way to make a plant-based treat that satisfied my deepest chocolate cravings without any fuss.
What Makes This No-Bake Cookie Dough Bars (Vegan & Gluten-Free) Special
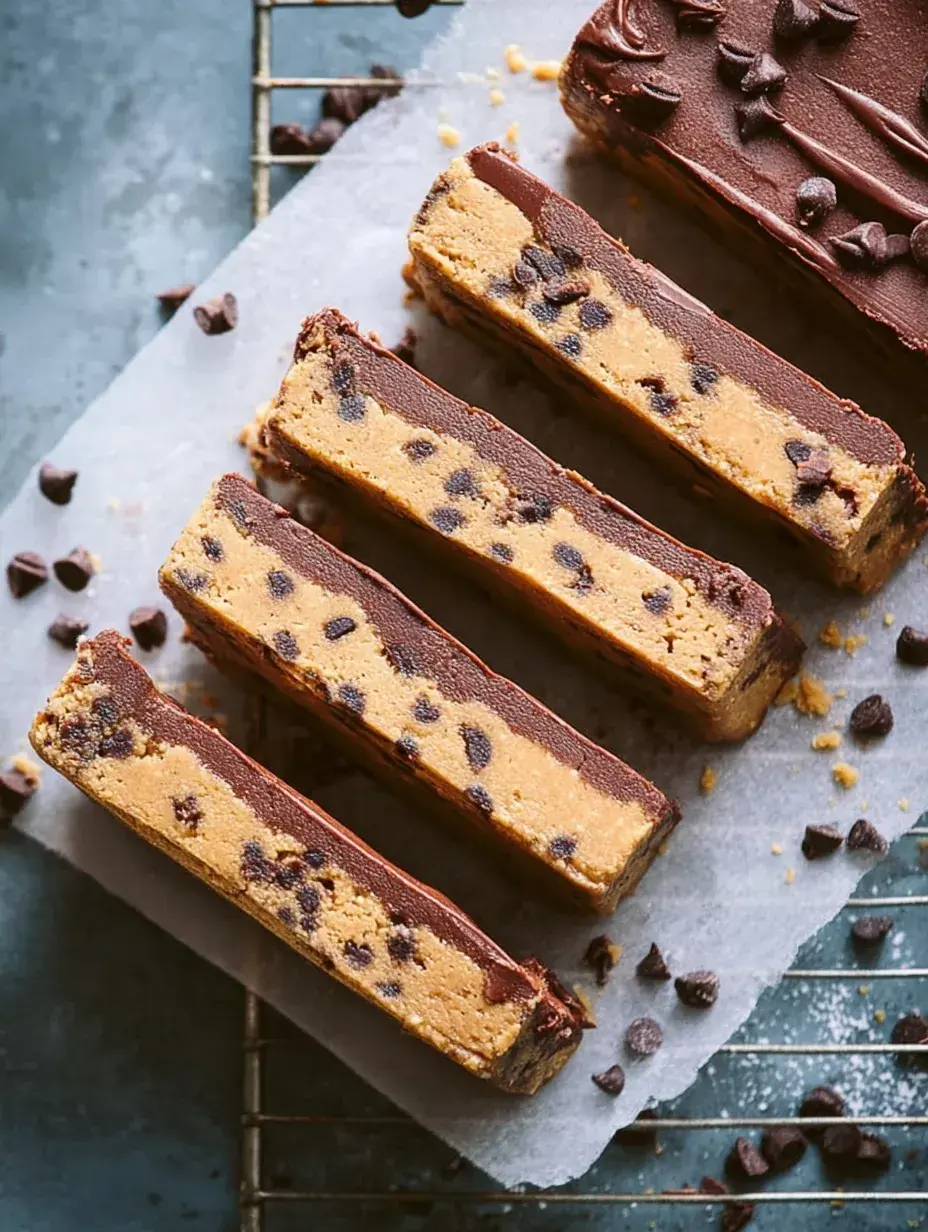
These bars have a dense, buttery base that melts in your mouth just like traditional cookie dough. I personally love that they use oat flour, which gives them a soft heartiness without feeling too heavy or overly sweet.
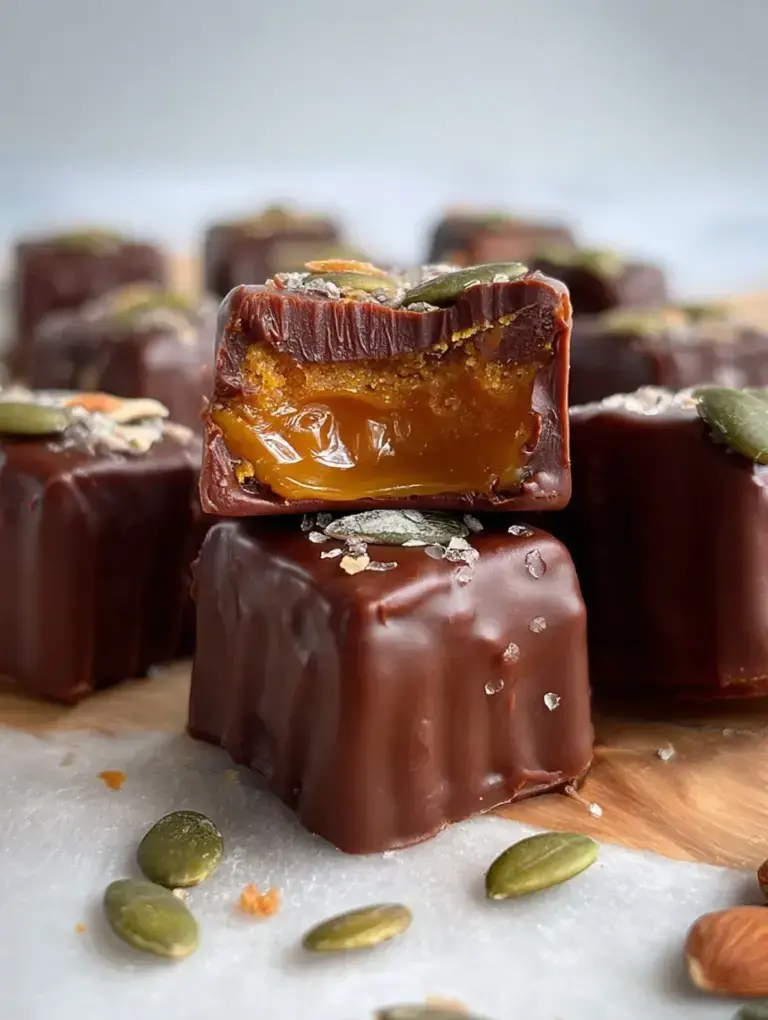
The smooth chocolate ganache on top adds a perfect snap when you bite into it. It balances the sweetness of the maple syrup perfectly and makes every square feel like a real indulgence.
Since there is no baking involved, these are the ultimate stress-free snack for busy weeks. My daughter loves helping press the dough into the pan with her favorite spatula, making it a fun family activity.
The Best No-Bake Cookie Dough Bars (Vegan & Gluten-Free) Recipe
I have made these so many times that I can practically mix the dough with my eyes closed now. It is my go-to whenever we need a quick dessert for a holiday gathering or just a little something sweet for a movie night at home.
Ingredient Notes
- Oat Flour: This provides the structure and a lovely subtle nutty flavor; just make sure it is certified gluten-free if you have an allergy.
- Maple Syrup: I prefer using pure maple syrup for a natural sweetness that binds the dough together beautifully.
- Coconut Oil: This helps the bars firm up in the fridge, so do not skip the melting step.
- Vanilla Extract: A good splash of vanilla is what makes these taste like a real bakery treat.
- Mini Chocolate Chips: I use vegan ones so everyone can enjoy them, and the mini size ensures chocolate in every single bite.
Instructions
- Prepare Pan. Line your square pan with parchment paper, leaving some overhang on the sides. This makes it so much easier to lift the bars out once they are set.
- Whisk Dry. Combine the oat flour and sea salt in a large bowl, using a whisk to break up any stubborn clumps. You want a smooth, fine texture before adding the liquids.
- Mix Wet. Pour in the maple syrup, melted coconut oil, and vanilla extract. Stir everything with a spatula until a thick, cohesive dough forms that holds its shape.
- Fold Chips. Gently fold in the mini chocolate chips until they are evenly scattered. The dough should look speckled and delicious at this stage.
- Press Firmly. Transfer the mixture to your pan and press it down into an even layer. Use the bottom of a measuring cup to get a flat, smooth surface.
- Add Topping. Melt the dark chocolate chips with almond butter until glossy and smooth. Pour this over the base and chill in the freezer for 30 minutes until the top is firm.
Billy’s Tips and Mistakes to Avoid
- If the dough feels too crumbly, add a teaspoon of water at a time; I learned that too much liquid makes them mushy later.
- Use a flat-bottomed measuring cup to press the dough into the corners for a professional, even look.
- Do not rush the chilling process or the chocolate layer might crack when you try to slice it into squares.
- Run your knife under hot water and wipe it dry before cutting to get those perfectly clean, crisp edges.
- I usually let my daughter help with the mixing since there are no raw eggs to worry about in this version.
Storage Tips
Keep these tucked away in an airtight container in the refrigerator for up to 14 days. If you want to save some for later, they freeze beautifully for up to 3 months, though they never last that long in my house. I recommend placing a piece of parchment paper between layers if you are stacking them in the freezer.
Variations and Swaps
- Try adding a sprinkle of flaky sea salt on top of the chocolate layer for a gourmet, salty-sweet touch.
- Swap the almond butter in the topping for peanut butter if you want a classic flavor combination that everyone loves.
- For a festive look, add some naturally colored sprinkles into the dough before pressing it down into the pan.
Why This Recipe Works Every Time
The balance of textures is really what does it for me, from the soft, chewy base to the silky chocolate topping. It is a simple recipe that relies on good ingredients rather than complicated techniques, which is exactly how I like to bake when life gets a little hectic.
The first time I made these, I did not press the dough down hard enough and they were a bit crumbly, but once I figured out that firm pressure is key, they came out perfectly. It is a small detail I learned after a failed batch that makes a huge difference in the final result.
No-Bake Cookie Dough Bars (Vegan & Gluten-Free)
Ingredients
- 2 1/4 cups Certified Gluten-Free Oat Flour
- 1/4 cup Pure Maple Syrup
- 1/4 cup Coconut Oil, melted
- 2 tsp Pure Vanilla Extract
- 1/2 cup Vegan Mini Chocolate Chips
- 1/4 tsp Sea Salt
- 1/2 cup Vegan Dark Chocolate Chips (for topping)
- 2 tbsp Creamy Almond Butter or Coconut Oil (for topping)
Instructions
- Line an 8x8 inch square baking pan with parchment paper, allowing the edges to overhang for easy removal.
- In a large mixing bowl, combine the gluten-free oat flour and sea salt; whisk to remove any clumps.
- Add the maple syrup, melted coconut oil, and vanilla extract to the dry ingredients.
- Stir the mixture with a spatula until a thick, cohesive dough forms. If the mixture appears too dry, incorporate 1 teaspoon of water at a time until the desired consistency is reached.
- Fold in the 1/2 cup of vegan mini chocolate chips until evenly distributed throughout the dough.
- Transfer the dough to the prepared pan and press it into an even layer using a flat-bottomed measuring cup or spatula.
- In a microwave-safe glass bowl, combine the dark chocolate chips and almond butter (or coconut oil).
- Heat the chocolate mixture in 30-second intervals, stirring between each, until the chocolate is completely melted and smooth.
- Pour the melted chocolate over the cookie dough layer and spread evenly to the edges.
- Place the pan in the freezer for 30 minutes or the refrigerator for 60 minutes until the chocolate topping has fully set.
- Using the parchment paper overhang, lift the bars from the pan and place them on a cutting board.
- Slice into 16 bars using a sharp knife. Store in an airtight container in the refrigerator for up to 2 weeks.
Frequently Asked Questions
Can I make my own oat flour for these bars?
Yes, just pulse rolled oats in a high-speed blender until they reach a fine powder. I do this all the time when I run out of the store-bought kind and it works perfectly.
Do these bars need to stay refrigerated?
Yes, because they contain coconut oil, they will soften too much if left on the counter for a long time. They are best served straight from the fridge for that perfect bite.
Is there a substitute for maple syrup?
You can use agave nectar if you prefer, but I find the flavor of maple syrup adds a depth that really mimics classic cookie dough. Honey also works if you do not need the recipe to be strictly vegan.
The Bottom Line
These treats are a wonderful reminder that you don’t need a lot of time or fancy equipment to make something special for your family. Whether it is a rainy afternoon or a busy holiday, these bars are always a hit with both kids and adults. Sweet moments don’t have to be complicated. Let’s make something wonderful together.
I hope these bring a little bit of sweetness to your kitchen this week. My daughter is already asking for another batch! Billy
Billy