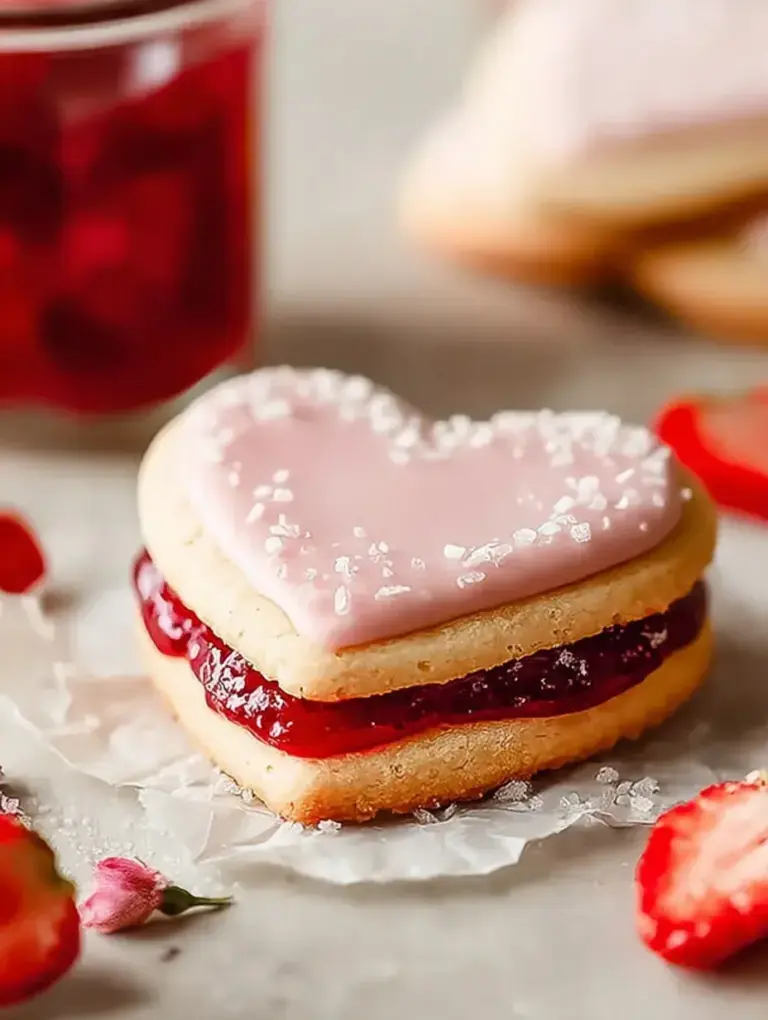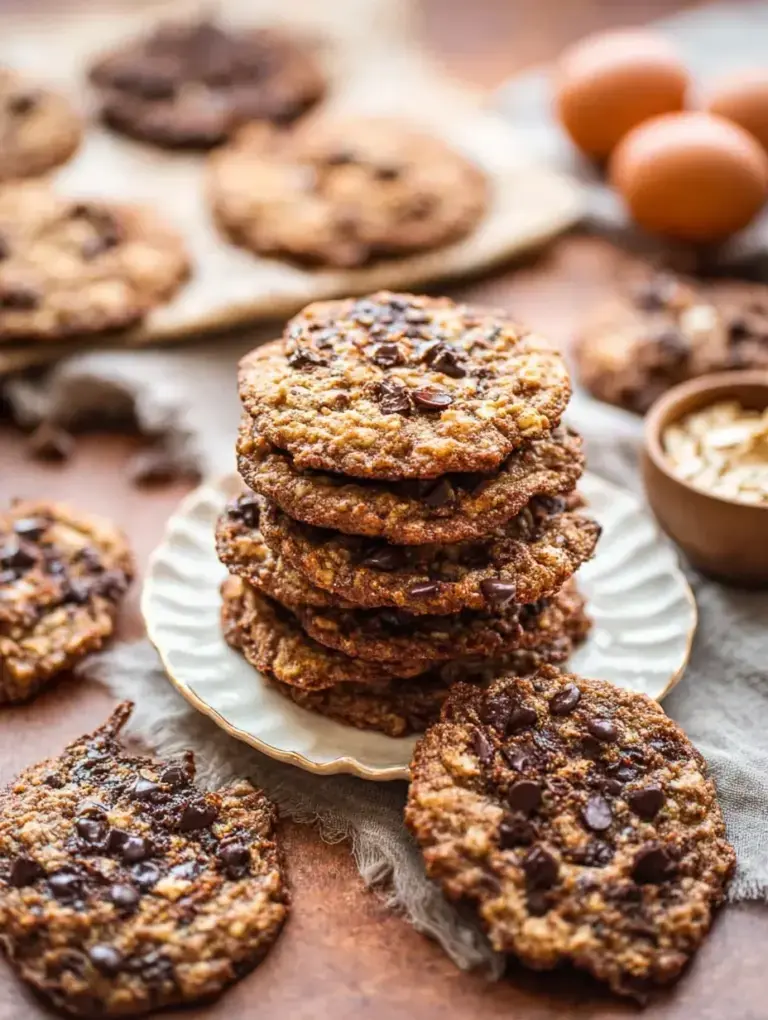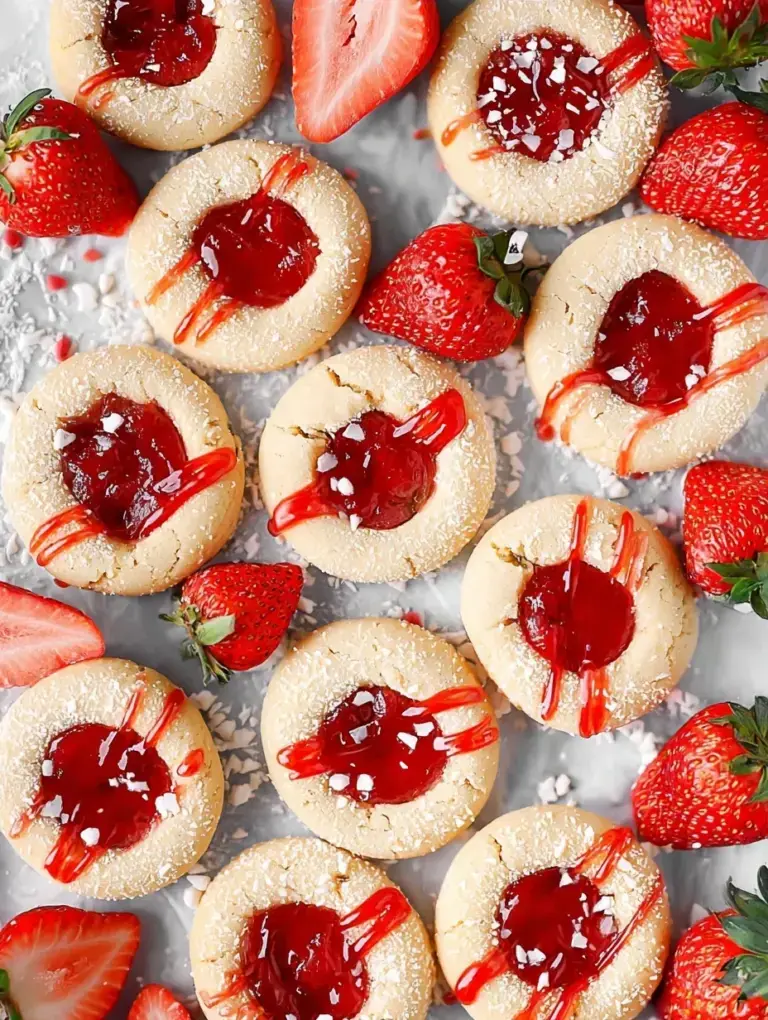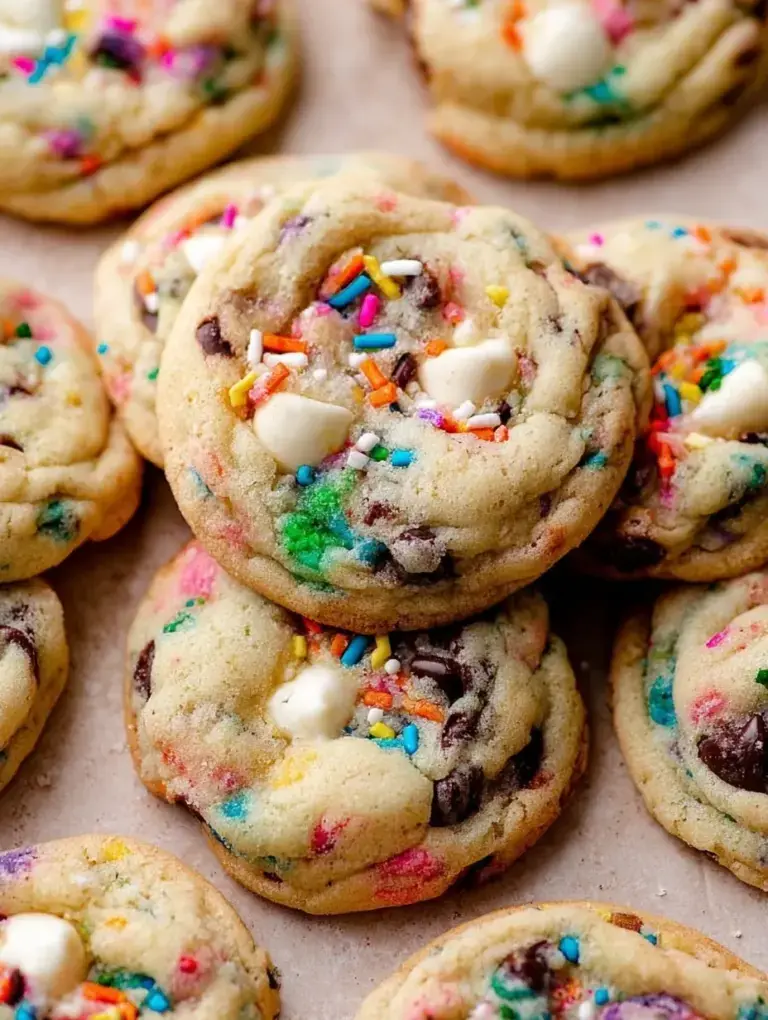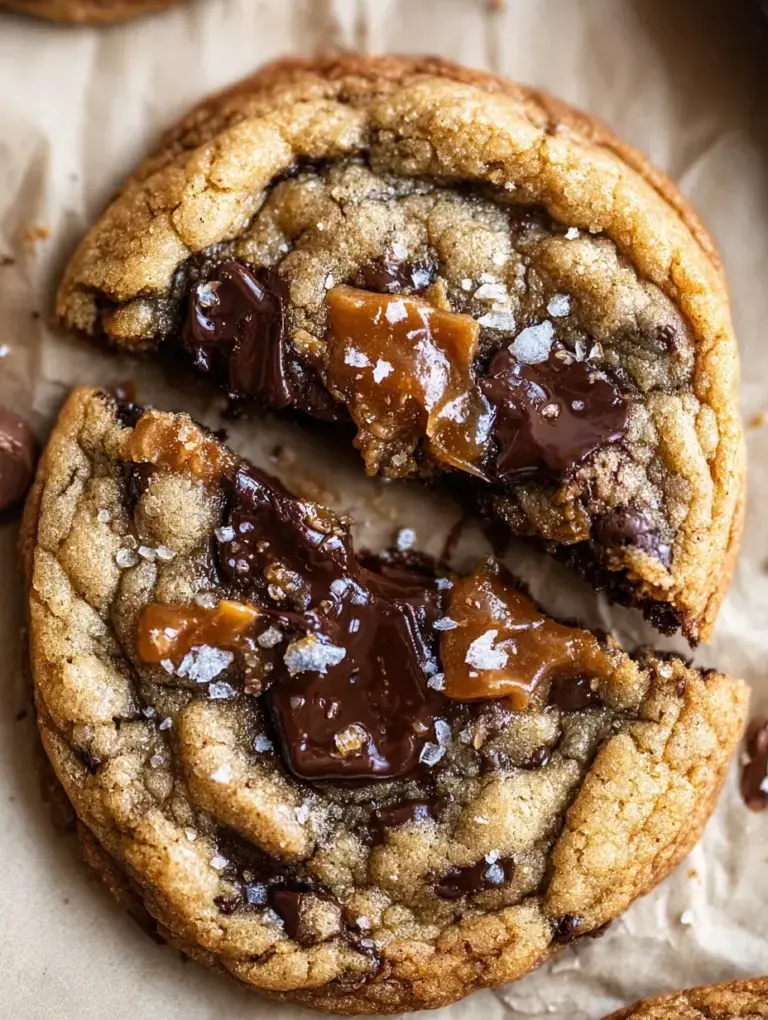
Honestly, I almost didn’t make these because I was convinced I’d eat the entire pan by myself before my daughter even got home from school. I actually had to hide the bag of chocolate eggs in the back of the pantry just to make it to baking day. It turns out my self-control is no match for these Mini Egg Cheesecake Cookie Bars once they are cooling on the counter.
Why You Will Love This Mini Egg Cheesecake Cookie Bars
Last spring, my daughter and I were looking for something a bit more exciting than a standard cookie. We had leftover candy from an Easter hunt and a block of cream cheese that needed using, so we decided to layer them together. It was one of those quiet Sunday kitchen sessions where we didn’t really have a plan, but the result was better than anything I’ve bought at a bakery.
I remember the look on her face when she took that first bite of the soft dough and creamy center. After testing this recipe three times, I finally found the perfect balance of cookie and cheesecake so that neither layer overwhelms the other.
What Makes This Mini Egg Cheesecake Cookie Bars Special
The contrast between the soft, buttery cookie base and the silky cheesecake middle is what really sets these apart. It feels like two decadent desserts served in one single bite.
Using crushed chocolate eggs adds a lovely little crunch that surprises you against the creamy texture. These colorful shells make every bar look like a tiny celebration on a plate.
I love that you can assemble these in one pan without any fussy rolling or individual scooping. It is the ultimate shortcut for a busy mom who still wants a homemade feel for the holidays.
The Best Mini Egg Cheesecake Cookie Bars Recipe
I have made these so many times now that I can practically do it with my eyes closed. They are the perfect way to use up seasonal candy while keeping everyone in the house very happy on a rainy afternoon.
Ingredient Notes
- Unsalted Butter: This provides the rich base for the cookie dough and should be softened so it creams easily with the sugars.
- Cream Cheese: Use the full-fat blocks for the best rich texture and make sure it is at room temperature to avoid a lumpy filling.
- Mini Eggs: These provide the signature crunch and spring colors that make the bars look so festive.
- Chocolate Chips: I prefer semi-sweet to balance the sweetness of the candy eggs and the cheesecake layer.
- Vanilla Extract: A double dose in both the dough and the filling makes the whole house smell like a bakery.
Instructions
- Prep the Pan. Line your 8×8 pan with parchment paper and preheat the oven to 350 degrees. This ensures you can lift the bars out cleanly once they have set in the fridge.
- Cream the Sugars. Beat the softened butter with the granulated and brown sugars until the mixture looks pale and fluffy. This step is essential for a soft, melt-in-your-mouth cookie texture.
- Mix the Dough. Add the egg and vanilla before gradually stirring in the flour, baking soda, and salt. Fold in the chocolate chips until you have a soft, cohesive dough.
- Layer the Base. Press about two-thirds of the dough into the bottom of the pan in an even layer. Use your fingers to push it right into the corners to create a sturdy foundation.
- Prepare the Filling. Beat the cream cheese and sugar until smooth, then add the second egg and remaining vanilla. Pour this silky mixture over the cookie base and spread it out evenly.
- Top and Bake. Crumble the remaining dough over the cheesecake and sprinkle the crushed eggs on top. Bake for about 35 minutes until the edges are golden and the center has a slight jiggle.
Billy’s Tips and Mistakes to Avoid
- Don’t overbake the bars. The cheesecake center should still have a slight jiggle when you pull it out because it will firm up as it cools.
- Avoid using cold cream cheese. I made this mistake once and ended up with tiny white lumps that wouldn’t blend into the batter no matter how hard I whisked.
- Crush your candy eggs inside a sealed plastic bag. This prevents the shells from flying all over your kitchen counter and keeps the pieces uniform.
- The chill time is non-negotiable. I have tried to cut these early and they just fall apart, so let them sit in the fridge for at least three hours.
- Use the parchment paper overhang as handles. This makes it so much easier to lift the entire block of bars out of the pan for perfect slicing.
Storage Tips
You should keep these in an airtight container in the refrigerator for up to 4 days to keep the cheesecake layer fresh. If you want to save some for later, they freeze beautifully for up to a month when wrapped individually in plastic wrap. Personally, I think they taste even better the second day after the flavors have had time to meld together.
Variations and Swaps
- Swap the chocolate eggs for peanut butter candy eggs if you want a salty and sweet combination for the fall.
- You can use a 1-to-1 gluten-free flour blend if you need to make these for friends with dietary restrictions.
- Let your kids help by pressing the crushed eggs into the top layer of dough before the pan goes into the oven.
Why This Recipe Works Every Time
The secret is in the layering process which keeps the cookie dough from getting too dry while the cheesecake stays moist and creamy. It is a foolproof method that creates a beautiful presentation without requiring any professional decorating skills.
I learned the hard way that the temperature of your ingredients really matters for the texture of the filling. The first time I made these, I was too impatient to wait for the eggs to reach room temperature, but taking that extra few minutes makes the cheesecake much more velvety.

Ingredients
- 1/2 cup unsalted butter, softened
- 1/2 cup granulated sugar
- 1/4 cup light brown sugar, packed
- 2 large eggs , divided
- 2 teaspoons vanilla extract, divided
- 1 1/2 cups all -purpose flour
- 1/2 teaspoon baking soda
- 1/4 teaspoon sal t
- 1/2 cup semi -sweet chocolate chips
- 16 ounces cream cheese, softened
- 1/2 cup granulated sugar
- 1 cup Cadbury Mini Eggs, roughly crushed
Instructions
- Preheat oven to 350°F (175°C) and line an 8x8 inch square baking pan with parchment paper, leaving an overhang on the sides.
- In a large bowl, cream together the softened butter, 1/2 cup granulated sugar, and brown sugar until light and fluffy.
- Beat in one egg and 1 teaspoon of vanilla extract.
- Gradually mix in the flour, baking soda, and salt until a dough forms, then fold in the chocolate chips.
- Press approximately two-thirds of the cookie dough into an even layer at the bottom of the prepared pan.
- In a medium bowl, beat the softened cream cheese and the remaining 1/2 cup granulated sugar until smooth and lump-free.
- Add the second egg and the remaining 1 teaspoon of vanilla extract to the cream cheese mixture, beating until just combined.
- Pour the cheesecake batter over the cookie dough base and spread evenly.
- Crumble the remaining one-third of the cookie dough over the top of the cheesecake layer.
- Evenly distribute the crushed Mini Eggs over the surface.
- Bake for 30 to 35 minutes, or until the edges are golden brown and the cheesecake center is slightly set but still has a slight jiggle.
- Remove from oven and allow to cool to room temperature in the pan.
- Refrigerate for at least 3 hours or overnight to ensure the cheesecake layer is fully set before lifting out by the parchment and slicing into bars.
Frequently Asked Questions
Can I use store-bought cookie dough for this recipe?
You can certainly use pre-made dough if you are in a rush, but the homemade version has a better texture for holding up the cheesecake. If you do go store-bought, make sure it is a standard chocolate chip variety.
Do I have to use a specific brand of chocolate eggs?
Any candy-coated milk chocolate eggs will work perfectly for this recipe. I usually grab whatever is on sale at the grocery store, as long as they have that signature crunchy shell.
Why did my cheesecake layer sink in the middle?
This usually happens if you overbeat the eggs in the cheesecake mixture, which adds too much air. Try to mix only until the egg is just combined to keep the center nice and level.
The Bottom Line
These bars are such a simple way to bring a little extra magic to your kitchen during the busy spring season. I hope your family loves the combination of chocolate and cream as much as mine does. Sweet moments don’t have to be complicated. Let’s make something wonderful together.
I’ll be keeping a secret stash of these in the fridge for my quiet coffee breaks this week. Happy baking! Billy
Billy