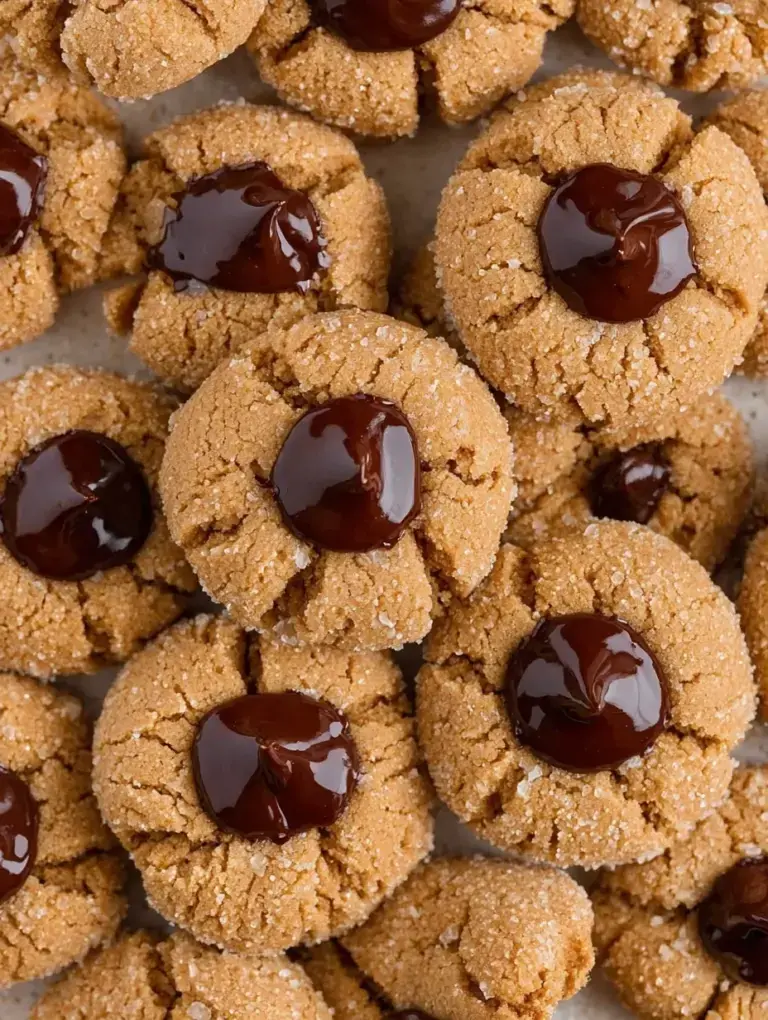
The kitchen smells like sweet, creamy butter and a hint of warm vanilla before I even pull the first tray out of the oven. My daughter loves the sound of the mixer whirring away while we get everything ready for our afternoon bake. It is one of those quiet moments where the house just feels right.
Why You Will Love This Strawberry Thumbprint Cookies
Baking these Strawberry Thumbprint Cookies is such a special ritual for me and my little girl. She is finally at the age where she can help roll the dough into little balls, and watching her concentrate so hard on making them perfectly round is the highlight of my week.
I have found that involving her in the kitchen makes these treats taste even better because of the love we put into them. We usually end up with flour on our noses and jam on our fingers, but the smiles on her face when she sees the bright red centers are worth every bit of cleanup.
What Makes This Strawberry Thumbprint Cookies Special
These cookies are the ultimate comfort food because they combine a melt-in-your-mouth base with a bright fruit filling.
- The Texture: A soft, crumbly shortbread that stays tender for days.
- The Jam: Strawberry adds a classic sweetness that reminds me of childhood.
- Kid-Friendly: Making the thumbprints is a task children absolutely adore doing.
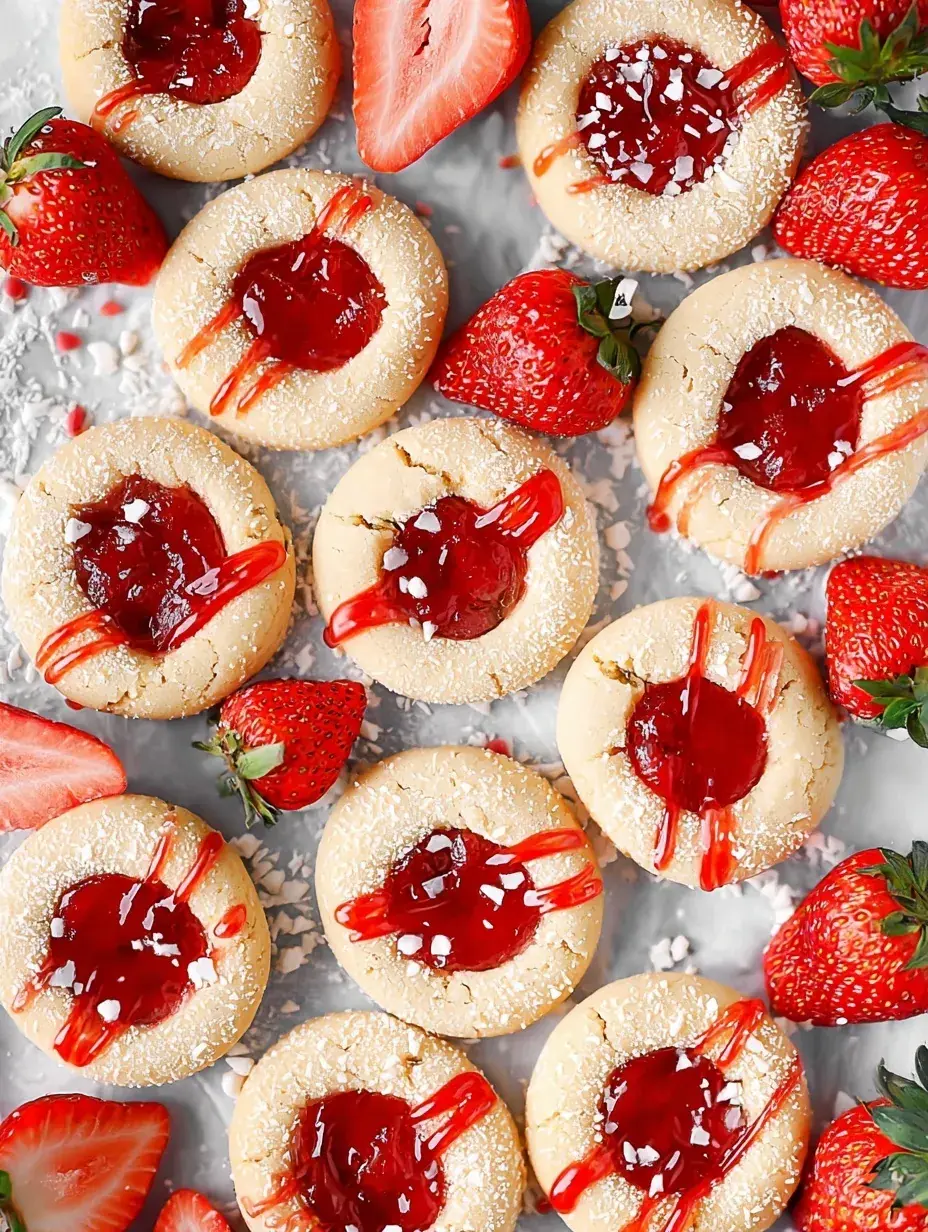
I love how they look like little jewels sitting on a serving platter.
The Best Strawberry Thumbprint Cookies Recipe
This version of the classic recipe is one I have tinkered with for years to get the ratio of butter to flour just right. It is sturdy enough to hold the jam but soft enough to dissolve on your tongue.
Ingredient Notes
- Unsalted Butter: Using room temperature butter is key so it creams properly with the sugar.
- Egg Yolks: Adding just the yolks instead of whole eggs gives the dough a rich, velvety texture.
- Strawberry Jam: I prefer a smooth jam without large chunks of fruit so it sits neatly in the center.
- All-Purpose Flour: Make sure to spoon and level your flour so the dough does not end up too dry.
- Vanilla Extract: A good quality vanilla makes the buttery flavor of the shortbread really pop.
Instructions
- Cream the Base. Mix the softened butter and sugar until the mixture looks pale and light. You want it to be fluffy rather than just combined.
- Add Richness. Beat in the egg yolks, vanilla, and salt until the batter is smooth. It should smell incredibly fragrant at this stage.
- Incorporate Flour. Slowly stir in the flour on a low speed until a soft dough forms. Stop as soon as the white streaks disappear to keep the texture tender.
- Shape the Dough. Roll the dough into small one-inch balls and space them out on your lined baking sheets. They will not spread much, so two inches of space is plenty.
- Create the Wells. Use your thumb or a small spoon to press a deep hole into each ball. If the edges crack slightly, just gently pinch them back together with your fingers.
- Fill and Bake. Fill each center with a little jam and bake until the edges are just barely golden. They will still look a bit soft when you pull them out.
Billy’s Tips and Mistakes to Avoid
- Tip 1: Do not overbake these or the shortbread will become too crunchy. I learned the hard way that they should look set but not brown on top.
- Tip 2: If the dough is too sticky to roll, chill it in the fridge for twenty minutes. My kitchen gets very warm, so I often have to do this.
- Tip 3: Use a small measuring spoon for the thumbprints if you want a more uniform look. I personally like the rustic look of using my actual thumb.
- Tip 4: Make sure your jam is at room temperature so it is easy to spoon into the centers. Cold jam can be stubborn and messy to work with.
- Tip 5: Let my daughter help with the thumb part, but keep an eye on the depth so the jam does not leak out the bottom.
Storage Tips
These cookies keep beautifully in an airtight container at room temperature for up to 4 days. If you want to keep them longer, they stay fresh in the fridge for about 7 days. I have even frozen the baked cookies for a month, though the jam can get a little sticky when thawing.
Variations and Swaps
- Try swapping the strawberry for raspberry or apricot jam for a different seasonal flavor.
- Drizzle a simple glaze of powdered sugar and milk over the cooled cookies for extra sweetness.
- Roll the dough balls in finely chopped walnuts or pecans before making the thumbprint for a nice crunch.
Why This Recipe Works Every Time
This recipe is a staple in my house because it relies on basic pantry ingredients that I always have on hand. The use of egg yolks is the real secret here, providing a richness that whole eggs simply cannot match.
On my second batch of testing, I realized that pressing the indentation before the dough gets too warm prevents the edges from cracking too much. It is a small detail that makes a big difference in how pretty the final Strawberry Thumbprint Cookies turn out.

Ingredients
- 1 cup unsalted butter, softened
- 1/2 cup granulated sugar
- 2 large egg yolks
- 1 teaspoon vanilla extract
- 1/4 teaspoon sal t
- 2 1/4 cups all -purpose flour
- 1/2 cup strawberry jam
Instructions
- Preheat oven to 350°F (175°C) and line two baking sheets with parchment paper.
- In a large bowl, cream together the softened butter and granulated sugar until light and fluffy, approximately 3 minutes.
- Beat in the egg yolks, vanilla extract, and salt until well combined.
- Gradually add the flour to the wet ingredients, mixing on low speed until a soft dough forms.
- Roll the dough into 1-inch balls and place them 2 inches apart on the prepared baking sheets.
- Using your thumb or the back of a small measuring spoon, press a deep indentation into the center of each dough ball.
- Fill each indentation with approximately 1/2 teaspoon of strawberry jam.
- Bake for 12 to 15 minutes, or until the edges are just beginning to turn golden brown.
- Allow cookies to cool on the baking sheet for 5 minutes before transferring to a wire rack to cool completely.
Frequently Asked Questions
Why did my Strawberry Thumbprint Cookies crack?
Cracking usually happens if the dough is too dry or too cold. You can simply use your fingers to smooth out the edges after pressing the center.
Can I use jelly instead of jam?
You can use jelly, but it tends to be more translucent and can run more during baking. Jam has a thicker consistency that stays put better in the oven.
Should I fill the cookies before or after baking?
This recipe calls for filling them before baking so the jam sets and gets slightly tacky. It creates a much better bond between the cookie and the fruit center.
The Bottom Line
There is something so timeless about a buttery cookie with a bright spot of fruit in the middle. Whether you are making these for a holiday tray or just a Tuesday afternoon, they always bring a bit of joy to the table. Sweet moments don’t have to be complicated. Let’s make something wonderful together.
I hope your kitchen feels just as cozy as mine today with the smell of these treats in the air. My daughter is already asking for seconds! Billy
Billy