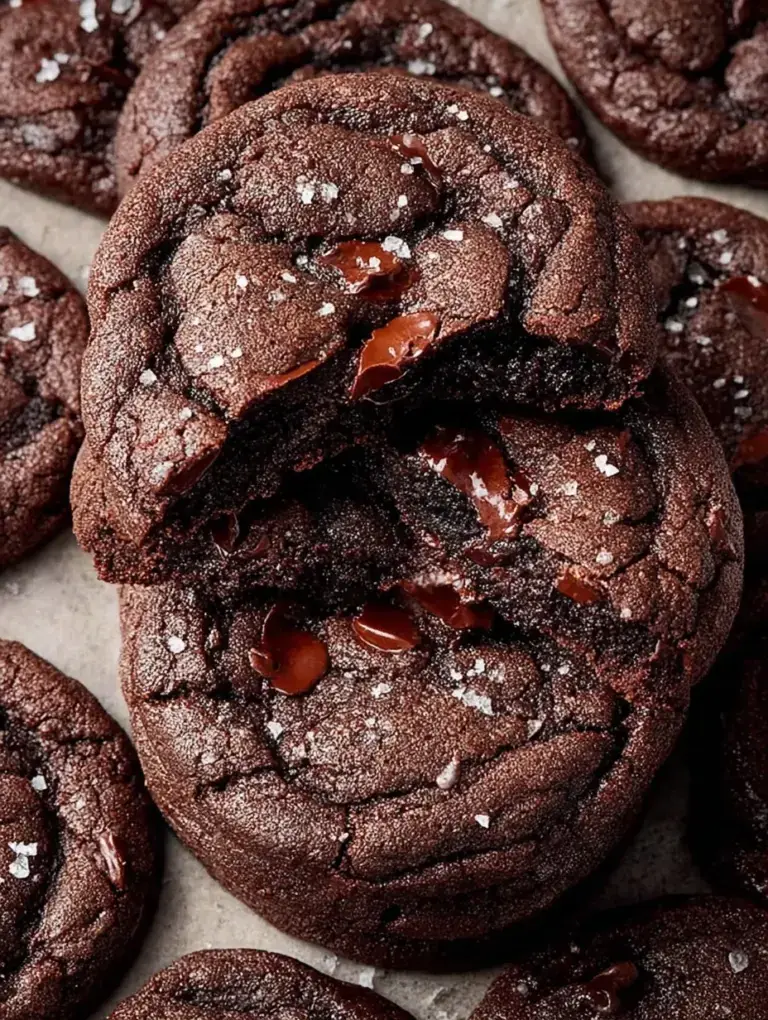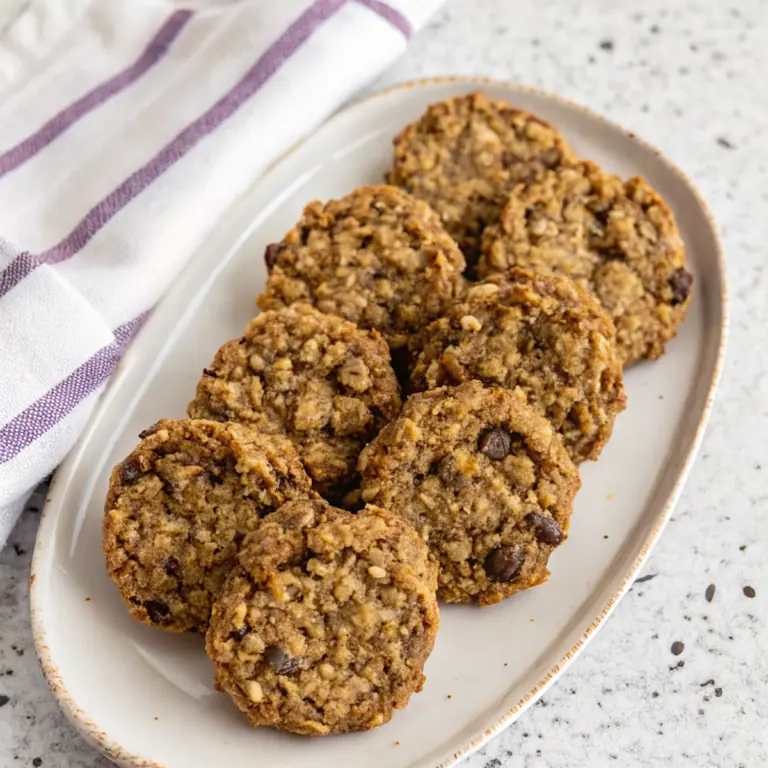
The radio was playing soft Christmas music, my daughter had a little smudge of flour on her nose, and the kitchen felt warmer than usual while we waited for the oven to beep. It is those quiet, messy moments that make baking feel like actual magic rather than just another chore on the list. These bright green treats are exactly what we needed to bridge the gap between a busy school week and the weekend.
Why You Will Love This Mint Chocolate Chip Cookies
I used to struggle with finding a dessert that felt festive without being overly complicated or requiring hours of tedious decorating. Sometimes you just want that classic chocolate chip comfort but with a little extra holiday sparkle that does not involve piping bags or fancy sprinkles. These cookies solve that beautifully by bringing a burst of color and a refreshing minty finish to a dough that is as reliable as your favorite winter sweater.
Personally I have found that many holiday recipes are too fussy for a real kitchen afternoon with kids, but this one is incredibly forgiving. After testing this recipe several times with my daughter, I realized the secret is all in the balance of the peppermint so it feels refreshing rather than overpowering. It is the perfect answer for a last-minute bake sale or a cozy night in by the fire.
What Makes This Mint Chocolate Chip Cookies Special
- Vibrant Green Hue: The soft emerald color makes these pop on any dessert tray and instantly signals that holiday feeling without needing extra frosting.
- Peppermint Punch: Using extract instead of crushed candy ensures every single bite has that cool flavor without any hard bits sticking to your teeth.
- Perfectly Soft Crumb: I spent a few batches perfecting the flour ratio so they stay chewy in the middle even after they have cooled down completely.
- Semi-Sweet Balance: The slightly bitter chocolate chips cut through the sweetness of the mint dough for a more sophisticated flavor profile.
- Kid-Friendly Mixing: My daughter loves being the official color checker to make sure the green is perfectly even before we scoop the dough onto the pans.
The Best Mint Chocolate Chip Cookies Recipe
I have made these for school bake sales and late-night snacks alike, and they never last more than a day on my kitchen counter. There is something so nostalgic about the mint and chocolate combination that brings everyone into the kitchen the moment the smell starts wafting from the oven.
Ingredient Notes
- Unsalted Butter: Make sure it is truly softened at room temperature so it creams properly with the sugars for that light, fluffy texture.
- Peppermint Extract: A little goes a long way here, so I always measure this carefully over a separate bowl to avoid any accidental spills.
- Green Gel Food Coloring: I prefer gel over liquid because it gives a much more intense color without changing the consistency of your dough.
- Light Brown Sugar: This is my secret to that chewy, slightly caramelized edge that makes these better than your average store-bought cookie.
- Semi-Sweet Chocolate Chips: These provide the best contrast to the mint, though you can use dark chocolate if you prefer a richer taste.
Instructions
- Preheat and Line. Set your oven to 375°F and prepare your baking sheets with parchment paper. This prevents any sticking and ensures the bottoms of your cookies stay a nice golden brown.
- Cream the Base. Beat the softened butter with both sugars until the mixture looks light and fluffy. You want it to lose that grainy appearance and become quite pale in color.
- Add Color and Flavor. Mix in the egg, peppermint extract, and green coloring until the dough is a uniform shade of green. It is much easier to get the color right now before the dry ingredients are added.
- Whisk Dry Ingredients. In a separate bowl, combine the flour, baking soda, and salt. Whisking them first ensures the leavening agent is spread evenly for a consistent rise.
- Combine the Mixtures. Gradually stir the dry ingredients into the wet ones until just combined. Be careful not to overmix here, as that can lead to a tougher cookie texture.
- Fold and Scoop. Gently fold in the chocolate chips by hand using a spatula. Drop rounded tablespoons of dough onto the sheets, leaving space for them to spread naturally.
Billy’s Tips and Mistakes to Avoid
- Use room temperature eggs so they incorporate smoothly without curdling the butter mixture, which I learned the hard way on my first batch.
- I discovered through testing that pulling these out when the edges are just set keeps the centers perfectly soft and gooey.
- If you skip the parchment paper, the bottoms might brown too quickly and hide that pretty green color you worked so hard on.
- You can chill the dough for 20 minutes if your kitchen is very warm to prevent the cookies from spreading too thin.
- Let the kids help with the chocolate chips as it is the most fun part and they love seeing the chips disappear into the green dough.
Storage Tips
Keep these in an airtight container at room temperature for up to 4 days to maintain that soft texture. If you want to save them for later, you can freeze the baked cookies for up to 2 months and just thaw one at a time. They stay surprisingly fresh if you tuck a small piece of white bread into the container to keep the moisture in.
Variations and Swaps
- Try using white chocolate chips for a mountain mint look that feels extra wintry and sweet.
- Substitute the peppermint extract with vanilla if you just want green cookies for a themed party without the minty flavor.
- Add a handful of crushed dark chocolate chunks instead of chips for a more rustic and indulgent feel.
Why This Recipe Works Every Time
The combination of granulated and brown sugar ensures the cookies have the perfect balance of crisp edges and a chewy center. By using a slightly higher oven temperature than usual, we set the structure quickly so they do not spread into flat pancakes on the pan.
On my second batch, I realized that adding the food coloring to the wet ingredients rather than at the end makes the color much more vibrant and even. It is a small detail that changed everything about how professional the finished Mint Chocolate Chip Cookies looked on the plate.

Ingredients
- 1 cup unsalted butter, softened
- 3/4 cup granulated white sugar
- 3/4 cup light brown sugar, packed
- 1 large eg g
- 1 teaspoon peppermint extract
- 3 drops green gel food coloring
- 2 1/4 cups all -purpose flour
- 1 teaspoon baking soda
- 1/2 teaspoon sal t
- 2 cups semi -sweet chocolate chips
Instructions
- Preheat oven to 375°F (190°C) and line two baking sheets with parchment paper.
- In a large bowl, cream together the softened butter, granulated sugar, and brown sugar until light and fluffy.
- Add the egg, peppermint extract, and green food coloring; beat until well combined and the color is uniform.
- In a separate medium bowl, whisk together the flour, baking soda, and salt.
- Gradually incorporate the dry ingredients into the wet ingredients, mixing just until combined.
- Fold in the semi-sweet chocolate chips by hand.
- Drop rounded tablespoons of dough onto the prepared baking sheets, spaced approximately 2 inches apart.
- Bake for 8 to 10 minutes until the edges are just set but the centers remain soft.
- Allow cookies to cool on the baking sheet for 5 minutes before transferring to a wire rack for complete cooling.
Frequently Asked Questions
Can I use peppermint oil instead of extract?
Yes, but be very careful because peppermint oil is much stronger than extract. I recommend starting with just a drop or two and tasting the dough before adding more.
Why did my cookies turn out brown instead of green?
This usually happens if they are overbaked or if the oven temperature is too high. Watch them closely and pull them out as soon as the edges are firm but the tops still look slightly soft.
Can I make the dough ahead of time?
Absolutely, you can store the prepared dough in the fridge for up to 48 hours. Just let it sit at room temperature for about 10 minutes before scooping so it is easier to handle.
The Bottom Line
These Mint Chocolate Chip Cookies are a staple in our house whenever the weather turns cold and we want something special. They are simple, colorful, and bring a little extra joy to the dessert table without any stress. Sweet moments don’t have to be complicated. Let’s make something wonderful together.
I am off to pour a big glass of cold milk and enjoy a warm cookie with my daughter while we finish our holiday cards. Happy baking! Billy
Billy