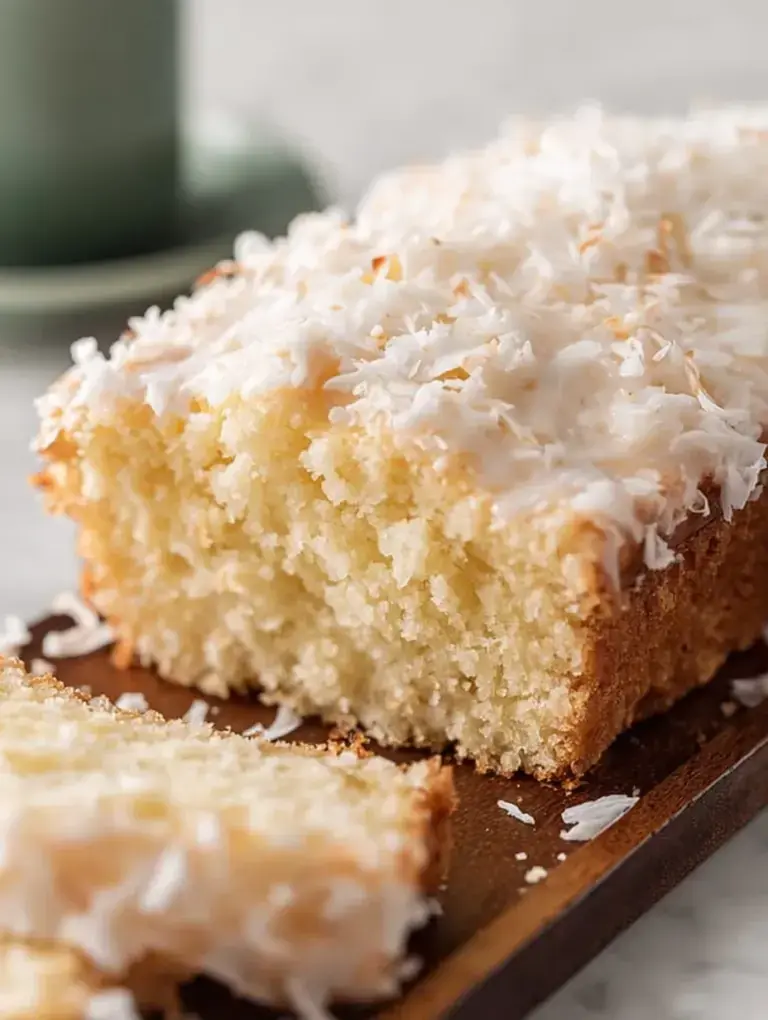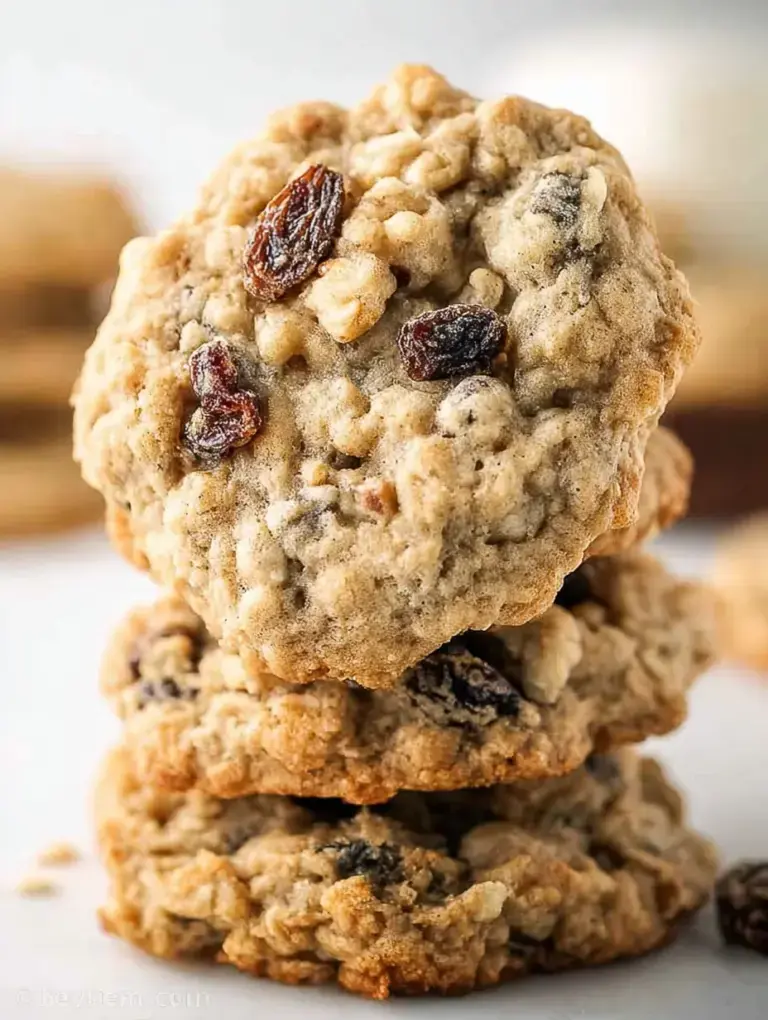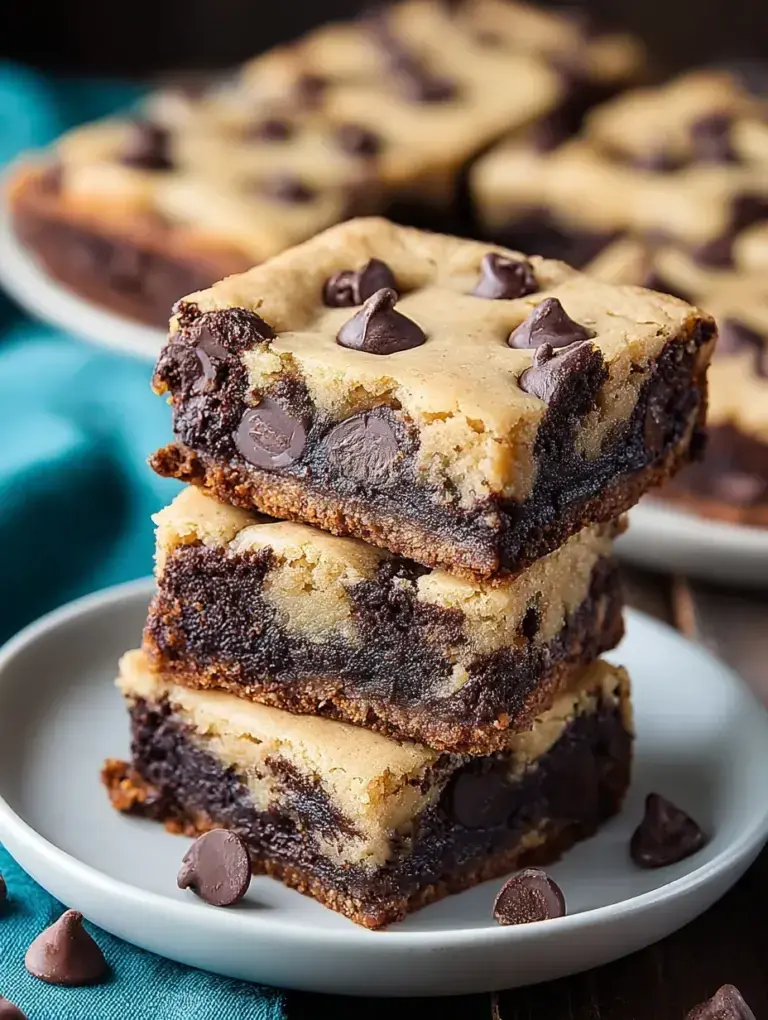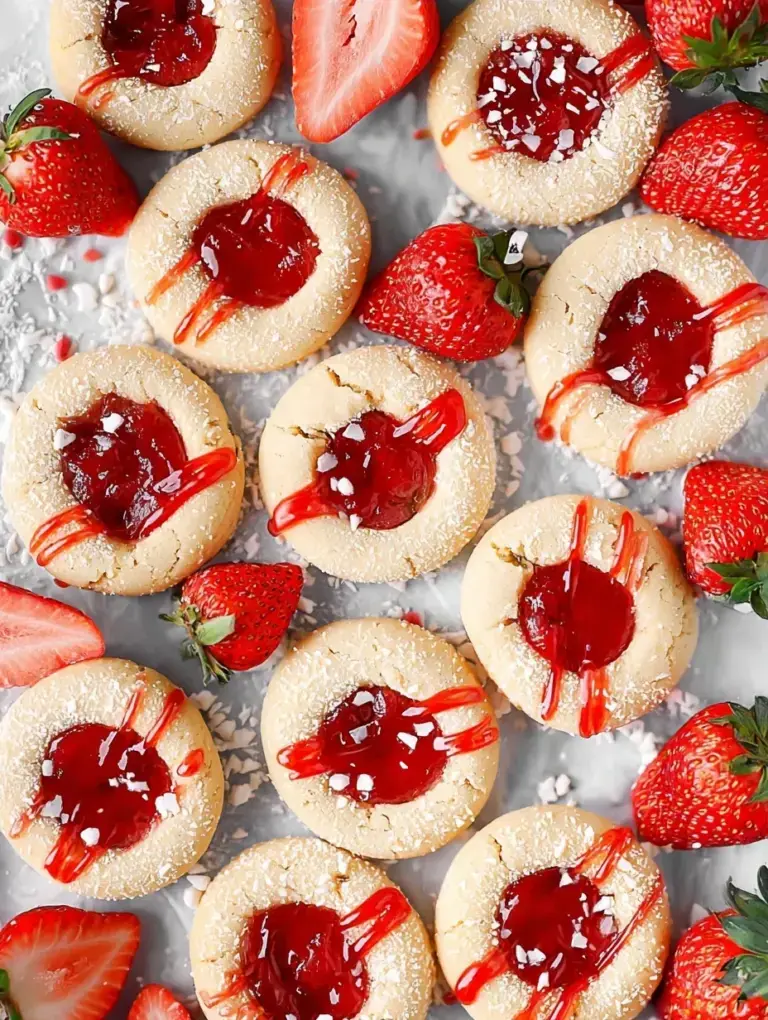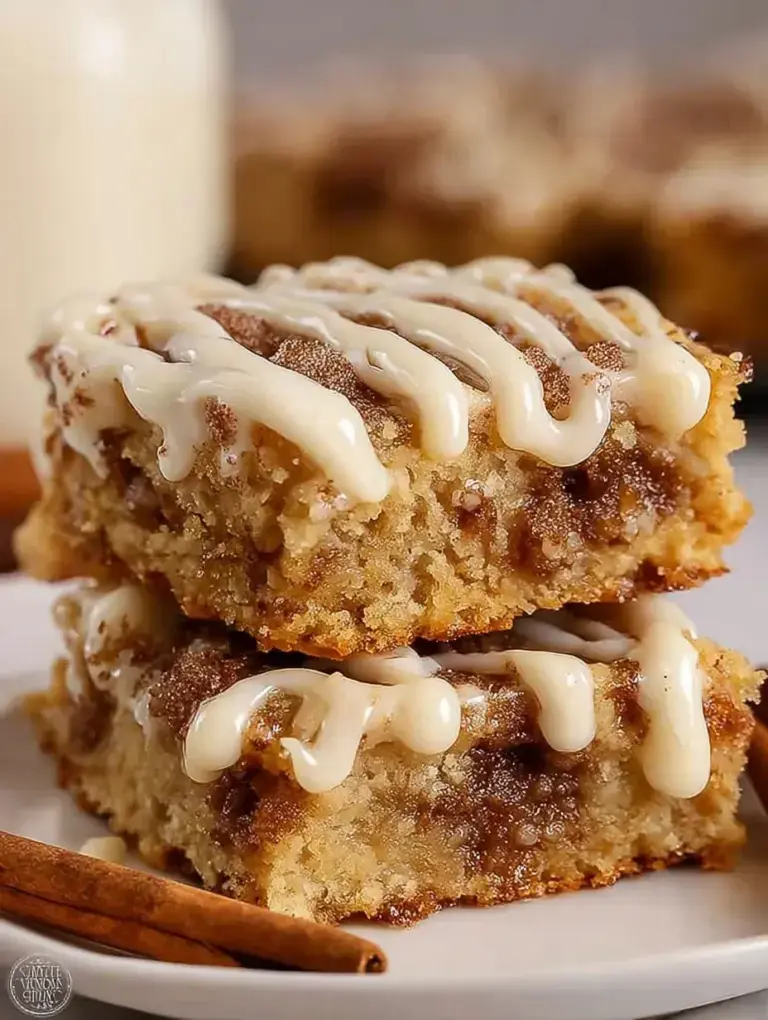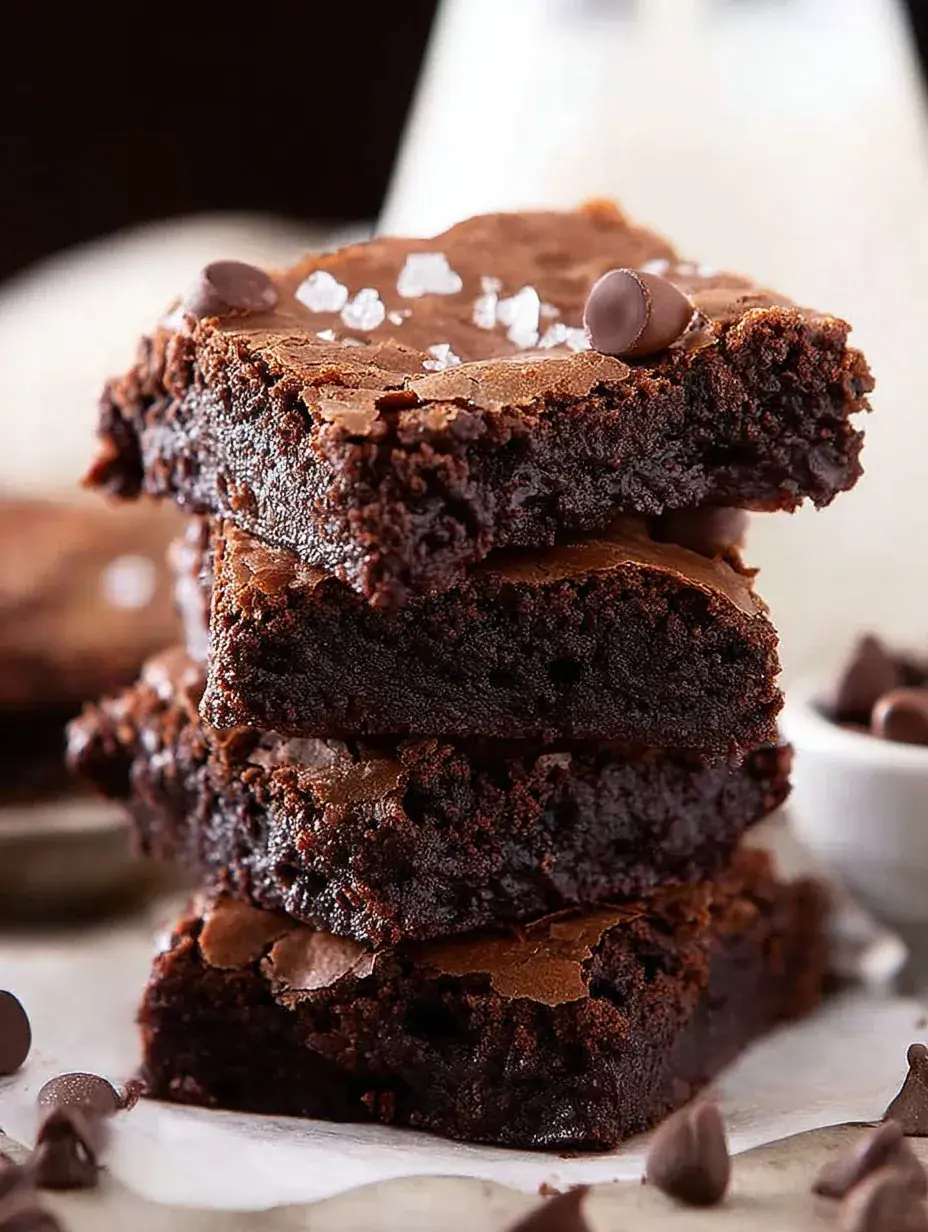
They look like they came from a fancy bakery window and took hours to perfect. In reality, they come together in one bowl with ingredients you probably already have in your pantry. I love how something so simple can feel so special on a quiet weekend afternoon.
Why You Will Love This Cocoa Powder Brownies
My daughter is at that age where she wants to help with everything, and these are her favorite to make together. We usually start on a slow Saturday afternoon, her standing on her little stool while I let her stir the batter until it gets thick and glossy.
Seeing her face light up when she sees that crinkly top come out of the oven makes the whole kitchen feel warmer. Personally I have found that these moments are the ones I cherish most, even if we end up with a little cocoa powder on the floor.
What Makes This Cocoa Powder Brownies Special
Most people think you need expensive bars of chocolate for a good brownie, but these prove that a simple tin of cocoa can do wonders.
- Intense Flavor: The unsweetened cocoa provides a deep, dark chocolate taste that isn’t overly sugary.
- Chewy Texture: Using butter and cocoa creates that classic fudgy bite we all crave.
- Pantry Staples: You likely have everything you need right now without a trip to the store.
It is the kind of recipe you keep tucked in your favorite cookbook for years.
The Best Cocoa Powder Brownies Recipe
I have tried dozens of versions, but I always come back to this one because it is reliable and honest. Last time I made these, I almost forgot the vanilla, but they still turned out beautifully.
Ingredient Notes
- Unsalted Butter: This provides the fat needed for that melt-in-your-mouth feel without making things too salty.
- Unsweetened Cocoa Powder: This is the star that gives the brownies their rich color and bold flavor.
- Granulated Sugar: It adds sweetness and helps create that iconic shiny, crackly crust on top.
- Cold Eggs: Adding them one at a time while cold helps the batter thicken up properly.
- All-Purpose Flour: Just a small amount is used to keep the texture dense rather than cakey.
Instructions
- Prep Oven. Heat your oven to 325 degrees and line your square pan with parchment so the brownies are easy to lift out later. Make sure the paper hangs over the edges like little handles.
- Melt Ingredients. Combine the butter, sugar, cocoa, and salt over a pot of simmering water until the mixture is smooth and quite hot. You will notice the gritty sugar starts to transform into a sleek, dark paste.
- Cool Slightly. Remove the bowl from the heat and let it sit for a few minutes until it is warm but not burning. This prevents the eggs from scrambling when you add them into the mix.
- Add Eggs. Stir in the vanilla, then beat in the eggs one by one with a lot of energy. The batter should transition from looking slightly grainy to looking very shiny and smooth.
- Mix Flour. Fold in the flour until you cannot see any white streaks, then beat it vigorously for forty strokes with a wooden spoon. This extra mixing builds the structure that gives these brownies their signature chew.
- Bake Time. Spread the thick batter into the pan and bake for about twenty-five minutes. A toothpick should come out with a few moist crumbs attached, which means they are perfectly fudgy.
Billy’s Tips and Mistakes to Avoid
- Tip 1: Do not overbake these because they continue to firm up as they cool in the pan. I once left them in for thirty minutes and they lost that gooey center I love.
- Tip 2: Use the best quality cocoa powder you can find since it is the main flavor profile here.
- Tip 3: Beating the batter for exactly forty strokes after adding flour sounds specific, but it really helps the texture.
- Tip 4: Let them cool completely before slicing to get those clean, sharp edges.
- Tip 5: If your daughter is helping, let her be the one to count the forty strokes out loud.
Storage Tips
These keep beautifully at room temperature in an airtight container for up to 4 days. If you want them to stay extra fudgy, you can pop them in the fridge for up to 7 days. I have even frozen individual squares wrapped in foil for a quick treat up to 3 months later.
Variations and Swaps
- Stir in a handful of walnuts or pecans for a nice crunch that offsets the soft texture.
- Swap the vanilla extract for almond extract if you want a slightly different, nutty aroma.
- Sprinkle a little flaky sea salt on top right after they come out of the oven for a gourmet touch.
Why This Recipe Works Every Time
This recipe relies on the ratio of fat to flour to ensure every bite is dense and satisfying. I personally love how the cocoa powder creates a more intense chocolate experience than melted bars ever could.
I learned the hard way that using room temperature eggs makes the batter too thin, so keep them cold. That little adjustment changed everything for my batches and gave me that perfect shiny top.
Ingredients
- 10 tablespoons unsalted butter
- 1 1/4 cups granulated sugar
- 3/4 cup unsweetened cocoa powder
- 1/4 teaspoon sal t
- 1/2 teaspoon pure vanilla extract
- 2 large eggs , cold
- 1/2 cup all -purpose flour
Instructions
- Preheat oven to 325°F (160°C) and line an 8-inch square baking pan with parchment paper.
- Combine the butter, sugar, cocoa powder, and salt in a medium heatproof bowl.
- Set the bowl over a saucepan of simmering water and stir until the butter is melted and the mixture is smooth and hot to the touch.
- Remove the bowl from the heat and let it cool slightly until warm.
- Stir in the vanilla extract using a wooden spoon or spatula.
- Add the eggs one at a time, stirring vigorously after each addition until the batter looks shiny and well-combined.
- Add the flour and stir until it disappears, then beat vigorously for 40 strokes with a wooden spoon to develop structure.
- Spread the batter evenly in the prepared pan.
- Bake for 20 to 25 minutes, or until a toothpick inserted into the center comes out slightly moist with a few crumbs.
- Let the brownies cool completely in the pan on a wire rack before cutting into 16 squares.
Frequently Asked Questions
Can I use Dutch-processed cocoa instead?
Yes, it will result in an even darker brownie with a slightly milder, smoother flavor. I often use it when I want a more intense, dark chocolate appearance.
Why are my brownies cakey?
This usually happens if you use too much flour or overbeat the eggs before adding the flour. Stick to the forty strokes rule to keep them dense and fudgy.
How do I get the shiny top?
The secret is in the heat. Making sure the butter and sugar mixture is hot to the touch helps dissolve the sugar enough to create that thin, papery crust.
The Bottom Line
There is something so comforting about a warm brownie and a glass of milk on a quiet evening. These Cocoa Powder Brownies are a staple in my home, and I hope they become one in yours too. Sweet moments don’t have to be complicated. Let’s make something wonderful together.
I’m off to find my daughter so we can finish off the last few squares from this morning. Happy baking! Billy
Billy