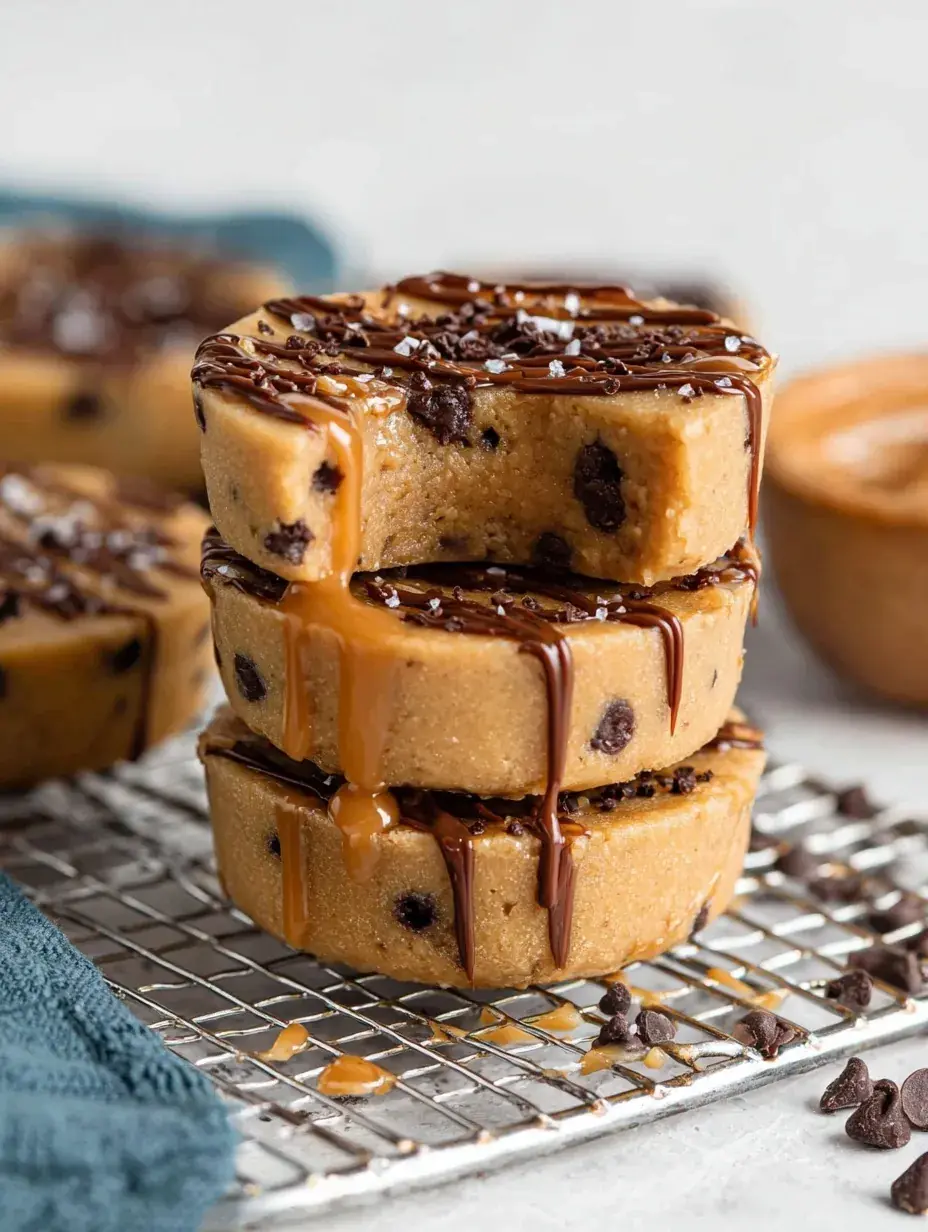
Every time the first frost hits my kitchen window, I start craving something that feels like a warm hug but doesn’t require me to keep the oven on for hours. My daughter and I spent this morning watching the snow fall while we prepped these layers, and it felt like the official start to our holiday nesting. It is the kind of treat that makes a chilly December afternoon feel extra bright and sweet.
Why You Will Love This No Bake Caramel Cookie Dough Cups
I actually stumbled upon this idea when I had leftover cookie dough from a school bake sale and a half-full jar of caramel sitting in my fridge. I wondered if I could turn them into a single-serve treat that didn’t need a hot oven, and the discovery was better than any fancy store-bought truffle I have ever tried. Honestly, I was shocked at how well the salted caramel stayed gooey right in the middle of the dough even after chilling.
The first time I made these, my daughter helped me press the wells into the dough, and we both agreed it was much more fun than traditional baking. Personally I have found that the combination of the salty dough and the sweet chocolate shell creates a balance that most desserts lack. It has quickly become my go-to rescue for when I need a impressive dessert without a lot of kitchen chaos.
What Makes This No Bake Caramel Cookie Dough Cups Special
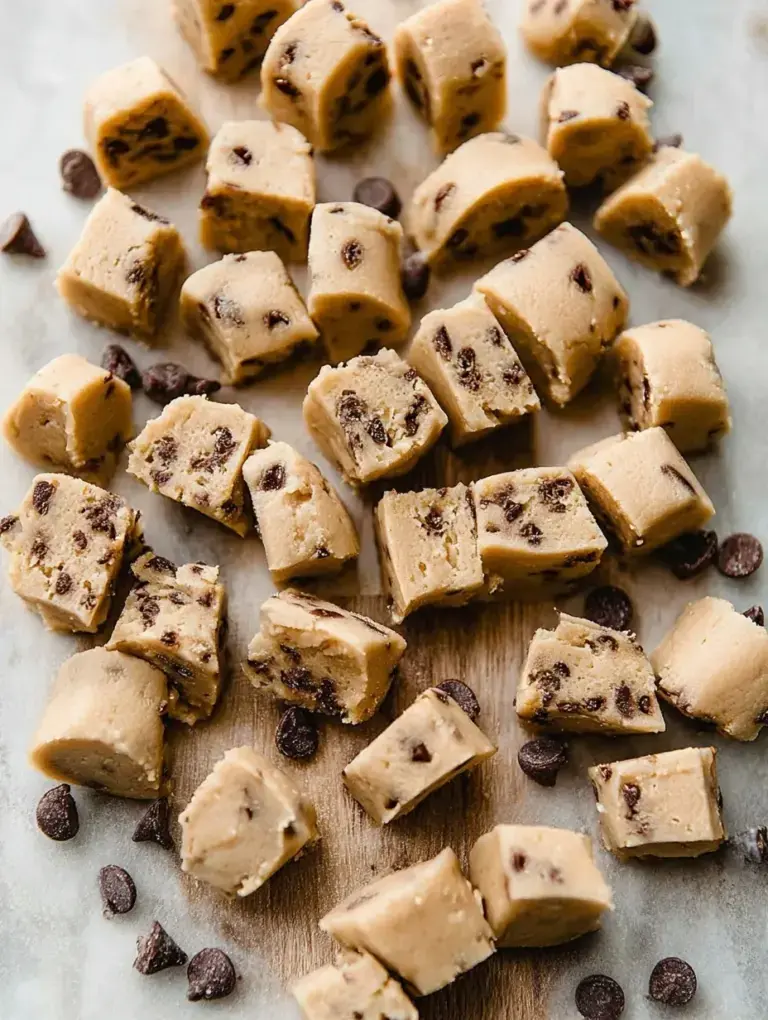
There is something so nostalgic about the taste of raw cookie dough, and these little cups feel like a grown-up version of that childhood joy. They offer a layered texture that you usually only find in professional candy shops.
- The Hidden Center: The caramel surprise inside provides a salty-sweet contrast that cuts through the rich chocolate topping.
- Safety First: Since we are using heat-treated flour, you get that authentic dough texture without any of the risks.
- Make-Ahead Magic: These stay perfectly firm in the fridge, making them a stress-free option for when you have guests coming over.
It is a simple dessert that looks like you spent all day in the kitchen when you really just had fun with a muffin tin.
The Best No Bake Caramel Cookie Dough Cups Recipe
I have made this No Bake Caramel Cookie Dough Cups recipe for school parties and quiet movie nights alike, and they always disappear within minutes. It is a forgiving process that even beginner bakers will find success with on the first try.
Ingredient Notes
- All-Purpose Flour: This provides the structure for the dough, but you must heat treat it first to make it safe for raw consumption.
- Salted Caramel Sauce: Look for a thick version of the sauce so it stays nestled in the dough well rather than running out.
- Chocolate Melting Wafers: These melt much more smoothly than standard chips and give the cups a professional, glossy finish.
- Coconut Oil: Adding a tiny bit to the chocolate helps it stay slightly soft so the top doesn’t crack when you take a bite.
- Mini Chocolate Chips: I prefer the mini ones because they distribute more evenly through the dough and make it easier to press into the tin.
Instructions
- Prepare the Flour. Spread the flour on a tray and bake at 350°F for 5 minutes or microwave in short bursts until it reaches 165°F. You want it to be safe for eating without changing the color too much.
- Cream the Base. Beat together your softened butter and sugars until the mixture looks pale and fluffy. This creates a light texture that makes the dough easy to bite through once chilled.
- Form the Dough. Mix in the vanilla, salt, milk, and your heat-treated flour until a thick dough comes together. Fold in those mini chips by hand so they stay whole and pretty.
- Shape the Cups. Press about two tablespoons of dough into a lined muffin tin and use your thumb to make a small well. This little crater is what will hold your golden caramel center safely inside.
- Add the Caramel. Spoon the caramel into each well and pop the whole tray into the freezer for twenty minutes. This step is vital because it stops the caramel from mixing into the chocolate topping later.
- Seal with Chocolate. Melt your chocolate wafers with coconut oil and pour a layer over each cup to seal the caramel inside. Let them set in the fridge for at least two hours until they are firm and ready to eat.
Billy’s Tips and Mistakes to Avoid
- Always let your flour cool completely after heat treating it. I once mixed hot flour into my butter and ended up with a melted mess that would not hold its shape.
- If your caramel is too thin, stir in a tiny pinch of salt or chill it before spooning it into the dough.
- Do not skip the coconut oil in the chocolate topping. It prevents that brittle texture that makes the chocolate shatter when you try to eat it.
- Store these in the fridge until the very moment you want to serve them. The dough is much better when it is cold and firm.
- Let your kids help with the liners and the chocolate chips. My daughter loves being the official chip distributor in our house.
Storage Tips
Keep these treats in an airtight container in the refrigerator for up to 5 days. If you want to save them for later, they actually freeze beautifully for up to 2 months. Just make sure to put a little piece of parchment paper between layers so the chocolate tops stay smooth and pretty.
Variations and Swaps
- Try using peanut butter instead of caramel for a salty, nutty twist that feels like a homemade candy bar.
- You can use a gluten-free flour blend for the dough, just be sure to still heat treat it as you would with regular flour.
- Add a sprinkle of flaky sea salt on top of the wet chocolate before it sets for a more sophisticated look.
Why This Recipe Works Every Time
The secret to why this works is all in the temperature control. By freezing the caramel before adding the chocolate, you ensure those beautiful, distinct layers that make these look like they came from a bakery. The texture of the dough is soft and buttery, which contrasts perfectly with the snap of the chocolate shell.
On my second batch, I discovered that using a slightly smaller well for the caramel kept the cups more stable. I had a few leaks in my first attempt because I was too generous with the sauce, so I learned that a little goes a long way. This recipe is now my favorite way to get that cookie dough fix without any of the fuss of a standard baking day.
Ingredients
- 1.5 cups all -purpose flour
- 0.5 cup unsalted butter, softened
- 0.75 cup light brown sugar, packed
- 0.25 cup granulated sugar
- 1 teaspoon vanilla extract
- 0.5 teaspoon sal t
- 2 tablespoons whole milk
- 0.5 cup mini semi-sweet chocolate chips
- 0.5 cup thick salted caramel sauce
- 1.5 cups semi -sweet chocolate melting wafers
- 1 tablespoon coconut oil
Instructions
- Spread flour on a baking sheet and heat in a 350°F oven for 5 minutes, or microwave in 30-second intervals until the internal temperature reaches 165°F to ensure it is safe for raw consumption.
- In a large mixing bowl, cream together softened butter, brown sugar, and granulated sugar until light and fluffy.
- Mix in vanilla extract, salt, and milk until combined.
- Gradually add the heat-treated flour to the butter mixture, stirring until a cohesive dough forms.
- Fold in the mini chocolate chips.
- Line a 12-count muffin tin with paper liners.
- Press 2 tablespoons of cookie dough into the bottom of each liner, creating a small well in the center of each.
- Spoon approximately 2 teaspoons of caramel sauce into the well of each cookie dough base.
- Place the muffin tin in the freezer for 20 minutes to allow the caramel to firm up.
- In a microwave-safe bowl, combine chocolate wafers and coconut oil. Heat in 30-second increments, stirring between each, until completely smooth.
- Pour the melted chocolate over each cup, ensuring the caramel layer is completely sealed.
- Refrigerate for at least 2 hours or until the chocolate top is firm before serving.
Frequently Asked Questions
Is it safe to eat the flour in this recipe?
Yes, as long as you heat treat it to 165°F. This kills any bacteria and makes the flour perfectly safe to enjoy in this raw dough format.
Can I use regular chocolate chips for the top?
You can, but melting wafers work better because they are designed to coat things smoothly. If you use chips, add a little extra coconut oil to help them melt without seizing.
Why did my caramel leak out of the sides?
This usually happens if the chocolate topping didn’t reach the edges of the dough cup. Make sure you pour the chocolate all the way to the paper liner to create a complete seal.
The Bottom Line
I hope you find as much joy in making these as I do during these quiet winter mornings. They are a wonderful way to bring a little sweetness into your home without a lot of effort. Sweet moments don’t have to be complicated. Let’s make something wonderful together.
I’m so glad we could spend a little time in the kitchen together today. I hope these treats bring a little extra warmth to your family this season. Billy
Billy