I have a small confession: I often get a little too caught up in the chaos of baking with my daughter, especially when she’s perched on her tiny step stool, eager to help. We’ve had our fair share of mishaps, like dumping too much sugar or forgetting to add flour. But in those moments, the laughter and creativity that fill our kitchen far outweigh any mix-ups. Last weekend, we decided to whip up some cookies together, and boy, did we strike gold with these Brown Butter Chocolate Chunk Cookies!
Why You’ll Love This Brown Butter Chocolate Chunk Cookies
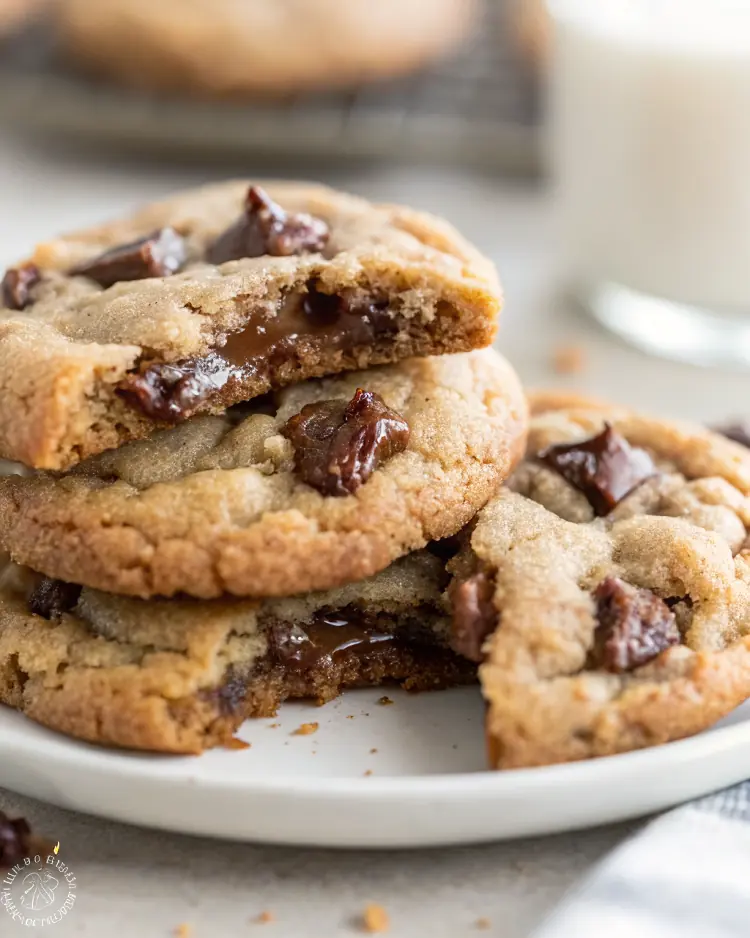
When you’re in a last-minute dessert scenario, these cookies are a lifesaver. They come together easily and deliver a comforting, homemade treat your family will ask for time and again. The gooey chocolate chunks combined with the nutty brown butter create a flavor that’s not just delicious but will also leave your kitchen smelling heavenly.
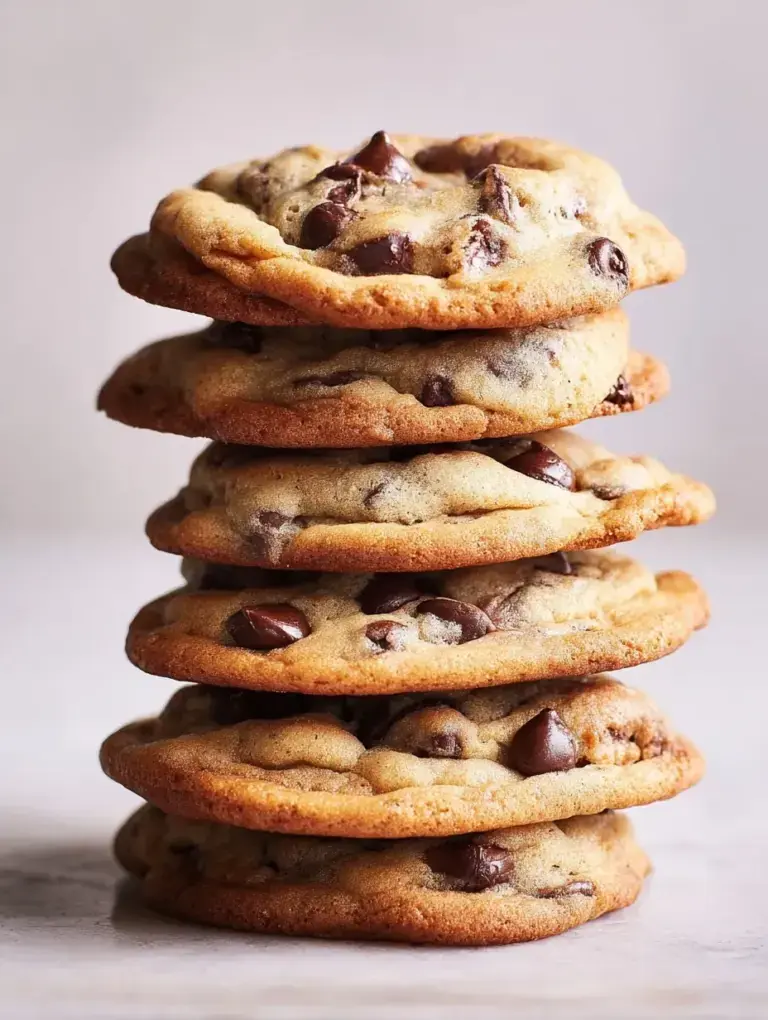
Affordability is a huge perk—the ingredients are simple and easy to find in any pantry, making this recipe accessible no matter the time or budget crunch. And let’s be honest: when those chocolate chip cookies come out thick and golden, with that delightful slightly crispy edge, you won’t just make a treat; you’ll create a memory.
What Makes this Recipe Unique
– **Key Ingredient:** Brown butter adds a rich, nutty flavor that elevates the cookies beyond standard chocolate chip.
– **Simple Method:** The recipe is straightforward—perfect for baking with little helpers or in a busy kitchen.
– **Last-Minute Treat:** You can chill the dough for a brief time before baking, making it a quick option when dessert plans come up unexpectedly.
– **Texture Delight:** The combination of crispy edges and a chewy center creates a satisfying bite that’s hard to resist.
Estimated Macros & Calories
Here are the estimated nutritional values for these delightful cookies:
(estimated per serving, without optional ingredients)
- Calories: 210
- Protein: 2 g
- Carbohydrates: 29 g
- Fat: 10 g
- Fiber: 1 g
The Most Authentic Brown Butter Chocolate Chunk Cookies Recipe
This recipe truly embodies the joy of baking, combining simplicity and great flavors. You’ll find that making these cookies is a delightful activity that encourages connection and creativity in the kitchen.
Ingredient Notes
– Unsalted Butter: Browning it adds a deep, rich flavor, so don’t skip this step—it’s key!
– Dark Brown Sugar: This sugar contributes a moist texture and hints of caramel. I love the richness it brings.
– Instant Espresso Powder: It’s optional but enhances the chocolate flavor beautifully. I usually add it for an extra depth.
– Chopped Chocolate: Using big chunks is essential for those glorious melty pockets of chocolate. Feel free to mix in different types for fun flavors.
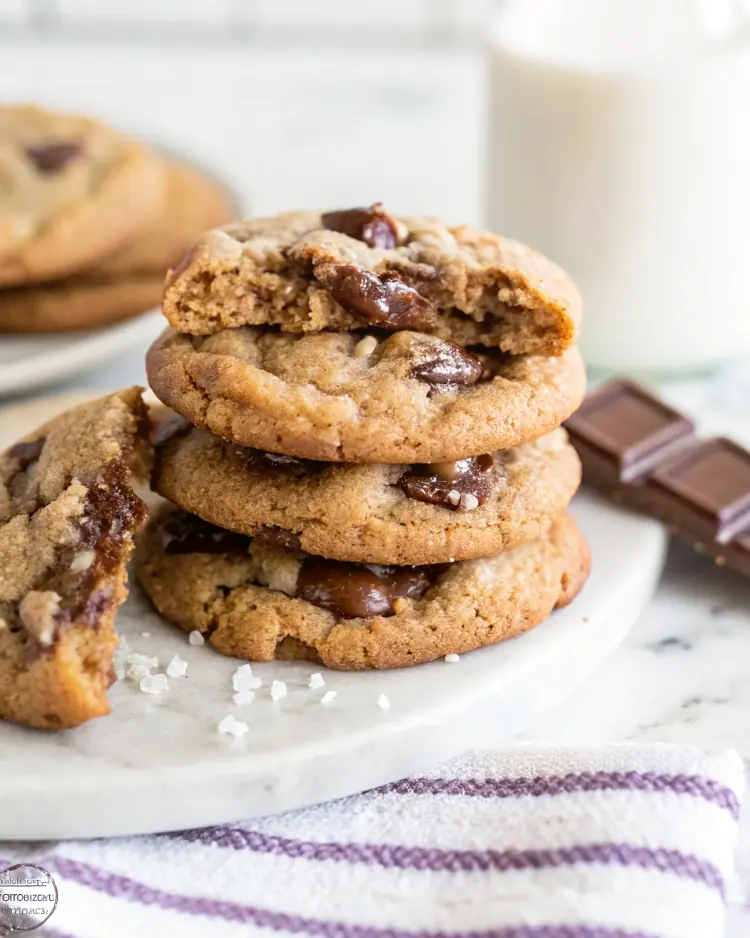
– Flaky Sea Salt: Sprinkle it on top right after baking for a perfect sweet-and-salty balance that’s simply divine.
Instructions
Step 1: Brown the Butter
Melt the butter gently in a medium skillet over medium heat, stirring frequently. The milk solids will turn golden-brown, giving off a delicious nutty aroma. Pour it into a bowl once it reaches that perfect golden color and let it cool gently.
Step 2: Mix Dry Ingredients
In a separate bowl, whisk together the flour, baking soda, and sea salt. This step ensures that your cookies have even texture and rise beautifully.
Step 3: Combine Sugars with Brown Butter
While the butter is still warm, mix in the brown sugar and granulated sugar until it’s mostly smooth. It may feel a bit loose, and that’s perfectly fine!
Step 4: Add in the Eggs and Flavor
Beat in the eggs one at a time, making sure they’re fully incorporated before adding the vanilla and espresso powder, if you’re using it. A quick mix is all you need here—don’t overdo it!
Step 5: Fold in the Dry Ingredients
Gently add the flour mixture in two parts into your wet ingredients. Use a spatula to fold until no streaks of flour remain. The dough should be thick and somewhat sticky.
Step 6: Add Chocolate Chunks
Carefully fold in the chocolate chunks, ensuring they’re evenly distributed throughout the dough. If you prefer extra chocolatey bites, set aside a few pieces to press into the tops later.
Step 7: Chill the Dough
Cover your bowl with plastic wrap and pop it in the fridge for at least 45 minutes. This is a crucial step that lets the flavors develop.
Step 8: Shape the Cookies
When you’re ready to bake, preheat the oven and prepare your baking sheets. Use a scoop to portion out the dough into balls and arrange them on the sheets, leaving space for spreading. If you saved any chocolate, add it to the tops now!
Step 9: Bake the Cookies
Bake one sheet at a time in the oven until the edges are golden brown. The centers should still look a tad soft for the perfect chewy texture.
Step 10: Finish and Cool
Sprinkle immediately with flaky sea salt as soon as they come out of the oven. Let them rest on the baking sheet for a bit before transferring to a wire rack to cool completely—or, if you can’t resist, enjoy them warm.
Tips and Mistakes to Avoid
– Make sure not to overbake; those chewy centers are the goal!
– Don’t skip the chilling step—it makes a world of difference in flavor and texture.
– Check your oven temperature—miscalibrated ovens can lead to uneven baking.
Storage Tips
Store your baked cookies in an airtight container for a few days at room temperature. You can also freeze the cookie dough balls for a quick future treat—just bake straight from the freezer, adding a minute or two to the baking time.
Variations and Substitutions
Try adding chopped nuts or a splash of orange zest for a delightful twist. For a gluten-free option, use a 1-to-1 baking flour replacement. These little adjustments can lead to new family favorites.
Why This Recipe Is The Real Deal
With that gorgeous texture—crispy edges and gooey chocolate centers—these cookies really showcase what homemade baking is all about. Personally, I couldn’t ask for a better way to create sweet moments around the table.
There’s something so fulfilling about gathering your loved ones for cookie-making. I invite you to dive into this recipe; it’s a cozy activity that surely won’t disappoint your taste buds.
Billy Mackenzie
Founder of MerryDessert.com
Simple, joyful homemade desserts — sweet moments, made with love.

Brown Butter Chocolate Chunk Cookies
Ingredients
Browned Butter & Wet Ingredients
- 1 cup unsalted butter (2 sticks)
- 1 cup packed dark brown sugar
- 1/3 cup granulated sugar
- 2 large eggs
- 1 1/2 tsp pure vanilla extract
- 1/2 tsp instant espresso powder (optional — boosts chocolate flavor)
Dry Ingredients
- 2 1/4 cups all-purpose flour
- 3/4 tsp baking soda
- 3/4 tsp fine sea salt
Mix-ins & Finishing
- 2 1/4 cups chopped bittersweet or dark chocolate (large chunks)
- flaky sea salt for sprinkling
Instructions
Preparation Steps
- Brown the butter: melt the butter in a medium skillet over medium heat. Stir frequently as the foam subsides and the milk solids turn golden-brown and give off a nutty aroma, about 6–8 minutes. Remove from heat and pour into a heatproof bowl, scraping the browned bits. Let the butter cool until warm but still liquid, about 10–15 minutes.
- Whisk the dry ingredients in a bowl: combine the flour, baking soda, and sea salt; set aside.
- Combine sugars and brown butter: while the browned butter is still warm (not hot), whisk in the brown sugar and granulated sugar until mostly smooth and glossy. The mixture will be slightly loose — that's fine.
- Add eggs and flavorings: beat in the eggs one at a time until incorporated, then stir in the vanilla and the espresso powder (if using). Mix just until homogeneous; avoid overbeating.
- Fold in dry ingredients: pour the flour mixture into the wet mixture in two additions, folding with a spatula until you no longer see streaks of flour. The dough should be thick and slightly sticky.
- Stir in chocolate chunks: fold the chopped chocolate into the dough so chunks are distributed evenly. If you like prominent pockets of chocolate, reserve a few large pieces to press onto the tops of the cookies before baking.
- Chill the dough: cover the bowl and refrigerate for at least 45 minutes and up to 24 hours. Chilling firms the dough, concentrates flavor, and prevents excessive spreading.
- Shape the cookies: preheat the oven to 350°F (177°C). Line baking sheets with parchment. Using a 3-tablespoon scoop (or a large cookie scoop), portion the dough into balls and place 8 per sheet, leaving room to spread. If you reserved chunks, press a few pieces onto each ball now. Chill the scooped balls on the sheet for 10–15 minutes while the oven comes to temperature.
- Bake: bake one sheet at a time in the center of the oven for 10–12 minutes, rotating halfway, until the edges are golden and the centers still look slightly soft. For chewier centers, aim for the shorter time; for crisper edges, bake a minute or two longer.
- Finish and cool: remove the cookies from the oven and immediately sprinkle with flaky sea salt. Let them rest on the baking sheet for 5 minutes to set, then transfer to a wire rack to cool completely (or enjoy warm). Store cooled cookies in an airtight container for up to 4 days, or freeze the dough balls for later baking.