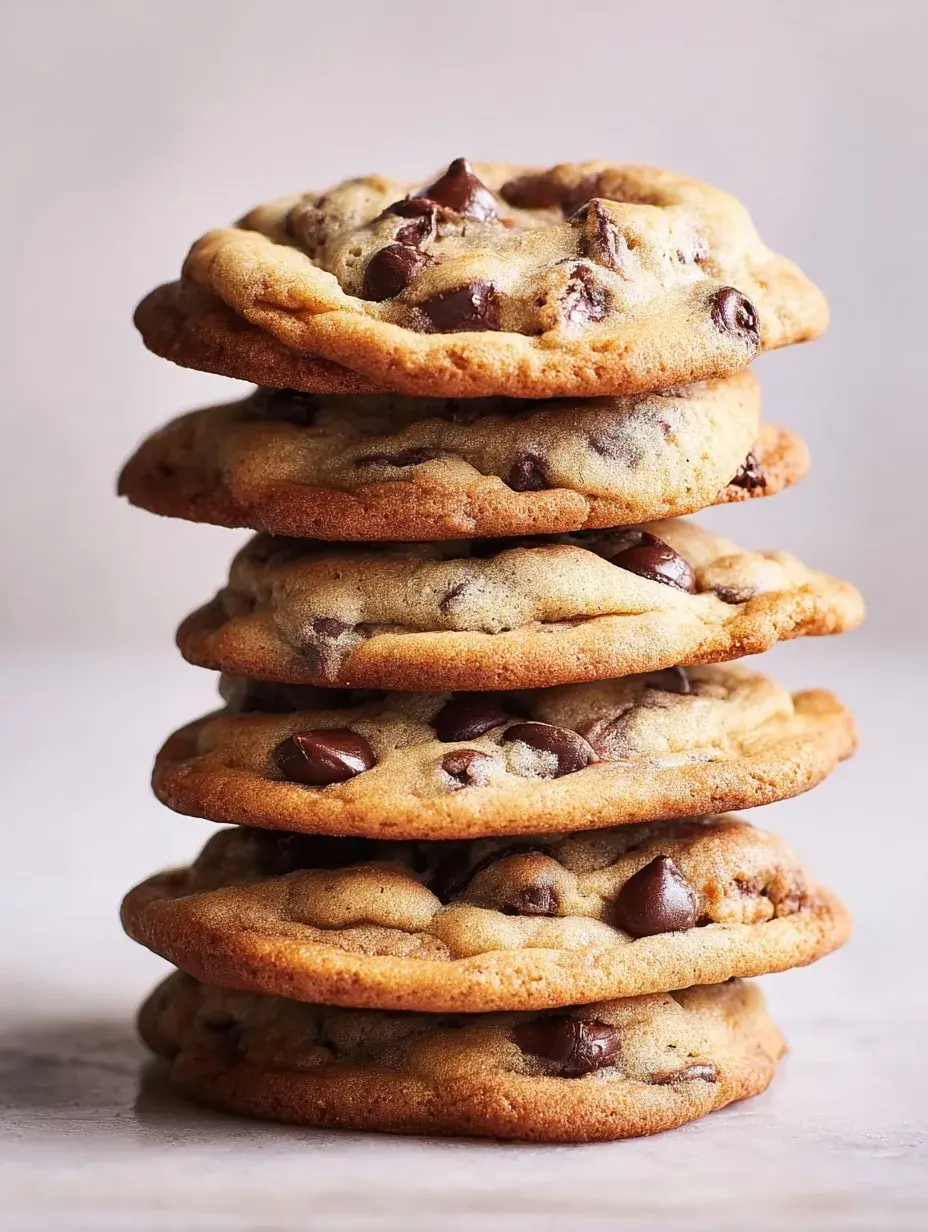
There is something about a giant, golden cookie that feels like a hug in a box. My daughter and I spent a quiet Sunday afternoon testing this recipe until the kitchen smelled like toasted sugar. These Bakery Style Chocolate Chip Cookies are exactly what you need when you want something substantial and sweet.
Why You Will Love This Bakery Style Chocolate Chip Cookies
I remember standing outside a little shop in the city years ago, staring at these massive, crinkly cookies and wondering how they stayed so thick without being cakey. For a long time, my own cookies always came out a bit too flat, but I was determined to figure out that professional texture for my family.
After testing four different versions, I discovered that the magic really happens when you let the dough rest and use browned butter instead of just softened sticks. It was a total discovery moment for me when I realized that patience was the most important ingredient for that deep, toffee-like flavor.
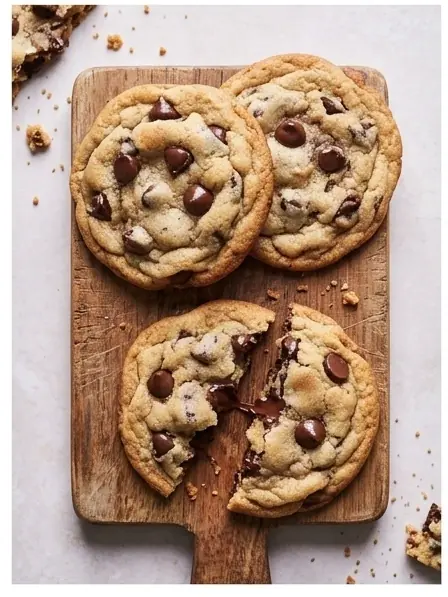
What Makes This Bakery Style Chocolate Chip Cookies Special
- Brown Butter Base. Melting the butter until it reaches a nutty, golden brown state adds a depth of flavor that regular butter simply cannot match.
- Extra Egg Yolk. Using one full egg plus an extra yolk ensures the centers stay incredibly rich and chewy rather than light and airy.
- Cornstarch Secret. A small amount of cornstarch helps create that signature tender crumb while keeping the cookie thick and sturdy.
- The 24-Hour Chill. Resting the dough allows the flour to fully hydrate, which is what gives you those professional bakery ripples and a concentrated sweetness.
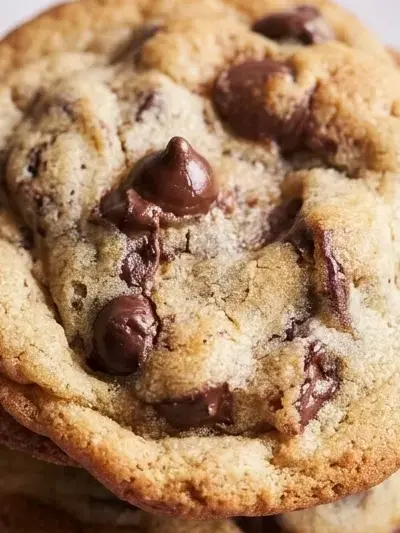
The Best Bakery Style Chocolate Chip Cookies Recipe
This is the recipe I pull out whenever we have friends coming over or if I want to surprise my daughter with a special treat after school. It takes a little planning because of the chill time, but honestly, the wait is part of the fun.
Ingredient Notes
- Unsalted Butter: We brown this to get those toasted bits at the bottom which provide the best flavor.
- Dark Brown Sugar: I prefer dark over light because the extra molasses makes the cookies much more moist and chewy.
- Cornstarch: This is my favorite trick for keeping the edges crispy while the middle stays soft for days.
- Chocolate Chunks: Using chunks instead of chips ensures you get big, melty pools of chocolate in every single bite.
- Sea Salt: A little sprinkle on top or in the dough balances out all that rich sugar perfectly.
Instructions
Step 1: Brown the Butter
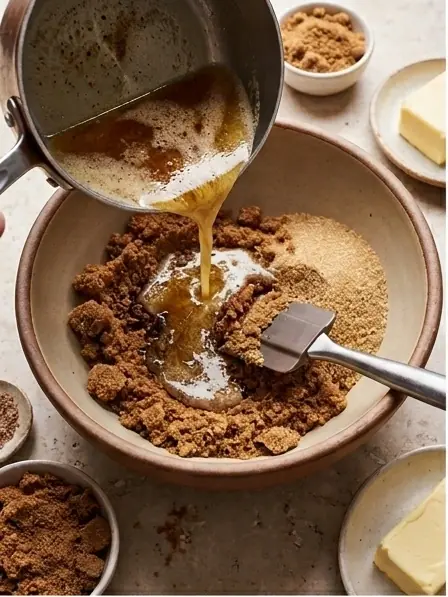
Place the butter in a saucepan over medium heat. Cook until it foams, develops a deep amber color, and gives off a rich, nutty aroma. Remove from the heat and allow it to cool completely before using.
Step 2: Combine the Sugars
In a large mixing bowl, whisk the cooled brown butter with the brown sugar and granulated sugar until the mixture resembles wet sand and is fully combined.
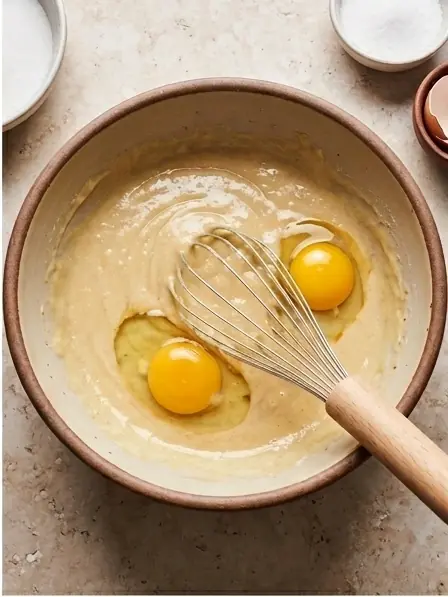
Step 3: Add the Eggs and Vanilla
Whisk in the whole egg, extra egg yolk, and vanilla extract. Continue mixing until the batter becomes pale, smooth, and glossy.
Step 4: Mix the Dry Ingredients
Add the flour, baking soda, cornstarch, and salt to the bowl. Gently stir until only a few streaks of flour remain. Avoid overmixing to keep the cookies soft and tender.
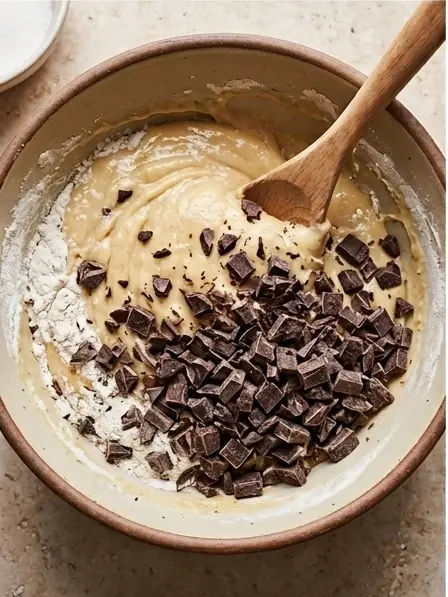
Step 5: Fold in the Chocolate Chunks
Using a spatula, fold the chocolate chunks into the dough until evenly distributed throughout.
Step 6: Portion the Dough
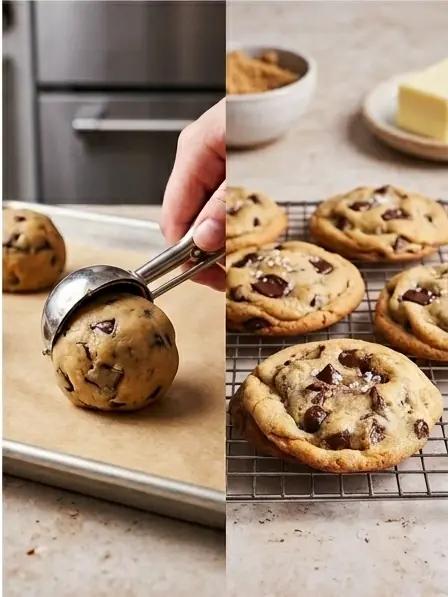
Use a large cookie scoop to divide the dough into generous 3-ounce portions. Roll lightly into balls and place them on a parchment-lined tray.
Step 7: Chill the Dough
Cover the tray and refrigerate the cookie dough balls for at least 24 hours. This resting time develops deeper flavor and improves texture.
Step 8: Bake the Cookies
Preheat the oven to 350°F (175°C). Arrange the chilled dough balls on parchment-lined baking sheets, leaving plenty of space between each cookie. Bake until the edges are golden brown while the centers still appear slightly underbaked.
Step 9: Cool and Serve
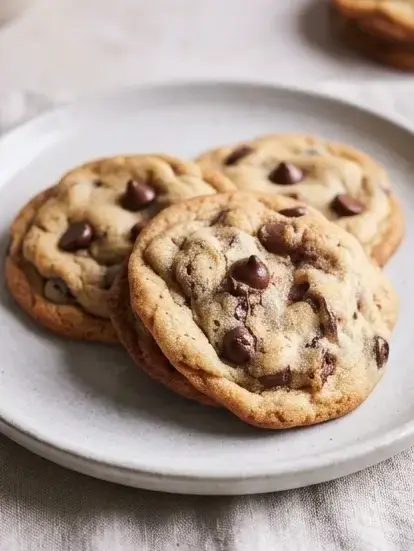
Allow the cookies to cool on the baking sheet for several minutes before transferring them to a wire rack. Serve warm for gooey chocolate pockets or cool completely for a classic bakery-style texture.
Billy’s Tips and Mistakes to Avoid
- Do not skip the chilling time because the dough will spread too thin and you will lose that thick, chewy texture I love.
- Always use room temperature eggs so they emulsify properly with the butter and sugar for a smooth batter.
- If your cookies aren’t perfectly round, use a large circular cutter to gently scoot the edges back toward the center right after they come out of the oven.
- Measure your flour with a spoon and level it off rather than scooping the cup into the bag, which often leads to too much flour and dry cookies.
- Let the cookies cool on the pan for at least ten minutes because they are very soft when they first finish baking.
Storage Tips
These cookies stay soft and fresh in an airtight container at room temperature for up to 4 days. If you want to keep them longer, you can freeze the baked cookies for up to 3 months or keep the pre-scooped dough balls in the freezer for a quick treat whenever you have a craving.
Variations and Swaps
- Try swapping the semi-sweet chunks for white chocolate and macadamia nuts for a tropical twist.
- For a gluten-free version, I have had great success using a high-quality 1-to-1 gluten-free baking flour.
- Let your kids press a few extra chocolate chips into the tops of the dough balls right before baking for a picture-perfect finish.
Why This Recipe Works Every Time
The combination of brown butter and a high ratio of brown sugar creates a chemical reaction that results in a very specific toffee flavor. Because we use a large scoop size, the outside has enough time to crisp up while the center stays protected and soft.
I personally found that adding the extra egg yolk was the turning point for this recipe. My first few batches felt a bit dry, but that extra bit of fat from the yolk changed everything and gave me the Bakery Style Chocolate Chip Cookies I had been dreaming of.

Ingredients
- 1 cup unsalted butter, browned and cooled
- 1 cup dark brown sugar, packed
- 1/2 cup granulated sugar
- 1 large egg , room temperature
- 1 large egg yolk, room temperature
- 2 teaspoons vanilla extract
- 2 1/4 cups all -purpose flour
- 1 teaspoon baking soda
- 1 tablespoon cornstarc h
- 1/2 teaspoon sea salt
- 2 cups semi -sweet chocolate chunks
Instructions
- In a small saucepan, brown the butter over medium heat until golden and nutty, then cool to room temperature.
- In a large bowl, whisk the cooled brown butter with brown sugar and granulated sugar until well combined.
- Add the egg, egg yolk, and vanilla extract, whisking until the mixture is pale and glossy.
- Sift together the flour, baking soda, cornstarch, and salt in a separate bowl.
- Fold the dry ingredients into the wet ingredients until just combined, ensuring no flour streaks remain.
- Fold in the chocolate chunks manually.
- Scoop dough into large 3-ounce balls and place on a tray.
- Cover and refrigerate the dough balls for 24 hours to hydrate the flour and deepen the flavor.
- Preheat oven to 350°F (175°C) and line a baking sheet with parchment paper.
- Space cookie dough balls 3 inches apart on the baking sheet to allow for spreading.
- Bake for 10-12 minutes until edges are set and golden but centers remain slightly soft.
- Allow to cool on the baking sheet for 10 minutes before transferring to a wire rack.
Frequently Asked Questions
Do I really have to chill the dough for 24 hours?
While you can bake them after 2 hours, the flavor and texture are significantly better after a full day. The flour needs that time to absorb the moisture, which prevents the cookies from spreading too much.
Can I use chocolate chips instead of chunks?
You definitely can, but chunks create those beautiful layers of chocolate that chips just don’t provide. I usually just chop up a few high-quality chocolate bars myself.
Why did my cookies come out flat?
This usually happens if the butter was still too warm when mixed or if the dough wasn’t chilled long enough. Make sure your butter is back to room temperature after browning it.
The Bottom Line
Baking these Bakery Style Chocolate Chip Cookies is a wonderful way to slow down and enjoy the process of making something from scratch. Whether it is a rainy afternoon or a holiday morning, these cookies always bring a smile to my daughter’s face. Sweet moments don’t have to be complicated. Let’s make something wonderful together.
I hope your kitchen fills with the warm scent of toasted butter and chocolate today. It is the best way to spend a chilly afternoon. Billy
Billy