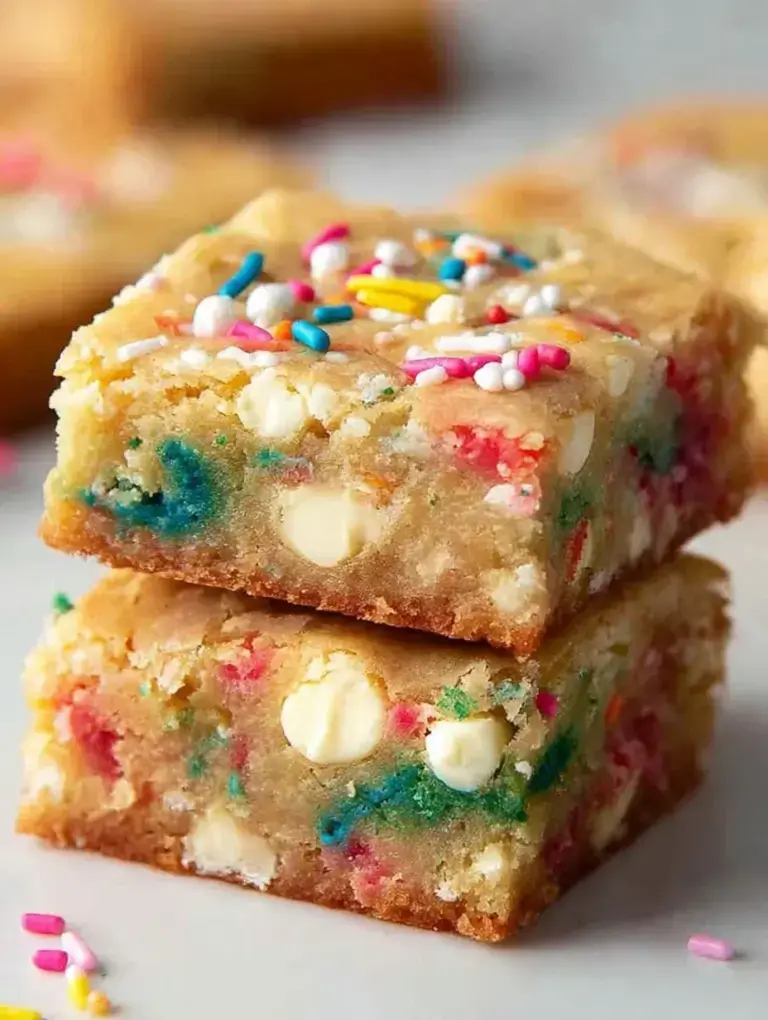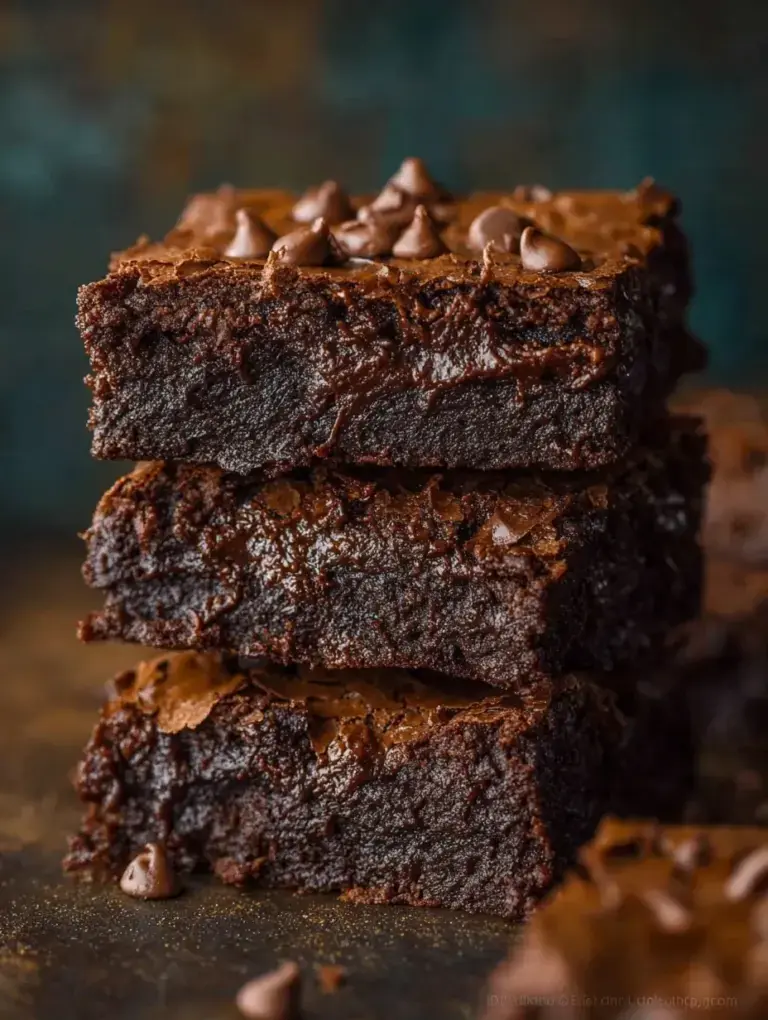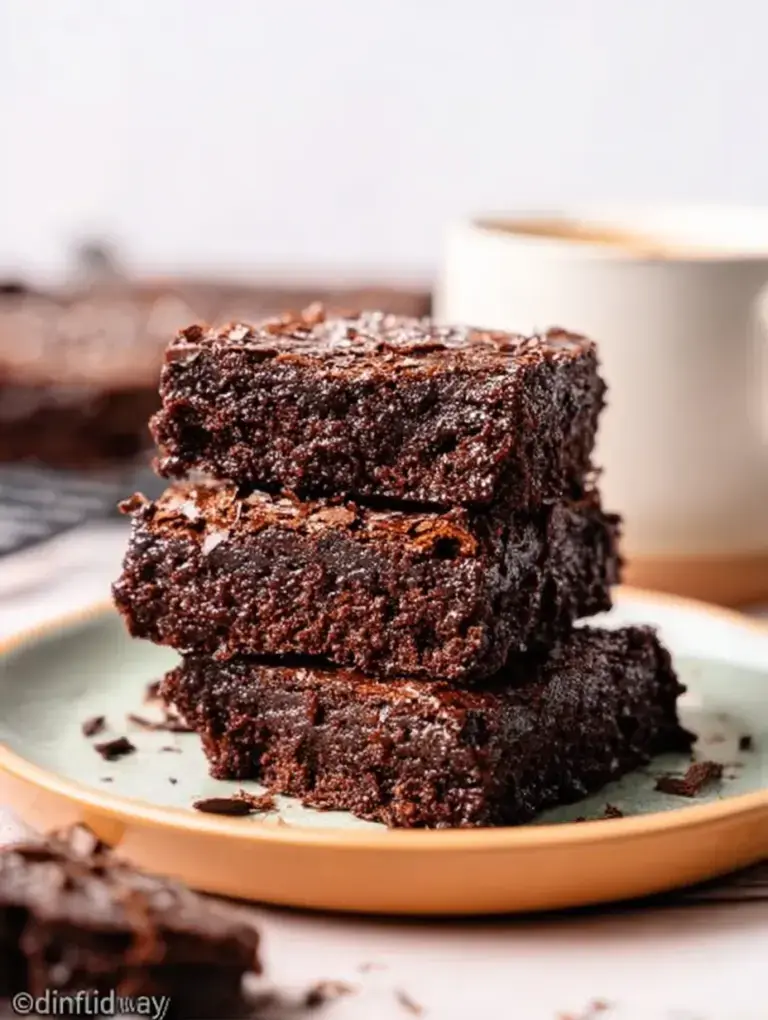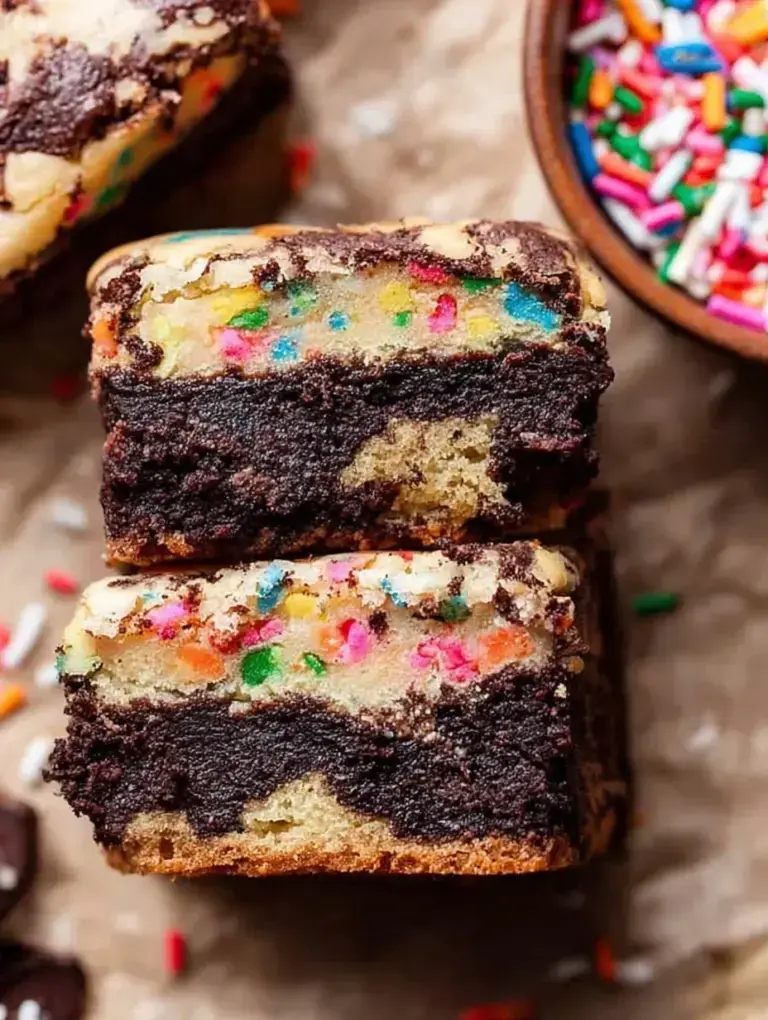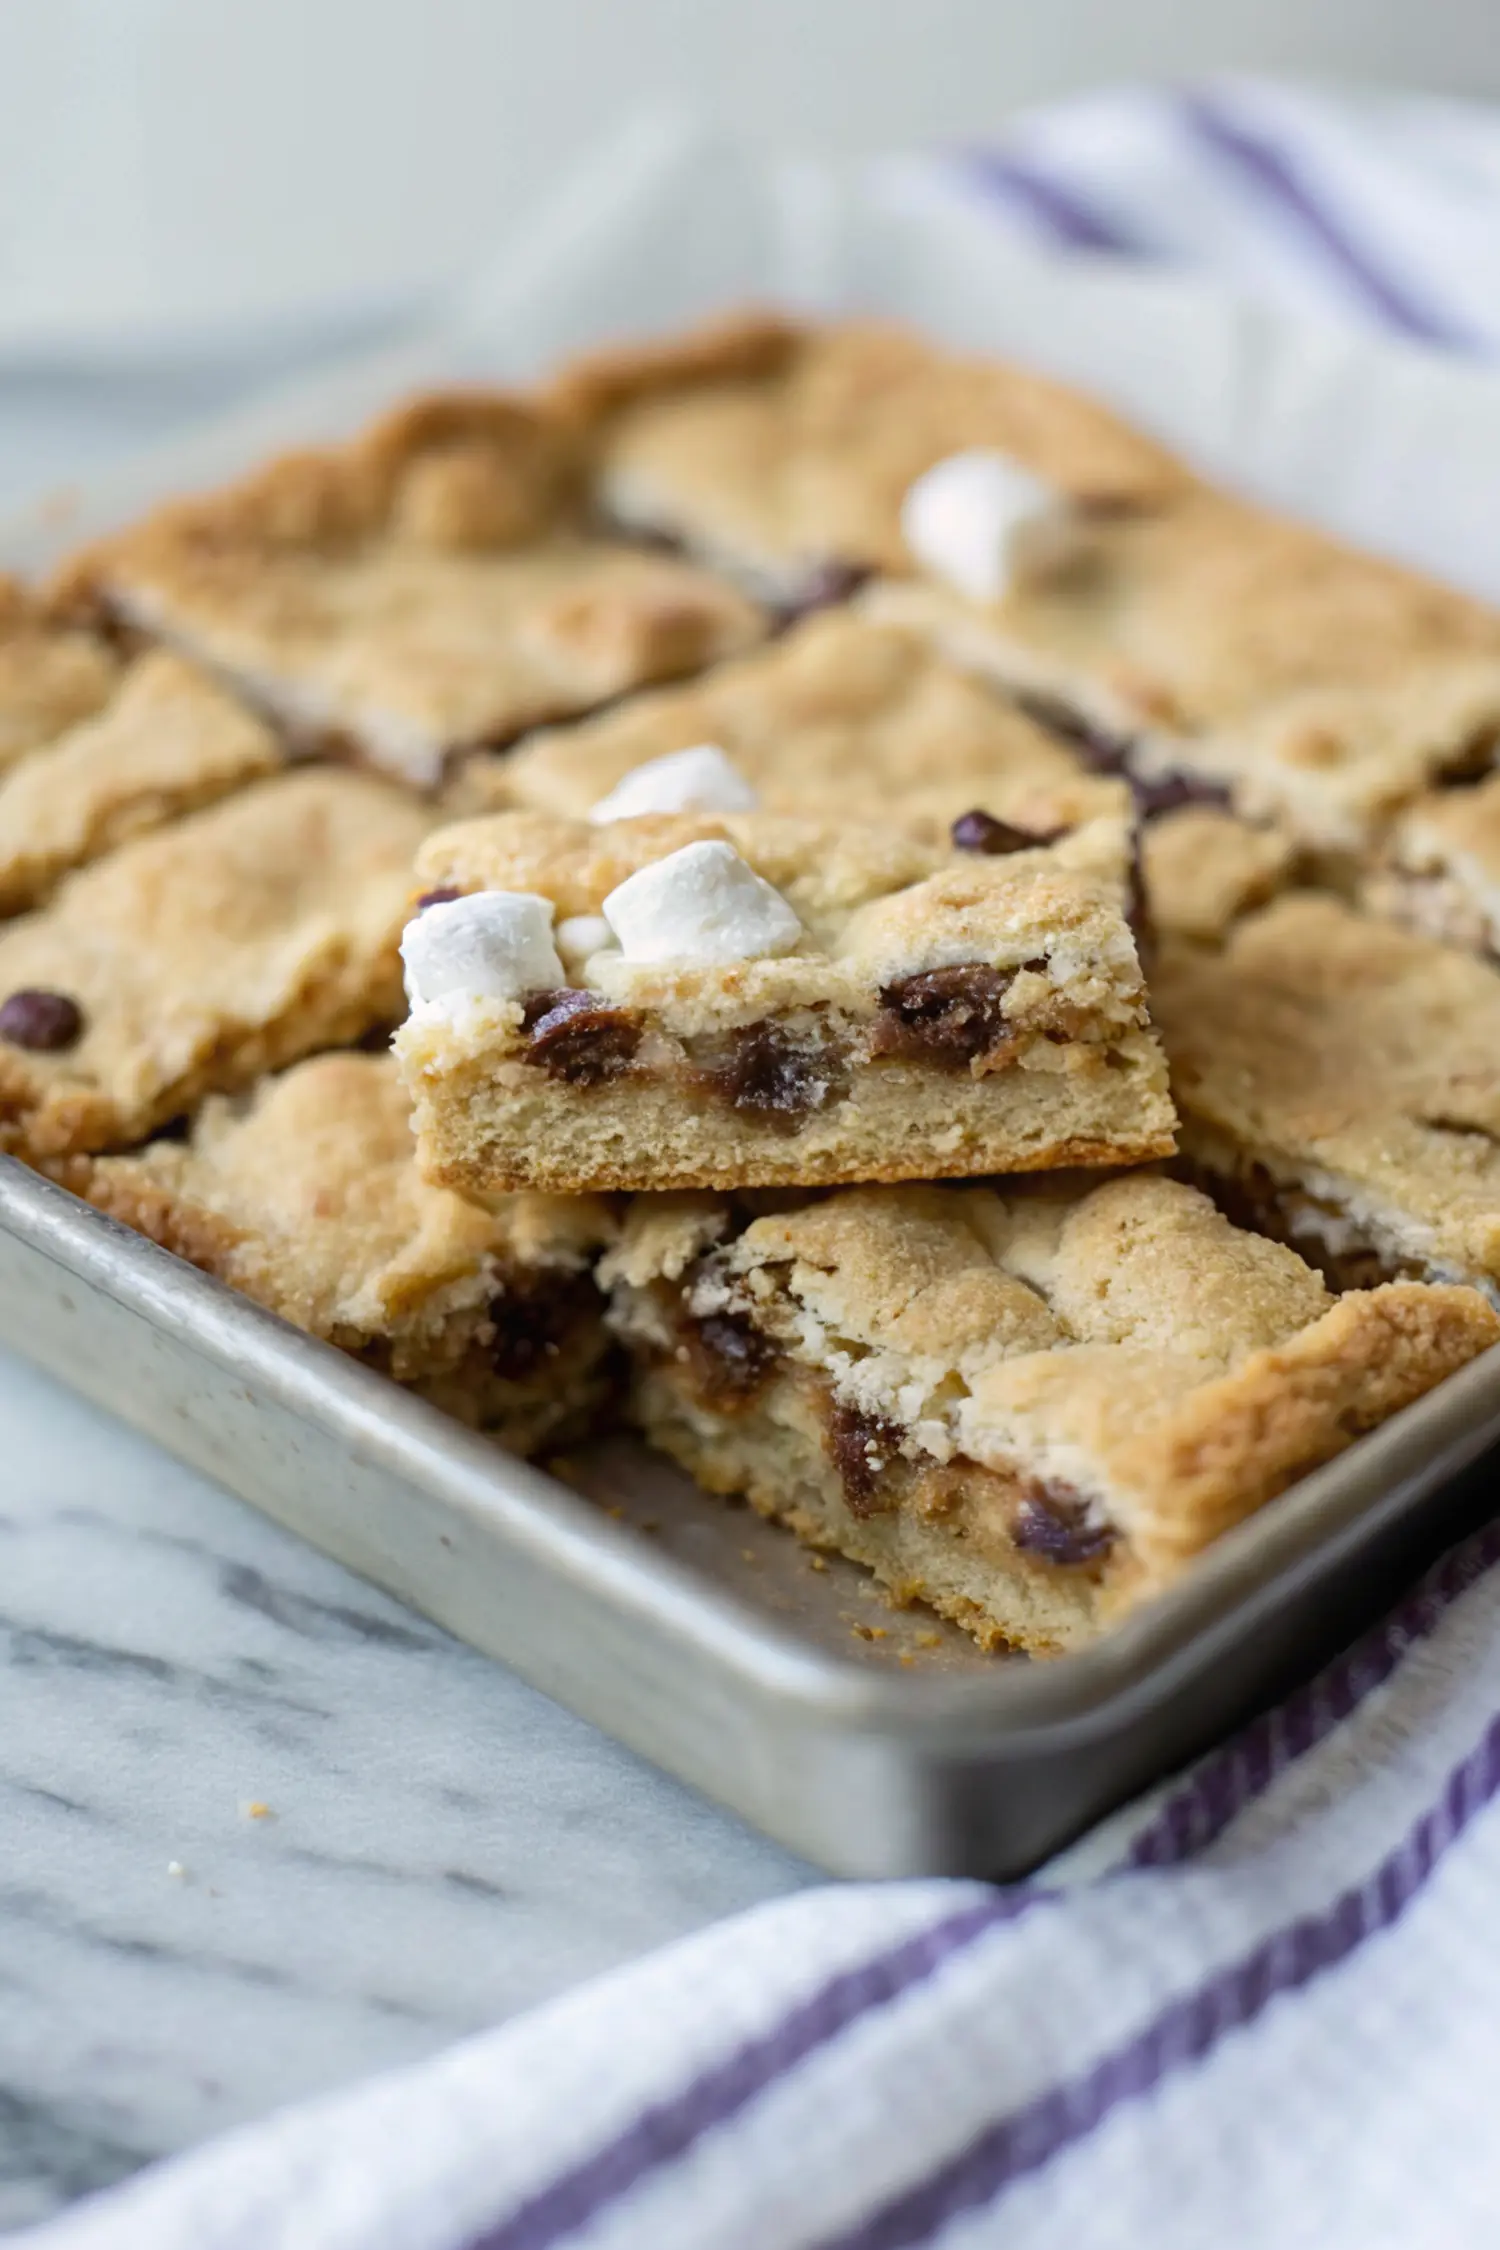
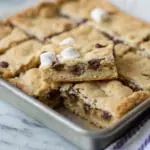
After a long day of recipe testing, sometimes what you need most is a quick, satisfying treat to lift your spirits. That’s exactly how these Easy Mud Hen Bars came to be. The wonderful combination of marshmallows and chocolate makes for a decadent bite, while the addition of a glossy brown sugar meringue on top adds that special something.
Why You’ll Love This Easy Mud Hen Bars Recipe
This dessert brings together some of my favorite baking memories with my daughter, who loves to sprinkle mini marshmallows on top and sneak chocolate chips. It’s a delightful way to involve kids in the kitchen, turning a simple baking session into a sweet family experience. Finding the right balance of textures — gooey from the marshmallows, rich from the chocolate, and light from the meringue — is a small discovery that keeps me coming back for more.
What Makes this Recipe Unique
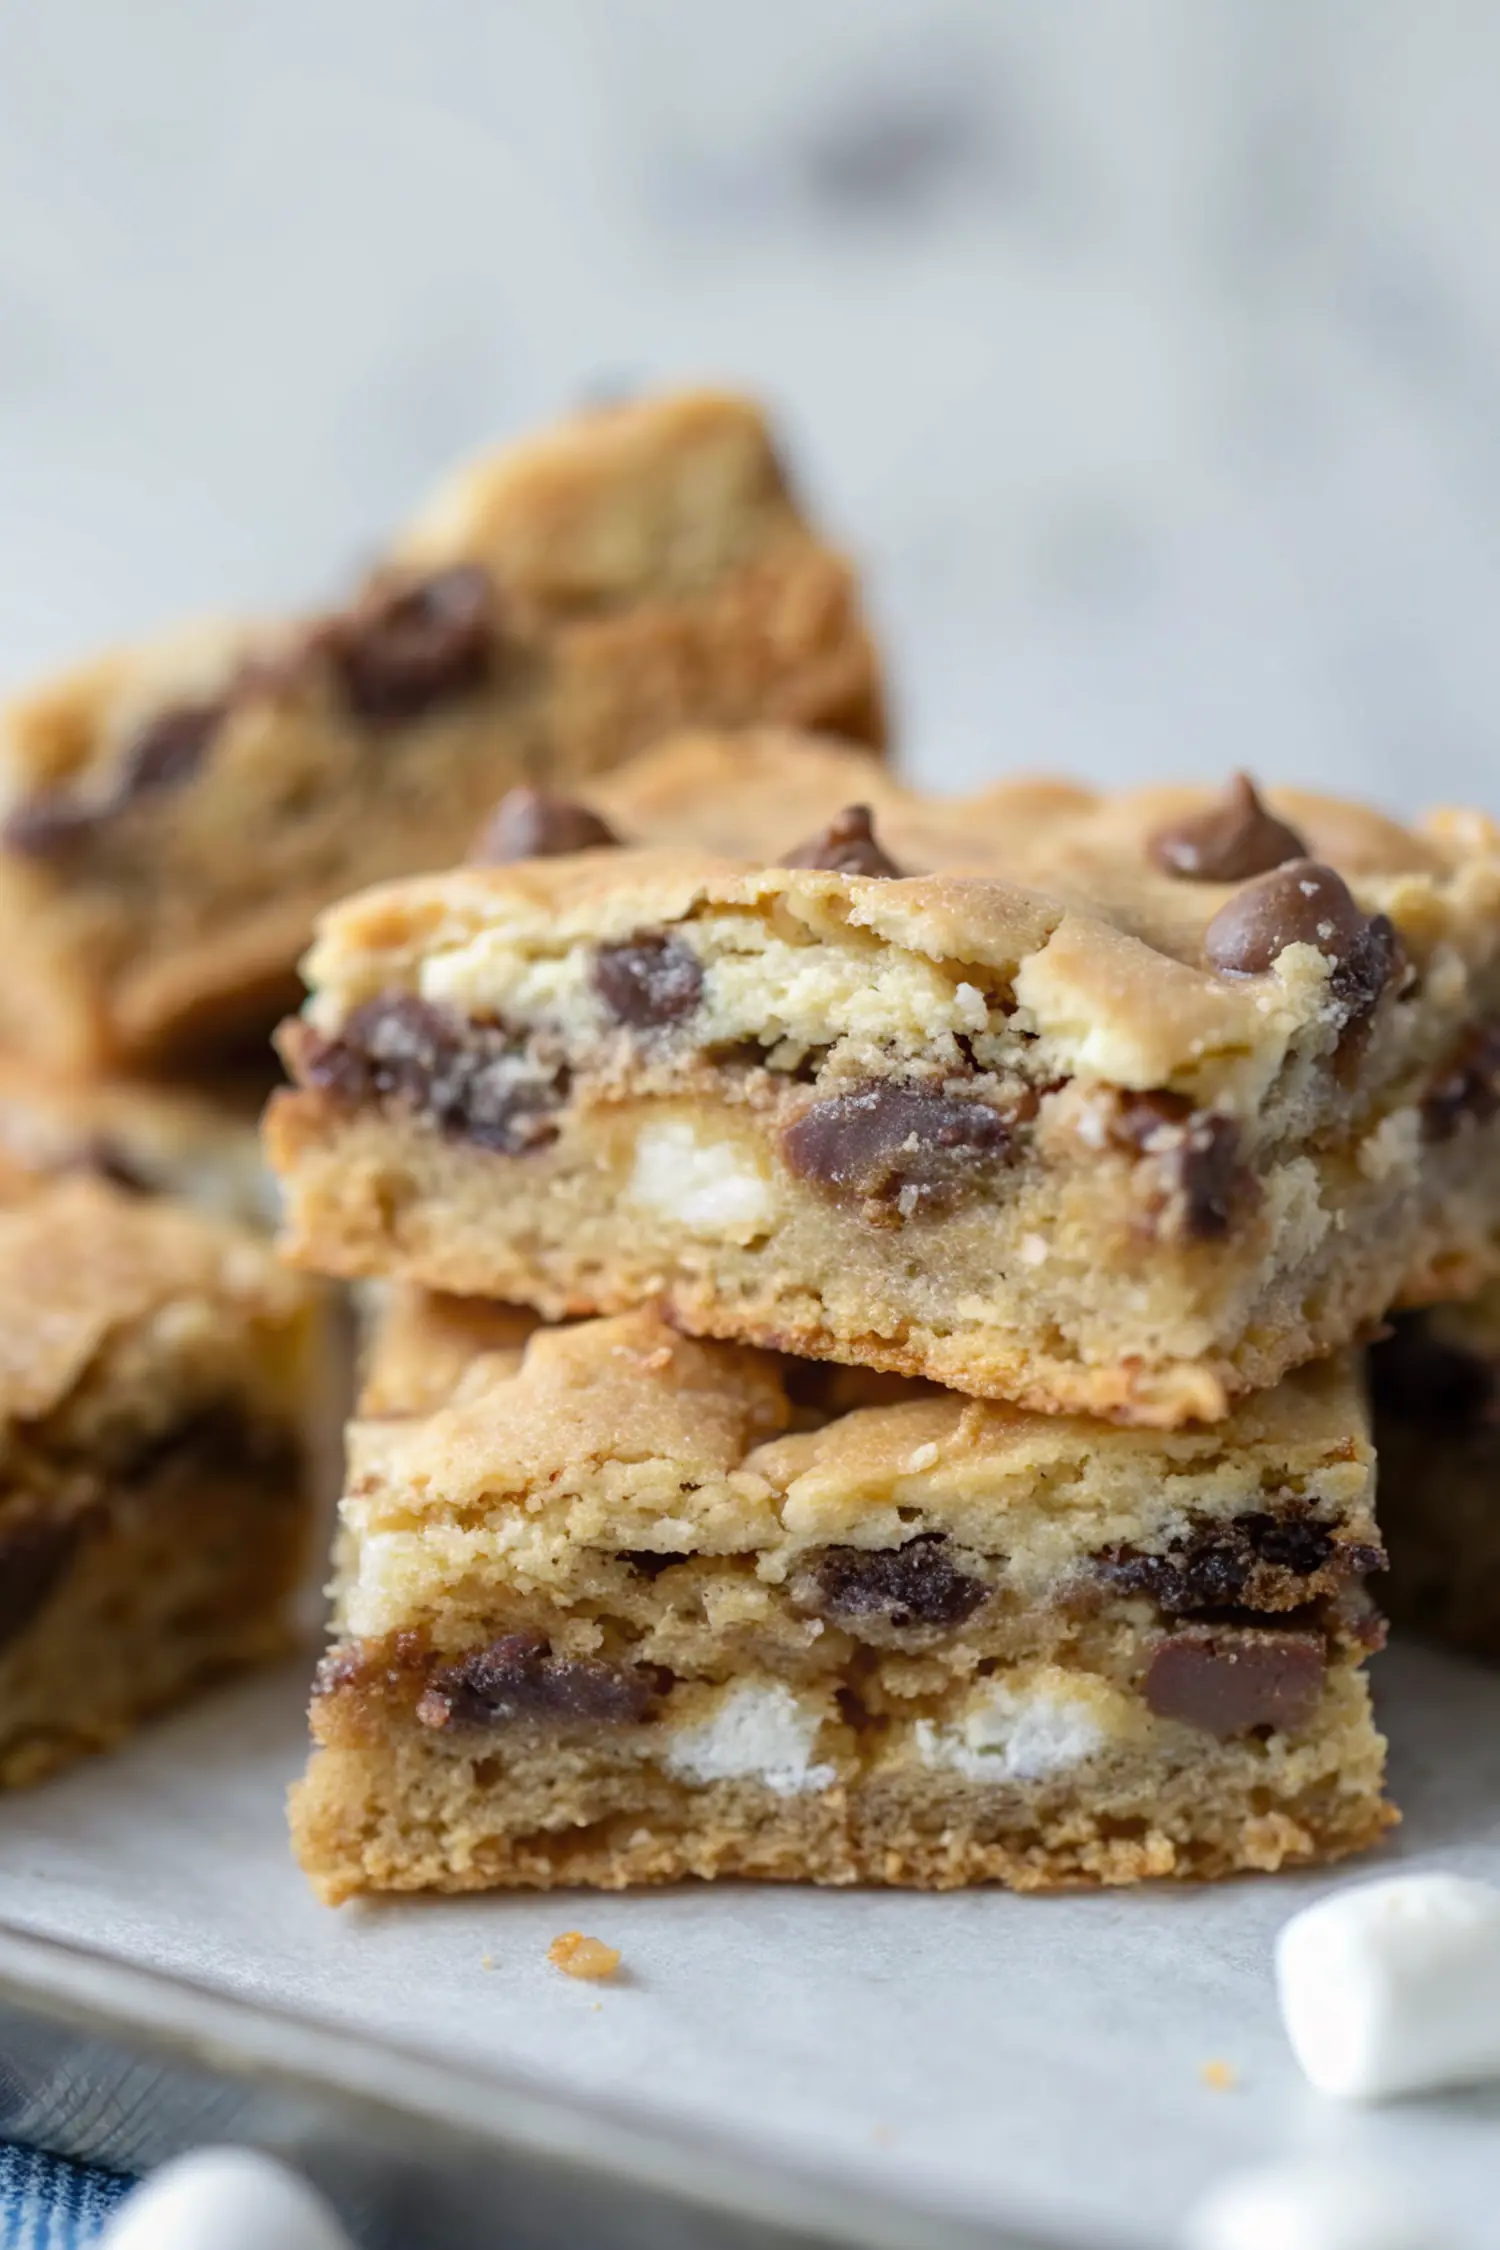
– **Texture:** The combination of a soft bar base, melty chocolate, and a crispy meringue creates a delightful contrast that you can’t resist.
– **Key Ingredient:** Those mini marshmallows add a chewy, gooey touch that complements the fudgy chocolate perfectly.
– **Method:** Whipping the egg whites to make a meringue is a straightforward technique that makes a big difference — this airy topping elevates the bars beyond a typical dessert.
– **Speed:** While it may seem like a labor of love, these bars come together fairly quickly, making them manageable even on busy baking days.
Estimated Macros & Calories
Here’s a quick look at what you can expect nutritionally.
(estimated per serving, without optional ingredients)
- Calories: 180
- Protein: 2 g
- Carbohydrates: 25 g
- Fat: 7 g
- Fiber: 0 g
The Most Authentic Easy Mud Hen Bars Recipe Recipe
These Easy Mud Hen Bars are a joy to whip up and share with family and friends. They strike the perfect balance between sweetness and satisfying texture, making them a go-to in my baking rotation.
Ingredient Notes
– Unsalted Butter: Provides moisture and richness; don’t skip softening it for easy mixing.
– Granulated Sugar: Helps with the structure and sweetness; packing light brown sugar gives extra depth.
– Mini Marshmallows: Essential for a gooey texture; look for the mini variety for even melting.
– Instant Espresso Powder: Optional but enhances the chocolate flavor; I love adding it to really bring out the richness.
– Egg Whites: They need to be whipped to soft peaks — ensure your bowl is clean and dry for the best results.
Instructions
Step 1: Prepare the Oven and Pan
Heat your oven to a warm 350°F and line a baking pan. I like to leave a little overhang with parchment paper to easily lift the bars out later.
Step 2: Cream the Butter and Sugar
In a mixing bowl, whip together the softened butter and granulated sugar. You’ll want it to look pale and a bit fluffy, which usually takes just a couple of minutes.
Step 3: Mix in the Wet Ingredients
Add in the egg, yolks, vanilla, and espresso powder. Give it a good mix until everything is smooth and well combined.
Step 4: Combine the Dry Ingredients
In another bowl, mix together the flour, baking powder, and salt, then fold this dry mixture into your butter mixture. It should come together into a crumbly dough, so don’t overdo it!
Step 5: Spread the Base
Press this dough evenly into the baking pan using the back of a spoon or your fingertips. You want a nice even layer, so take your time.
Step 6: Add Chocolate and Marshmallows
Sprinkle the chocolate chips generously over the dough and then scatter the mini marshmallows on top. Push the marshmallows in gently so they level off.
Step 7: Whip the Egg Whites
In a clean bowl, whip the reserved egg whites until soft peaks form. Gradually add in the brown sugar and continue beating until you have a glossy meringue that holds its shape.
Step 8: Spread the Meringue
Carefully spread that fluffy meringue over the top of the marshmallows and chocolate. Use an offset spatula to smooth it out, shaking the pan a bit to level it.
Step 9: Bake Until Golden
Bake your bars until the meringue is golden and set. The edges should be lightly browned, and your kitchen will smell amazing!
Step 10: Cool and Chill
Let the pan cool on a wire rack until it reaches room temperature, then chill it briefly to help slice cleanly. Carefully lift the bars out using the parchment overhang and cut into squares.
Tips and Mistakes to Avoid
– Make sure the egg whites are free of any yolk when whipping; otherwise, they won’t reach the right peaks.
– Allow the base layer to cool slightly before adding the meringue, so it doesn’t melt into the marshmallows.
– If the meringue starts browning too quickly, use aluminum foil to tent it loosely halfway through baking.
Storage Tips
These bars can last in the fridge for a few days, and if you want to keep them longer, pop them in the freezer. Just make sure to separate layers with wax paper, and they can be a delightful surprise later!
Variations and Substitutions
Try swapping in peanut butter chips for a nutty twist, or use gluten-free flour to accommodate dietary needs. You can also mix in some chopped nuts for added crunch!
Why This Recipe Is The Real Deal
Both the meringue and the chocolate create a beautiful sensory experience with every bite. This process, particularly whipping the egg whites, is what truly makes these bars pop. I love seeing my daughter’s excitement as we transform simple ingredients into something so special together.
The Bottom Line
I really think these Easy Mud Hen Bars can bring a spark to your family dessert nights. They’re simple, joyful, and made with love — I invite you to give them a try and share your thoughts!
Billy Mackenzie
Founder of MerryDessert.com
Simple, joyful homemade desserts — sweet moments, made with love.
Easy Mud Hen Bars Recipe
Ingredients
Shortbread-style Base
- 9 tbsp unsalted butter, softened
- 1 cup granulated sugar
- 1 tsp pure vanilla extract
- 1 large egg plus 2 large egg yolks (reserve whites)
- 1 1/2 cups all-purpose flour
- 1 tsp baking powder
- 1/2 tsp fine salt
Chocolate & Marshmallow Layer
- 1 cup mini marshmallows
- 1 cup semi-sweet chocolate chips
- 1/2 tsp instant espresso powder (optional; enhances chocolate)
Brown Sugar Meringue Topping
- 1 cup light brown sugar, packed
- 2 egg whites (from reserved eggs)
Instructions
Preparation Steps
- Heat the oven to 350°F (175°C). Line a 9x13-inch baking pan with parchment, leaving a 1–2 inch overhang to lift the bars out later, and lightly spray the paper with cooking spray.
- Make the base: in a large mixing bowl, beat the softened butter and granulated sugar together on medium speed until pale and a little fluffy, about 2–3 minutes. Add the whole egg and the two egg yolks, vanilla and instant espresso powder, and mix until smooth.
- Combine the flour, baking powder and salt in a separate bowl. Add the dry mixture to the butter mixture and stir just until it comes together into a slightly crumbly dough; avoid overmixing. Press the dough evenly into the prepared pan using the back of a spoon or your fingertips to form a compact layer.
- Scatter the chocolate chips evenly over the dough, then sprinkle the mini marshmallows on top. Gently press the marshmallows into the chocolate so they sit level with the surface.
- Whip the egg whites: in a clean, dry bowl with the whisk attachment, beat the two reserved egg whites on medium-high until they form soft peaks. With the mixer running, add the light brown sugar a few tablespoons at a time and continue beating until the meringue is glossy and holds stiff peaks — the sugar should feel dissolved when you rub a little between your fingers.
- Spread the brown sugar meringue over the marshmallows and chocolate in an even layer. Smooth the top with an offset spatula, then shake the pan once or twice to level everything. If the top is browning too quickly during baking, tent loosely with foil halfway through.
- Bake until the meringue is golden and set and the edges are lightly browned, about 32–35 minutes. Remove from the oven and allow the pan to cool on a wire rack until the bars reach room temperature.
- Chill for 20–30 minutes in the refrigerator to make slicing cleaner, then use the parchment overhang to lift the slab from the pan and cut into 24 squares. Store in an airtight container; separate layers with wax paper to protect the meringue.