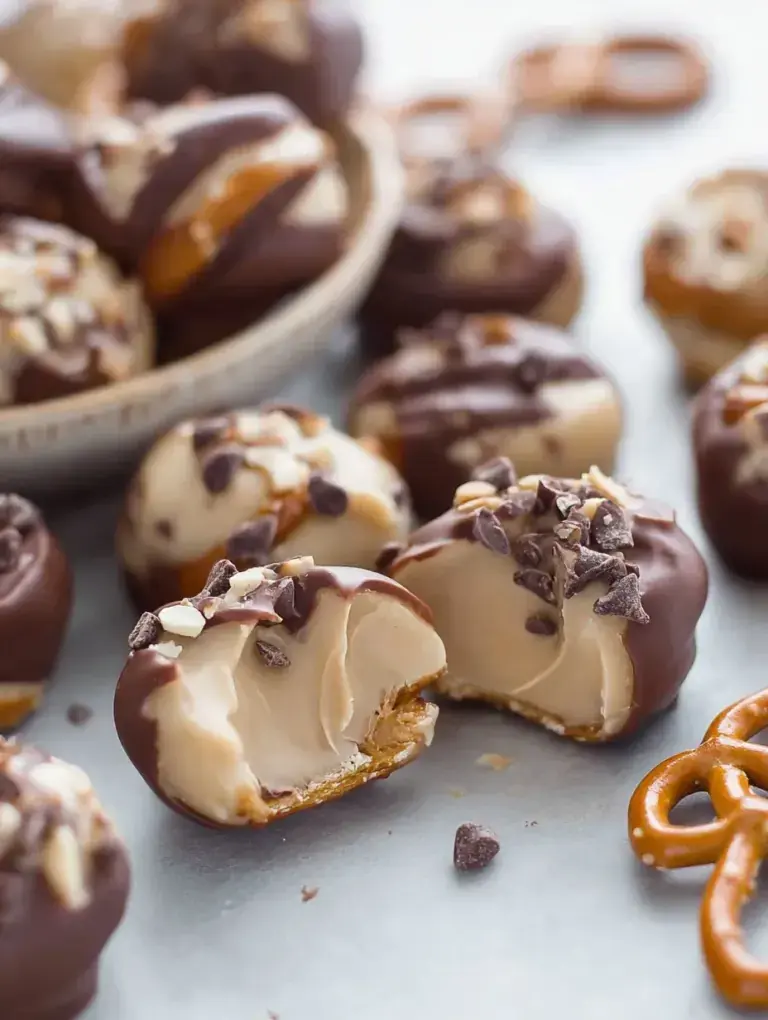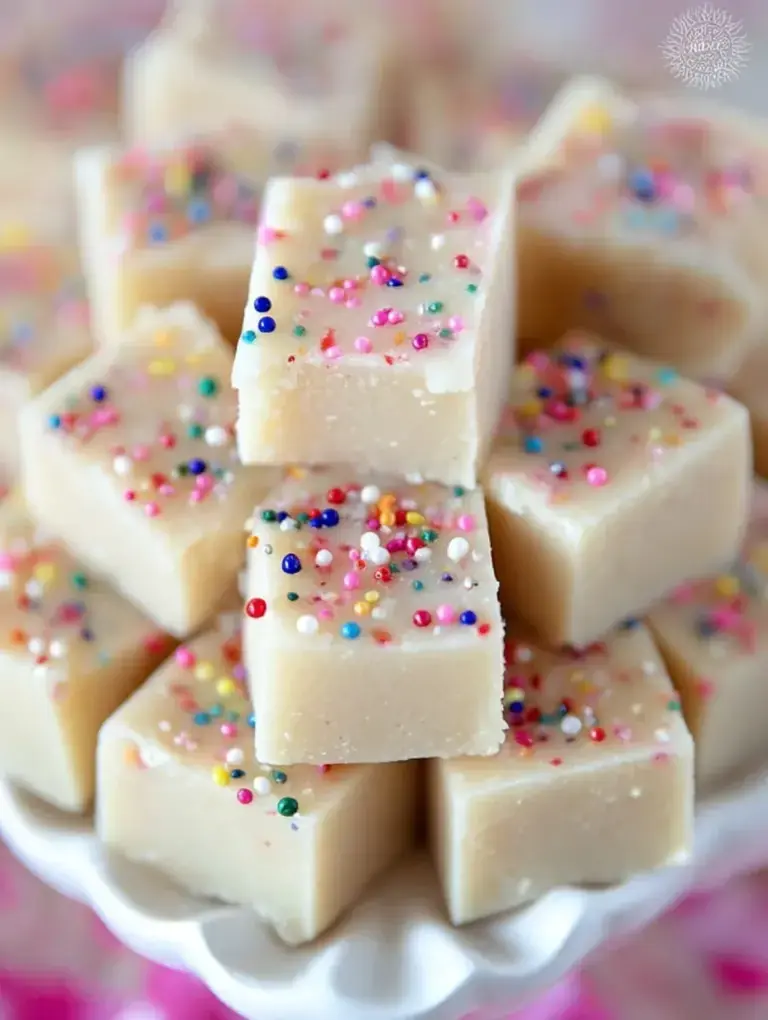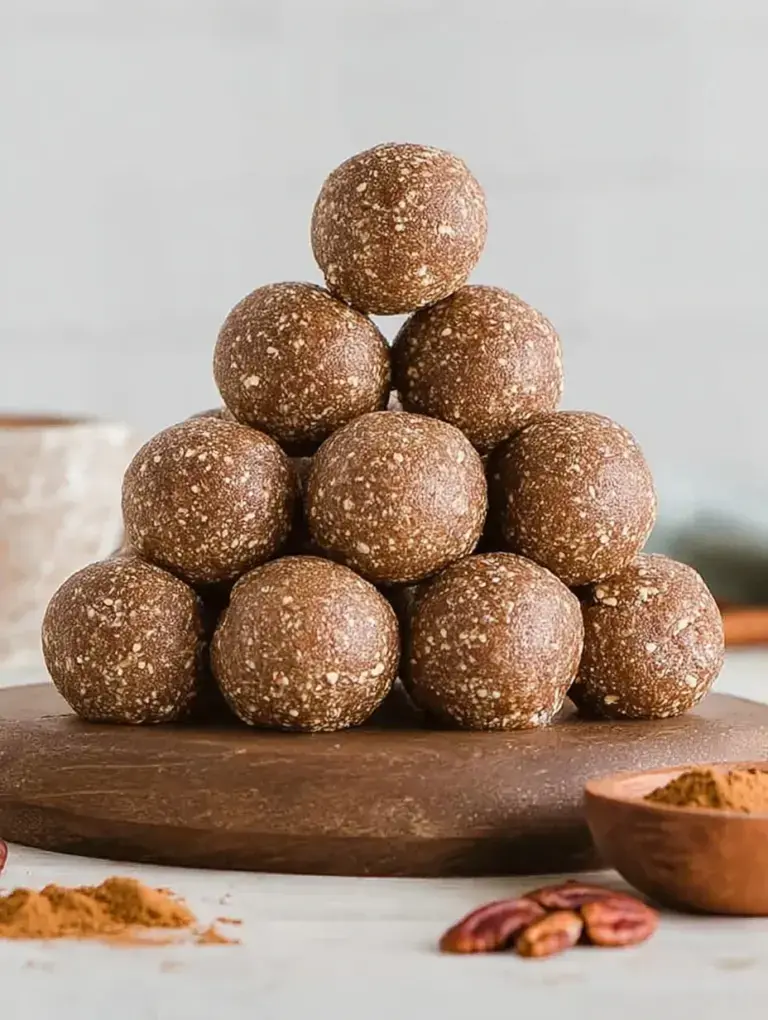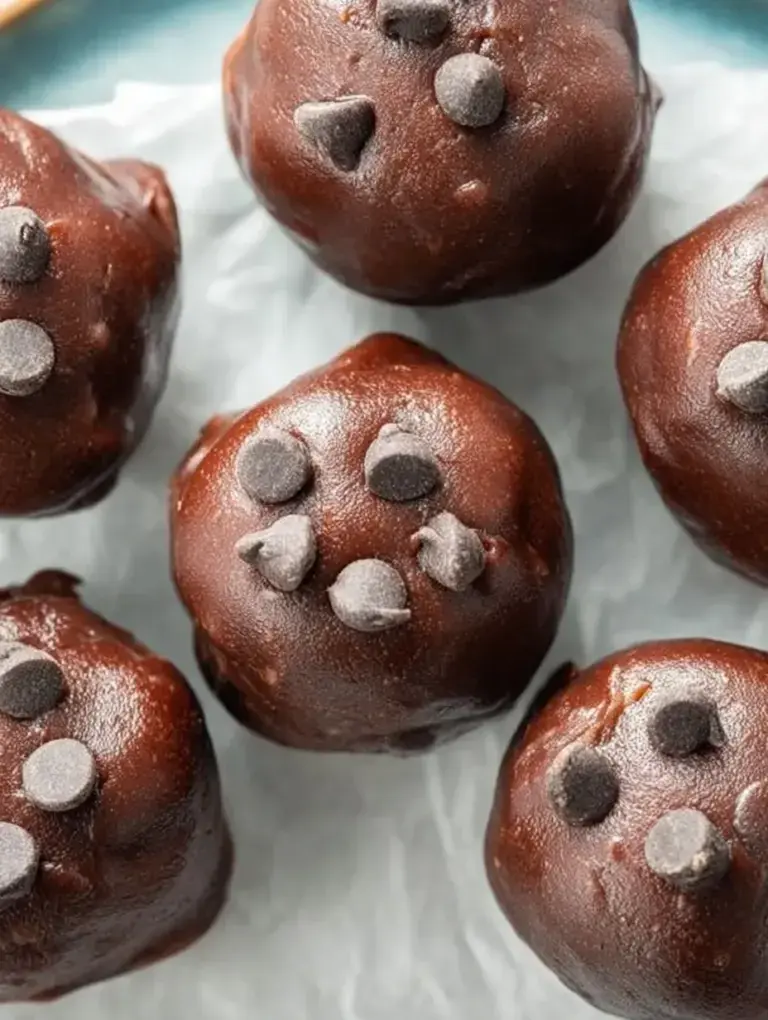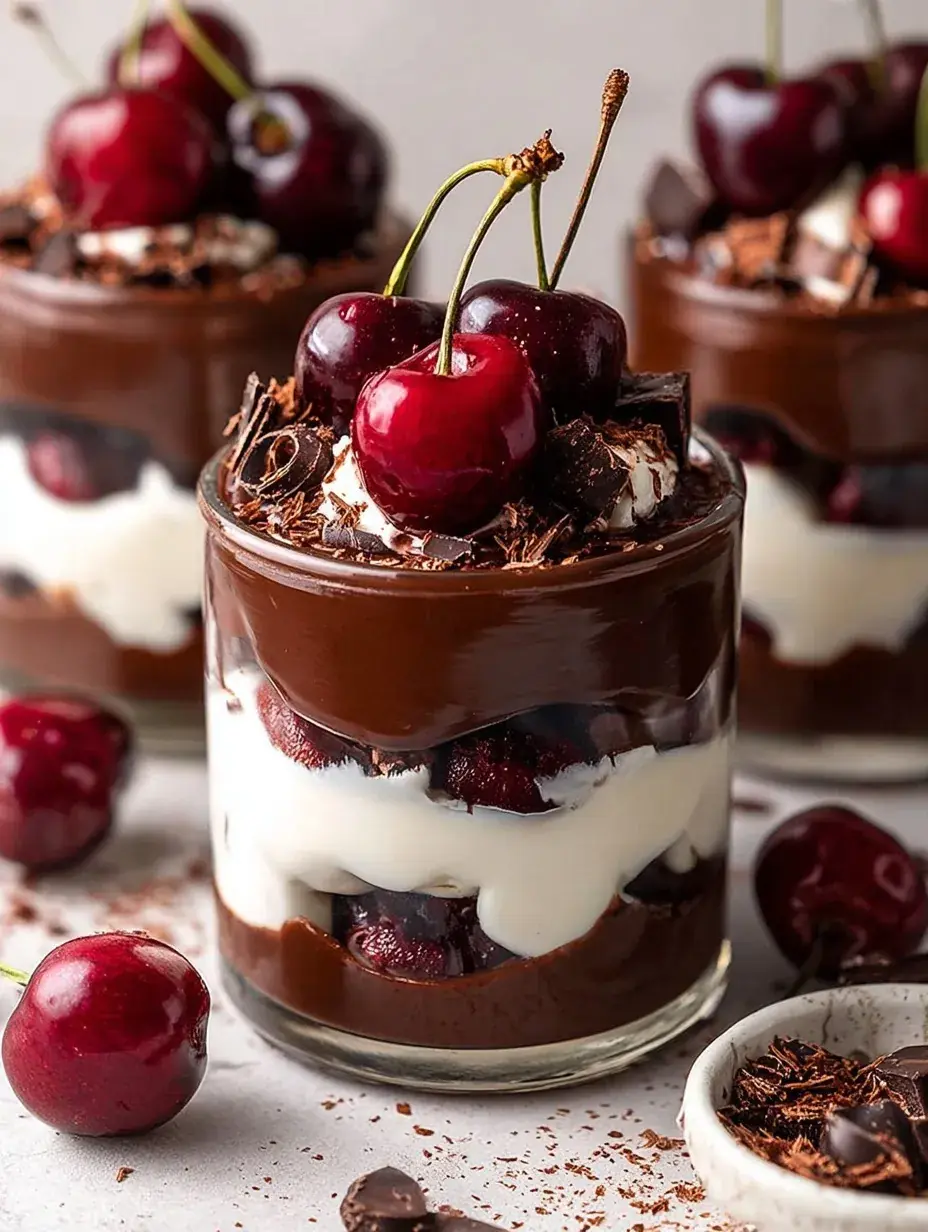
It looks like it took all afternoon. It took twenty minutes. My daughter and I put these together while listening to Christmas carols, and honestly, they look like something from a fancy bakery shelf.
Why You Will Love This Black Forest Dessert Cups
I have always loved the classic German combination of dark chocolate and tart cherries, but making a full layered cake can be so intimidating when you are busy with holiday planning. These little cups give you all those nostalgic flavors without the stress of leveling sponges or worrying about a cake sliding apart on the platter.
I once tried making the traditional cake version for a family dinner and the middle was still frozen while the outside melted, so I switched to these individual servings and never looked back. They feel much more personal and special when you hand someone their own little jar of chocolatey goodness.
What Makes This Black Forest Dessert Cups Special
- Key feature: The contrast between the rich, dark chocolate cake and the bright, tart cherry filling creates a perfect balance in every bite.
- Key ingredient: Real heavy whipping cream is essential because the stability and flavor of homemade whipped cream far outshine anything from a tub.
- Ease factor: Since this is a no-bake assembly project, it is perfect for when you need a dessert but the oven is already busy with a holiday roast.
- Seasonal fit: I usually make these during the dark winter months when we want something indulgent and pretty to brighten up the dinner table.
- Kid-friendly note: My daughter loves being the one to sprinkle the chocolate shavings on top, and it is a great way to let little hands help in the kitchen.
The Best Black Forest Dessert Cups Recipe
Last week I made these for a quiet Sunday afternoon treat, and they were gone before the sun even set. It is the kind of recipe that feels like a big win because it is so low-effort but looks incredibly elegant in clear glass jars.
Ingredient Notes
- Chocolate Cake Crumbs: You can use leftover cake, a store-bought loaf, or even crushed brownies if you want a denser texture.
- Cherry Pie Filling: This provides the classic sweetness and thick sauce that holds the layers together beautifully.
- Heavy Whipping Cream: Make sure this is very cold before you start beating it so you get those nice, stiff peaks that hold their shape.
- Dark Chocolate Shavings: I like using a vegetable peeler on a block of dark chocolate to get those pretty curls for the garnish.
- Vanilla Extract: A little splash helps the whipped cream taste like it came from a professional pastry shop.
Instructions
- Whip the Cream. Combine the chilled cream, powdered sugar, and vanilla in a cold bowl and beat until the mixture is thick and stiff. It should be firm enough to hold its shape when you lift the whisk.
- Layer the Crumbs. Place a generous spoonful of chocolate cake crumbs into the bottom of four small glasses. Gently press them down so they form a solid base for the cherries.
- Add the Fruit. Spoon two tablespoons of the cherry filling over the cake layer in each glass. Make sure some of the syrup drips down the sides so you can see the pretty red color through the glass.
- Pipe the Cream. Add a layer of whipped cream over the cherries using a spoon or a piping bag. I prefer piping it in because it keeps the layers looking sharp and clean.
- Repeat the Process. Add another layer of cake crumbs followed by the remaining cherries. This second layer gives the dessert its impressive height and classic parfait look.
- Finish and Garnish. Top each cup with a final swirl of whipped cream and a sprinkle of chocolate shavings. Place a single maraschino cherry right in the center for that iconic finishing touch.
Billy’s Tips and Mistakes to Avoid
- Always chill your mixing bowl and beaters in the freezer for ten minutes before whipping the cream to ensure it sets up quickly.
- Do not overmix the whipped cream or it will turn grainy and buttery; stop as soon as you see stiff peaks forming.
- If you use brownies instead of cake, cut them into very small cubes so they are easier to eat with a small dessert spoon.
- Wait to add the chocolate shavings until right before serving so they do not lose their snap or melt into the cream.
- Let the cups sit in the fridge for at least thirty minutes so the cake crumbs can absorb a little moisture from the cherries.
Storage Tips
These are best enjoyed within 24 hours but can stay in the fridge for up to 2 days if covered tightly with plastic wrap. The cake will soften the longer it sits, which some people actually prefer. I do not recommend freezing these as the texture of the whipped cream and cherries will change too much when thawed.
Variations and Swaps
- For an adult version, you can stir a teaspoon of Kirsch or cherry brandy into the cake crumbs before layering.
- If you need a dairy-free option, chilled coconut cream whips up surprisingly well and tastes lovely with the chocolate and cherry.
- Try using white chocolate shavings instead of dark for a softer, more snowy look during the Christmas season.
Why This Recipe Works Every Time
The reason this dessert is such a staple in my kitchen is the reliable balance of textures. You have the soft crumb of the cake, the glossy fruit, and the airy cream all working together in one small bite, which is much more satisfying than a single-texture dessert.
I learned the hard way that using a clear glass is vital because half the joy is seeing those distinct layers before you even take a bite. The first time I made these in opaque ceramic bowls, they just did not feel as special, so definitely reach for your prettiest jars or wine glasses.
Ingredients
- 2 cups chocolate cake crumbs
- 1 can (15 oz) cherry pie filling
- 1 cup heavy whipping cream, chilled
- 2 tablespoons powdered sugar
- 1/2 teaspoon vanilla extract
- 1/4 cup dark chocolate shavings
- 4 maraschino cherries for garnish
Instructions
- In a chilled mixing bowl, beat heavy cream, powdered sugar, and vanilla extract until stiff peaks form.
- Distribute half of the chocolate cake crumbs evenly among four dessert glasses or jars.
- Top the cake layer with two tablespoons of cherry pie filling in each glass.
- Pipe or spoon a layer of the whipped cream over the cherries.
- Repeat the layers by adding the remaining cake crumbs, followed by the remaining cherry filling.
- Add a final layer of whipped cream to the top of each cup.
- Garnish with dark chocolate shavings and a single cherry on top.
- Refrigerate for at least 30 minutes before serving to allow layers to set.
Frequently Asked Questions
Can I use fresh cherries for Black Forest cups?
You certainly can, but you will need to pit them and simmer them with a little sugar and cornstarch first. The pie filling is a great shortcut, but fresh cherries add a lovely bright bite if you have the extra time.
What is the best type of cake to use for crumbs?
I personally find that a simple moist devil’s food cake works best. You want something that is not too dry so it melds well with the whipped cream and cherry syrup.
Can I make these dessert cups ahead of time?
Yes, you can assemble them a few hours before your guests arrive. Just keep them chilled in the refrigerator and wait to add the final cherry garnish until the very last moment.
The Bottom Line
I hope these little jars bring as much joy to your table as they do to mine during the holidays. They are proof that you do not need to spend all day in the kitchen to create something that looks and tastes truly wonderful. Sweet moments don’t have to be complicated. Let’s make something wonderful together.
I am planning to make another batch of these for our neighborhood gift exchange this weekend. Happy baking and stay cozy! Billy
Billy