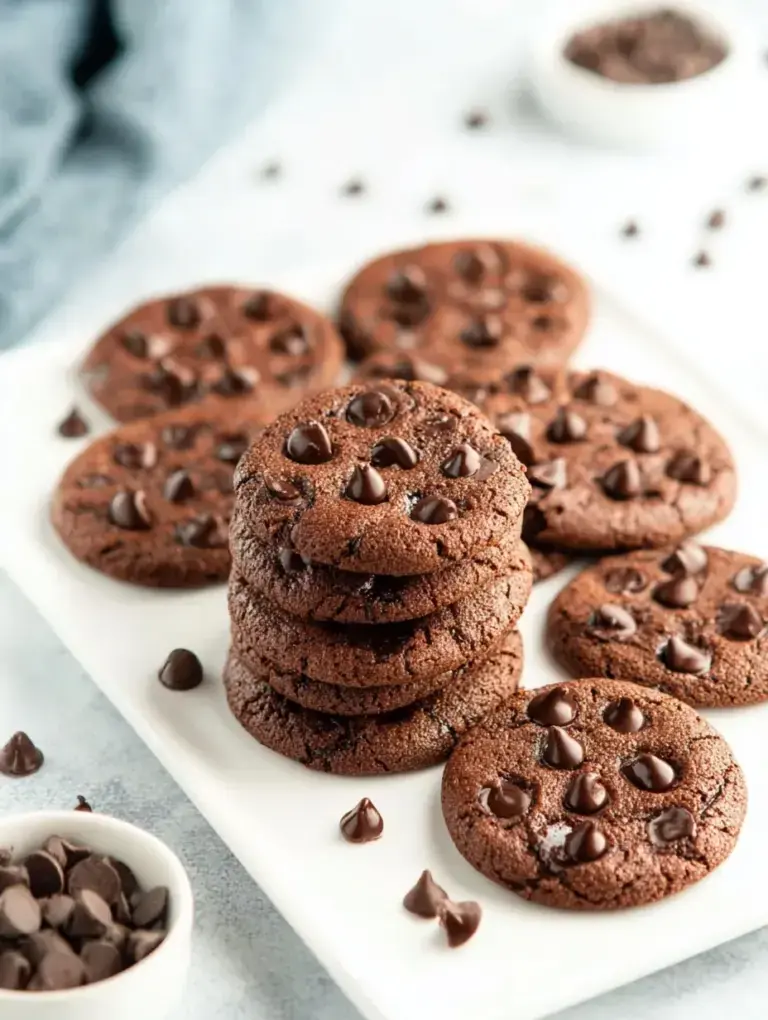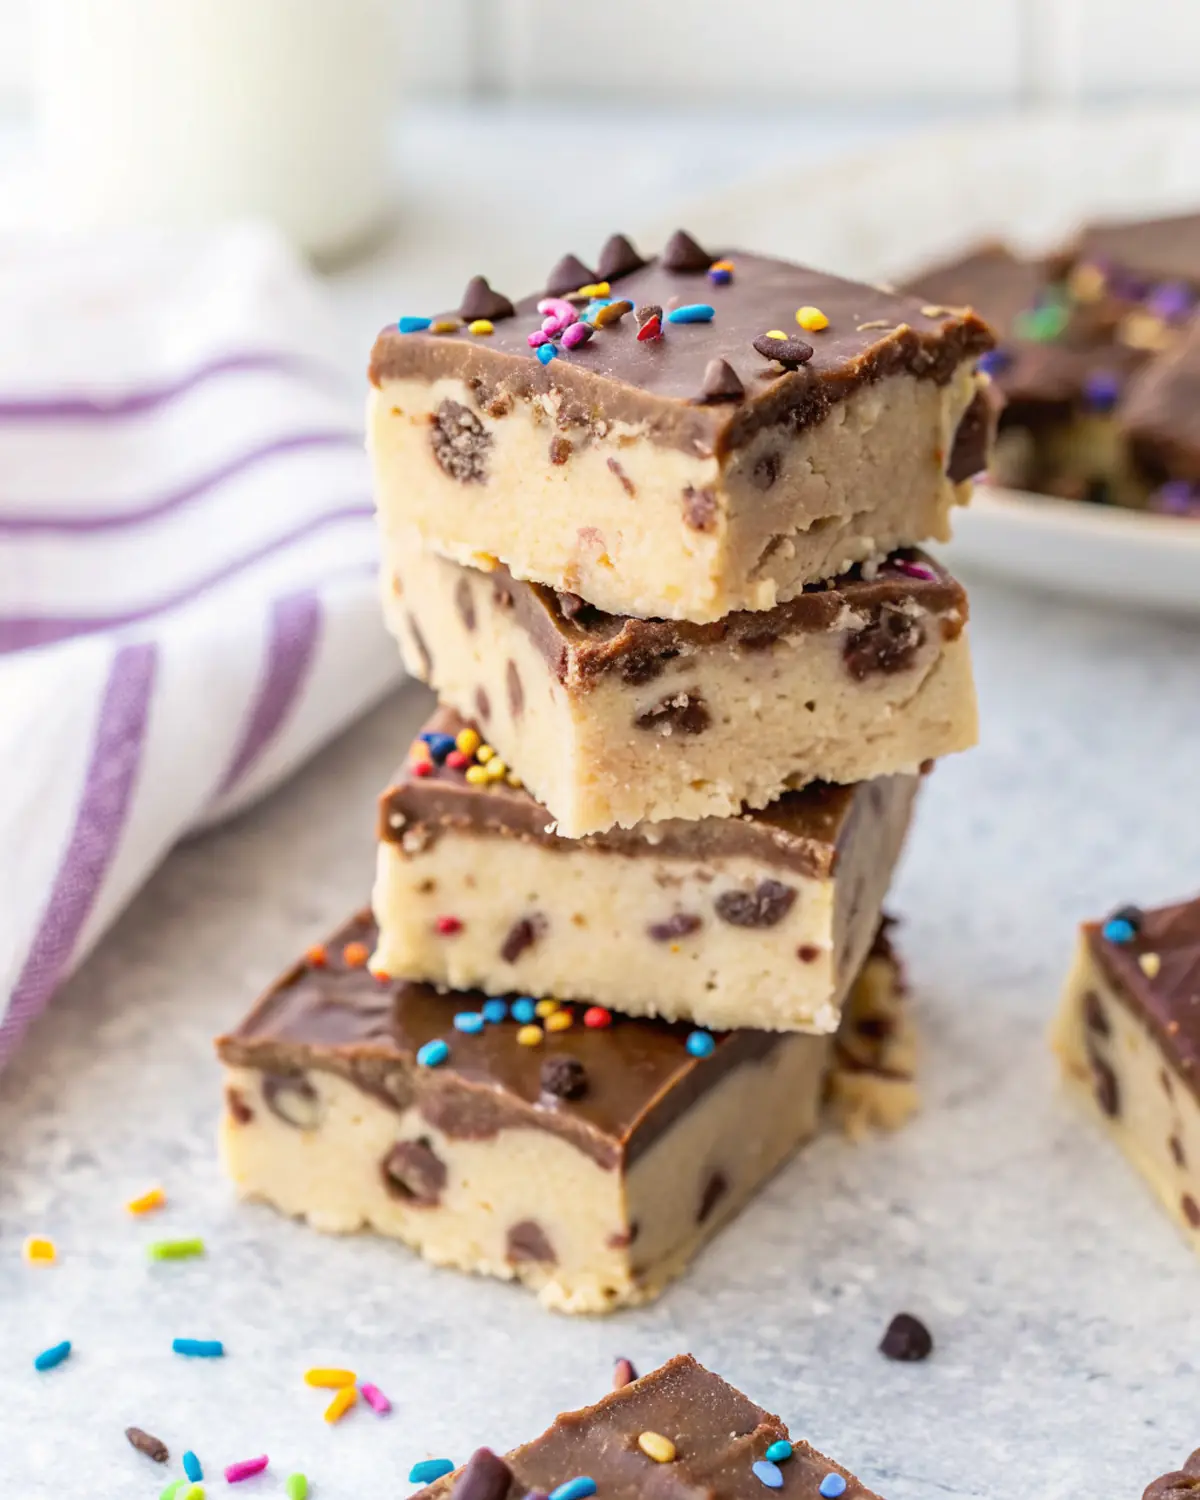
A slow Sunday afternoon called for something warm from the oven, and I couldn’t resist the urge to whip up these Easy Chocolate Chip Cookie Dough Bars. They’re just the right balance of creamy and chocolatey, with a process that brings everyone into the kitchen for a little fun and togetherness.
Why You’ll Love This Easy Chocolate Chip Cookie Dough Bars
These cookie dough bars hold a special place in our hearts because they’re that delightful touch of nostalgia, reminiscent of childhood indulgences. I love making them with my daughter, who eagerly helps stir and sprinkle mini chocolate chips; it’s easy enough for her to join in the fun without worrying about precise measurements.
Making these bars ahead of time is a game-changer during busy weeks. Just chill them and slice whenever you need a quick dessert or an after-school treat; they’re even perfect for packing into lunchboxes for a sweet surprise.
What Makes this Recipe Unique
– **Key ingredient:** The use of heat-treated flour is a fun twist, allowing us to enjoy edible cookie dough safely.
– **Simple method:** This recipe doesn’t require fancy tools—just a bowl, a spoon, and a little patience for chilling.
– **Make ahead:** You can easily prepare these bars in advance, making them ideal for last-minute gatherings or family dessert nights.
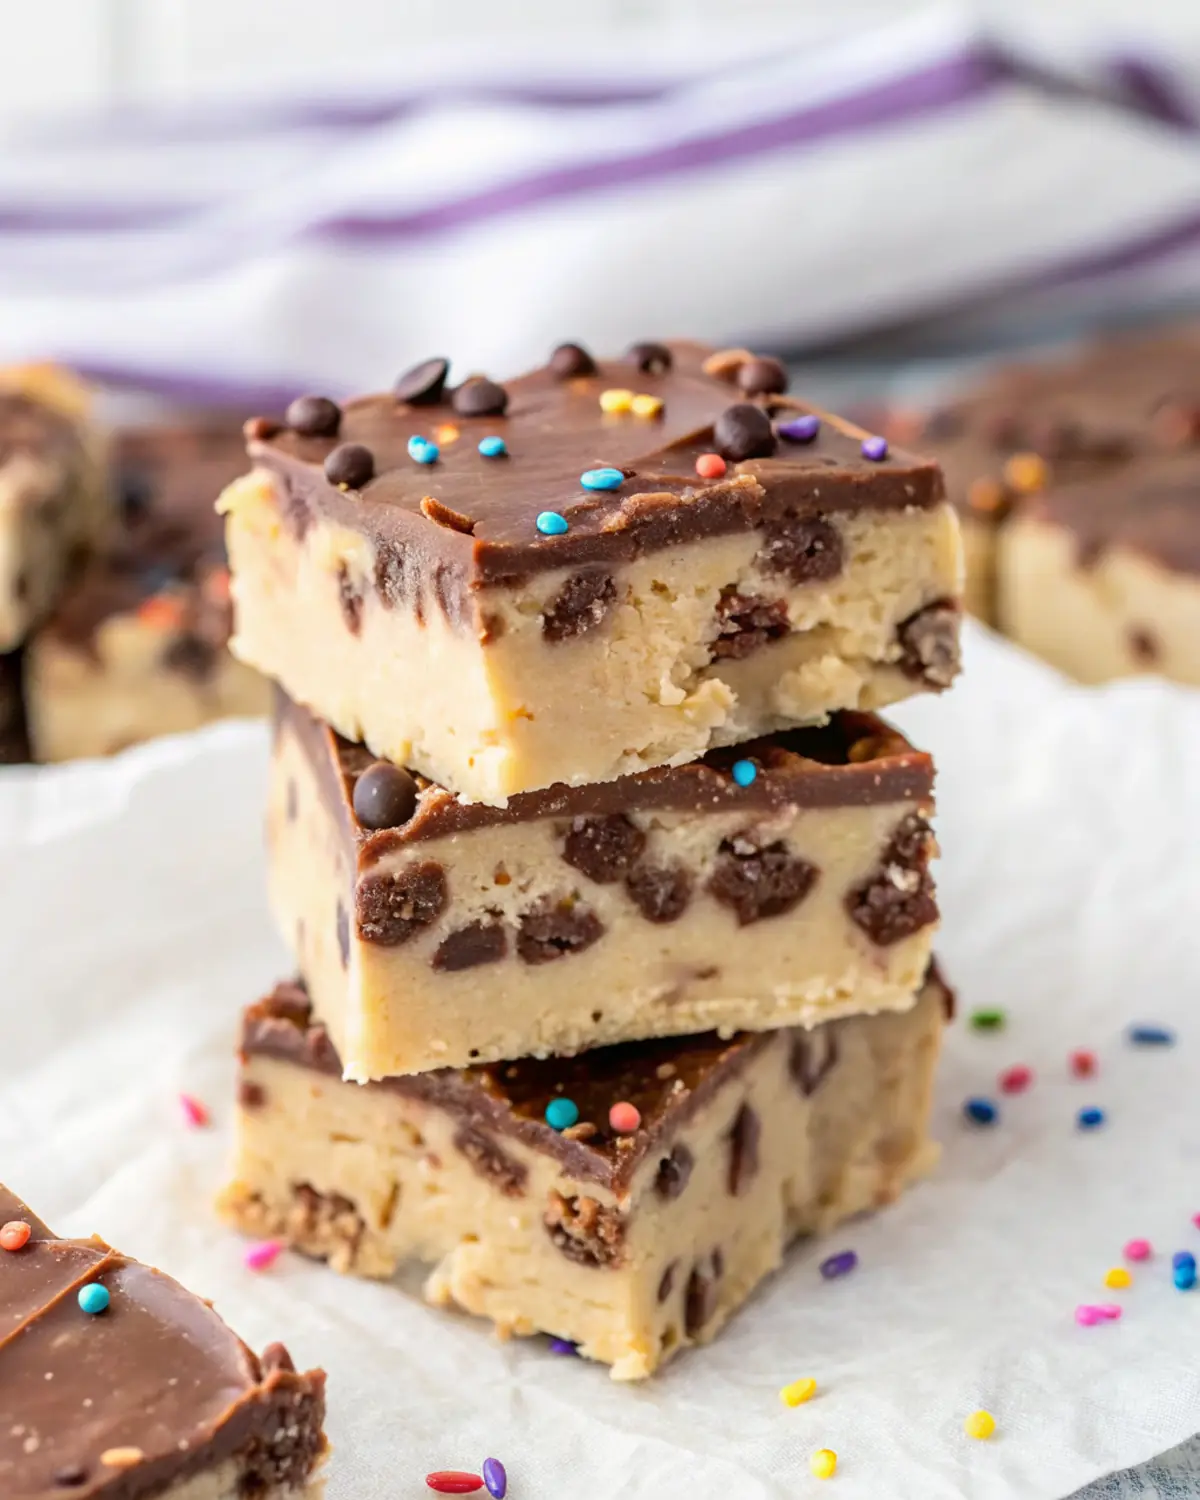
– **Texture Bliss:** With a rich, gooey texture topped with smooth chocolate, each bite melts in your mouth while giving a satisfying chew.
Estimated Macros & Calories
Here’s a quick look at the estimated nutritional breakdown.
(estimated per serving, without optional ingredients)
- Calories: 200
- Protein: 3 g
- Carbohydrates: 28 g
- Fat: 9 g
- Fiber: 1 g
The Most Authentic Easy Chocolate Chip Cookie Dough Bars Recipe
Making these bars feels like a warm hug, a simple yet delightful sweet that fills the kitchen with the comforting aroma of baking. Whether it’s a special gathering or just a family night in, they always satisfy those sweet cravings.
Ingredient Notes
– All-purpose flour: Using heat-treated flour is crucial for safety when eating raw dough—don’t skip this step!
– Unsalted butter: Softened butter helps create that fluffy texture; ensure it’s truly softened for the best results.
– Brown sugar: It gives a deeper flavor and chewiness to the bars; light or dark works here, based on your preference.
– Mini chocolate chips: They get evenly distributed throughout, making each bite a delightful surprise—feel free to use regular chips if you prefer.
– Flaky sea salt: This is optional, but a tiny sprinkle on top amps up the flavor beautifully; don’t hold back!
Instructions
Step 1: Heat-Treat the Flour
Preheat your oven to 325°F and spread the flour in an even layer on a rimmed baking sheet. Pop it in the oven for a few minutes, keeping an eye on it, then let cool completely.
Step 2: Prepare the Pan
Line an 8-inch square pan with parchment paper, leaving a little overhang on two sides. This makes it easier to lift the bars out later.
Step 3: Cream the Butter and Sugar
In a large bowl, beat the softened butter and brown sugar until it’s light and fluffy— this takes just a few minutes. Stir in the vanilla to bring it all together.
Step 4: Combine Dry Ingredients
Whisk the cooled flour together with the cinnamon and fine salt in a separate bowl. Gradually mix half into the butter mixture, followed by half of the sweetened condensed milk. Mix until just combined, then do the same with the remaining ingredients until a thick dough forms.
Step 5: Fold in the Chocolate Chips
Gently fold the mini chocolate chips into your dough, scraping down the bowl to ensure they’re evenly distributed. Transfer the dough into your prepared pan and press it down firmly for an even layer.
Step 6: Chill the Dough
Cover the pan and chill the pressed dough in the refrigerator until firm to the touch; this helps with the perfect texture.
Step 7: Melt the Chocolate
While your dough chills, set up a simple double boiler; let an inch of water simmer and place a heatproof bowl over it. Stir in the semisweet chocolate chips and some butter, gently melting until smooth.
Step 8: Pour the Chocolate
Spread the melted chocolate evenly over the chilled dough, creating a lovely layer on top. If you want, add a sprinkle of flaky sea salt—trust me, it’s worth it.
Step 9: Final Chill and Serve
Return the pan to the fridge for a little longer until that chocolate layer sets. Once ready, lift the slab out using the parchment overhang and slice into bars for sharing.
Tips and Mistakes to Avoid
– Make sure to let the flour cool completely after heat-treating; this avoids melting the butter when you mix.
– Be gentle when mixing in the chocolate chips; overmixing can make the dough tough.
– Give the dough plenty of time to chill; it’s what helps achieve the best texture.
Storage Tips
These bars can be stored in an airtight container in the fridge for about five days — perfect for grabbing quick snacks. For longer storage, they freeze beautifully, and you can thaw them at room temperature when needed, so they’re always ready for dessert.
Variations and Substitutions
Feel free to switch up the chocolate chips with white chocolate, peanut butter chips, or even nuts if you’re in the mood! Plus, using gluten-free flour makes this treat accessible for everyone.
Why This Recipe Is The Real Deal
I love that these bars come together with simple ingredients, and the heat-treated flour makes it so much fun because we get to enjoy edible cookie dough without a worry. Every time I make these, the kitchen buzzes with laughter and sweet moments of togetherness.
Hoping you’ll share some joy in your kitchen with these bars, too! They’re a reminder that sweet memories don’t need to be complicated to be cherished.
The Bottom Line
Grab your ingredients and let the mixing magic begin! These Easy Chocolate Chip Cookie Dough Bars are sure to be a hit; I can’t wait to hear how yours turn out.
Billy Mackenzie
Founder of MerryDessert.com
Simple, joyful homemade desserts — sweet moments, made with love.
Easy Chocolate Chip Cookie Dough Bars
Ingredients
Cookie Dough Base
- 2 cups all-purpose flour (heat-treated)
- 9 tbsp unsalted butter, softened
- 2/3 cup packed brown sugar
- 1 tsp vanilla extract
- 1/4 tsp ground cinnamon
- 14 oz sweetened condensed milk
- 1/4 tsp fine salt
- 1 cup mini chocolate chips
Chocolate Topping
- 1 cup semisweet chocolate chips
- 3 tbsp unsalted butter
- flaky sea salt (optional, for sprinkling)
Instructions
Preparation Steps
- Preheat the oven to 325°F. Spread the flour in an even layer on a rimmed baking sheet and bake for 7–8 minutes to heat-treat; let it cool completely before using.
- Line an 8-inch square pan with parchment paper, leaving a couple inches of overhang on two sides to make lifting the bars easier.
- In a large bowl, beat the softened butter and brown sugar together (by hand with a sturdy spoon or with a mixer) until the mixture is pale and slightly fluffy, about 2–3 minutes. Stir in the vanilla.
- Whisk the cooled, heat-treated flour together with the cinnamon and salt. Add about half the flour to the butter mixture and fold to incorporate, then pour in half of the sweetened condensed milk and mix on low. Add the remaining flour, then the rest of the condensed milk, mixing until a thick, cohesive dough forms (avoid overworking).
- Fold the mini chocolate chips into the dough, scraping the bowl so everything is evenly distributed. Transfer the dough to the prepared pan and press it firmly and evenly into the pan using the back of a spoon, a piece of parchment, or lightly dampened hands.
- Chill the pressed dough in the refrigerator for about 90 minutes, or until it is firm to the touch.
- While the base chills, set up a double boiler: simmer an inch of water in a small saucepan and place a heatproof bowl over it (off the heat). Add the chocolate chips and butter to the bowl and stir gently until completely melted and smooth.
- Pour the melted chocolate over the chilled cookie dough, spreading into an even layer. If desired, sprinkle a small pinch of flaky sea salt over the top.
- Return the pan to the fridge and chill for another 30–45 minutes, or until the chocolate is set. Lift the slab from the pan using the parchment overhang and slice into 16 bars. Store in an airtight container in the refrigerator for up to 5 days.