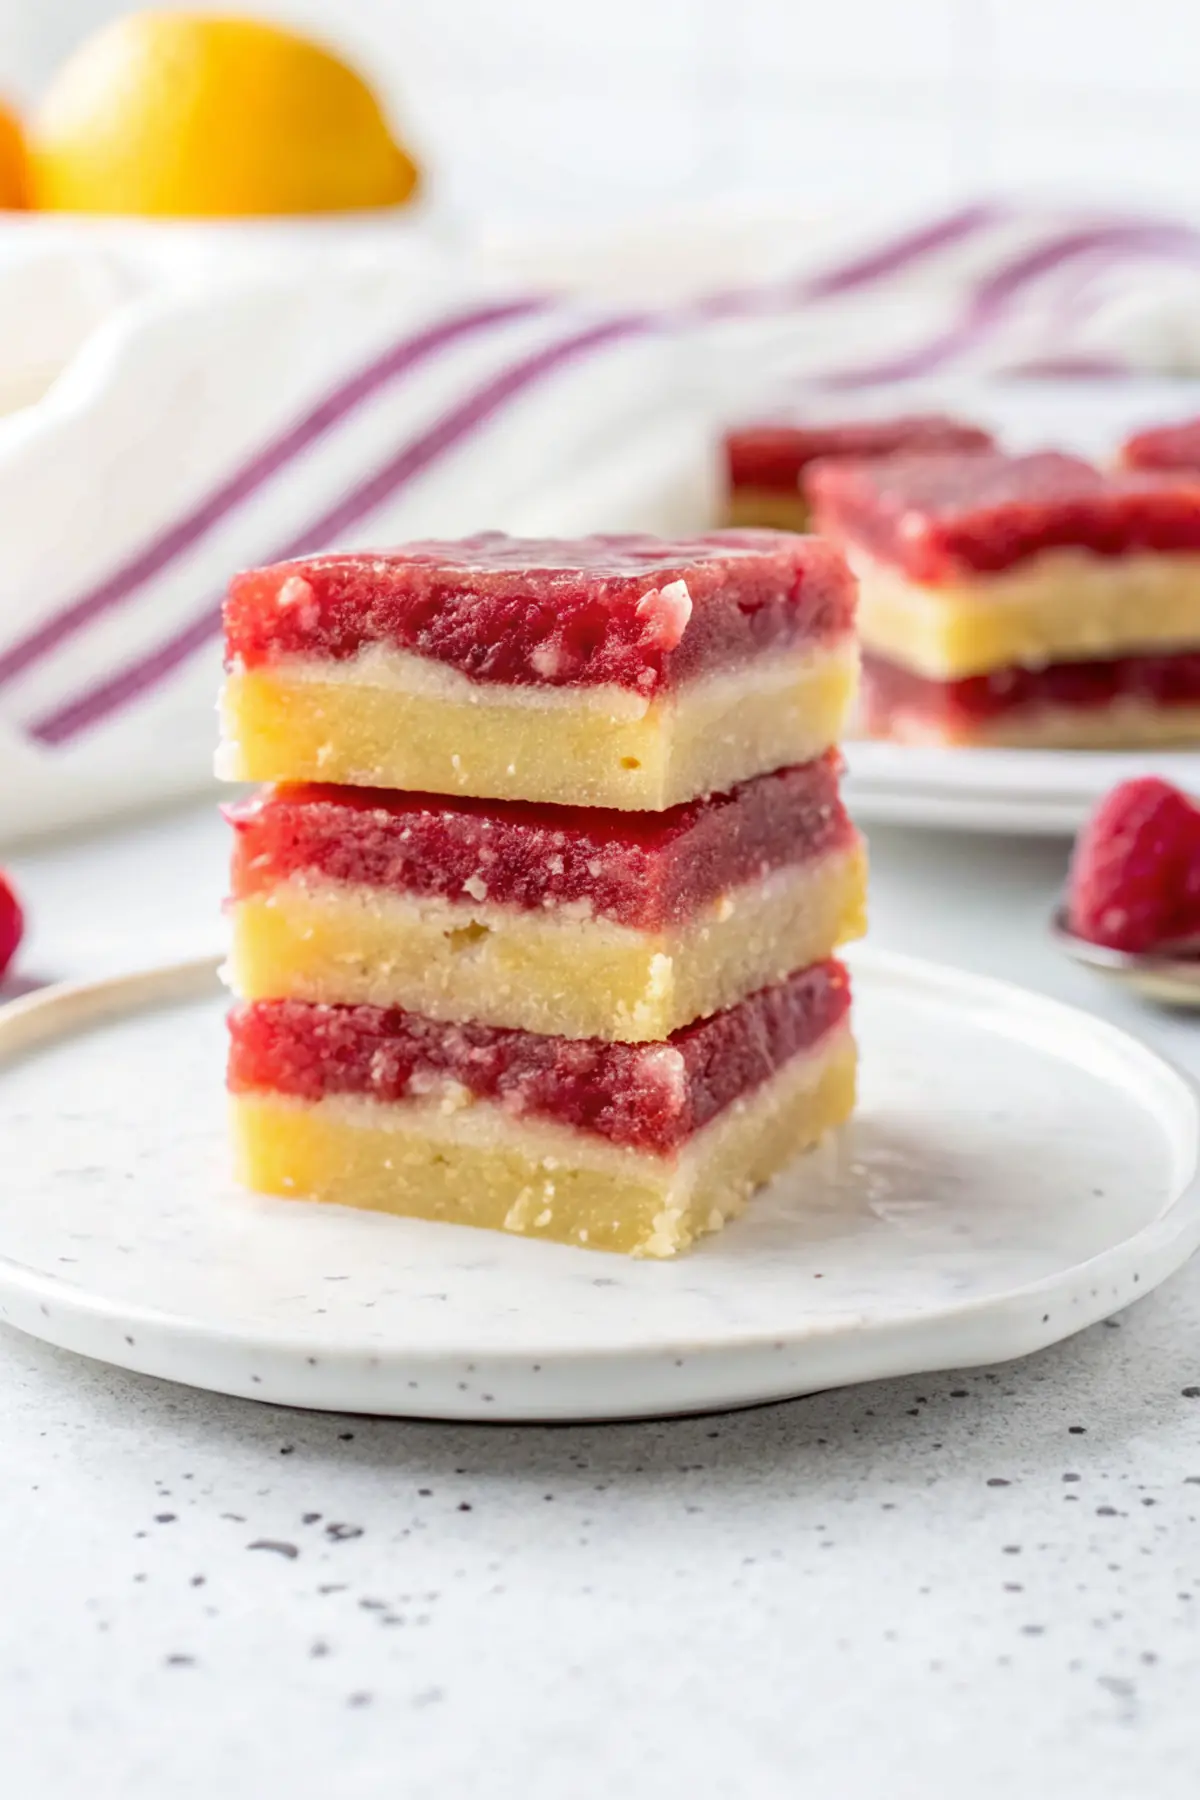
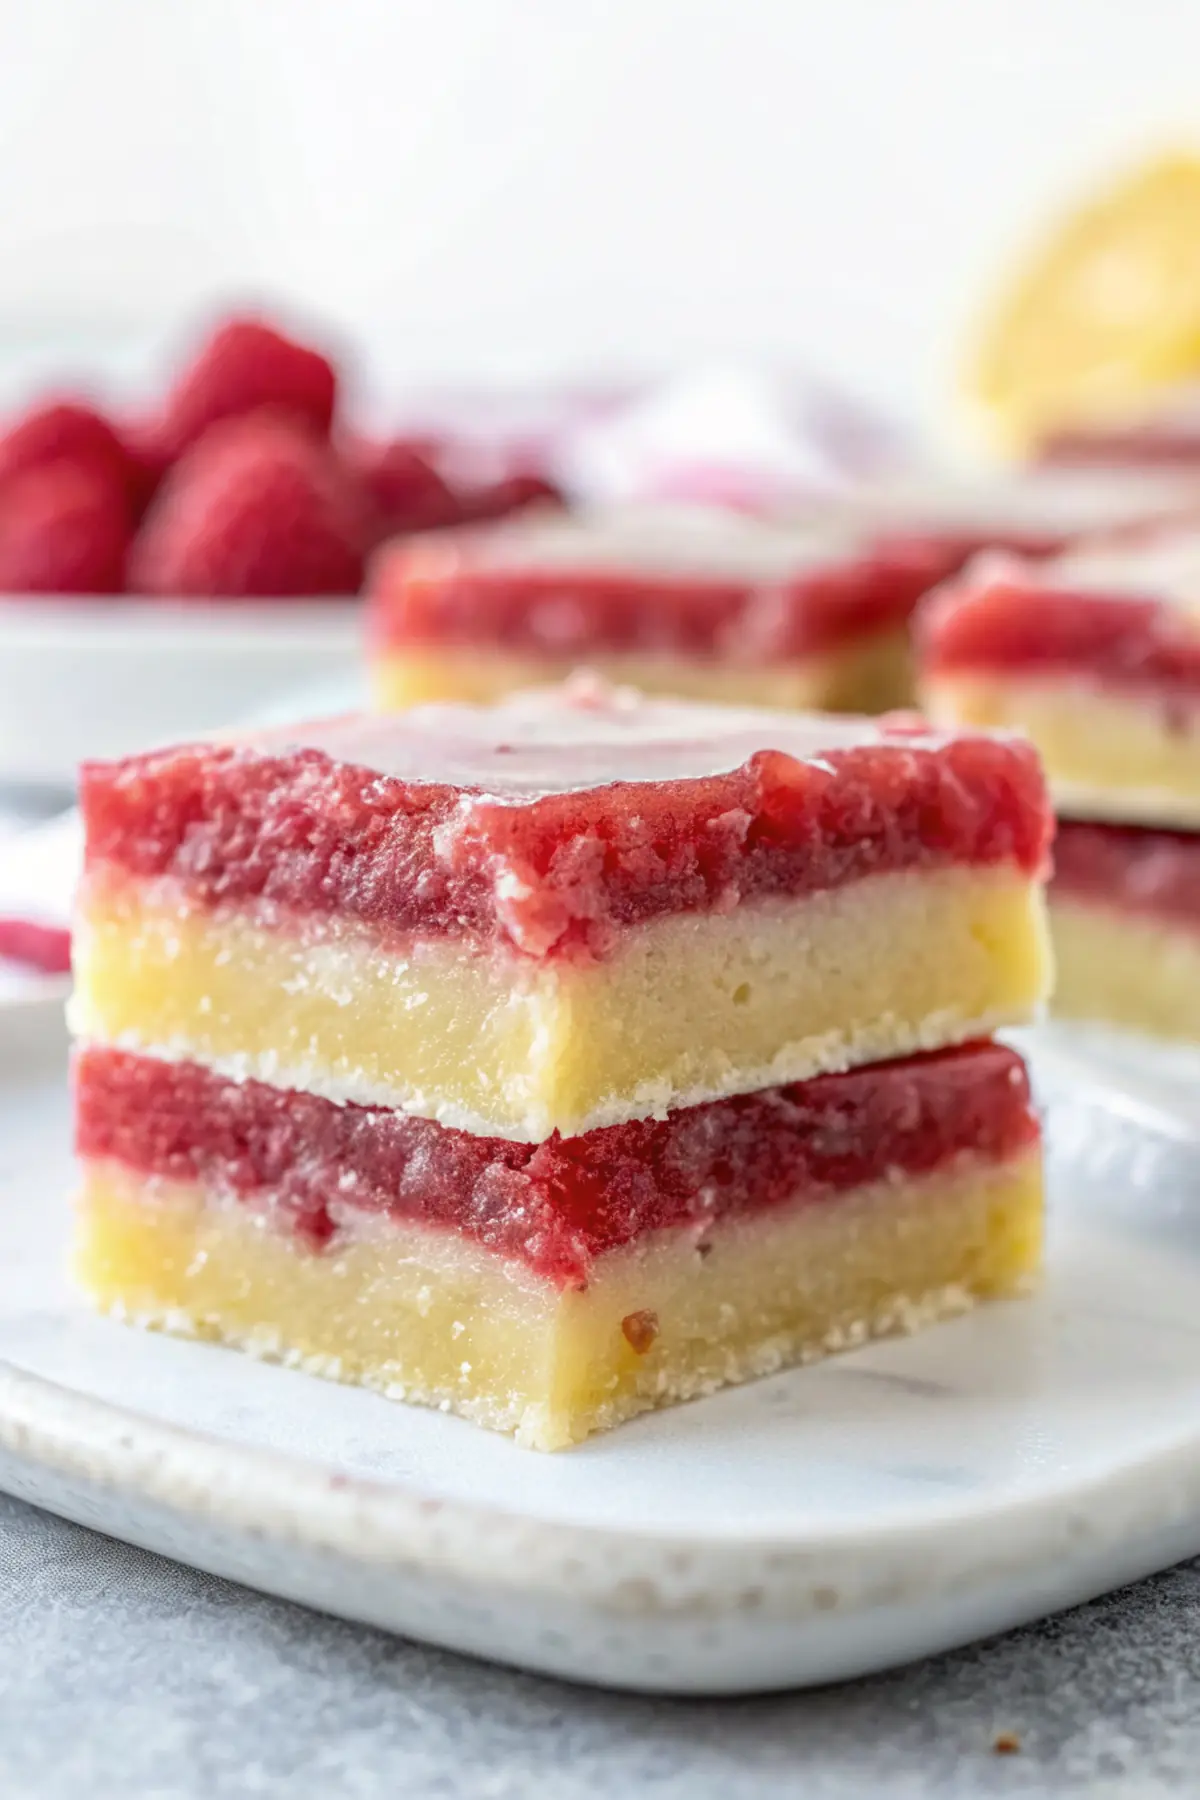
There’s nothing quite like whipping up a sweet treat when guests show up unexpectedly. In just under an hour, you can make these Lemon Raspberry Delight Bars that are bursting with flavor and sure to impress.
Why You’ll Love This Lemon Raspberry Delight Bars
Growing up, my kitchen was always filled with laughter and the delicious scents of baking desserts. I remember those afternoons spent with my mom as she prepared her favorites, and I carry that joy with me into my own baking adventures. These bars are perfect for last-minute gatherings, bringing a fresh twist with their tart lemon and juicy raspberry combination—two flavors that truly complement each other.
The key ingredient here is the reduced raspberry puree, which adds a layer of deep flavor while keeping the bars wonderfully light. I’ve found that the fresh fruits shine through beautifully in the filling, making each bite a delightful experience.
What Makes this Recipe Unique
– **Key Ingredient:** The reduced raspberry puree enhances the flavor, giving these bars a wonderful fruitiness that brightens the dish.
– **Method:** The combination of pressing a buttery crust and pouring a creamy custard on top makes for a lovely contrast in textures; you’ll adore the crumbly base paired with the smooth filling.
– **Speedy Preparation:** With just a bit of cooling time, you can have these bars ready in under an hour. Perfect for those surprise visitors!
– **Baking Technique:** Poking the crust before adding the filling allows it to hold the delicious custard, ensuring that nothing seeps through and you get that crisp, golden edge.
Estimated Macros & Calories
This recipe strikes a nice balance of flavors and textures.
(estimated per serving, without optional ingredients)
- Calories: 210
- Protein: 2 g
- Carbohydrates: 31 g
- Fat: 10 g
- Fiber: 1 g
The Most Authentic Lemon Raspberry Delight Bars Recipe
These bars are as delightful to make as they are to eat. The bright flavors of lemon and raspberry shine through, creating a joyful moment in every bite.
Ingredient Notes
– Fresh or frozen raspberries: Both work well, but fresh will give a brighter flavor once pureed. Frozen can make this dessert more accessible year-round.
– All-purpose flour: Essential for the crust, so don’t skip it. For a gluten-free option, use a 1:1 gluten-free baking blend.
– Granulated sugar: Sweetens both the crust and filling, balancing the tartness; don’t cut back too much, as it plays a crucial role.
– Eggs: They provide structure and creaminess to the filling. Opt for large eggs for the best results.
– Fresh lemon juice and zest: Freshly squeezed is best for vibrant flavor; pre-bottled lemon juice just doesn’t compare.
Instructions
Step 1: Preheat and Prepare the Pan
Start by positioning a rack in the center of your oven and preheating it. Line a standard baking pan with parchment, allowing for an overhang; this helps with easy removal later on.
Step 2: Make the Raspberry Puree
Blend the raspberries until smooth and strain it through a fine-mesh sieve, discarding the seeds. Simmer the puree in a saucepan until it reduces into a thick, vibrant sauce.
Step 3: Whisk the Crust Ingredients
In a bowl, combine the flour, sugar, cornstarch, and salt. Mix them well to ensure the dry ingredients are evenly distributed.
Step 4: Create the Dough
Add the melted butter to your dry mix. Stir until it starts to come together into a crumbly dough that can hold its shape when pressed.
Step 5: Press the Crust into the Pan
Firmly press the dough into the prepared pan, creating a slight rim on the edges. A measuring cup can help you achieve an even surface. Bake until lightly golden.
Step 6: Poke the Crust
Once the crust is baked, let it cool for a few minutes. Then, poke the surface gently with a fork so the filling will adhere wonderfully.
Step 7: Prepare the Filling
While the crust cools, whisk together the sugar and cornstarch in a large bowl until no lumps remain. Gradually beat in the eggs, mixing well after each one.
Step 8: Combine in the Puree and Lemon
Add the cooled raspberry puree into the egg mixture, followed by fresh lemon juice and zest. Whisk until you have a smooth, homogenous custard that’s a lovely pink hue.
Step 9: Bake the Bars
Carefully pour the filling over the warm crust and put the pan back in the oven. Bake until the edges are set but the center remains a little jiggly.
Step 10: Cooling Time
After baking, allow the bars to cool on the counter. Then cover and chill in the fridge for a few hours to firm them up before you slice.
Tips and Mistakes to Avoid
– Make sure the butter isn’t too hot when mixing; it can cook the eggs in the filling.
– Be gentle when pressing the crust, as you want it to be firm but not overly compacted.
– Allow ample chilling time; patience is key to get those clean cuts when you slice the bars.
Storage Tips
Store these bars in the fridge for a few days where they’ll stay nice and fresh. You can also pop them in the freezer for longer storage; just thaw in the fridge before serving again.
Variations and Substitutions
For a twist, try adding some blueberries into the raspberry filling or swapping out the lemon juice for lime juice for a zesty variation. If looking for a dairy-free option, use vegan butter in place of the regular butter.
Why This Recipe Is The Real Deal
What makes these bars special is the combination of that tangy lemon juice and the sweet-tart raspberry puree. Each bite brings you back to those family moments I cherish, with flavors that are simple yet so satisfying. When I bake these with my daughter, it’s about the fun in the kitchen and creating delicious memories together.
The Bottom Line
These Lemon Raspberry Delight Bars are a wonderful way to bring a little sunshine into any unexpected gathering. I encourage you to give them a try and share your thoughts!
Billy Mackenzie
Founder of MerryDessert.com
Simple, joyful homemade desserts — sweet moments, made with love.

Lemon Raspberry Delight Bars
Ingredients
Raspberry Reduction
- 2 cup fresh or frozen raspberries
Shortbread Crust
- 2 cup all-purpose flour
- 1/2 cup granulated sugar
- 1 tablespoon cornstarch
- 1/4 teaspoon fine salt
- 1 cup unsalted butter, melted and slightly cooled
Lemon Raspberry Filling
- 1 1/3 cup granulated sugar
- 1/3 cup cornstarch
- 6 large eggs
- 1/3 cup reduced raspberry puree (see above)
- 3/4 cup fresh lemon juice (about 3–4 lemons)
- 1 tablespoon fresh lemon zest
Instructions
Preparation Steps
- Position a rack in the center of the oven and heat to 325°F (160°C). Line a 9x13-inch baking pan with parchment paper, leaving a 2-inch overhang on the long sides for easy removal.
- Place the raspberries in a blender or food processor and pulse until smooth. Pour the puree through a fine-mesh sieve into a small saucepan, pressing with a spatula to remove seeds. Discard seeds.
- Simmer the seedless puree over medium-low heat, stirring occasionally, until it thickens and reduces to about 1/3 cup (15–20 minutes). Transfer to a bowl and let cool while you prepare the crust.
- In a medium bowl whisk together the flour, 1/2 cup sugar, 1 tablespoon cornstarch and the salt so the dry ingredients are evenly distributed.
- Stir the melted butter into the dry mix until a crumbly dough forms. It should hold together when pressed; if it's too dry add a teaspoon of cold water at a time.
- Press the dough into the prepared pan, working it up slightly along the edges to form a low rim. Use the bottom of a measuring cup for an even surface. Bake for 18–22 minutes, until the crust is set and just beginning to color.
- Remove the crust from the oven and let it cool 8–10 minutes. Using a fork, gently poke the surface a few times (do not pierce through to the bottom) to help the filling adhere without draining.
- While the crust bakes, whisk together 1 1/3 cups sugar and 1/3 cup cornstarch in a large bowl until lump-free. Add the eggs one at a time, whisking thoroughly after each addition.
- Stir the cooled reduced raspberry puree into the egg mixture, followed by the lemon juice and lemon zest. Whisk until smooth — the mixture will be fairly loose but homogenous.
- Carefully pour the lemon-raspberry custard over the warm shortbread crust and return the pan to the oven. Bake 22–28 minutes, until the filling is set at the edges and only slightly jiggly in the center.
- Let the bars cool at room temperature for 1 hour, then cover and chill in the refrigerator at least 3 hours (overnight is best) to firm before slicing.
- Lift the bars from the pan using the parchment overhang and place on a cutting board. Use a sharp knife wiped between cuts to slice into 16 bars for clean edges. Store in an airtight container in the fridge for up to 4 days.