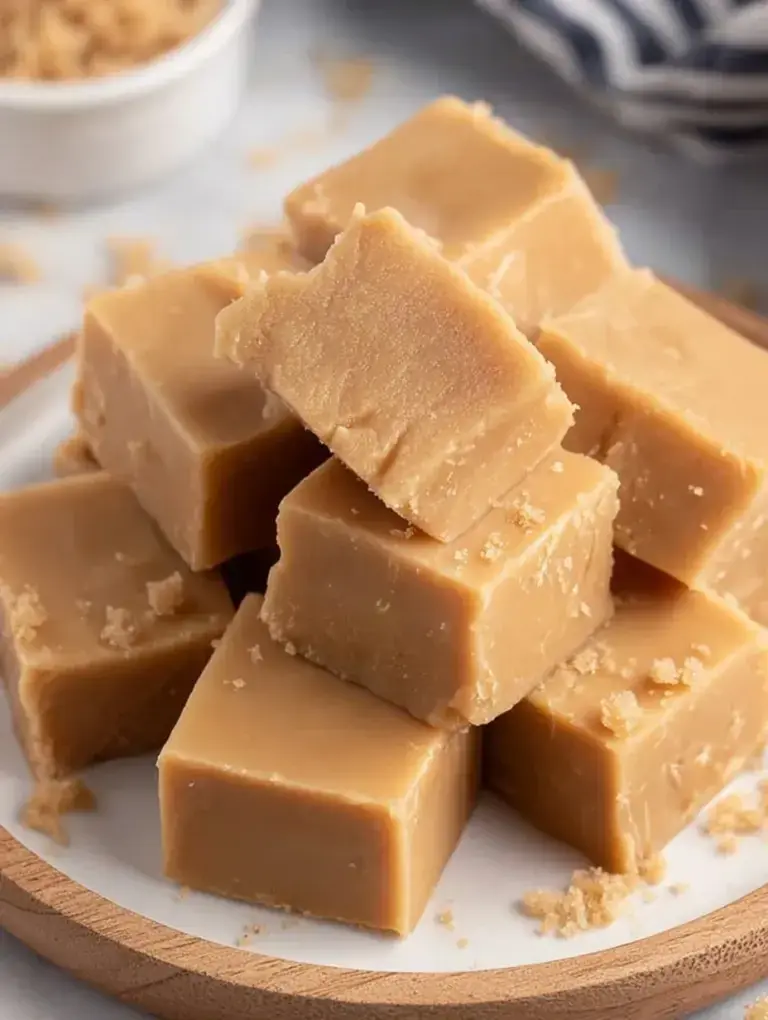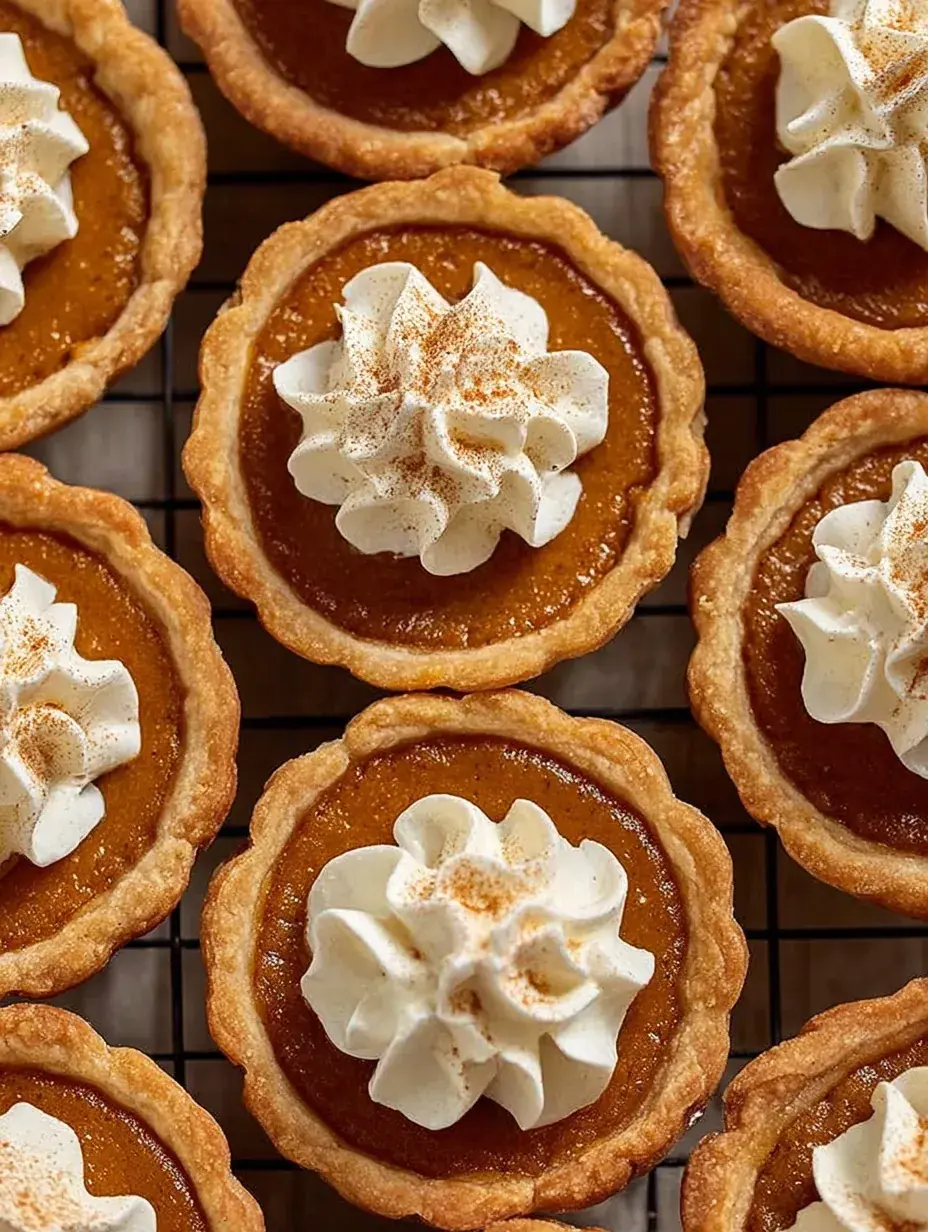
I used to think making pie was too much work for a regular Tuesday night. Honestly, I once spent four hours on a lattice crust only for the bottom to turn out soggy, which is why I started making these little bites instead. Now my daughter and I can whip up a batch of these Mini Pumpkin Pies in under an hour without any of the stress.
Why You Will Love This Mini Pumpkin Pies
Serving a full pie at a party can be such a messy job, with slices falling apart and crumbs everywhere. These solve that problem because everyone can just grab their own individual treat without needing a knife or a server. They are pre-portioned and easy to hold, which is a lifesaver when you have a house full of people.
I also found that a whole pumpkin pie often leaves me with awkward leftovers that go soft in the fridge. With these, you can bake exactly what you need, and they stay much crispier than a large slice. I tested this by leaving a few on the counter for a couple of hours, and the crust held up beautifully.
What Makes This Mini Pumpkin Pies Special
- The perfect crust-to-filling ratio: Every single bite has a bit of flaky pastry and creamy custard.
- Warm spice blend: Using ginger and cloves alongside cinnamon gives these a deep flavor that smells like home.
- Effortless assembly: Using a cookie cutter makes these look professional without needing any fancy pastry skills.
- Fast baking time: Because they are small, they bake in half the time of a traditional large pie.
The Best Mini Pumpkin Pies Recipe
I made these for a school bake sale last year and they were the first things to go. My daughter helps me press the dough into the tin, and we always save a little extra whipped cream for our fingers.
Ingredient Notes
- Canned Pumpkin Puree: Make sure it is pure pumpkin, not the pre-mixed pie filling, so you can control the spices yourself.
- Evaporated Milk: This is what gives the custard that silky, rich texture that regular milk just cannot match.
- Refrigerated Pie Crust: I usually use the store-bought kind to save time, but feel free to use your favorite homemade recipe if you have one.
- Ground Cloves: A little goes a long way here, but it adds that essential holiday warmth that makes the kitchen smell amazing.
- Granulated Sugar: I have tried brown sugar, but the white sugar keeps the color bright and the texture light.
Instructions
- Prepare the oven. Heat it to 375 degrees and grease your muffin tin well so the pies pop out easily. You want a hot oven to ensure the pastry gets nice and golden.
- Cut the dough. Roll out your crust and use a 3-inch round cutter to make twelve circles. I sometimes have to re-roll the scraps once to get that final piece.
- Form the shells. Gently press each circle into the muffin cups, making sure it goes up the sides. Do not worry if they look a little rustic because that is part of the charm.
- Whisk the filling. Mix the pumpkin, milk, egg, sugar, and spices until the mixture is completely smooth. I usually use a hand whisk to make sure the egg is fully incorporated.
- Fill the cups. Pour the mixture into the pastry shells until they are about three-quarters full. I learned the hard way that overfilling them makes them stick to the top of the tin.
- Bake and cool. Put them in for about 22 to 25 minutes until the center feels set and the crust is golden. Let them cool in the tin for a while before you try to lift them out.
Billy’s Tips and Mistakes to Avoid
- Tip 1: Do not skip greasing the muffin tin even if it is non-stick. I once forgot and had to eat the pies with a spoon straight out of the pan.
- Tip 2: Use a thin knife or an offset spatula to gently lift the pies out once they are cold. If they are still warm, the crust might crumble.
- Tip 3: If you over-mix the filling too vigorously, you might get bubbles on top. A gentle whisking is all you need for a smooth surface.
- Tip 4: You can make the filling a day ahead and keep it in the fridge. This makes the actual baking day so much faster.
- Tip 5: Let your kids use the leftover dough scraps to make little stars or leaves to put on top. My daughter loves doing this part.
Storage Tips
These keep well in an airtight container in the fridge for up to 4 days. If you want to freeze them, do it without the whipped cream and they will last for about 30 days. Just thaw them in the fridge overnight before you want to serve them.
Variations and Swaps
- Swap the whipped cream for a dollop of cream cheese frosting for a richer dessert.
- Add a tiny pinch of black pepper to the spice mix for a subtle, sophisticated kick that I tried last Thanksgiving.
- Use a gluten-free pie crust if you are baking for friends with dietary restrictions.
Why This Recipe Works Every Time
These work so well because the custard is stable and the small size prevents the crust from getting weighed down and soggy. I have found that the high heat of the oven sets the pastry quickly, which is the secret to that golden bottom.
After making these several times, I realized that the evaporated milk is the non-negotiable part. I tried substituting heavy cream once, but the texture was too heavy and did not let the pumpkin flavor shine through as clearly.
Ingredients
- 1 pre -made refrigerated pie crust
- 1 cup canned pumpkin puree
- 1/2 cup evaporated milk
- 1 large eg g
- 1/3 cup granulated sugar
- 1/2 teaspoon ground cinnamon
- 1/4 teaspoon ground ginger
- 1/4 teaspoon ground cloves
- 1/4 teaspoon sal t
- Whipped cream for garnish
Instructions
- Preheat oven to 375°F (190°C) and lightly grease a standard 12-cup muffin tin.
- Roll out the pie crust on a lightly floured surface to a 12-inch diameter.
- Use a 3-inch round cookie cutter to cut 12 circles from the dough, re-rolling scraps as necessary.
- Press each dough circle into the bottom and up the sides of the muffin tin cups.
- In a medium mixing bowl, whisk together the pumpkin puree, evaporated milk, egg, sugar, cinnamon, ginger, cloves, and salt until smooth.
- Divide the pumpkin mixture evenly among the 12 pastry shells, filling each about three-quarters full.
- Bake for 22 to 25 minutes or until the filling is set and the crust is golden brown.
- Allow the pies to cool completely in the tin on a wire rack before carefully removing with a thin knife.
- Serve chilled or at room temperature with a dollop of whipped cream on top.
Frequently Asked Questions
Can I use pumpkin pie spice instead of individual spices?
Yes, you can use about 1.5 teaspoons of the pre-made mix if that is what you have in your cupboard. It saves a little time and still gives that classic holiday flavor.
How do I know when the pies are done?
The edges should be golden brown and the center should only have a very slight jiggle when you move the pan. If they look liquid in the middle, give them another two minutes.
Do these need to be refrigerated?
Yes, because of the egg and milk in the custard, it is best to keep them in the fridge until you are ready to serve. They actually taste even better when they are chilled.
The Bottom Line
These Mini Pumpkin Pies are the perfect way to bring a bit of holiday joy into your kitchen without the stress of a big production. They are simple, sweet, and always a hit with my family. Sweet moments don’t have to be complicated. Let’s make something wonderful together.
I hope your kitchen smells as wonderful as mine does right now. There is nothing like the smell of cinnamon on a chilly afternoon. Billy
Billy