My daughter was already reaching for the graham crackers before I had even finished putting the groceries away. She loves helping me press the crust into the pan, mostly because she gets to snack on the leftover crumbs. It is these slow weekend afternoons that make baking something like this feel so special.
Why You Will Love This Classic New York Style Cheesecake
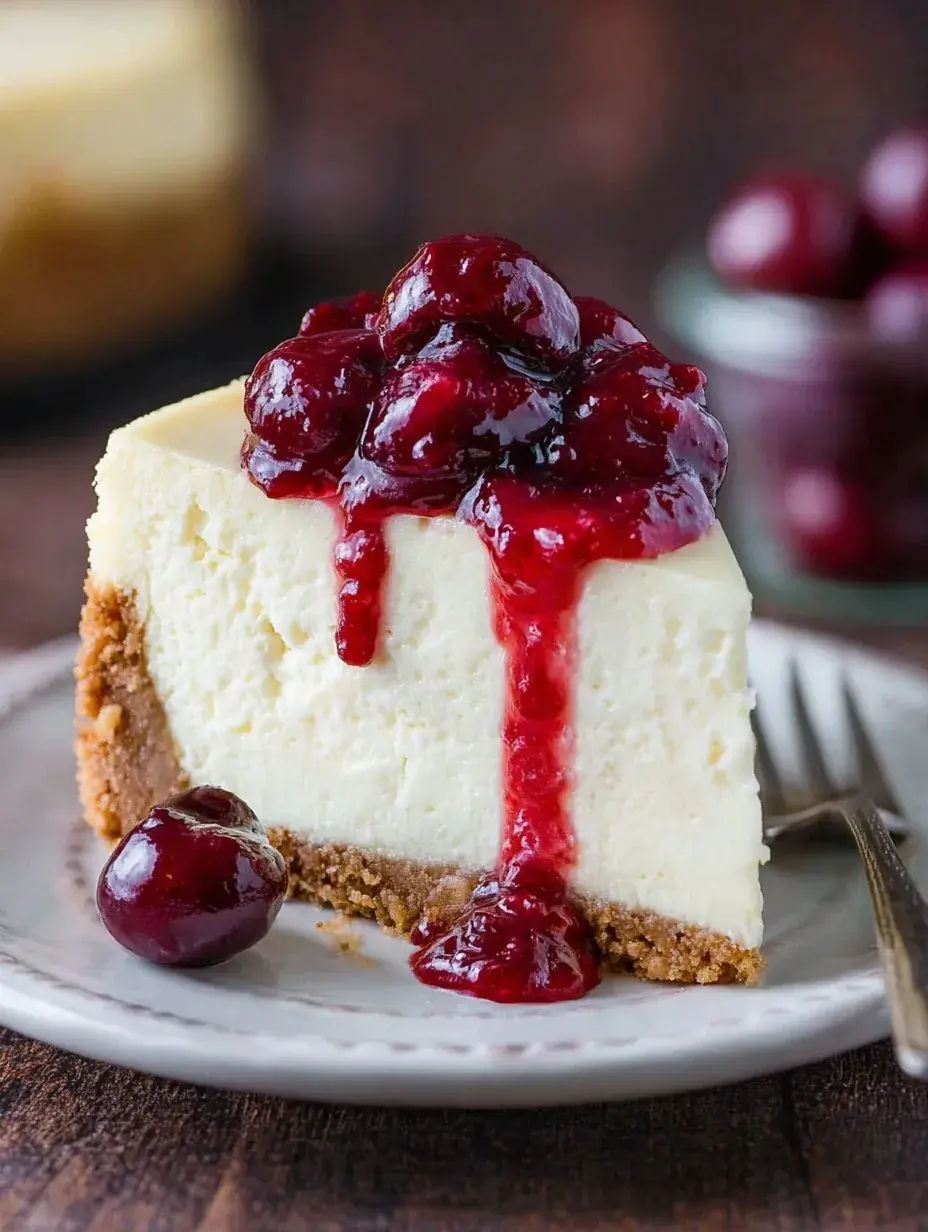
I used to be terrified of making a Classic New York Style Cheesecake because I thought the water bath was too complicated for a home kitchen. One snowy afternoon when my daughter was napping, I decided to finally face my fear and see if I could get that iconic dense texture without the top cracking. I was so surprised by how forgiving the process actually was once I stopped rushing the cooling phase.
Seeing that perfectly smooth, golden top when I opened the oven door felt like a huge victory for this self-taught baker. Personally I have found that the secret is all in the patience rather than any professional skill. Now this recipe is a permanent fixture on our holiday table every single year.
What Makes This Classic New York Style Cheesecake Special
The texture is what really sets this apart from other desserts I make in my kitchen. It is incredibly rich and dense but still has that velvety smooth finish that melts in your mouth.
Using sour cream in the filling adds a subtle tang that balances the sweetness perfectly. It keeps the flavor from feeling too heavy while adding to the creamy consistency we all love.
This recipe relies on simple ingredients that you likely already have in your pantry. It turns basic cream cheese and eggs into something that looks like it came from a high-end bakery.
The Best Classic New York Style Cheesecake Recipe
This is my absolute favorite version of this classic dessert because it never lets me down. I make it every year for my daughter’s birthday because she prefers a big slice of cheesecake over traditional cake any day.
Ingredient Notes
- Cream Cheese: This is the heart of the recipe and provides the rich foundation. Make sure it is fully softened to room temperature for a silky result.
- Sour Cream: I love adding this for a subtle tang that cuts through the sweetness. It also helps the texture stay moist and velvety.
- Graham Crackers: These create the perfect buttery crunch that balances the soft filling. You can crush them yourself for a more rustic texture.
- Large Eggs: These act as the binder that holds everything together as it bakes. Using room temperature eggs prevents the batter from breaking.
- Vanilla Extract: A little bit goes a long way in enhancing the sweetness of the cream cheese. I always use pure vanilla for the best flavor.
Instructions
- Preheat Oven. Start by setting your oven to 350°F and greasing your springform pan. This ensures the crust bakes evenly and releases easily later on.
- Prepare Crust. Mix your graham cracker crumbs with melted butter and sugar until the mixture feels like wet sand. Press it firmly into the bottom of the pan to create a solid base.
- Par-bake Base. Bake the crust for 10 minutes to help it set and prevent sogginess. Let it cool completely while you lower the oven temperature for the filling.
- Cream Filling. Beat the softened cream cheese and sugar together until the mixture is completely smooth. This step is crucial for avoiding any tiny lumps in your finished cake.
- Incorporate Eggs. Add the eggs one at a time on low speed just until they disappear into the batter. Mixing too fast will add air and cause the top to puff and crack.
- Water Bath. Wrap your pan in heavy-duty foil and place it in a roasting pan filled with hot water. This gentle steam environment creates that signature dense and creamy texture.
Billy’s Tips and Mistakes to Avoid
- Don’t skip the room temperature ingredients or your batter will be lumpy. I have made the mistake of rushing this before and the texture was never the same.
- Use heavy-duty foil to wrap your springform pan. Regular foil often leaks in the water bath and leads to a soggy crust that nobody wants.
- Be patient during the cooling process. Leaving the oven door cracked for an hour prevents the surface from cracking due to sudden temperature changes.
- Clean your knife between every single slice when serving. This is my secret for getting those perfect, bakery-style edges on every plate.
- Let your kids help with the crust pressing. It is a great job for little hands and my daughter always feels so proud of her work.
Storage Tips
This cheesecake keeps beautifully in the fridge for up to 5 days if covered tightly with plastic wrap. You can also freeze individual slices for about 2 months, which is great for late-night cravings. Just make sure the cake is completely cold before you wrap it up to prevent ice crystals.
Variations and Swaps
- Try a chocolate crust by swapping the graham crackers for crushed chocolate sandwich cookies.
- For a dairy-free version, use a high-quality plant-based cream cheese and butter substitute.
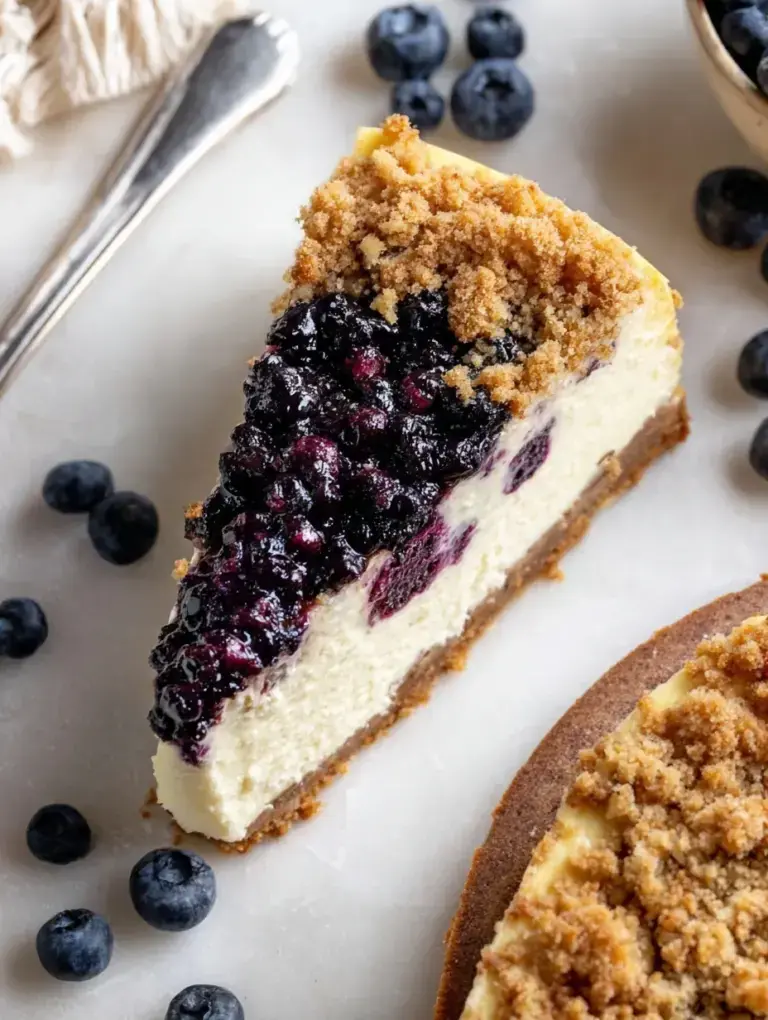
- Top with fresh berries or a drizzle of salted caramel to make it feel extra festive for a holiday party.
Why This Recipe Works Every Time
This recipe works because it respects the cooling time as much as the baking time. By letting the cheesecake sit in the turned-off oven, you allow the structure to set without the shock of cold air. It creates a consistency that is firm enough to slice but soft enough to be creamy.
Honestly, I learned the hard way that over-beating the eggs makes the cheesecake rise and fall like a souffle. Now I always use the lowest mixer setting at the end, and the result is perfect every single time I make it for my family.
Ingredients
- 1.5 cups graham cracker crumbs
- 0.33 cup unsalted butter, melted
- 0.25 cup granulated sugar
- 32 oz cream cheese, softened at room temperature
- 1 cup granulated sugar
- 1 cup sour cream, room temperature
- 1 tsp vanilla extract
- 4 large eggs , room temperature
Instructions
- Preheat oven to 350°F (175°C) and grease a 9-inch springform pan.
- Combine graham cracker crumbs, melted butter, and 0.25 cup sugar in a small bowl; press firmly into the bottom of the pan.
- Bake the crust for 10 minutes, then remove from oven and let cool completely.
- Reduce oven temperature to 325°F (160°C).
- In a large mixing bowl, beat softened cream cheese and 1 cup sugar until smooth and free of lumps.
- Incorporate the sour cream and vanilla extract, mixing until fully combined.
- Add eggs one at a time, mixing on low speed just until each egg is incorporated to avoid incorporating excess air.
- Wrap the exterior of the springform pan in two layers of heavy-duty aluminum foil to waterproof the base.
- Pour the cheesecake batter over the cooled crust and place the springform pan inside a large roasting pan.
- Fill the roasting pan with hot water until it reaches halfway up the sides of the springform pan.
- Bake for 75 minutes or until the edges are set and the center remains slightly jiggly.
- Turn off the oven and prop the door open slightly, allowing the cheesecake to cool in the oven for 60 minutes.
- Remove from the water bath and refrigerate for a minimum of 6 hours or overnight before releasing from the pan.
Frequently Asked Questions
How do I prevent my cheesecake from cracking on top?
Cracks usually happen from sudden temperature changes or over-mixing the eggs. Using a water bath and letting the cake cool slowly in the oven with the door cracked helps keep the surface smooth and beautiful.
Can I make this cheesecake a day ahead of time?
This is actually better when made a day in advance. It needs at least six hours in the fridge to set properly and develop its full flavor, so making it the night before is a great idea.
What if I do not have a roasting pan for the water bath?
You can use any large baking dish that is deep enough to hold a few inches of water. Just ensure your springform pan is wrapped tightly in two layers of foil to prevent any water from leaking in.
The Bottom Line
Baking a Classic New York Style Cheesecake is such a rewarding experience for any home baker. It takes a bit of patience, but the first bite makes every minute of waiting completely worth it. Sweet moments don’t have to be complicated. Let’s make something wonderful together.
I hope this brings as much joy to your kitchen as it does to ours on a quiet Sunday afternoon. Happy baking! Billy
Billy