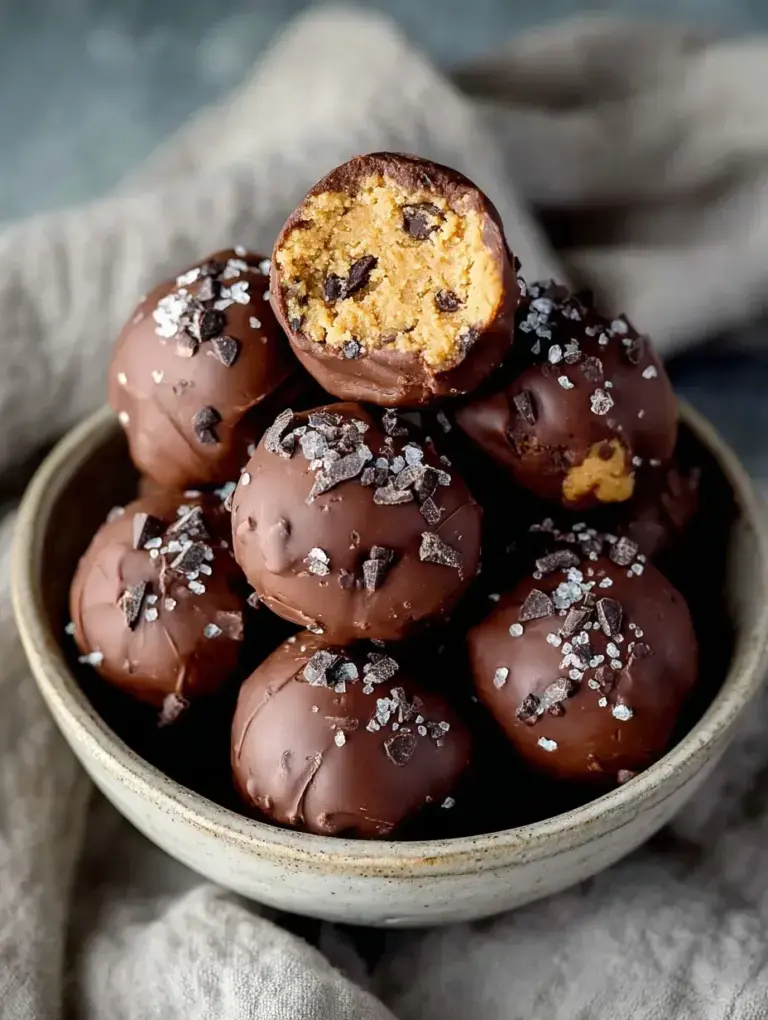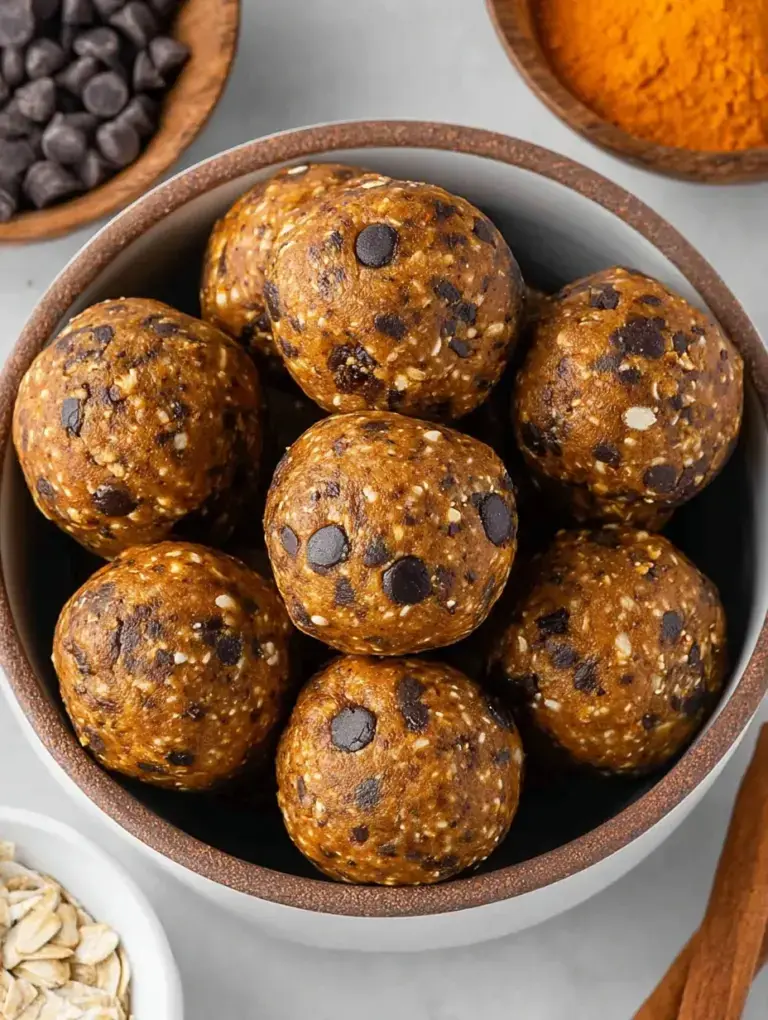

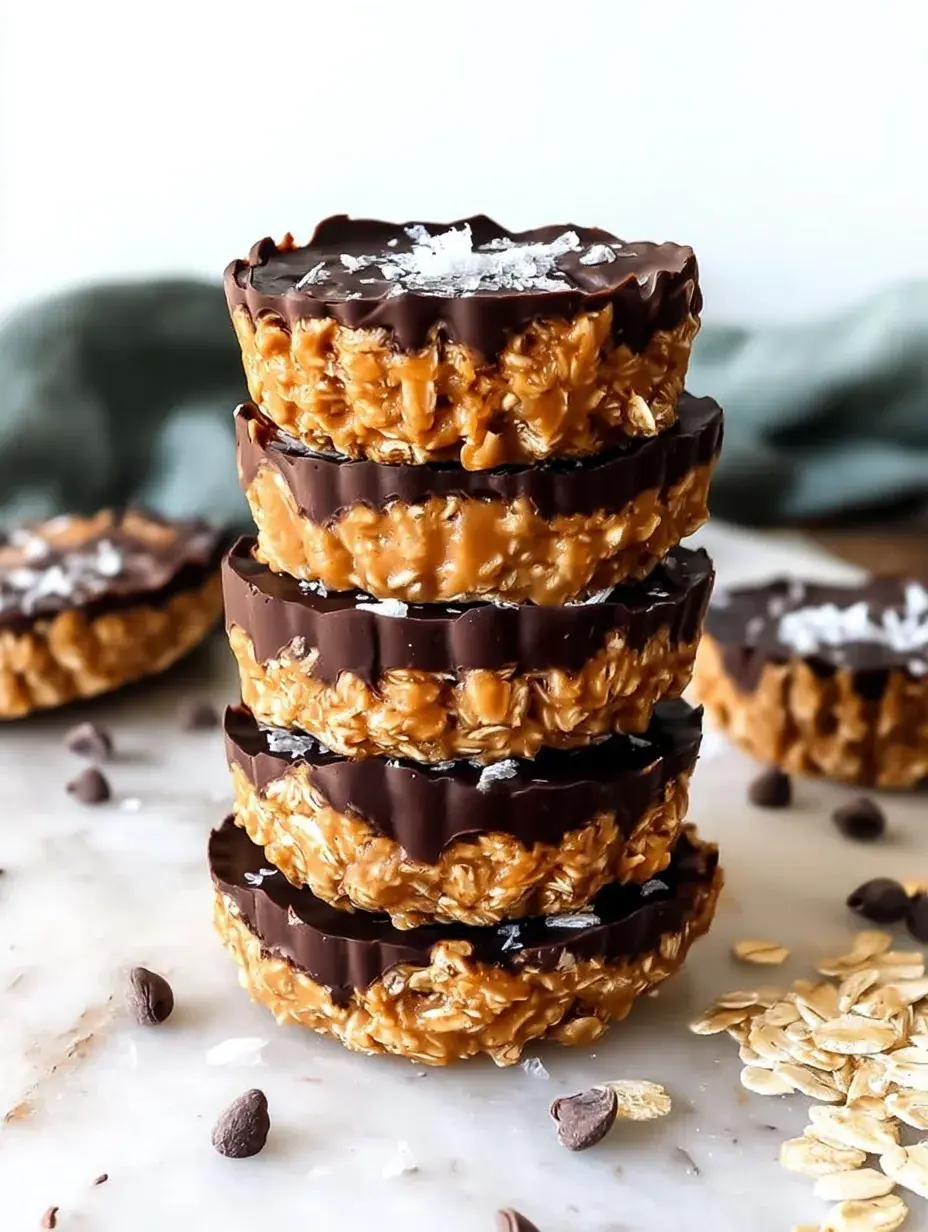
The air in my kitchen fills with the scent of toasted oats and nutty peanut butter the moment we start measuring everything out. It is a warm, grounding smell that always reminds me of quiet afternoons spent snacking at the wooden table. My daughter loves the sound of the spoon clicking against the glass bowl as we stir it all together.
Why You Will Love This Vegan No Bake Peanut Butter Oat Cups [Oil-Free]
I started making these because I needed a treat that did not involve me hovering over the oven for an hour. Honestly, I have found that no-bake snacks are the real heroes of a busy week when everyone is craving something sweet but I am short on time. We first tried a version of these during a rainy weekend when we could not go outside and they have been a staple ever since.
The first batch I ever made was actually a bit of a disaster because I used quick oats and they just turned into mush. I learned the hard way that old-fashioned rolled oats are the only way to go if you want that perfect, chewy texture that holds up. Now, my daughter and I can whip these up in about twenty minutes without even thinking about it.
What Makes This Vegan No Bake Peanut Butter Oat Cups [Oil-Free] Special
- Key feature: The balance between the chewy oat base and the creamy, melty peanut butter center is just wonderful.
- Key ingredient: Natural drippy peanut butter is essential here because it mixes easily and provides the best richness.
- Ease factor: This is a simple stir-and-press recipe that requires absolutely zero baking skills.
- Seasonal fit: I make these year-round, but they are especially great in the summer when it is too hot to turn on the stove.
- Kid-friendly note: My daughter loves being the one to press the oat mixture into the muffin tins to create the little wells.
The Best Vegan No Bake Peanut Butter Oat Cups [Oil-Free] Recipe
This recipe is one of those back-pocket gems that uses simple pantry staples to create something that feels like a real indulgence. I usually make a double batch because they disappear from the fridge faster than I can count.
Ingredient Notes
- Old-fashioned rolled oats: These provide the structure and heartiness for the cups; do not swap for quick oats or the texture will be too soft.
- Natural drippy peanut butter: Look for the kind where the only ingredient is peanuts to ensure the cups set correctly.
- Pure maple syrup: This acts as a natural sweetener and a sticky binder to hold the oats together.
- Unsweetened cocoa powder: This creates a deep, chocolatey glaze that contrasts beautifully with the salty peanut butter.
- Vanilla extract: A small splash adds a layer of warmth that makes the whole treat taste more like a dessert.
Instructions
- Prepare Tin. Line a muffin tin with silicone liners so the cups are easy to pop out later. You can also use parchment paper strips if you do not have liners on hand.
- Mix Base. In a large bowl, stir together the oats, peanut butter, maple syrup, vanilla, and salt. You want every single oat to look glossy and coated so the base stays together.
- Press Cups. Scoop the mixture into the muffin tin and press down hard with the back of a spoon. Make sure to leave a small dip in the middle for the filling.
- Add Filling. Drop a teaspoon of peanut butter into each indentation. It should settle slightly into the center of the oat base.
- Whisk Glaze. Combine cocoa powder, syrup, and hot water in a small bowl until it is smooth and shiny. It should be thick enough to coat a spoon but still pourable.
- Chill Well. Spoon the chocolate over the peanut butter and place the tin in the freezer for at least 30 minutes. They are ready when the chocolate is firm to the touch.
Billy’s Tips and Mistakes to Avoid
- Tip 1: If your peanut butter is at the bottom of the jar and a bit dry, warm it up for ten seconds so it becomes drippy again.
- Tip 2: I discovered that using hot water for the glaze is the secret to getting it smooth without using any oil.
- Tip 3: Do not skip the chilling time or the cups will crumble when you try to remove them from the liners.
- Tip 4: Use a damp finger to smooth out the oat base if it is sticking to your hands too much while pressing.
- Tip 5: For a festive touch, sprinkle a tiny pinch of extra sea salt on top of the chocolate before it freezes.
Storage Tips
You should keep these in an airtight container in the refrigerator for up to 7 days to maintain their texture. They also freeze wonderfully for up to 2 months, which makes them a great make-ahead snack for school or work. I personally like eating them straight from the freezer on a warm evening.
Variations and Swaps
- Swap the peanut butter for almond butter or cashew butter for a different flavor profile that is just as delicious.
- Add a few dark chocolate chips into the oat base for an extra bit of crunch and sweetness.
- Stir in a tablespoon of hemp seeds or chia seeds to the oat mixture for a little boost of nutrients.
Why This Recipe Works Every Time
The reason this recipe is so reliable is the simple ratio of liquid to dry ingredients. By using natural peanut butter and maple syrup, you create a natural glue that hardens just enough in the fridge to hold its shape while staying soft enough to bite into.
I made the mistake of trying to use cold water for the glaze once and it was a lumpy mess. Once I switched to hot water, the chocolate became so glossy and smooth that it looked like it came from a bakery. It is a small detail that changed everything for me.
Vegan No Bake Peanut Butter Oat Cups [Oil-Free]
Ingredients
- 2 cups Old -fashioned rolled oats (certified gluten-free if needed)
- 1/2 cup Natural drippy peanut butter (100% peanuts)
- 1/3 cup Pure maple syrup
- 1/2 teaspoon Vanilla extract
- 1/4 teaspoon Sea salt
- 1/4 cup Unsweetened cocoa powder
- 2 tablespoons Pure maple syrup (for glaze)
- 1 tablespoon Hot water
Instructions
- Line a standard 12-cup muffin tin with silicone liners or parchment paper strips.
- In a large mixing bowl, combine the rolled oats, 1/3 cup of peanut butter, 1/3 cup of maple syrup, vanilla extract, and sea salt. Stir until the oats are thoroughly coated and the mixture is sticky.
- Distribute the oat mixture evenly across the 12 muffin cups. Press down firmly using the back of a spoon or a small glass to create a flat base with a slight indentation in the center.
- Place 1 teaspoon of the remaining natural peanut butter into the center indentation of each oat cup.
- In a small whisking bowl, combine the cocoa powder, 2 tablespoons of maple syrup, and hot water. Whisk vigorously until a smooth, glossy, oil-free chocolate sauce forms.
- Spoon approximately 1 teaspoon of the chocolate glaze over the peanut butter center of each cup, spreading it to the edges.
- Transfer the muffin tin to the freezer for 30 minutes or the refrigerator for at least 60 minutes to allow the cups to set.
- Remove from liners and store in an airtight container in the refrigerator for up to one week.
Frequently Asked Questions
Can I use quick-cooking oats instead of rolled oats?
It is best to stick with old-fashioned rolled oats for this recipe. Quick oats are much thinner and will absorb the liquid differently, often resulting in a mushy cup that does not hold its shape as well.
Do these need to be kept in the fridge?
Yes, because these are oil-free and use natural binders, they will soften quite a bit if left at room temperature for too long. Keeping them chilled ensures they stay firm and the chocolate glaze remains set.
How do I make these nut-free?
You can easily substitute the peanut butter with sunflower seed butter. Just make sure it is the creamy, drippy variety so the measurements remain accurate and the texture stays consistent.
The Bottom Line
These little cups are the perfect example of how simple ingredients can turn into something really special for your family. I hope they bring a little bit of that cozy kitchen magic to your home this week. Sweet moments don’t have to be complicated. Let’s make something wonderful together.
I am off to grab one of these with my afternoon tea while the house is finally quiet. I hope your kitchen feels just as cozy as mine today. Billy
Billy
More recipes you’ll love: Black Forest Dessert Cups, Vegan Hot Chocolate, Vegan Butterfingers, No-Bake Cookie Dough Cheesecake Bars