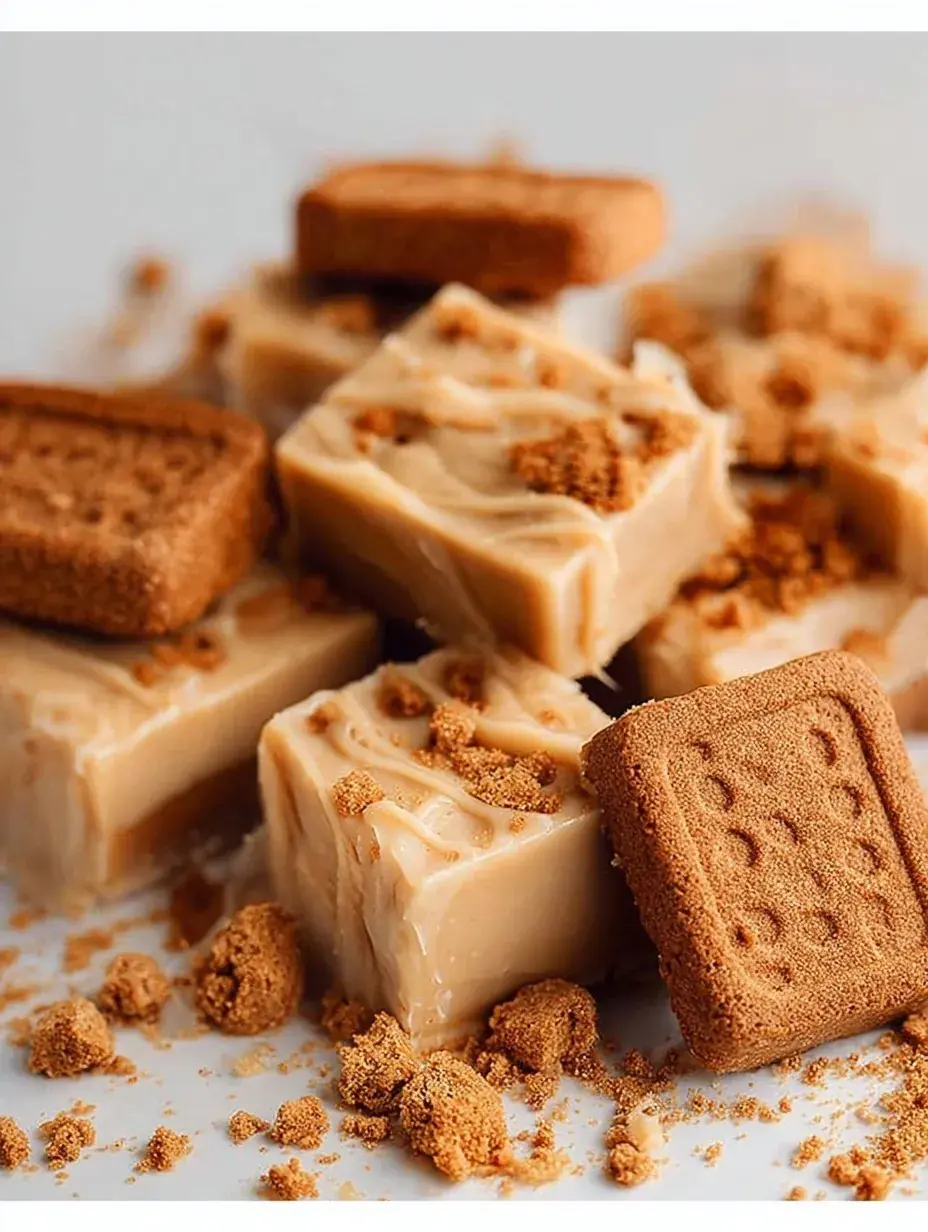
Have you ever had one of those days where you just need a sweet treat but really do not want to turn on the oven? That was me last Tuesday when the kitchen felt a bit too quiet and the cookie jar was looking sadly empty. This Biscoff Fudge is my favorite way to fill that gap without making a huge mess in the process.
Why You Will Love This Biscoff Fudge
My daughter is the one who usually reminds me that we need a fresh batch of this in the fridge. She loves being the official cookie crusher, standing on her little stool and carefully breaking up the Lotus biscuits to sprinkle on top. It is one of those sweet moments where the kitchen feels warm even without the oven being on.
Personally, I have found that we have made this together so many times that she practically knows the steps by heart now. Watching her face light up when we finally pull the chilled pan out of the fridge is worth every minute of waiting. It is a memory we are building together, one golden square at a time.
What Makes This Biscoff Fudge Special
Honestly, the texture is what really sets this apart from the traditional chocolate versions you might be used to. Because we use the cookie butter spread, it has this incredible deep caramel and cinnamon flavor that feels much more sophisticated than it actually is. It is so creamy that it almost melts the second it hits your tongue, but then you get that lovely crunch from the cookies on top.
I also love how forgiving this is for a home baker like me. You do not need a candy thermometer or any fancy equipment, which takes all the stress out of the process. Whether you are making it for a holiday gift or just a weekend snack, it feels like a little piece of luxury that took almost no effort to create in your own kitchen.
The Best Biscoff Fudge Recipe
The last time I made this, I almost did not get a single piece because my daughter’s friends finished the whole plate before I could even blink. It really is that good, and I think you will find it becomes a fast favorite in your house too.
Ingredient Notes
- White Chocolate Chips: These provide the base and the sweetness; I usually look for a brand that melts smoothly.
- Sweetened Condensed Milk: This is the secret to that chewy, classic fudge texture without all the boiling and stirring.
- Biscoff Cookie Butter: The star of the show that adds that warm, spiced flavor we all love.
- Vanilla Extract: Just a splash helps to round out the sweetness of the white chocolate.
- Crushed Biscoff Cookies: These add the perfect texture contrast on top, so don’t skip the crunch!
Instructions
- Prep Pan. Line your 8×8 inch square baking pan with parchment paper, making sure the edges hang over so you can lift the fudge out easily later.
- Melt Base. In a heavy saucepan over low heat, combine the white chocolate, condensed milk, and the Biscoff spread. Stir it constantly until everything is melted and the mixture looks silky and uniform.
- Add Flavor. Take the pan off the heat and stir in your vanilla and that tiny pinch of salt to balance the sugar.
- Pour Mixture. Carefully pour the warm fudge into your prepared pan and use a spatula to smooth out the top until it is nice and level.
- Add Topping. Sprinkle those crushed cookies all over the top, pressing them in just a tiny bit so they stick.
- Chill Well. Put the pan in the fridge for at least 4 hours until it feels firm to the touch.
Billy’s Tips and Mistakes to Avoid
- Low Heat is Key: I once tried to rush this on medium heat and scorched the bottom, so keep it low and slow.
- Don’t Skip the Salt: That little pinch of sea salt really cuts through the sweetness of the white chocolate.
- Wait for the Chill: It is so tempting to cut it early, but it really needs those full 4 hours to set properly.
- Parchment is Your Friend: Always leave an overhang so you aren’t struggling to dig the fudge out of the corners of the pan.
- Crush the Cookies Gently: You want some bigger chunks for texture, not just fine dust on top.
Storage Tips
You can keep this treat in an airtight container at room temperature for about 3 to 4 days, but I personally think it stays much better in the fridge. In the refrigerator, it will stay fresh and delicious for up to 14 days. If you want to save some for later, it actually freezes beautifully for up to 3 months if you wrap the squares individually.
Variations and Swaps
- Try adding a handful of dark chocolate chips for a marbled look and a deeper flavor profile.
- If you need it to be nut-free, double-check your cookie butter label as some brands are processed differently.
- For a festive touch, my daughter loves adding a few holiday sprinkles along with the crushed cookies.
Why This Recipe Works Every Time
The ratio of chocolate to condensed milk is really the magic here. It creates a stable set that is not too soft but still feels rich and buttery in your mouth. I have tested this multiple times to make sure it does not get that grainy texture that some homemade fudges can have.
On my third try, I realized that adding the cookie butter right at the beginning with the chocolate makes it incorporate much better than adding it at the end. It is those little things I have learned from my kitchen mistakes that make this version of Biscoff Fudge so reliable for you.

Ingredients
- 400 grams white chocolate chips
- 397 grams sweetened condensed milk (1 can)
- 250 grams Biscoff cookie butter spread
- 0.5 teaspoon vanilla extract
- 1 pinch fine sea salt
- 6 Lotus Biscoff cookies, crushed
Instructions
- Line an 8x8 inch square baking pan with parchment paper, leaving an overhang on the sides.
- In a heavy-bottomed saucepan over low heat, combine the white chocolate chips, sweetened condensed milk, and Biscoff spread.
- Stir continuously until the chocolate is completely melted and the mixture is uniform and smooth.
- Remove from heat and stir in the vanilla extract and salt.
- Pour the fudge mixture into the prepared pan and level the surface with a spatula.
- Sprinkle the crushed Biscoff cookies evenly over the top, pressing them gently into the fudge.
- Refrigerate for at least 4 hours, or until the fudge is firm.
- Lift the fudge out of the pan using the parchment overhang and cut into 36 squares with a sharp knife.
Frequently Asked Questions
Can I use a microwave instead of the stove?
Yes, you can melt the ingredients in short 30-second bursts, stirring in between each one. I personally prefer the stovetop because I can keep a closer eye on the texture as it melts.
Why is my fudge not setting properly?
It usually just needs more time in the fridge, or the white chocolate was not fully melted into the condensed milk. Give it a few more hours and it should firm up perfectly.
Can I use crunchy cookie butter?
Absolutely, that would add even more of those lovely little biscuit bits throughout the fudge. My daughter actually prefers the crunchy version for the extra texture!
The Bottom Line
This is the kind of treat that brings everyone to the kitchen the moment they hear the container open. Whether you are sharing it with neighbors or just enjoying a piece with your afternoon coffee, it is pure joy in a square. Sweet moments don’t have to be complicated. Let’s make something wonderful together.
I hope this brings a little bit of that cozy cookie butter magic to your home this week. My daughter already has the biscuits ready for our next batch! Billy
Billy