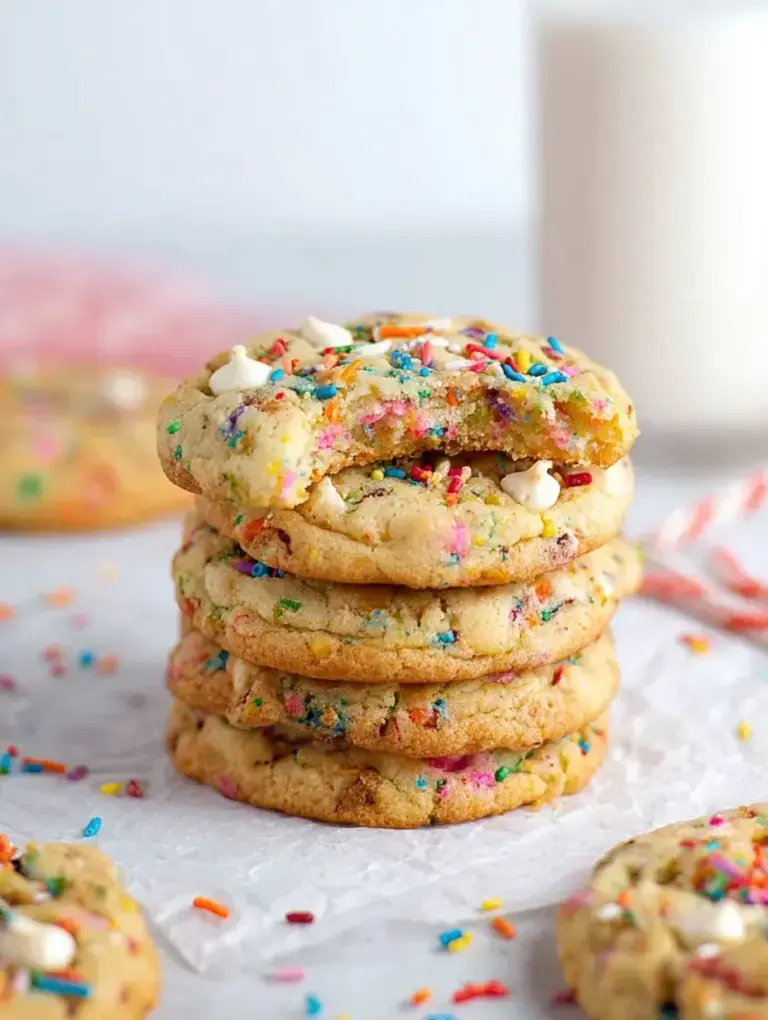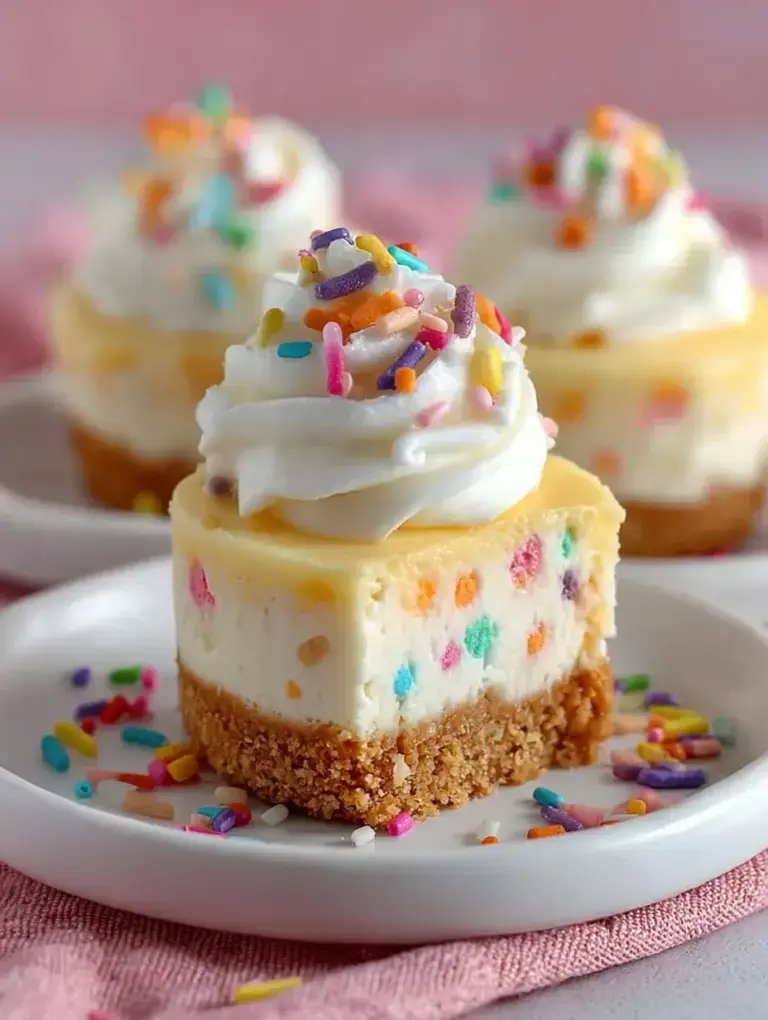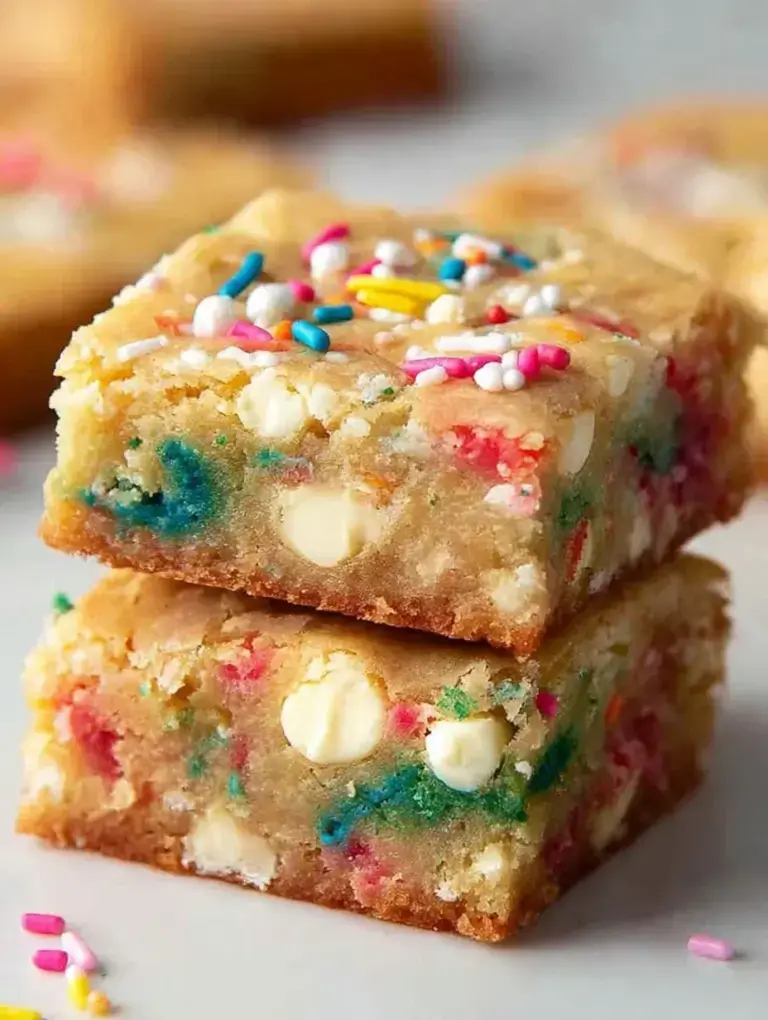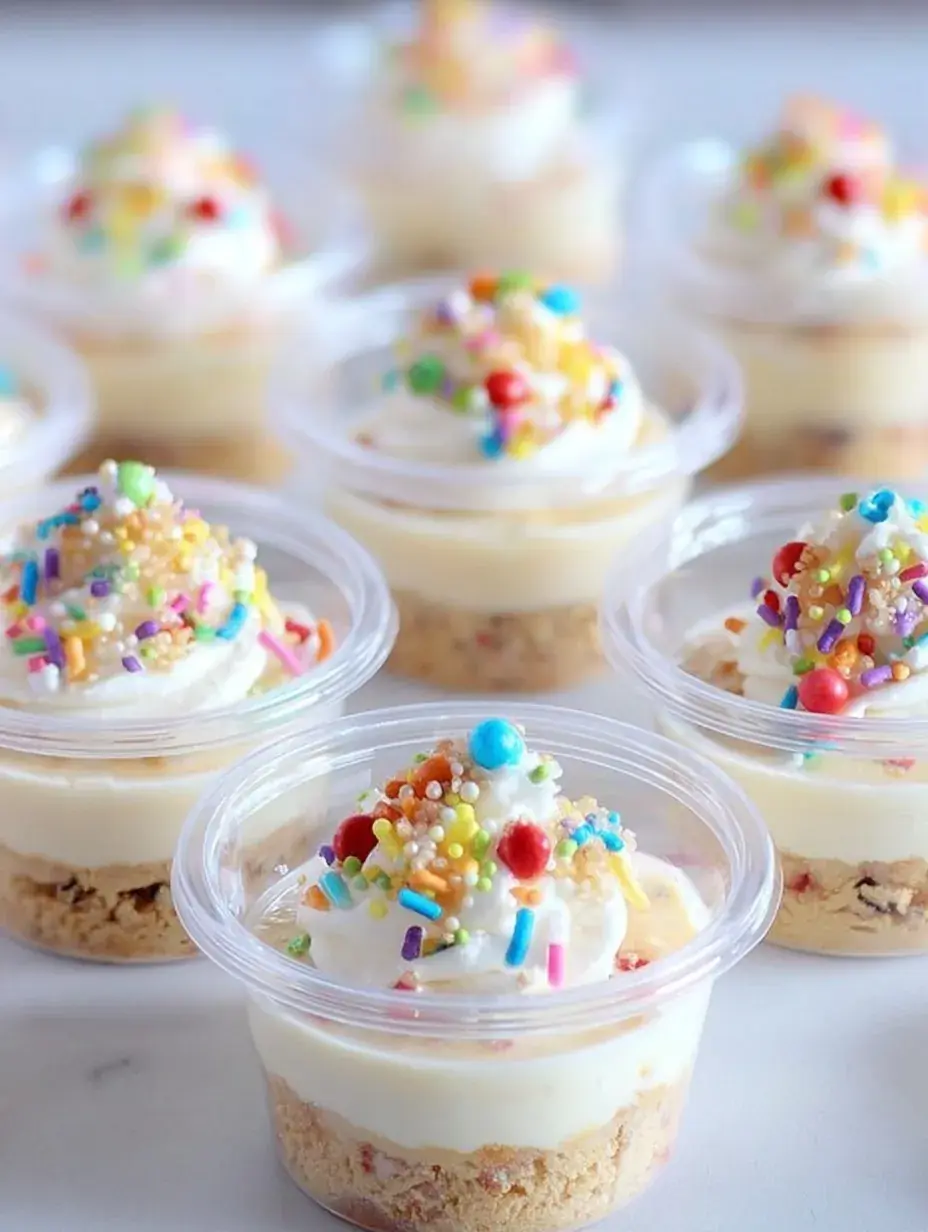
Nothing brings out a smile quite like a handful of rainbow sprinkles.
My daughter and I spent yesterday afternoon assembling these little treats while listening to some of our favorite music. It was one of those messy, happy kitchen sessions that reminds me why I love baking simple things at home.
Why You Will Love This Birthday Cake Dessert Cups
I first made these for a neighborhood gathering when I realized a traditional layer cake would be too much work to slice and serve. I wanted something that felt like a celebration but was easy for guests to grab and enjoy while chatting.
Honestly, I found that using a slightly smaller cutter than the cup diameter makes the whole assembly process much smoother. My daughter loves being the one to press the cake rounds into the bottom of each glass, and it is a wonderful way to get her involved.
What Makes This Birthday Cake Dessert Cups Special
- Key feature: The individual portions make these incredibly portable and mess free for both kids and adults.
- Key ingredient: Rainbow sprinkles are essential here because they provide that classic nostalgic birthday flavor and a pop of color.
- Ease factor: You do not need any professional decorating skills to make these look adorable and inviting.
- Seasonal fit: I make these all year round because there is always a birthday or a reason to celebrate something small.
- Kid-friendly note: Children love having their own personal dessert cup that feels like it was made just for them.
The Best Birthday Cake Dessert Cups Recipe
The last time I made these, they were gone within twenty minutes of putting them on the table. It is a reliable recipe that delivers that classic vanilla cake taste we all grew up loving.
Ingredient Notes
- All-purpose flour: This provides the sturdy yet soft base for the cake layers so they hold their shape in the cups.
- Rainbow sprinkles: I prefer the long jimmies over the tiny round nonpareils because they do not bleed color into the batter as much.
- Unsalted butter: Using softened butter is the secret to getting a light and fluffy crumb in the cake and a smooth frosting.
- Heavy cream: Adding a splash to the buttercream makes it much easier to pipe and gives it a luxurious texture.
- Vanilla extract: Always use a good quality extract to ensure that classic birthday cake aroma fills your kitchen.
Instructions
- Prepare and Mix. Start by whisking your dry ingredients in a large bowl until they are well combined. Add the softened butter, egg, milk, and vanilla, then mix until the batter is smooth and pale.
- Add Sprinkles. Gently fold in the rainbow sprinkles using a spatula to avoid overmixing. You want the sprinkles evenly distributed so every bite has a bit of color.
- Bake and Cool. Spread the batter into your prepared pan and bake until a toothpick comes out clean. Let the cake cool completely on the counter before you even think about cutting it.
- Cut Rounds. Use a circular cookie cutter to press out twelve individual cake circles. They should look like perfect little golden rounds ready for their cups.
- Whip Frosting. Beat the butter and powdered sugar with the cream and vanilla until the mixture is light and airy. It should hold a soft peak when you lift the beaters.
- Assemble Cups. Place a cake round in each cup and pipe a thick swirl of frosting on top. Add a few extra sprinkles for a finishing touch that makes them look professional.
Billy’s Tips and Mistakes to Avoid
- Tip 1: Make sure your cake is truly cold before cutting the rounds or they might crumble and fall apart. I have rushed this before and ended up with a mess.
- Tip 2: If your frosting feels too stiff, add the heavy cream one teaspoon at a time until it is easy to pipe.
- Tip 3: Do not overbake the cake or it will be dry, which is more noticeable when it is served in a cup.
- Tip 4: You can bake the cake the day before and keep it wrapped in plastic until you are ready to assemble.
- Tip 5: Let the kids help with the sprinkles, but be prepared for them to end up everywhere on the floor.
Storage Tips
You can keep these dessert cups in the refrigerator for up to 4 days if they are covered with plastic wrap. If you prefer to serve them at room temperature, they are fine on the counter for about 2 days. I do not recommend freezing the assembled cups, but you can freeze the cake rounds for up to a month.
Variations and Swaps
- Swap the vanilla frosting for chocolate buttercream if you have a real cocoa lover in the family.
- Use a gluten free all purpose flour blend if you need to accommodate dietary restrictions.
- Try adding a small layer of strawberry jam between the cake and the frosting for a fruity surprise.
Why This Recipe Works Every Time
The ratio of cake to frosting in these cups is what makes them so satisfying to eat. Because the cake is baked in a thin sheet, it stays moist and creates a perfect base for the rich buttercream.
I learned the hard way that using a piping bag is much better than trying to spread the frosting with a spoon inside a small glass. Once I switched to piping, the assembly took half the time and looked ten times better.
Ingredients
- 1.5 cups all -purpose flour
- 1 cup granulated sugar
- 1.5 tsp baking powder
- 0.5 tsp sal t
- 0.5 cup unsalted butter, softened
- 1 large eg g
- 0.5 cup whole milk
- 1.5 tsp vanilla extract
- 0.33 cup rainbow sprinkles
- 2 cups powdered sugar
- 0.5 cup unsalted butter, softened (for frosting)
- 2 tbsp heavy cream
- 0.5 tsp vanilla extract (for frosting)
Instructions
- Preheat oven to 350°F (175°C) and grease a 9x13 inch baking pan.
- In a large bowl, whisk together flour, sugar, baking powder, and salt.
- Add 0.5 cup softened butter, egg, milk, and 1.5 tsp vanilla extract to the dry ingredients and mix until smooth.
- Fold in 0.33 cup rainbow sprinkles until evenly distributed.
- Spread the batter evenly in the prepared pan and bake for 18-20 minutes or until a toothpick comes out clean.
- Allow the cake to cool completely at room temperature.
- Using a circular cookie cutter matching the diameter of your dessert cups, cut out 12 individual cake rounds.
- Prepare the frosting by beating 0.5 cup softened butter with powdered sugar, heavy cream, and 0.5 tsp vanilla extract until light and fluffy.
- Place one cake round into the base of each dessert cup.
- Pipe a generous layer of buttercream frosting over the cake layer and garnish with additional rainbow sprinkles.
Frequently Asked Questions
Can I use a box mix instead of making the cake from scratch?
You certainly can if you are in a hurry, but the homemade version has a much richer butter flavor. Just follow the baking instructions for a 9×13 pan and proceed with the cutting steps.
What size cups work best for this recipe?
I usually use 5 or 6 ounce clear plastic cups or small glass jars. Just make sure your cookie cutter is roughly the same size as the bottom of the cup.
How do I keep the sprinkles from bleeding into the batter?
The trick is to fold them in very gently at the very last second. Do not use a mixer once the sprinkles go in or you will end up with gray batter.
The Bottom Line
Whether you are celebrating a big milestone or just a quiet Friday evening, these little cups are sure to bring some joy. They are simple to assemble and even more fun to eat. Sweet moments don’t have to be complicated. Let’s make something wonderful together.
I hope these bring as much cheer to your kitchen as they do to mine this season. Happy baking. Billy
Billy