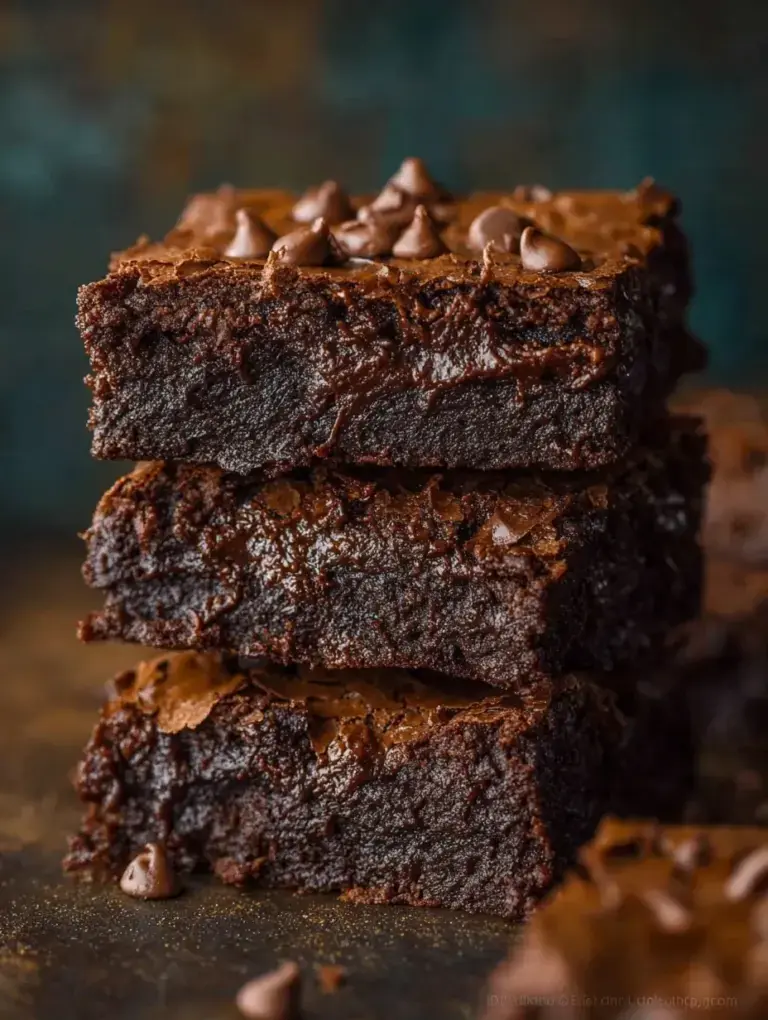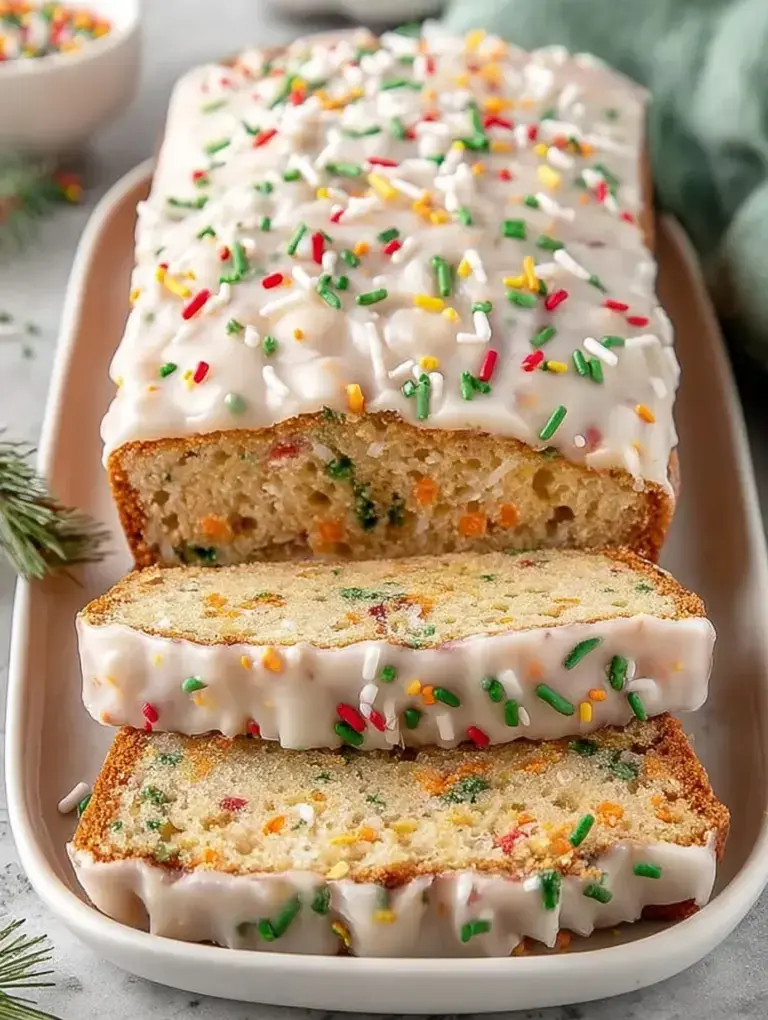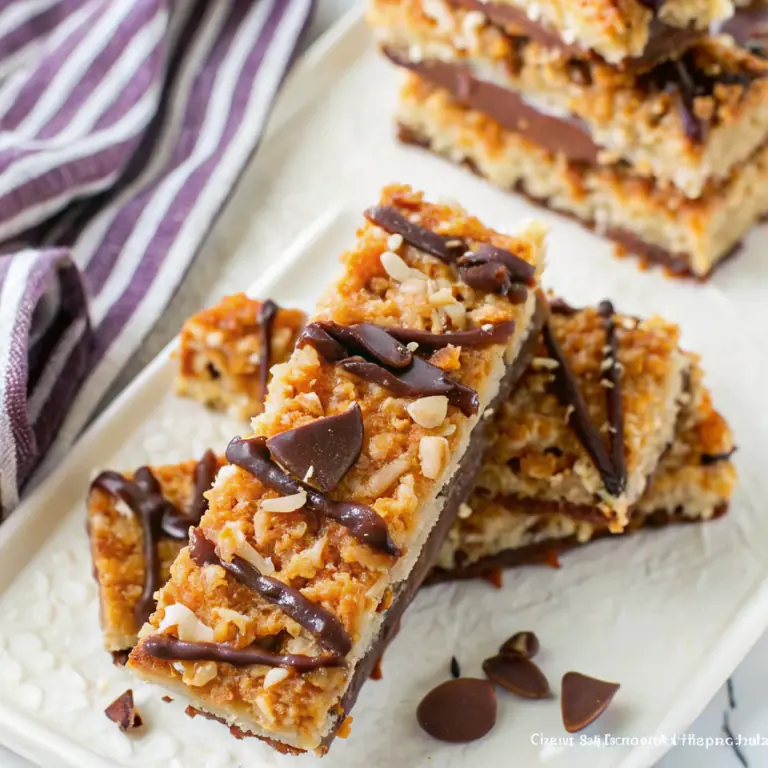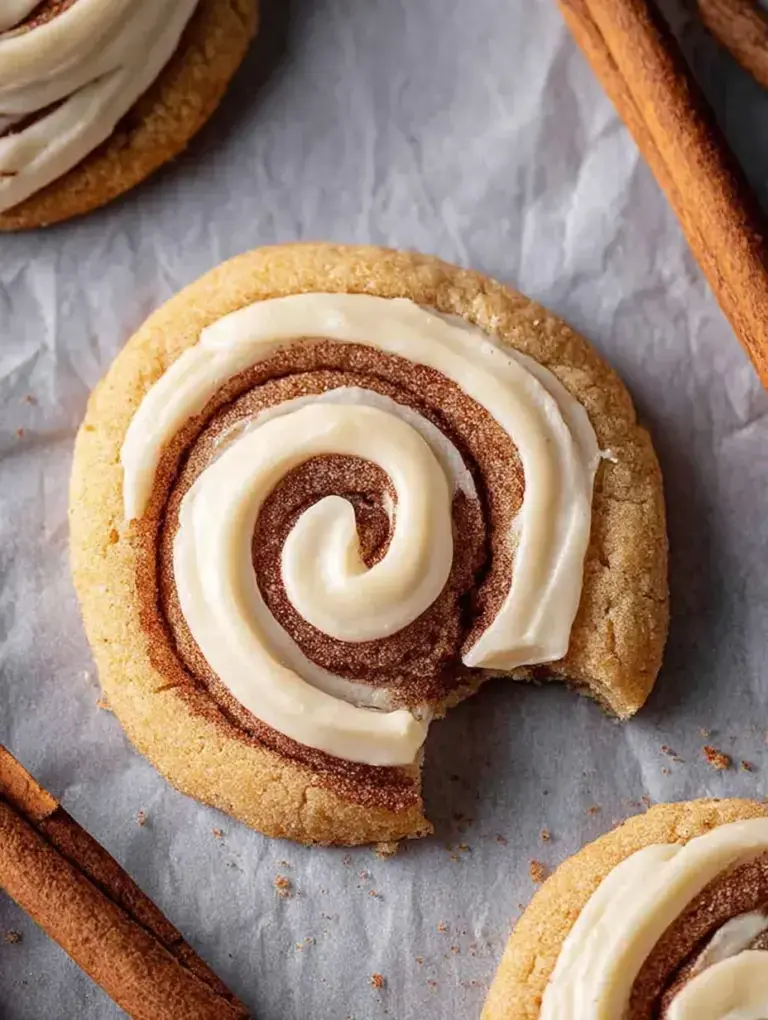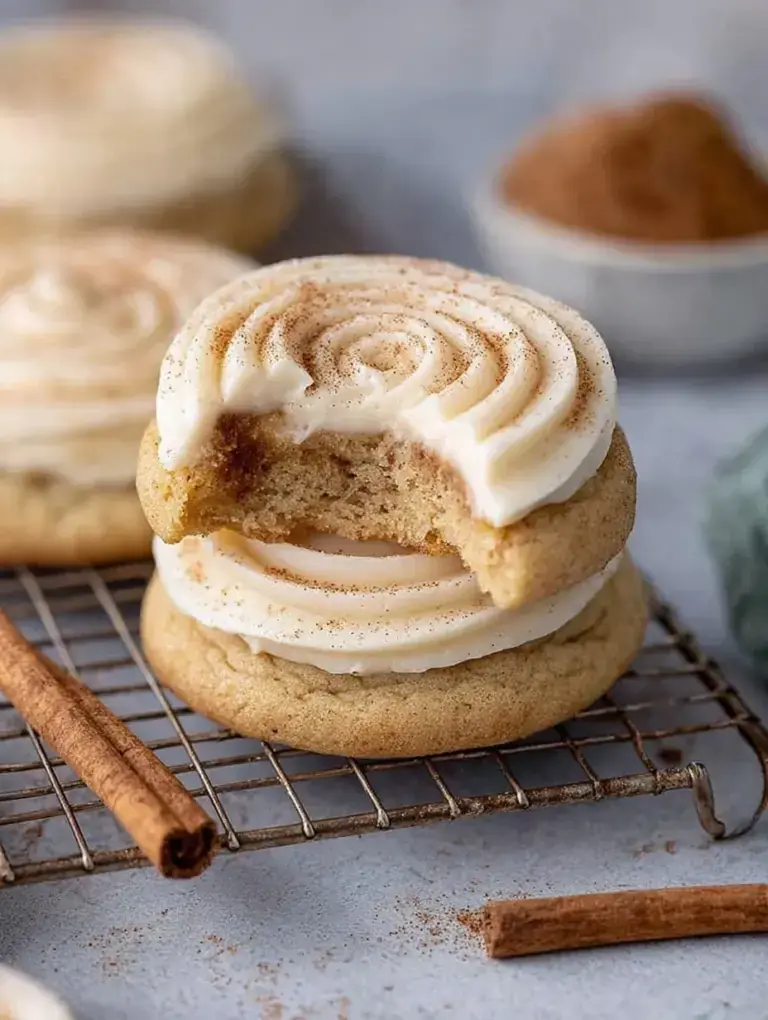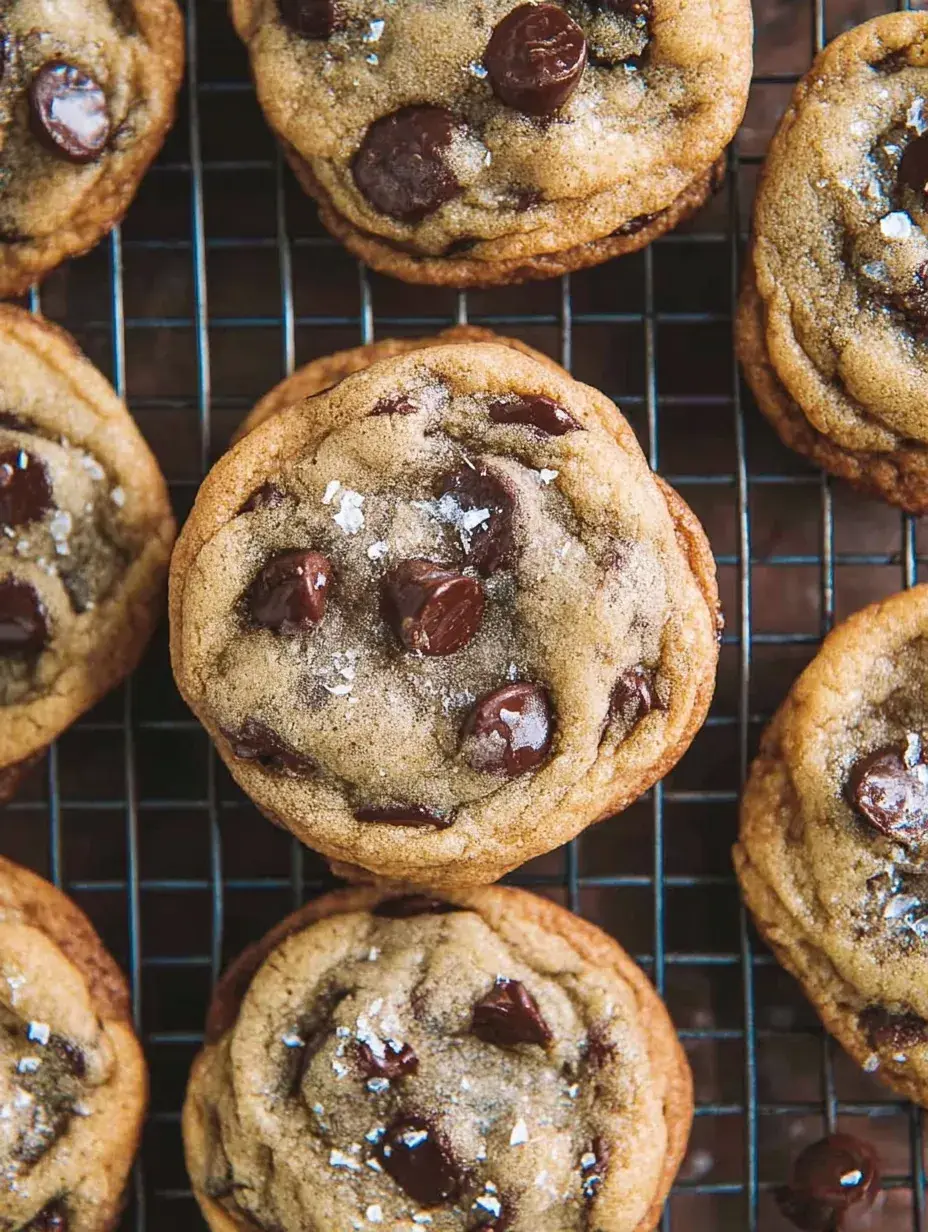
I spent years settling for cookies that were either too crunchy or way too soft, never finding that middle ground I craved. Honestly, I used to think I was just bad at baking them until I realized I was over-mixing the dough every single time. Now, these are the only ones my daughter and I make when we need a little kitchen magic on a quiet Sunday afternoon.
Why You Will Love This Crispy and Chewy Chocolate Chip Cookies
For the longest time, I struggled to make a cookie that stayed chewy the next day without turning into a rock. This recipe finally solved that frustrating kitchen mystery by balancing the two types of sugar perfectly to create a texture that lasts.
It is the perfect solution for families who can never agree on whether a cookie should be snappy or soft. Personally, I have found that this version makes everyone happy because you get the golden edges and the gooey middle in every single bite.
What Makes This Crispy and Chewy Chocolate Chip Cookies Special
The secret is the ratio of brown sugar to white sugar which creates a deep caramel flavor. It gives the cookies that bakery-style richness without needing any fancy equipment.
We use a higher oven temperature than most recipes to get those beautiful crispy rims quickly. This keeps the inside from drying out while the outside gets that lovely crunch.
My daughter loves helping me fold in the chocolate chips by hand at the very end. Doing it manually ensures the dough stays light and fluffy instead of becoming dense.
The Best Crispy and Chewy Chocolate Chip Cookies Recipe
I made a batch of these last Sunday while the rain was hitting the window, and they were gone before the sun even came out. They are simple to put together but taste like you spent all day in a professional kitchen.
Ingredient Notes
- Unsalted Butter: Softened just right so it creams easily with the sugar for a light, airy texture.
- Light Brown Sugar: This is what gives the centers that dense, chewy feel I love so much.
- Vanilla Extract: I always add a generous splash because it rounds out the chocolate flavors perfectly.
- Baking Soda: It helps the cookies spread and brown just enough to get those signature crispy edges.
- Chocolate Chips: Semi-sweet is my go-to, but you can use dark chocolate chunks if you prefer extra melty pools.
Instructions
- Preheat and Prep. Get your oven to 190 degrees Celsius and line your sheets with parchment paper. This prevents sticking and makes the cleanup so much easier for us later.
- Cream Butter and Sugars. Use a stand mixer to beat the softened butter and both sugars for about three minutes. You want it to look light and fluffy before you move on to the next step.
- Add Eggs and Vanilla. Mix in the room temperature eggs one at a time, then pour in the vanilla extract. Make sure everything is fully combined so the dough is smooth and consistent.
- Whisk Dry Ingredients. In a separate bowl, stir together the flour, baking soda, and sea salt. I like to do this part by hand to make sure the leavening is distributed evenly.
- Combine Mixtures. Gradually add the dry ingredients to the butter mixture on low speed. Stop as soon as you do not see any white streaks of flour left in the bowl.
- Fold and Bake. Stir in the chocolate chips with a spatula, then scoop 30g balls onto the sheets. Bake for 10 to 12 minutes until the edges are firm and golden.
Billy’s Tips and Mistakes to Avoid
- Tip 1: Make sure your eggs are truly at room temperature or the butter will seize up and create a lumpy dough. I usually put mine in a bowl of warm water for five minutes if I’m in a hurry.
- Tip 2: Do not overbake these even if the centers look a little pale when the timer goes off. They will firm up on the hot pan and stay much chewier that way.
- Tip 3: If you skip the creaming step, your cookies will be flat and greasy instead of fluffy. I learned this the hard way during a rushed holiday baking session last year.
- Tip 4: You can freeze the dough balls and bake them straight from the freezer for a quick treat. Just add a minute or two to the total baking time.
- Tip 5: Let your kids help with the scooping part. My daughter loves making sure each ball is the same size, which helps them bake evenly across the tray.
Storage Tips
Keep these in an airtight container at room temperature for up to 4 days for the best texture. If you want that fresh-out-of-the-oven feel, just pop one in the microwave for five seconds before eating. They also freeze beautifully for up to 3 months if you wrap them well in freezer-safe bags.
Variations and Swaps
- Add a sprinkle of flaky sea salt on top right after baking for a more sophisticated flavor profile.
- Swap the chocolate chips for white chocolate and macadamia nuts for a different holiday vibe.
- Use a gluten-free all-purpose flour blend if you need to share these with friends who have dietary needs.
Why This Recipe Works Every Time
The combination of a hot oven and specific sugar ratios creates a texture that is hard to mess up. It feels like a professional bakery cookie but uses simple ingredients you probably already have in your pantry.
On my third test batch, I realized that weighing the dough balls made a huge difference in how they baked. It ensures every single cookie has that perfect balance of a crispy rim and a soft heart, which is why I always use a scale now.

Ingredients
- 225 g unsalted butter, softened
- 200 g light brown sugar, packed
- 100 g granulated white sugar
- 2 large eggs , room temperature
- 5 ml vanilla extract
- 325 g all -purpose flour
- 5 g baking soda
- 3 g fine sea salt
- 340 g semi -sweet chocolate chips
Instructions
- Preheat the oven to 190 degrees Celsius and line two large baking sheets with parchment paper.
- In a stand mixer bowl, cream the softened butter with the brown sugar and granulated sugar on medium-high speed for 3 minutes until light and fluffy.
- Reduce speed and add the eggs one at a time, followed by the vanilla extract, ensuring each is fully incorporated.
- In a separate bowl, whisk together the all-purpose flour, baking soda, and salt.
- Gradually add the dry ingredients to the butter mixture on low speed, mixing only until no streaks of flour remain.
- Fold in the chocolate chips manually using a silicone spatula.
- Portion the dough into 30g spheres and place them on the baking sheets spaced 5cm apart.
- Bake for 10 to 12 minutes until the edges are firm and golden brown while the centers remain slightly pale.
- Cool the cookies on the baking sheet for 5 minutes to allow the structure to set before transferring to a wire rack.
Frequently Asked Questions
Why are my chocolate chip cookies flat?
This often happens if the butter was too melty or if you didn’t cream it long enough with the sugar. Try chilling the dough for 20 minutes before baking if your kitchen is very warm.
Can I use dark chocolate instead of semi-sweet?
Absolutely, I often swap the chips for dark chocolate chunks when I want something a bit richer. It pairs perfectly with the caramelized edges of this particular recipe.
How do I get my cookies perfectly round?
You can use a round cookie cutter or a glass to gently scoot the cookies into a circle right after they come out of the oven. I do this when I am feeling a little fancy for guests.
The Bottom Line
These are the cookies that remind me why I love being in the kitchen with my family. They are simple, honest, and always bring everyone together for a cold glass of milk. Sweet moments don’t have to be complicated. Let’s make something wonderful together.
I hope these bring as much joy to your home as they do to mine this season. Happy baking! Billy
Billy