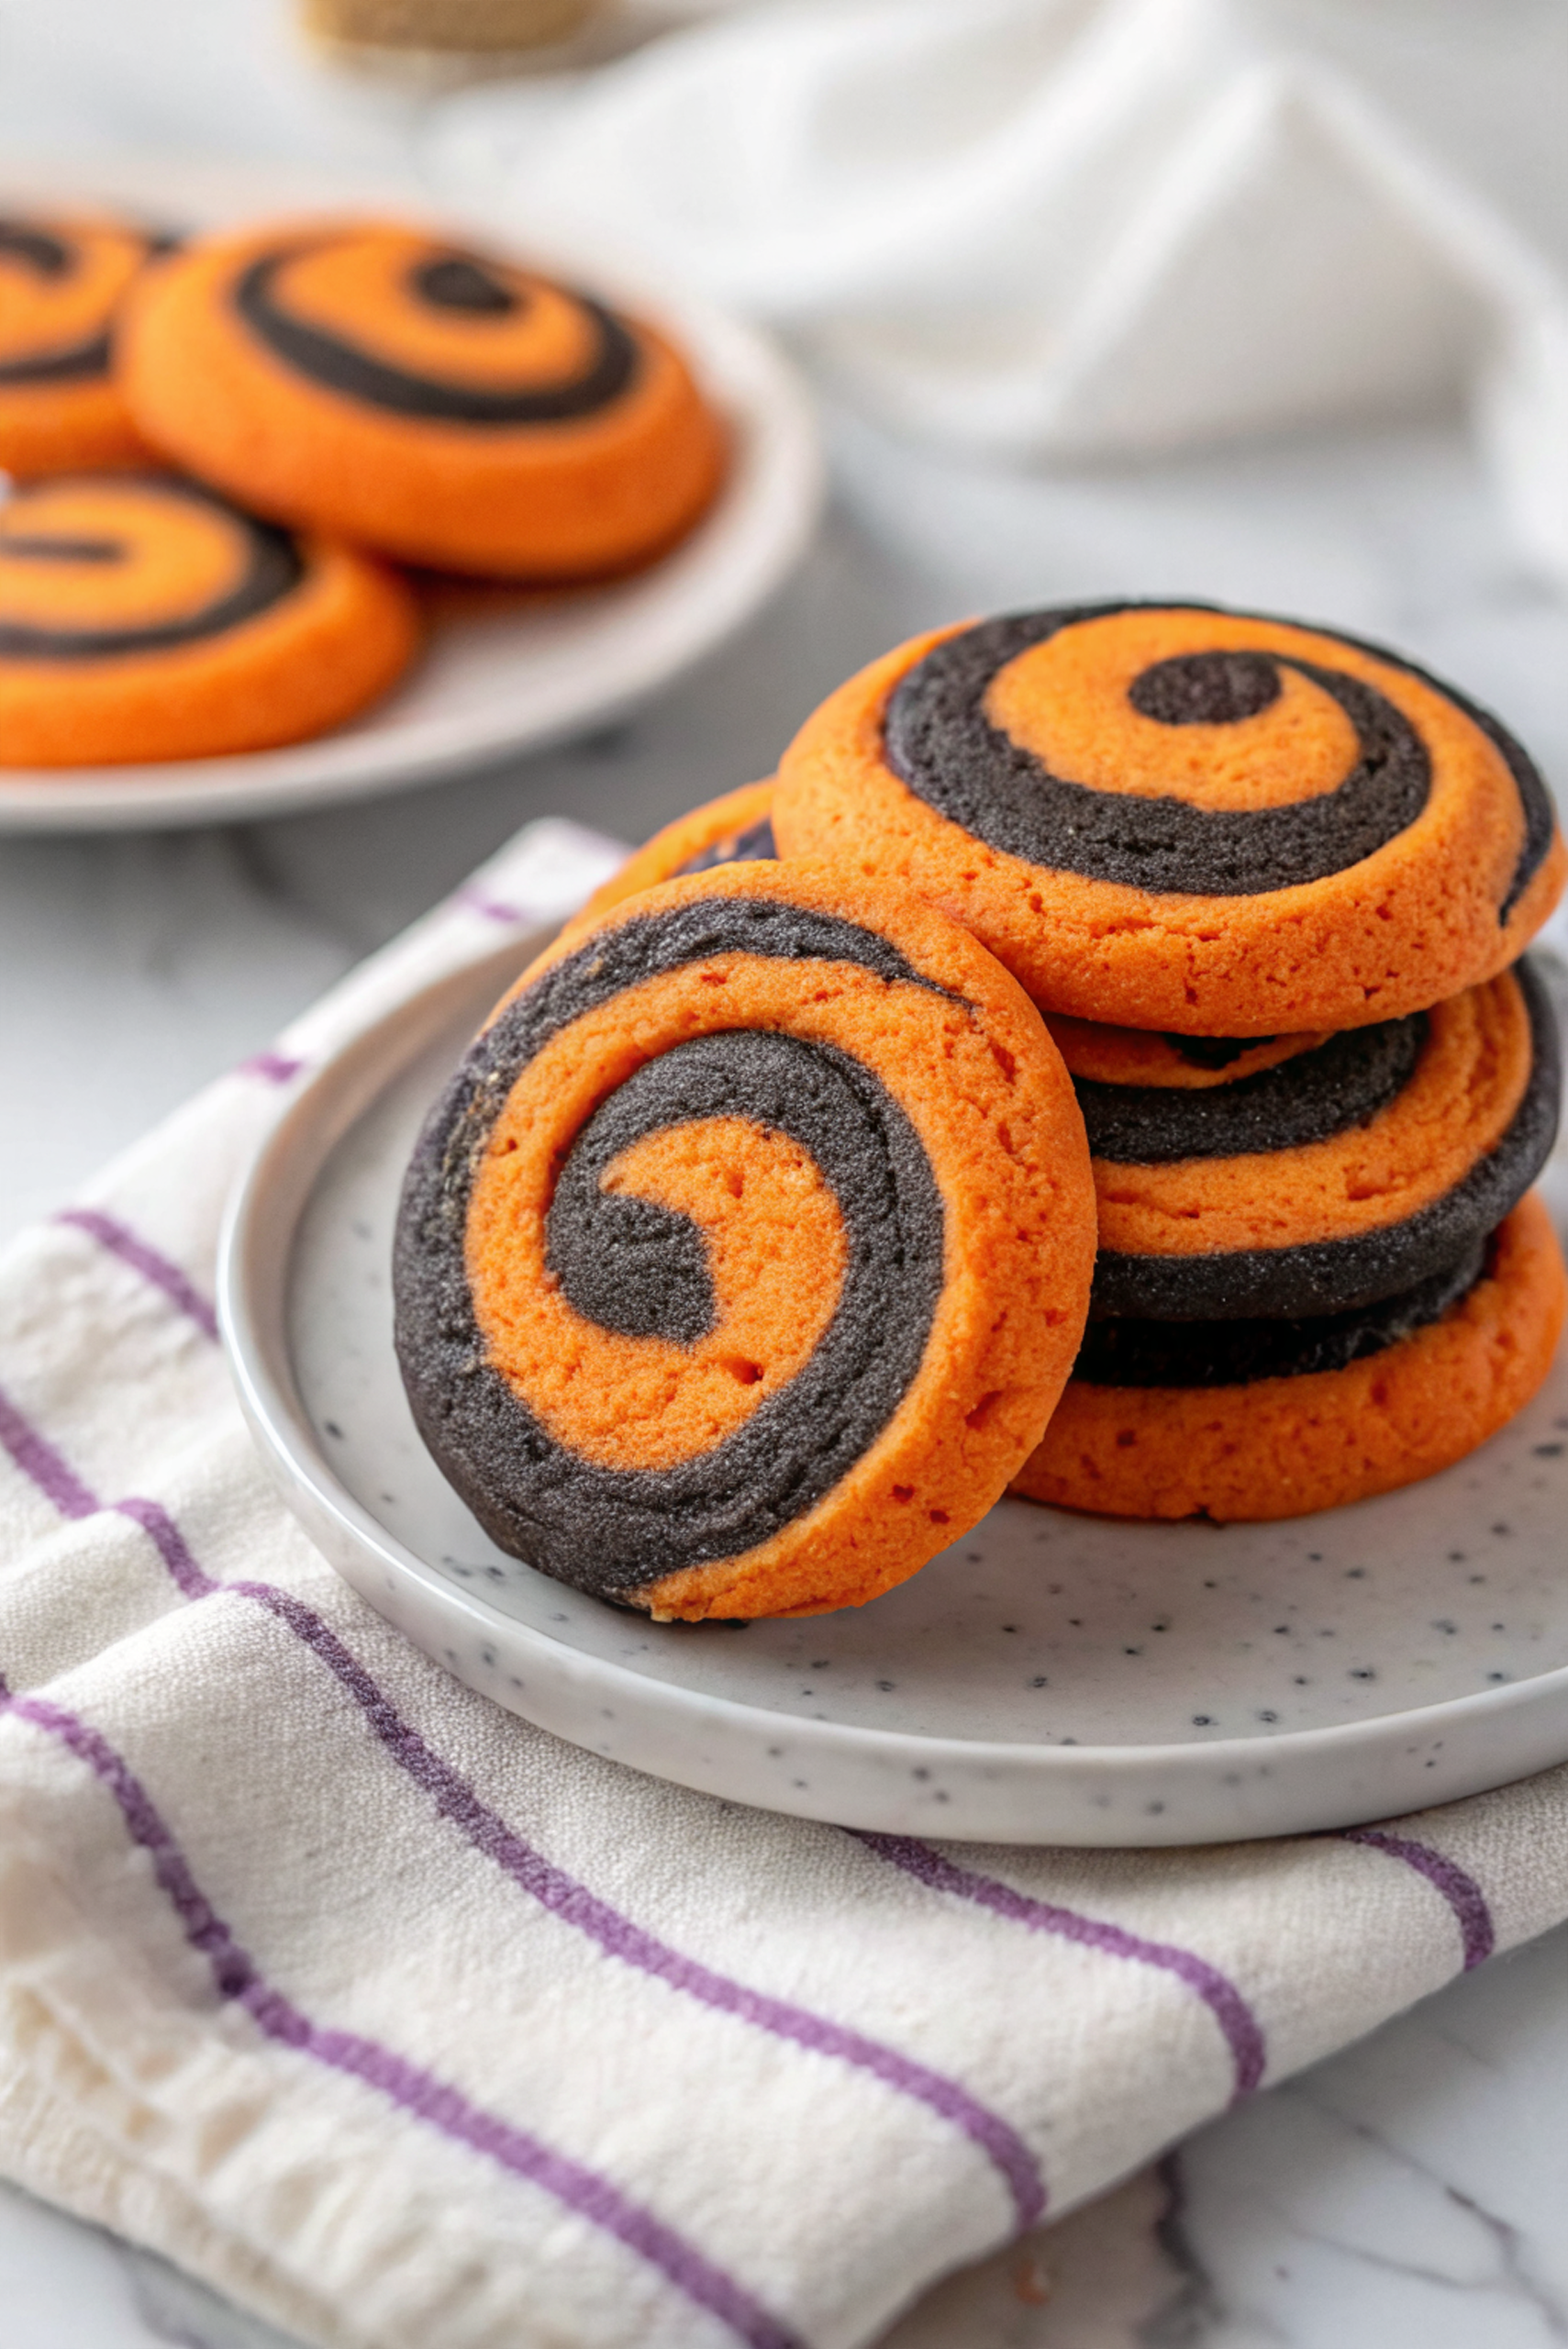
The first time I wanted the house to smell like a holiday on an ordinary day, I pulled out simple pantry staples and let my daughter grate orange zest while I creamed butter and sugar. The kitchen filled up with warm, buttery orange notes in a way that made dinner feel like a celebration. We ended up with a stack of striped cookies and a sticky counter I was proud of.
Why You’ll Love This Easy Halloween Sugar Cookies
I discovered these cookies on an afternoon when I needed something small that still felt special. The combination of vanilla and fresh orange zest filled the whole house and made a plain day feel festive.
Making the dough into two colors and rolling them together felt like a tiny, fast craft project that my kiddo could join. It’s a simple way to get a holiday vibe without anything fussy.
What Makes this Recipe Unique
– Speed: Straightforward steps and a rolling log method get you to the oven faster than fussing with cutouts.
– Key ingredient: Butter gives a rich, tender crumb and a buttery aroma that anchors the orange and vanilla.
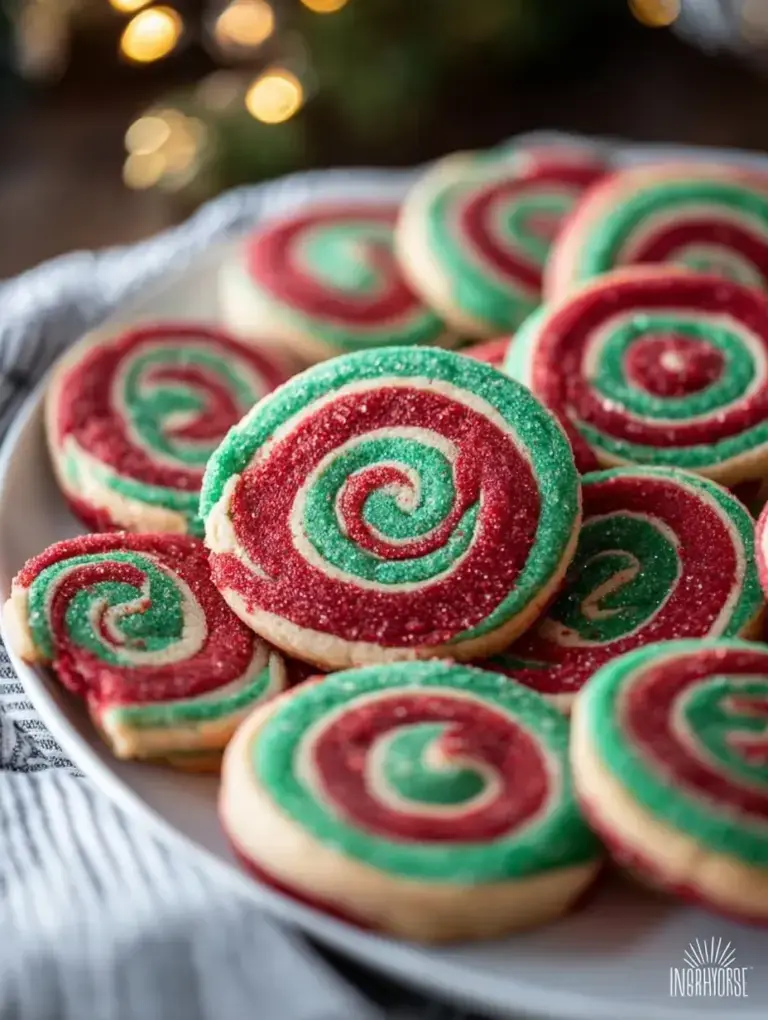
– Method: Two-colored dough gets an impressive striped look with a simple stack-and-roll technique.
– Texture and flavor: The dough bakes up with set edges and just-cooked centers, brightened by orange zest and vanilla.
Estimated Macros & Calories
A quick estimated breakdown based on the recipe ingredients. (estimated per serving, without optional ingredients)
- Calories: 165
- Protein: 2 g
- Carbohydrates: 21 g
- Fat: 8 g
- Fiber: 0.5 g
The Most Authentic Easy Halloween Sugar Cookies Recipe
Short and matter-of-fact: this is the version I make when I want a holiday scent and a little colorful fun without a long list of steps.
Ingredient Notes
– Unsalted butter: Gives the dough richness and tenderness; let it soften so it creams easily but don’t make it greasy.
– Granulated sugar: Sweetens and helps with structure; creaming it with butter is what traps air for a lighter texture.
– Eggs: Bind the dough and add a bit of lift; add them one at a time for even incorporation.
– Vanilla extract: Rounds and deepens the flavor; don’t skip it or the cookies will taste flat.
– Orange zest: The bright note that makes these feel seasonal; grate finely so it disperses evenly.
– All-purpose flour: Provides structure; add carefully and stop when the dough just comes together to avoid toughness.
– Baking powder and salt: Small roles, but important—baking powder gives a touch of lift and salt balances sweetness.
– Orange and black food coloring gel: Gives the signature look; use sparingly and knead until color is even.
Instructions
Step 1: Combine dry ingredients
Whisk together the flour, baking powder and salt in a bowl until evenly blended. Set the mixture aside while you work on the wet ingredients.
Step 2: Cream butter and sugar
Beat the softened butter and sugar until pale and fluffy, scraping the bowl down once or twice. You want an airy, well-mixed base before adding eggs.
Step 3: Add eggs, vanilla and zest
Lower the mixer speed and add the eggs one at a time so each is incorporated fully. Stir in vanilla extract and the orange zest until smooth.
Step 4: Mix in the dry ingredients
With the mixer on low, add the dry mix in two additions, mixing only until the dough comes together and no dry streaks remain. Stop as soon as the dough is cohesive.
Step 5: Divide and color the dough
Gather the dough into a ball and divide it into two equal portions. Place each portion in its own bowl and work the orange gel into one and the black gel into the other until color is even; wear gloves or use a sturdy spatula if you prefer.
Step 6: Flatten and chill rectangles
Flatten each colored dough between parchment into rectangles about a quarter-inch thick so they are easy to roll later. Refrigerate them until the dough is firm but still pliable.
Step 7: Stack and roll into a log
Remove the parchment and stack the orange rectangle on top of the black. Starting from a short side, roll the stacked rectangles tightly into a log, wrap it well and chill until very firm.
Step 8: Prepare to bake
About a short while before baking, heat the oven to a moderate setting and line baking sheets with parchment paper. Getting the sheets ready makes the process smoother.
Step 9: Slice the log
Unwrap the chilled log and slice into rounds that are as thin or thick as you like. Arrange the slices on the prepared sheets with a little space between each.
Step 10: Bake until set
Bake the cookies one sheet at a time until the edges are set and the centers look just cooked, rotating the sheet partway through if needed for even browning.
Step 11: Cool and store
Let the cookies rest briefly on the baking sheet, then transfer them to a wire rack to cool completely. Store in an airtight container at room temperature for several days, or freeze for longer storage.
Tips and Mistakes to Avoid
– Don’t overmix once the dry ingredients go in; stop when no dry streaks remain to keep cookies tender.
– If a colored portion feels sticky, fold in a little extra flour a spoonful at a time until it’s manageable.
– Chill the log until very firm; thin slices fall apart if the dough isn’t properly chilled.
– Use gloves or a spatula when kneading gel colors so you don’t stain fingers or clothes.
– Watch the first sheet closely in the oven so you learn how your oven browns these cookies.
Storage Tips
Keep baked cookies in an airtight container at room temperature for a few days and they’ll stay tender. For longer storage, freeze the cookies or the wrapped log; thaw before slicing or serving. You can also chill the log ahead of time and slice as needed for fresh-baked rounds that feel made on the spot.
Variations and Substitutions
– Turn up the orange flavor by adding more finely grated orange zest to the dough.
– Skip coloring and make single-color orange or black cookies if you prefer simplicity.
– Use just orange or just black for a single-tone log and the same rolling method still yields neat rounds.
Why This Recipe Is The Real Deal
This recipe is honest about what it does best: a quick method that fills the house with a holiday scent and produces neat, striped cookies without complicated tools. I learned that stacking and rolling gives a special look with minimal effort, and that’s how my daughter and I get excited to bake on ordinary afternoons.
I usually keep the process straightforward so anyone can jump in and help, and it actually saves time compared with fiddly decorating. The result is reliably festive and reliably fast.
The Bottom Line
If you want the house to smell like a holiday and still have room for dinner, this is the kind of recipe I reach for — a little messy, a lot of warmth, and no drama. Try it, tell me how it went, and leave a note below if your kiddo staged a cookie-decorating coup.
Billy Mackenzie
Founder of MerryDessert.com
Simple, joyful homemade desserts — sweet moments, made with love.
Easy Halloween Sugar Cookies
Ingredients
Dough
- 1 cup unsalted butter, softened (2 sticks)
- 1 cup granulated sugar
- 2 large eggs
- 2 tsp vanilla extract
- 1 tsp orange zest (finely grated)
- 3 1/4 cups all-purpose flour
- 1 tsp baking powder
- 1/4 tsp fine salt
Coloring
- 1/4 tsp orange food coloring gel (start small and add more as needed)
- 1/8 tsp black food coloring gel (use sparingly)
Instructions
Preparation Steps
- In a medium bowl, whisk together the flour, baking powder and salt until evenly combined. Set this dry mix aside.
- In the bowl of a stand mixer fitted with the paddle (or using a large mixing bowl and an electric hand mixer), beat the softened butter and granulated sugar on medium-high for 3–4 minutes until the mixture is pale and fluffy. Scrape down the sides once or twice.
- Reduce the mixer speed to low and add the eggs one at a time, mixing until each is incorporated. Add the vanilla extract and orange zest and mix just until smooth.
- With the mixer on low, add the dry ingredients in two additions, mixing only until the dough comes together. Avoid overmixing — stop as soon as there are no dry streaks. Gather the dough into a ball and divide it into two equal portions.
- Place each portion in a separate bowl. Add the orange gel to one portion and the black gel to the other. Knead each piece (wear gloves or use a sturdy spatula) until the color is even. If a portion feels too sticky, fold in up to 1 tablespoon additional flour.
- Flatten each colored dough between two sheets of parchment into roughly 9 x 12 inch rectangles about 1/4 inch thick. Refrigerate both rectangles for 30 minutes so they are firm but still pliable.
- Remove parchment and stack the orange rectangle on top of the black. Starting from a short side, roll the stacked rectangles tightly into a log about 2 inches in diameter. Wrap the log tightly in plastic wrap and chill for at least 1 hour (longer is fine) until very firm.
- About 15 minutes before you plan to bake, preheat the oven to 350°F and line baking sheets with parchment paper.
- Unwrap the chilled log and slice into rounds 1/4 to 1/2 inch thick. Arrange the slices on the prepared baking sheets about 1 inch apart.
- Bake one sheet at a time for 10–12 minutes, until the edges are set and the centers look just cooked. Rotate the sheet halfway through for even browning if needed.
- Let cookies cool on the baking sheet for 2–3 minutes, then transfer to a wire rack to cool completely. Store in an airtight container at room temperature for up to 5 days or freeze for longer storage.