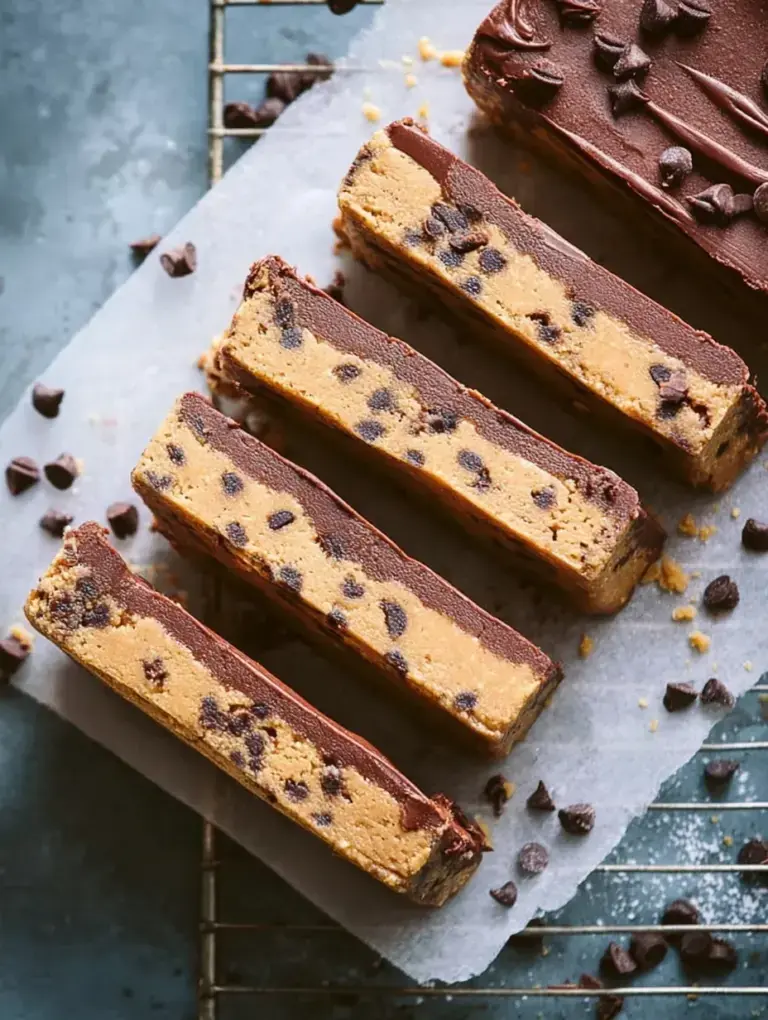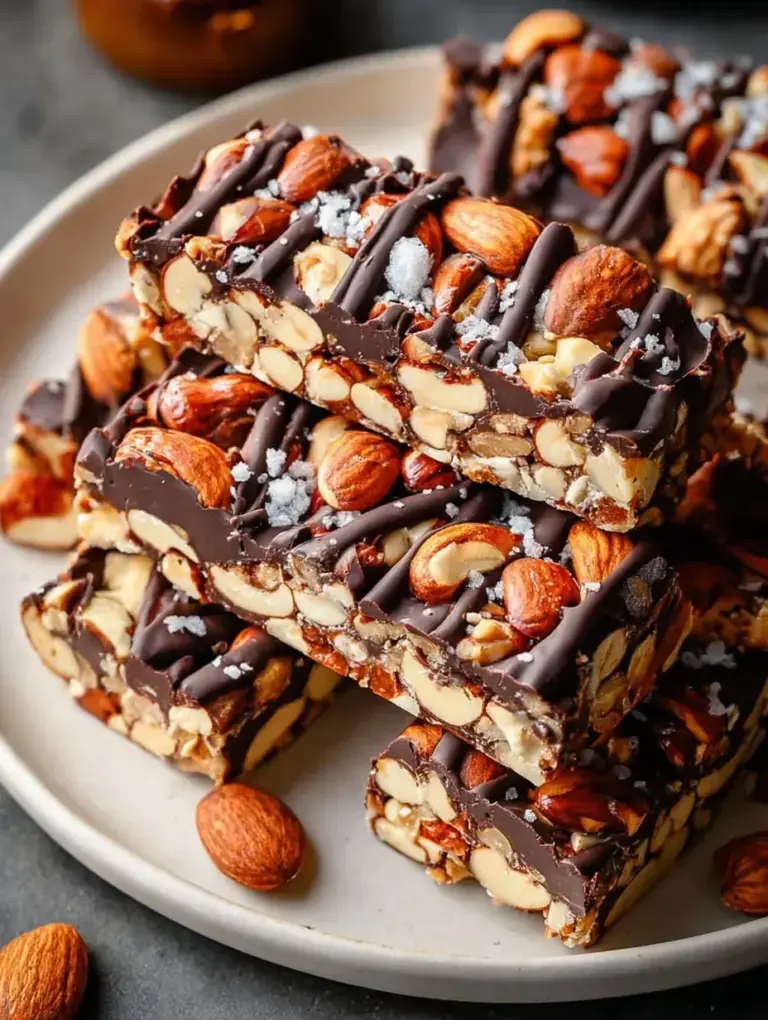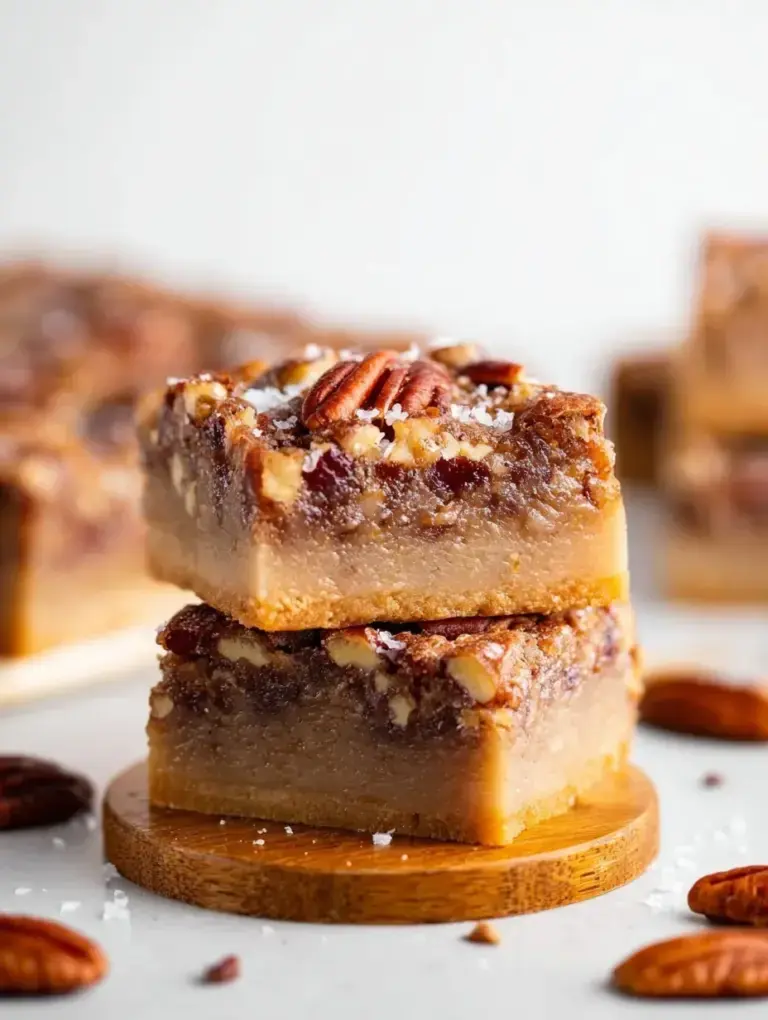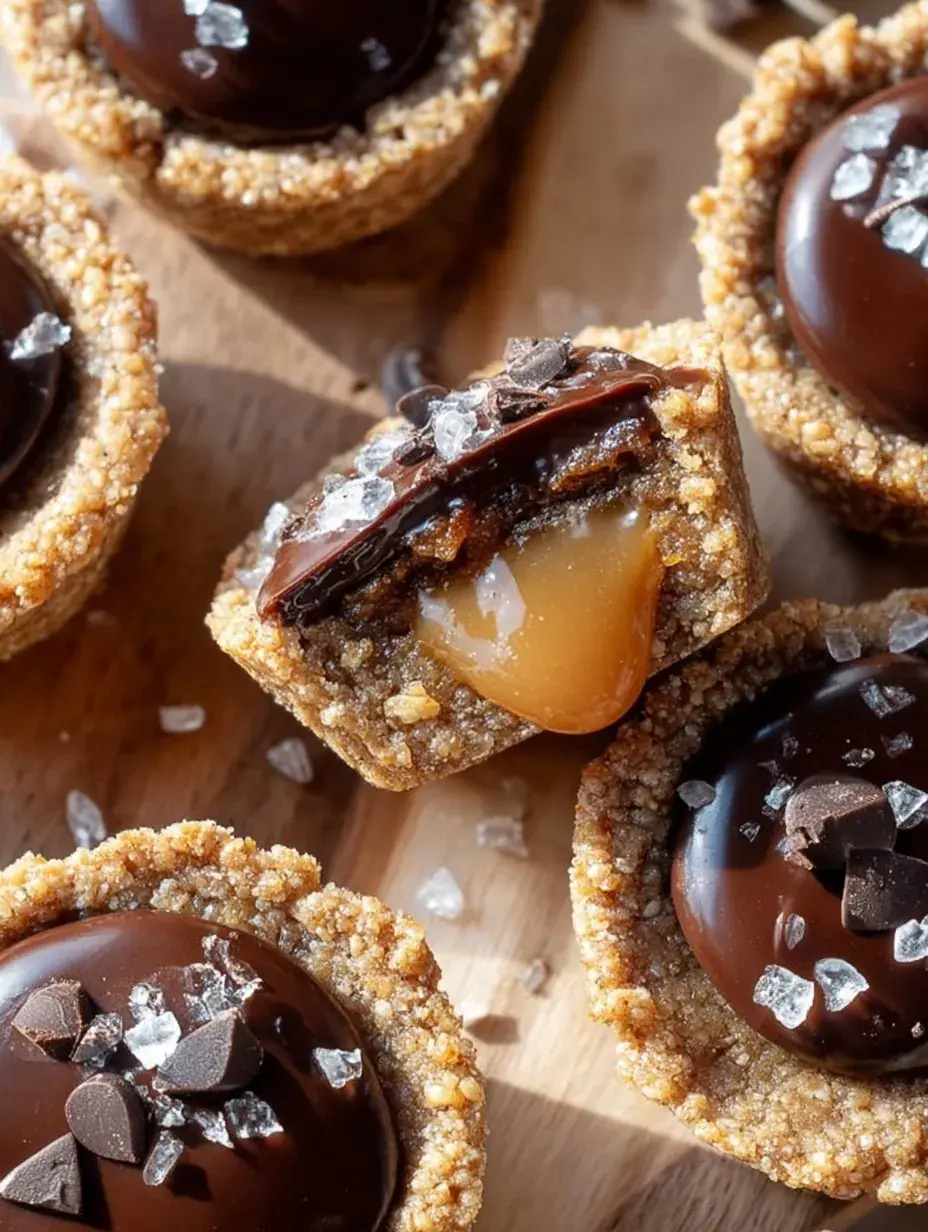
It looks like a sophisticated pastry shop creation that took all afternoon to assemble. In reality, it took about twelve minutes in the oven and some quiet time in the freezer while my daughter and I finished our hot chocolate. This treat brings all the joy of a candy bar into your kitchen without any of the complicated steps.
Why You Will Love This Healthy Twix Cookie Cups (Vegan, Paleo)
I used to struggle with finding a treat that felt indulgent but didn’t leave me feeling sluggish after a mid-afternoon snack. These cups solve that craving for a chocolate candy bar without the refined sugar or dairy that often causes a post-dessert crash in our house.
Personally I have found that having a batch of these in the fridge stops me from reaching for processed snacks when the 3 PM slump hits. After testing this recipe four times, I finally mastered a caramel layer that stays soft even when it is chilled.
What Makes This Healthy Twix Cookie Cups (Vegan, Paleo) Special
There is something so satisfying about biting through layers of rich chocolate and creamy caramel to reach a buttery shortbread base.
- Texture Contrast: The snap of the dark chocolate meets the gooey almond butter center and the crispy edges of the almond flour base.
- Natural Ingredients: Using maple syrup instead of corn syrup makes the caramel layer feel much more wholesome and flavorful.
- Individual Portions: Making these in a muffin tin means they are already perfectly sized for sharing or tucking away for a rainy day.
It is the ultimate upgrade to a classic childhood candy bar that you can feel good about serving to your family.
The Best Healthy Twix Cookie Cups (Vegan, Paleo) Recipe
I first made these on a cold Sunday afternoon when my daughter wanted to help in the kitchen, and they have been a staple in our refrigerator ever since. The process is very forgiving, which is exactly what I need on a busy weekend.
Ingredient Notes
- Almond Flour: This provides a grain-free base that is naturally buttery and holds its shape beautifully after baking.
- Almond Butter: Make sure it is the runny, drippy kind so it whisks into a smooth caramel without any lumps.
- Maple Syrup: This is my preferred sweetener because it adds a slight caramel undertone to the middle layer.
- Coconut Oil: This helps the chocolate layer set firmly while still remaining easy to bite into.
- Dark Chocolate Chips: I prefer using dairy-free chips with at least 70 percent cocoa for a deep, rich flavor.
Instructions
- Prepare the Base. Mix the almond flour, syrup, oil, vanilla, and salt in a bowl until a soft dough forms. It should feel slightly oily but hold together when you press it between your fingers.
- Bake the Crusts. Press the dough into your muffin tin and bake for about 10 minutes. Look for the edges to turn a very light golden brown before taking them out.
- Whisk the Caramel. Stir the almond butter, maple syrup, and coconut oil together until the mixture is completely smooth and emulsified. It will look like a thick, glossy sauce.
- Layer and Freeze. Pour the caramel over the cooled bases and pop the whole tin into the freezer. This step is important so the layers don’t mix when you add the chocolate.
- Melt the Chocolate. Gently melt your chocolate chips with a bit of coconut oil until it is liquid and shiny. Stir it well to ensure there are no tiny lumps left.
- Final Set. Pour the chocolate over the frozen caramel and add a tiny pinch of salt on top. Place them in the fridge until the chocolate is hard and matte in appearance.
Billy’s Tips and Mistakes to Avoid
- Use silicone liners to ensure the cups pop out easily without sticking. I learned this the hard way after a batch of Healthy Twix Cookie Cups got stuck in a metal tin.
- Wait for the base to cool completely before adding the caramel. If the crust is hot, the caramel will soak in rather than sitting on top.
- If your almond butter is too stiff, warm it up for ten seconds so it blends easily with the maple syrup.
- Store these in the fridge until the very moment you want to eat them. The natural oils can soften if they sit on the counter for too long.
- Let your kids help with the salt sprinkle at the end. It is my daughter’s favorite part and makes them look so professional.
Storage Tips
Keep these treats in an airtight container in the refrigerator for up to 7 days. If you want to keep them longer, they actually freeze beautifully for up to 1 month. I usually pull one out of the freezer and let it sit for five minutes before enjoying it with a cup of tea.
Variations and Swaps
- Try using peanut butter instead of almond butter if you prefer a classic chocolate peanut butter flavor profile.
- For a nut-free version, sunflower seed butter works as a great substitute for the caramel layer.
- Add a tiny drop of peppermint extract to the chocolate layer for a festive holiday version.
Why This Recipe Works Every Time
The secret is in the temperature of the layers. By freezing the caramel before adding the chocolate, you get those distinct, beautiful lines that make these feel like they came from a bakery. The almond flour provides a sturdy enough base that you can hold them in your hand without them crumbling.
On my second batch, I discovered that tapping the tin on the counter after pouring the chocolate is essential. It smooths out the top and removes any air bubbles, giving you that perfectly flat surface for the sea salt to sit on.

Ingredients
- 1 cup almond flour
- 2 tablespoons maple syrup (for base)
- 2 tablespoons melted coconut oil (for base)
- 1 teaspoon vanilla extract (for base)
- 1/8 teaspoon fine sea salt
- 1/2 cup creamy unsalted almond butter
- 1/4 cup maple syrup (for caramel)
- 2 tablespoons melted coconut oil (for caramel)
- 1 teaspoon vanilla extract (for caramel)
- 1/2 cup dairy -free dark chocolate chips
- 1 tablespoon coconut oil (for chocolate layer)
- Flaky sea salt for garnish
Instructions
- Preheat the oven to 350°F (175°C). Line a standard 12-cup muffin tin with silicone liners or grease with coconut oil.
- In a medium bowl, combine almond flour, 2 tbsp maple syrup, 2 tbsp melted coconut oil, 1 tsp vanilla, and salt. Stir until a cohesive dough forms.
- Divide the dough into 12 equal portions and press firmly into the bottom of each muffin cup to create a flat, even base.
- Bake for 10 to 12 minutes or until the edges are lightly golden. Remove from the oven and allow to cool completely in the tin.
- Prepare the caramel by whisking together almond butter, 1/4 cup maple syrup, 2 tbsp melted coconut oil, 1 tsp vanilla, and a pinch of salt until smooth and emulsified.
- Spoon the caramel mixture evenly over the cooled cookie bases. Place the tin in the freezer for 30 minutes to set the caramel layer.
- Melt the chocolate chips and 1 tbsp coconut oil together using a double boiler or a microwave in 30-second intervals, stirring until smooth.
- Pour the melted chocolate over the frozen caramel layer in each cup. Gently tap the tin on the counter to smooth the surface.
- Sprinkle with flaky sea salt while the chocolate is still wet.
- Chill in the refrigerator for at least 30 minutes or until the chocolate is fully set. Serve chilled and store in an airtight container in the refrigerator.
Frequently Asked Questions
Can I use honey instead of maple syrup?
Yes, you can use honey, though it will change the flavor slightly and the recipe will no longer be vegan. I have found that honey makes the caramel layer a bit stickier, which some people actually prefer.
Do I have to use coconut oil in the chocolate?
I highly recommend it because it makes the chocolate much easier to bite through once it is cold. Without the oil, the chocolate can become very hard and might crack or snap awkwardly when you take a bite.
What if my caramel layer isn’t thickening?
Just keep whisking for another minute or two. As the coconut oil and almond butter combine with the syrup, they will emulsify and thicken up into a perfect caramel consistency.
The Bottom Line
These cups are proof that you don’t need a lot of sugar or complicated techniques to make something truly special. Whether you are looking for a paleo-friendly snack or just a fun project to do with your kids, these will surely become a favorite in your home too. Sweet moments don’t have to be complicated. Let’s make something wonderful together.
I hope these little treats bring a bit of sweetness to your kitchen this week. My daughter and I always have a blast making these on rainy afternoons. Billy
Billy