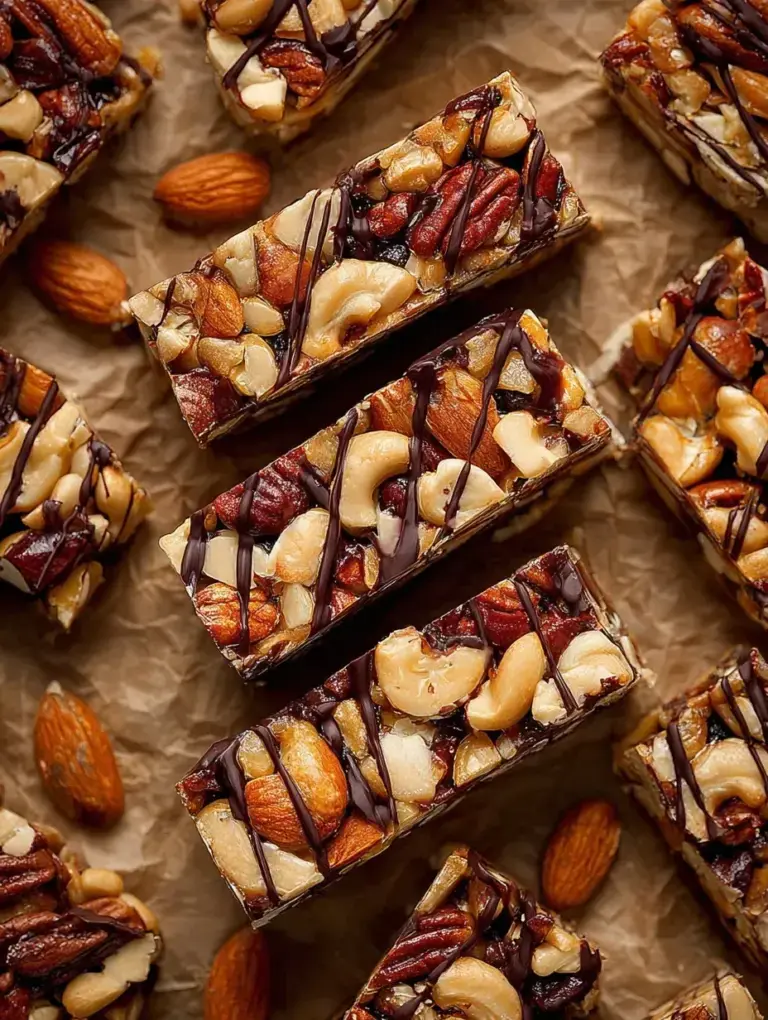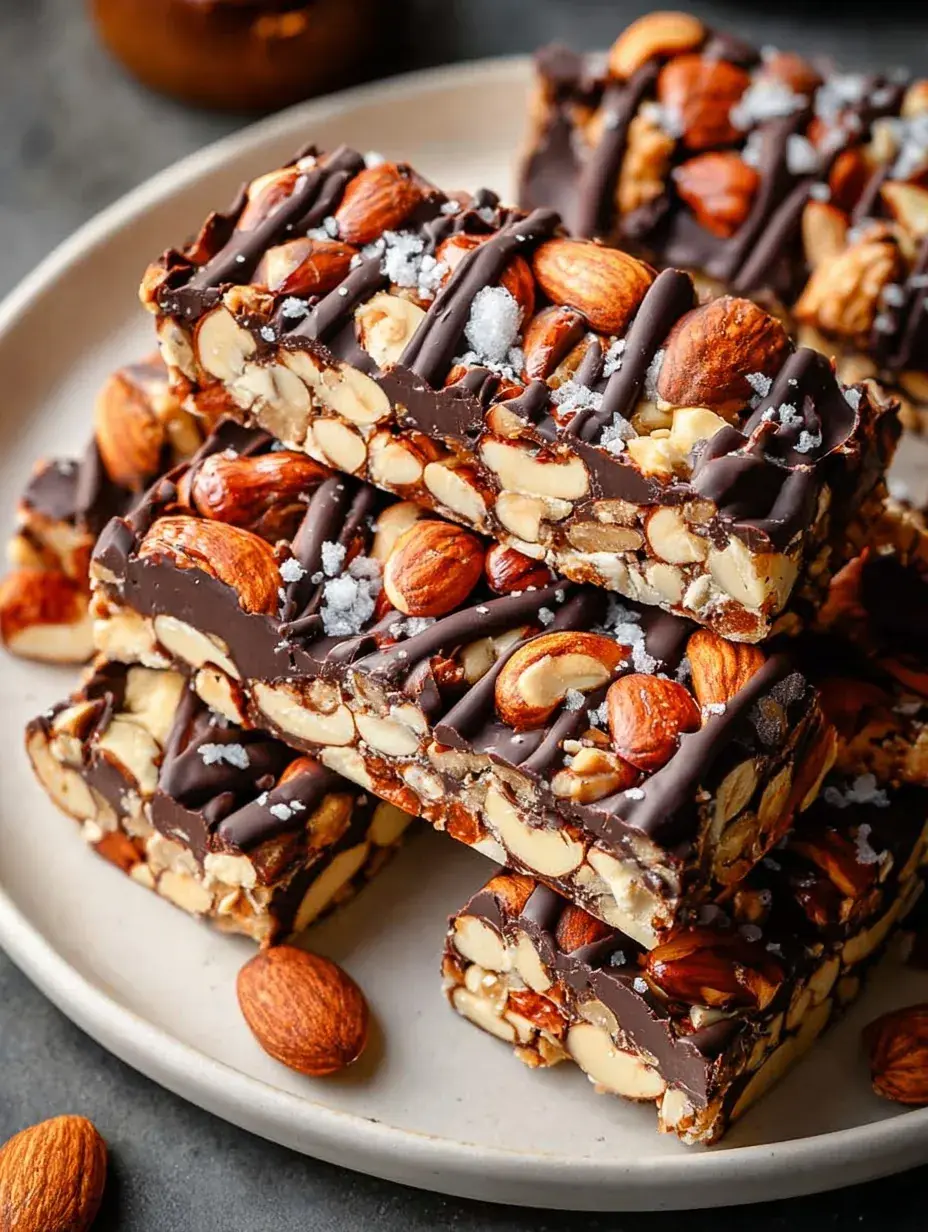
I actually left my first tray of nuts in the oven way too long because I got distracted helping my daughter with her holiday craft project. Those burnt almonds were a sad sight, but the kitchen smelled wonderful once I started the second batch. It just goes to show that even when I have made something a dozen times, I still need to keep my eye on the timer.
Why You Will Love This Dark Chocolate and Sea Salt Nut Bars
I always struggled with finding a snack that felt like a treat but actually kept me full during the busy afternoon hours. Most store-bought bars are either too dry or way too sugary, so I decided to make my own version that actually satisfies that craving for something salty and sweet.
This recipe solved my problem of having nothing ready for that mid-afternoon energy slump when I just want something crunchy and chocolatey. Personally, I have found that having a batch of these on the counter keeps me from reaching for the kids candy stash.
What Makes This Dark Chocolate and Sea Salt Nut Bars Special
- Toasted Nut Base: Roasting the almonds and pecans first brings out a deep warmth that makes the bars taste much more expensive than they are.
- Honey Binder: Using real honey gives these a soft chewiness that perfectly balances the crunch of the walnuts.
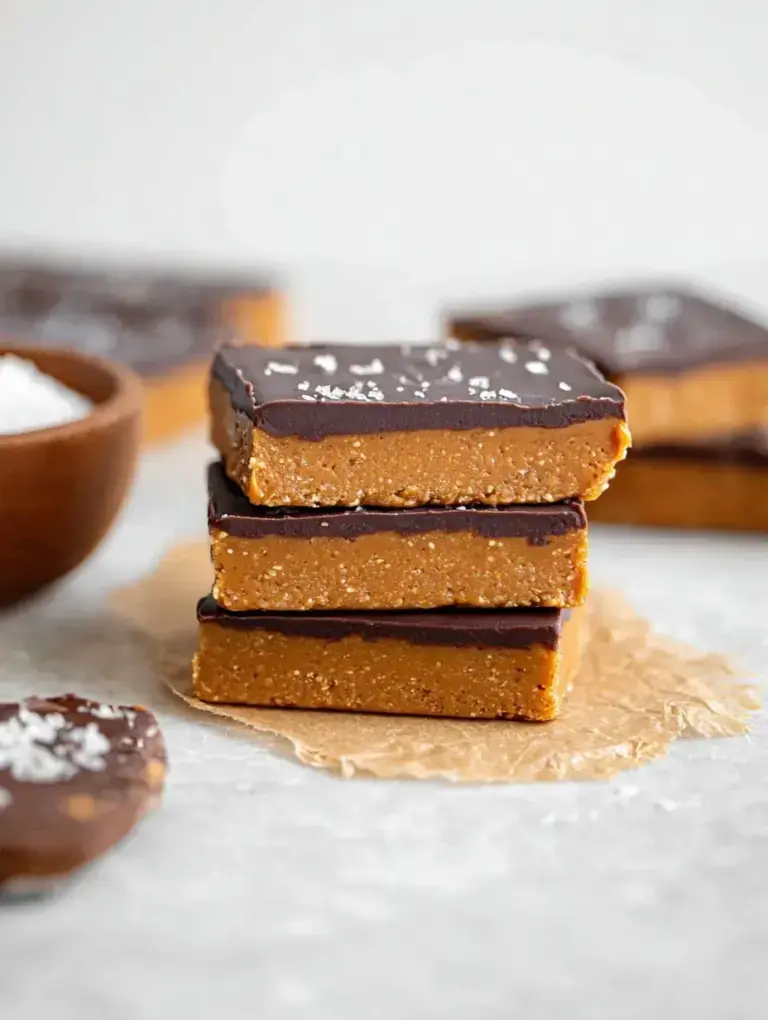
- Rich Dark Chocolate: A high-quality dark chocolate drizzle adds just enough decadence without being overwhelming.
- Sea Salt Contrast: The flaky salt flakes on top are essential because they wake up all the other flavors in the bar.
The Best Dark Chocolate and Sea Salt Nut Bars Recipe
The last time my daughter and I made these, we spent the whole afternoon watching the snow fall while the kitchen filled with the smell of toasted pecans. It is one of those simple recipes that makes the house feel so cozy and inviting.
Ingredient Notes
- Whole Unsalted Nuts: Use a mix of almonds, walnuts, and pecans for the best variety of textures and healthy fats.
- Honey: This acts as your sticky glue, so make sure it is a liquid variety that coats every piece easily.
- Dark Chocolate Chips: I prefer 70% cacao because the slight bitterness is what makes the sea salt really stand out.
- Vanilla Extract: A splash of high-quality vanilla adds a subtle floral note that makes the honey taste even better.
- Flaky Sea Salt: Do not use table salt for the topping, as you really want those large crystals for the perfect crunch.
Instructions
- Toast the Nuts. Spread your mixed nuts on a baking sheet and roast at 325 degrees for about 10 minutes. You will know they are ready when they smell incredibly fragrant and look slightly golden.
- Whisk the Binder. Combine the honey, vanilla, and fine salt in a large bowl until the mixture is smooth. It should look like a thick, glossy syrup before you add the warm nuts.
- Coat the Nuts. Toss the toasted nuts into the honey mixture while they are still warm so the honey melts slightly. Stir until every single nut is shiny and fully covered in the sticky syrup.
- Press into Pan. Transfer the mixture to a lined pan and press down as hard as you can with a flat cup. This is the secret to making sure the bars do not crumble when you slice them later.
- Bake and Cool. Bake for about 15 minutes until the edges are bubbling and look a deep golden brown. You must let them cool in the pan for at least 45 minutes or they will fall apart.
- Drizzle and Salt. Melt your dark chocolate and use a spoon to create pretty swirls over the cooled slab. Immediately sprinkle the flaky salt over the wet chocolate so it sticks properly.
Billy’s Tips and Mistakes to Avoid
- Tip 1: Use a second piece of parchment paper on top of the nuts when you are pressing them down. This keeps your hands clean and allows you to apply much more pressure for a tight bar.
- Tip 2: After testing this recipe several times, I learned that slicing them is much easier if you put the whole tray in the fridge for 15 minutes first.
- Tip 3: If you skip the toasting step, the nuts will taste raw and the bars will lack that professional, deep flavor profile.
- Tip 4: Use a very sharp knife to cut these, and wipe the blade between slices for the cleanest edges.
- Tip 5: Let your kids help with the chocolate drizzle, as it does not have to be perfect to look absolutely beautiful.
Storage Tips
These bars stay fresh in an airtight container at room temperature for up to 4 days. If your kitchen is warm, keep them in the fridge for up to 1 week so the chocolate stays snappy. You can also wrap them individually and freeze them for up to 1 month for a quick grab-and-go snack.
Variations and Swaps
- Try adding a handful of dried cranberries or cherries to the mix for a chewy, tart surprise.
- If you want to make these vegan, you can swap the honey for brown rice syrup, though the flavor will be slightly different.
- For a festive look, you can use a mix of dark and white chocolate drizzles to create a beautiful striped pattern.
Why This Recipe Works Every Time
The combination of honey and heat creates a natural caramelization that acts like a perfect glue for the nuts. It is a simple bit of kitchen science that ensures you get a chewy texture without needing any complicated candy thermometers.
On my second batch, I discovered that the cooling time is actually the most important part of the whole process. I tried to cut them too early once and ended up with a pile of loose nuts, so please be patient and let them set completely.
Ingredients
- 2 cups whole unsalted nuts (almonds, walnuts, and pecans)
- 1/2 cup hone y
- 1/4 teaspoon fine sea salt
- 1 teaspoon pure vanilla extract
- 1/2 cup dark chocolate chips (70% cacao)
- 1/2 teaspoon flaky sea salt
Instructions
- Preheat oven to 325°F (163°C) and line an 8x8 inch square baking pan with parchment paper, leaving an overhang on two sides.
- Spread the mixed nuts on a baking sheet and toast for 8 to 10 minutes until fragrant.
- In a large mixing bowl, whisk together the honey, vanilla extract, and fine sea salt.
- Add the warm toasted nuts to the honey mixture and stir until every nut is thoroughly coated.
- Transfer the mixture into the prepared baking pan, spreading evenly to the corners.
- Place a second piece of parchment paper over the top and press down very firmly with a flat-bottomed measuring cup to compress the nuts into a tight layer.
- Bake for 12 to 15 minutes until the binder is bubbling and the edges are golden brown.
- Remove from the oven and allow to cool completely in the pan for at least 45 minutes to ensure the bars set.
- Melt the dark chocolate chips in a microwave-safe bowl in 30-second intervals, stirring between each, until smooth.
- Drizzle the melted chocolate over the cooled nut slab and immediately sprinkle with the flaky sea salt.
- Refrigerate for 15 minutes to set the chocolate, then lift the slab out using the parchment overhang and slice into 12 bars.
Frequently Asked Questions
How do I keep my nut bars from falling apart?
The key is pressing them down very firmly into the pan before baking and allowing them to cool completely before slicing. If they are still crumbly, you may need to bake them for an extra minute to ensure the honey has thickened enough.
Can I use maple syrup instead of honey?
Honey is much thicker and stickier than maple syrup, so it works best as a binder here. If you must use maple syrup, you might find the bars are a bit softer and may need to be kept in the fridge to stay together.
Are these nut bars gluten-free?
Yes, this recipe is naturally gluten-free as it only uses nuts, honey, and chocolate. Just be sure to check your chocolate chip packaging to ensure they were processed in a gluten-free facility if you have a severe allergy.
The Bottom Line
I hope these bars bring a little bit of homemade joy to your snack routine this week. They are proof that you can make something healthy and delicious with just a few simple pantry staples. Sweet moments don’t have to be complicated. Let’s make something wonderful together.
I hope you enjoy these crunchy treats as much as we do on a cold afternoon. Happy baking! Billy
Billy