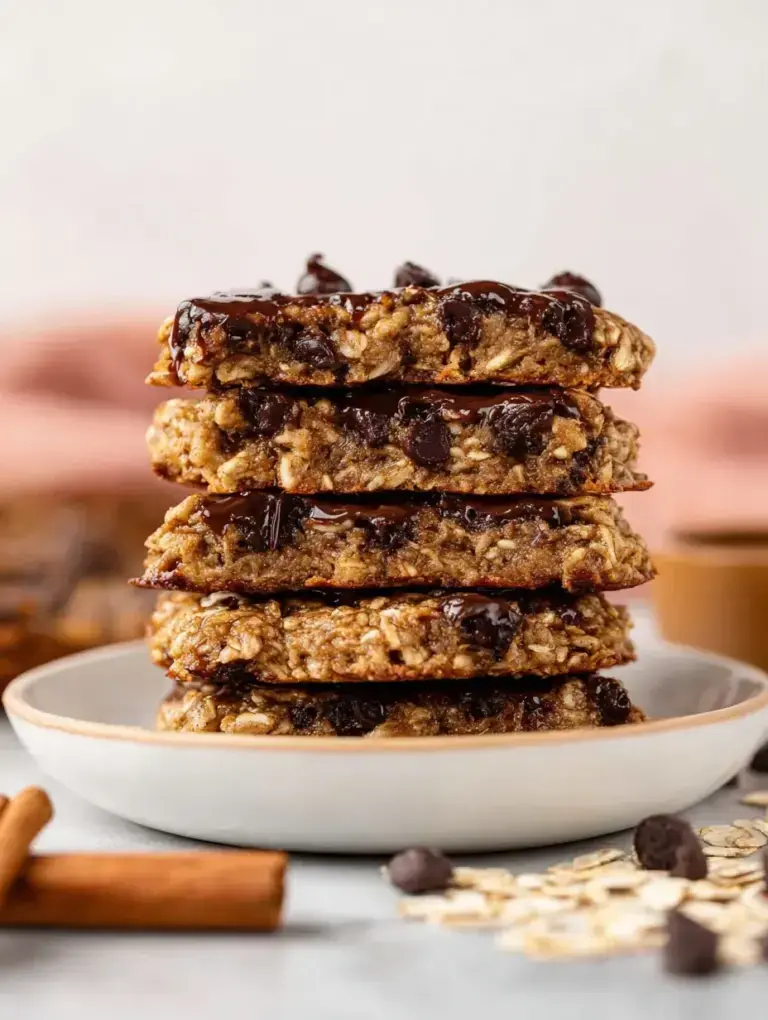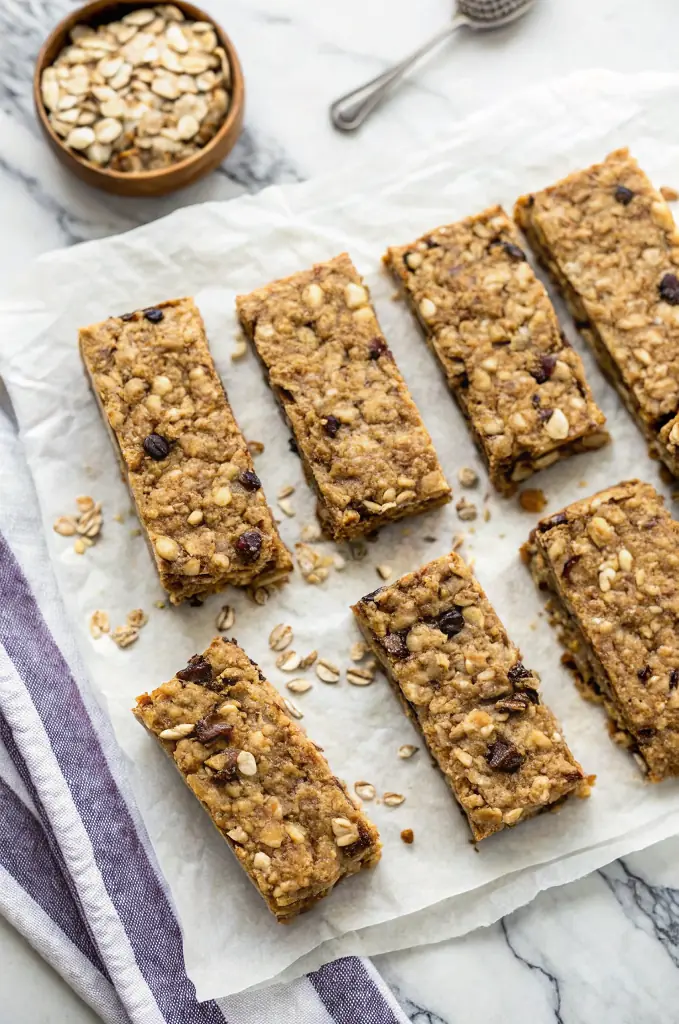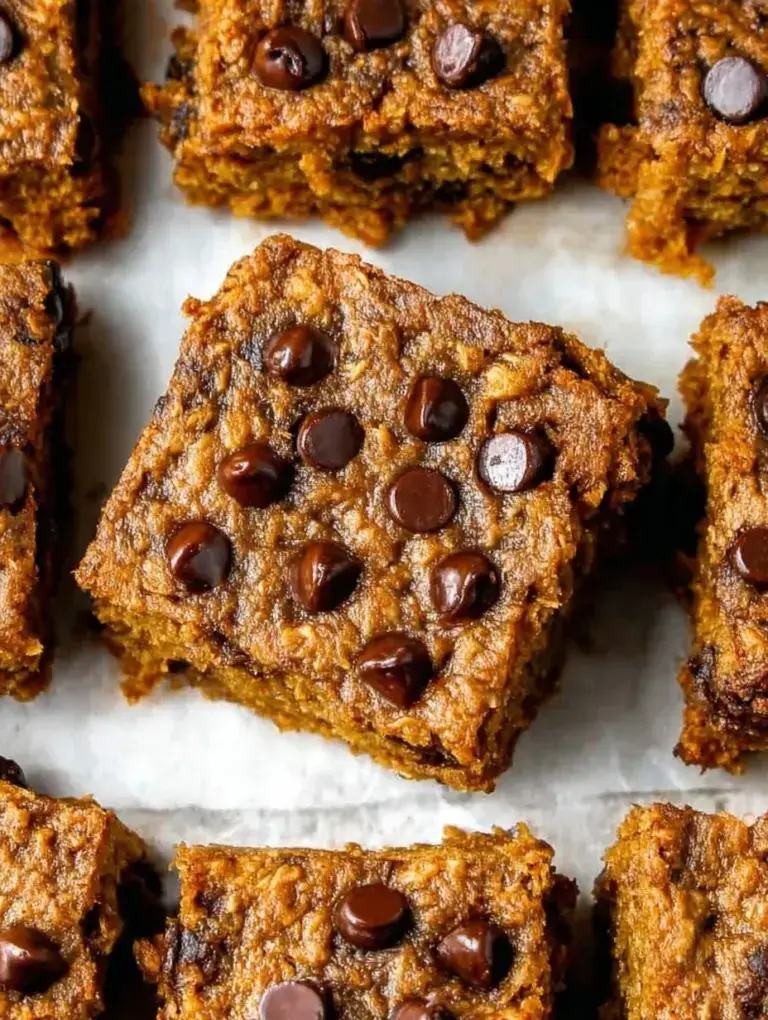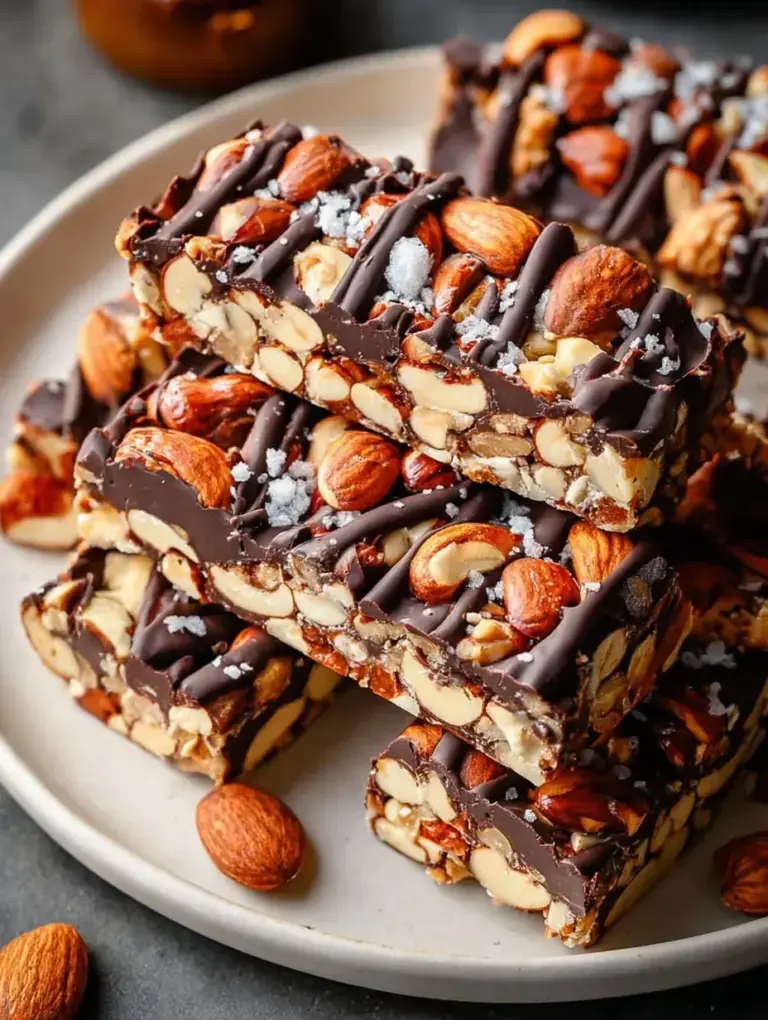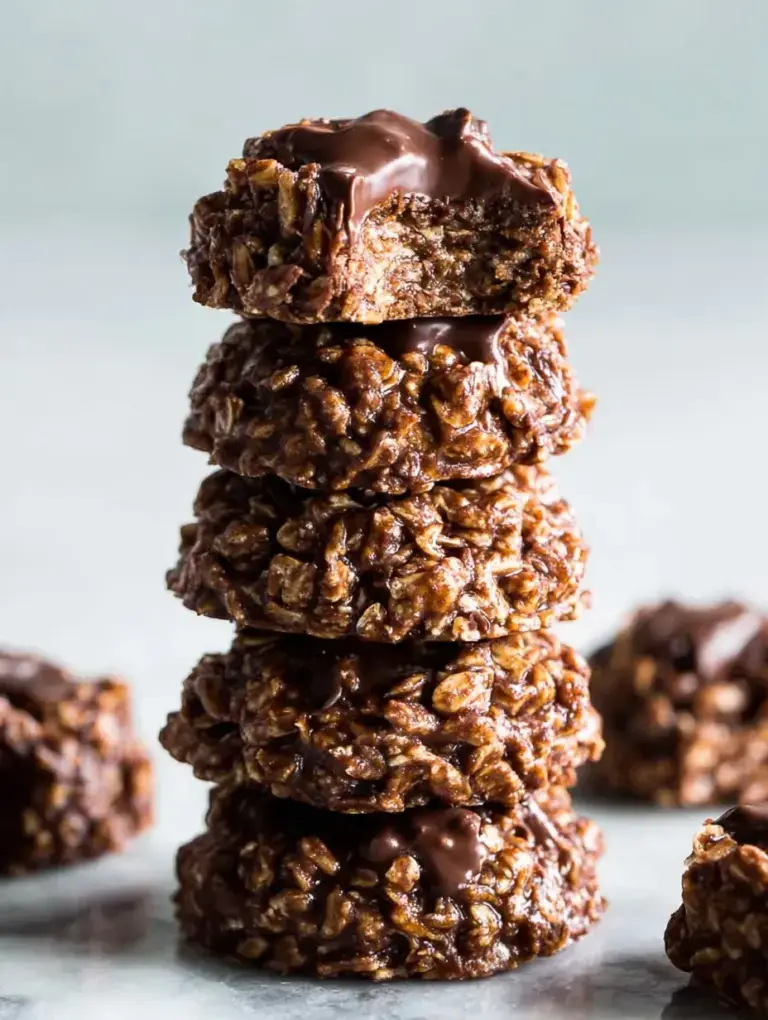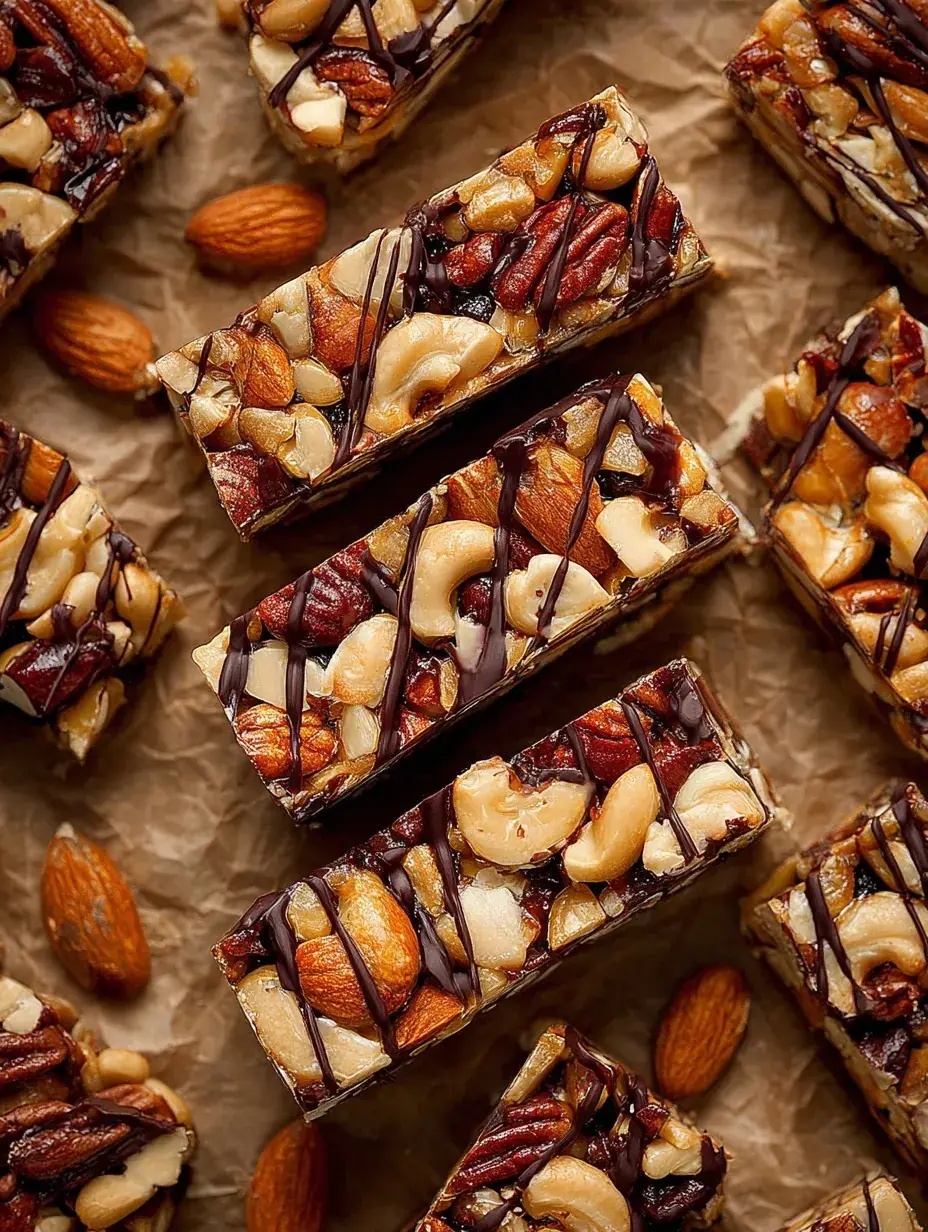
The kitchen was so quiet on Sunday while I watched the clouds roll in over the trees. I noticed our snack jar was empty, so I pulled out some honey and almonds to make something special for the week ahead. It felt good to slow down and create something wholesome while the house was still.
Why You Will Love This Homemade Kind Nut Bars
I remember buying these bars individually at the grocery store for years before I realized how easy they were to make at home. It started as a way to save a little money, but it quickly became a weekend tradition to whip up a batch for the coming week. There is something so peaceful about the smell of toasting walnuts filling the house on a quiet afternoon.
My daughter loves helping me mix the sticky honey into the nuts, though she usually ends up with more on her fingers than in the bowl. Honestly, I have found that making these ourselves tastes much fresher than anything you can get in a wrapper. It took me a few attempts to get the honey simmer just right, but now they come out perfectly every time.
What Makes This Homemade Kind Nut Bars Special
- Key feature: The combination of toasted almonds and walnuts provides a deep, nutty flavor that contrasts beautifully with the sweet honey.
- Key ingredient: Honey acts as the essential glue here, and simmering it slightly ensures the bars set firmly rather than staying gooey.
- Ease factor: This is a straightforward bake that only requires a few pantry staples and about thirty minutes of your time.
- Seasonal fit: I make these all year round, but they are especially lovely in the fall when we crave those warmer, earthy flavors.
- Kid-friendly note: Children can help measure the nuts or drizzle the chocolate once the bars have cooled down.
The Best Homemade Kind Nut Bars Recipe
I usually make a double batch of these because they disappear so quickly from the counter. It is a simple process that relies on getting the honey to the right temperature to hold all those crunchy nuts together.
Ingredient Notes
- Whole Almonds: These provide the main structure and crunch, and keeping them whole gives the bars that classic look.
- Honey: This is the binder that holds everything together, so make sure to use a good quality liquid honey.
- Puffed Rice Cereal: I like adding this because it creates little pockets of lightness so the bars are not too dense.
- Sea Salt: A tiny bit of salt balances the sweetness of the honey and makes the nut flavors pop.
- Dark Chocolate Chips: These are for the final drizzle which adds a touch of indulgence without being overwhelming.
Instructions
- Prep and Toast. Preheat your oven and spread the almonds and walnuts on a tray to toast for ten minutes. You will know they are ready when they smell incredibly fragrant and look slightly darker.
- Simmer the Honey. Heat the honey, vanilla, and salt in a small saucepan until the mixture starts to bubble and thicken slightly. This step is vital because it helps the honey reach the right consistency to bind the nuts together.
- Mix the Ingredients. Toss the toasted nuts and puffed rice in a large bowl and pour the warm honey mixture over the top. Work quickly to coat everything evenly before the honey begins to cool and harden.
- Press into the Pan. Transfer the sticky mixture to your lined baking pan and press it down as hard as you can with a spatula. Creating a very compact layer is the best way to prevent the bars from crumbling when you cut them.
- Bake until Golden. Place the pan in the oven for twenty minutes until the edges are a beautiful golden brown. The honey will continue to bubble and caramelize, which helps create that signature chewy texture.
- Cool and Drizzle. Let the bars sit in the pan for at least an hour to set completely before drizzling with melted chocolate. Once the chocolate is firm, you can lift the parchment paper out and slice them into bars.
Billy’s Tips and Mistakes to Avoid
- Tip 1: Use a piece of parchment paper or a wet spatula to press the mixture down so it does not stick to your hands.
- Tip 2: I discovered that if you do not toast the nuts first, the bars lack that deep roasted flavor that makes them special.
- Tip 3: Skipping the cooling time will result in a crumbly mess, so be patient and let them set for the full hour.
- Tip 4: You can wrap individual bars in wax paper for a quick snack to grab on your way out the door.
- Tip 5: My daughter likes to add a few dried cranberries to her half of the pan for a little extra chewiness.
Storage Tips
You can keep these bars in an airtight container at room temperature for up to seven days. If your kitchen is particularly warm, I recommend storing them in the refrigerator for up to ten days so the chocolate drizzle stays crisp. They also freeze surprisingly well for up to three months if you wrap them tightly in plastic wrap.
Variations and Swaps
- Try using maple syrup and a pinch of cinnamon for a different flavor profile, though they may be slightly softer.
- Swap the walnuts for pecans or cashews if you prefer a different type of nut or have a preference.
- Use white chocolate or even a peanut butter drizzle on top for a fun twist that the kids will love.
Why This Recipe Works Every Time
The reason this recipe works so well is the balance between the toasted nuts and the thickened honey syrup. By baking the bars after they are pressed, the honey caramelizes and creates a strong bond that holds everything in place. I personally love how the puffed rice adds a bit of airiness so the bars are not too heavy or difficult to chew.
The first time I made these, I did not simmer the honey enough and they were quite sticky and difficult to handle. I learned that waiting for those little bubbles in the saucepan is the key to getting a professional result at home. It is a small detail that makes a massive difference in the final texture of your snack.
Ingredients
- 1.5 cups whole almonds
- 1 cup walnut halves
- 0.5 cup hone y
- 1/4 cup puffed rice cereal
- 1 teaspoon vanilla extract
- 0.5 teaspoon sea salt
- 0.25 cup dark chocolate chips
Instructions
- Preheat oven to 325°F (163°C) and line an 8x8 inch baking pan with parchment paper.
- Toast almonds and walnuts on a baking sheet for 10 minutes until fragrant.
- In a saucepan, heat honey, vanilla extract, and salt over medium heat until it reaches a simmer and thickens slightly for about 2 minutes.
- In a large bowl, combine toasted nuts and puffed rice cereal.
- Pour the warm honey mixture over the nut mixture and toss quickly until evenly coated.
- Transfer the mixture to the lined pan and press down firmly using a flat spatula to ensure even distribution and compaction.
- Bake for 20 minutes until the edges are golden brown.
- Cool completely in the pan for 1 hour to allow the honey to set.
- Melt chocolate chips and drizzle over the cooled bars.
- Remove from pan and cut into 12 rectangular bars.
Frequently Asked Questions
Why are my nut bars falling apart?
This usually happens if the honey was not simmered long enough or if the bars were not pressed down firmly enough in the pan. I have found that using the bottom of a heavy glass to really pack the mixture down helps everything stay together once it cools.
Can I use maple syrup instead of honey?
I have tried this, but the bars do not set quite as firmly because maple syrup has a different sugar structure. If you really want that classic Kind bar texture, honey is definitely the best choice for this specific recipe.
How do I get clean cuts when slicing the bars?
Wait until the bars are completely cool, or even pop the pan in the fridge for twenty minutes before slicing. A sharp chef knife and a single downward motion will give you those pretty, clean edges.
The Bottom Line
Making your own snack bars is such a rewarding way to fill your pantry with treats you can feel good about. Whether you pack them in a lunchbox or enjoy one with a cup of tea, they are sure to be a hit. Sweet moments don’t have to be complicated. Let’s make something wonderful together.
I hope these bring a little extra crunch and joy to your week. Billy
Billy