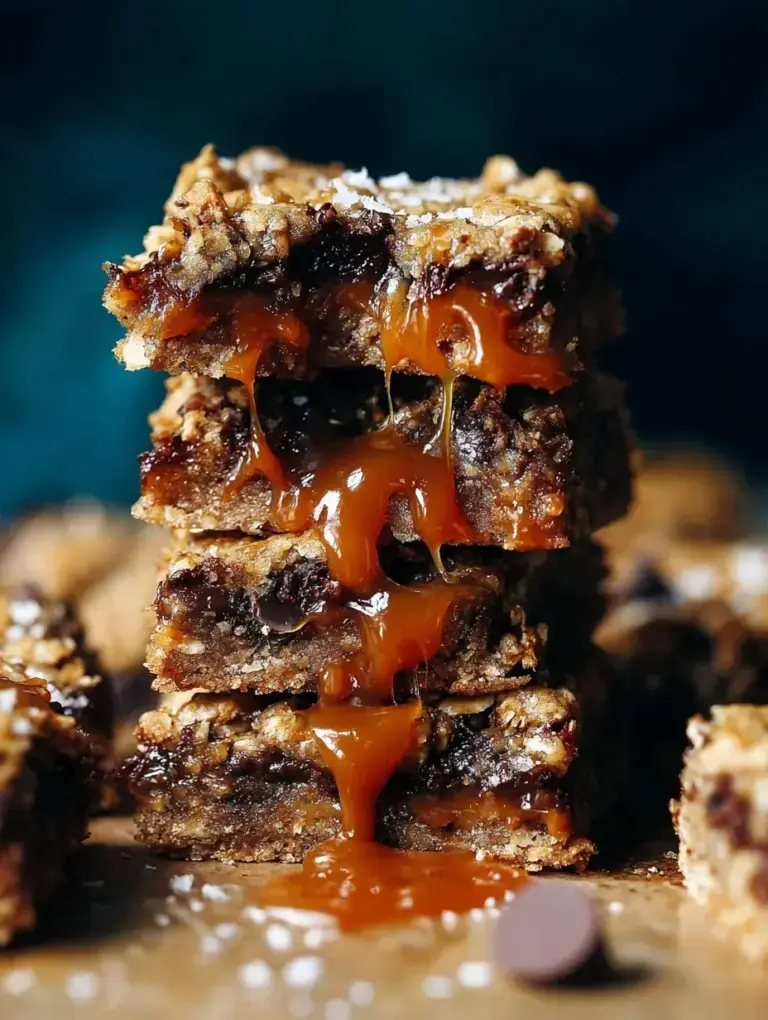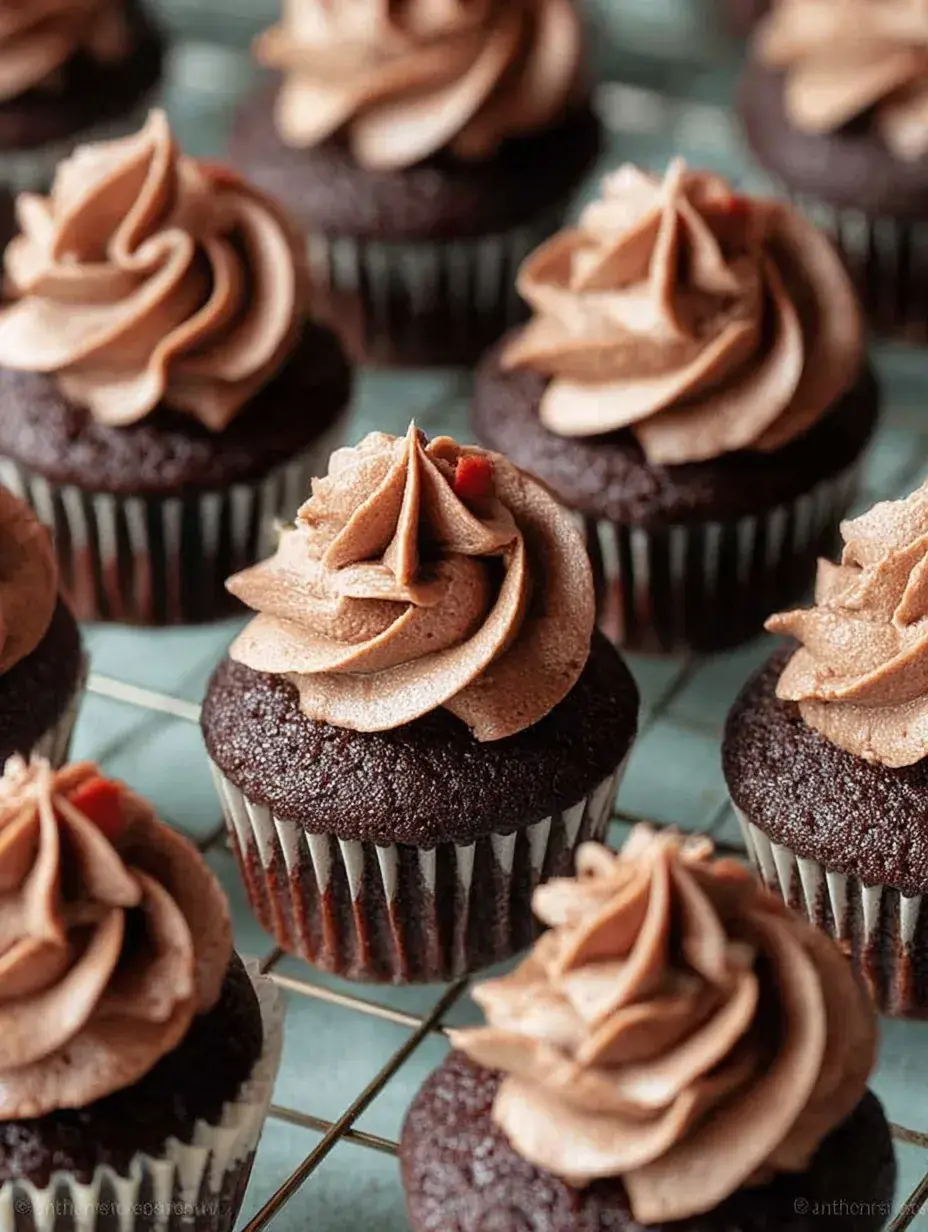
The scent of rich cocoa powder always fills my kitchen with such a comforting warmth before I even turn the oven on. My daughter loves the sound of the whisk hitting the side of the metal bowl while we mix these up on a quiet afternoon. It is one of those simple smells that makes our house feel like a home during the holidays.
Why You Will Love This Mini Chocolate Cupcakes
These little treats are a staple in our house once the weather turns chilly and the Christmas countdown begins. I find that during the busy holiday season, having something bite-sized is so much easier for parties or for little hands to grab while we decorate the tree. They look so festive on a dessert tray next to some candy canes.
I have made these for so many school bake sales and winter gatherings over the years. Last year, I brought a batch to a neighbor’s house and they were gone within minutes. Personally I have found that they are the perfect size for when you want just a little bit of something sweet after a big holiday meal.
What Makes This Mini Chocolate Cupcakes Special
What I really love about these is how incredibly moist they stay without needing any butter or eggs. It sounds a bit strange at first, but the combination of vinegar and baking soda gives them this light, fluffy texture that is just wonderful. Honestly, I was skeptical the first time I tried this method, but after making them dozens of times, it is now my absolute favorite way to bake.
They are also just so cute because of their size. There is something about a mini dessert that feels more special than a full-sized cake. My daughter always says they are fairy-sized, and we have a lot of fun picking out different colorful liners to match whatever holiday we are celebrating together.
The Best Mini Chocolate Cupcakes Recipe
I usually reach for this Mini Chocolate Cupcakes recipe when I need a lot of treats in a short amount of time. It is a very straightforward method that does not require a heavy stand mixer, which is a relief on those days when I do not want to do much cleanup.
Ingredient Notes
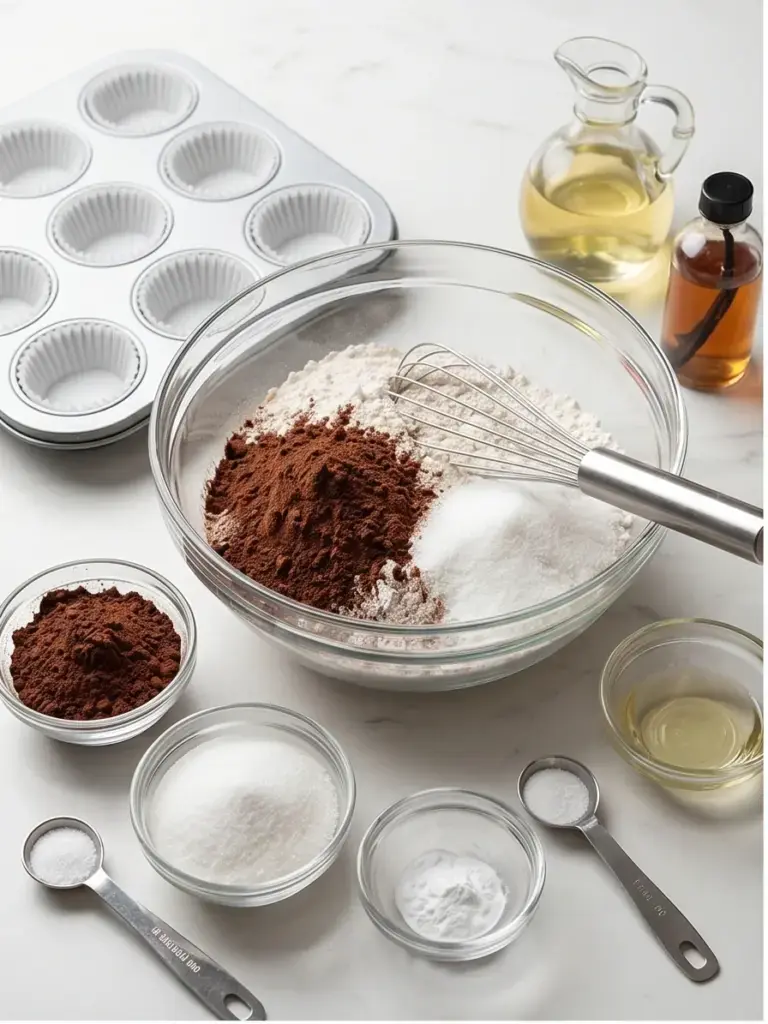
- Cocoa Powder: This is where all that deep flavor comes from, so I try to use a good quality unsweetened version for the best results.
- Distilled White Vinegar: Do not be afraid of this! It reacts with the baking soda to help the cupcakes rise and creates a very tender crumb.
- Vegetable Oil: I prefer using oil over butter here because it keeps the cupcakes moist for much longer, even if you make them a day ahead.
- Granulated Sugar: This provides just the right amount of sweetness to balance the bitterness of the cocoa.
- Vanilla Extract: A little splash of pure vanilla really rounds out the chocolate flavor and makes them smell amazing while they bake.
Instructions
Step 1: Preheat and Line
Start by setting your oven to 350°F and lining a mini muffin pan with paper liners. This helps the cupcakes bake evenly and makes cleanup easier.
Step 2: Mix the Dry Ingredients
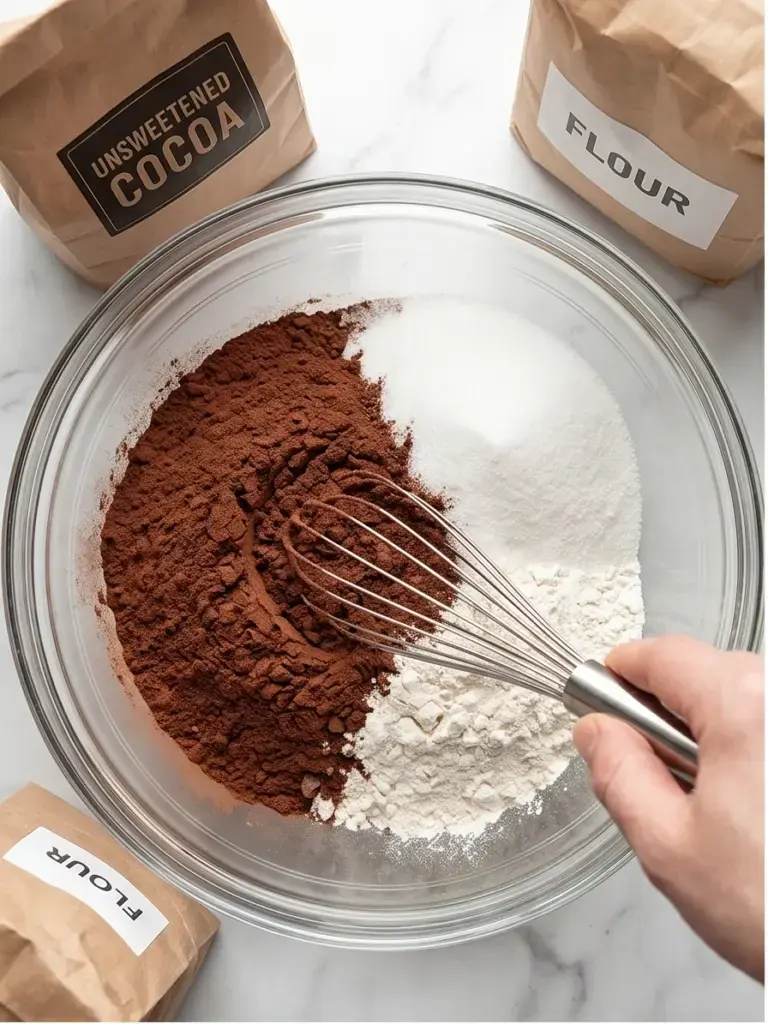
In a large mixing bowl, whisk together the flour, sugar, cocoa powder, baking soda, and salt until well combined and free of lumps.
Step 3: Add the Wet Ingredients
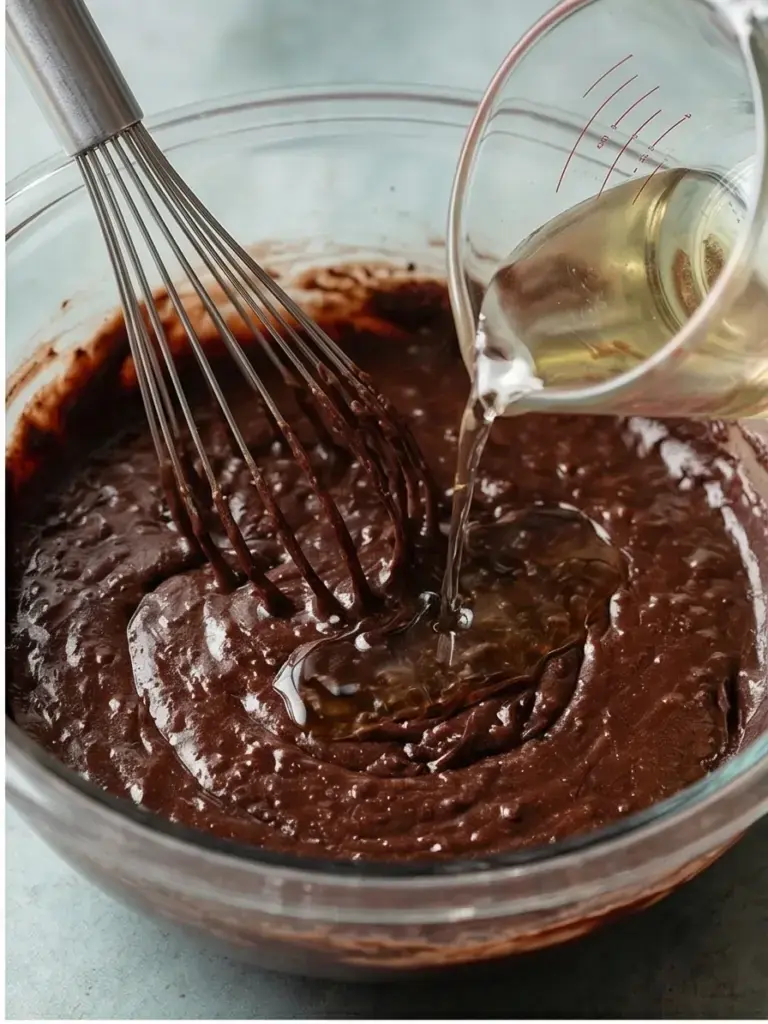
Create a well in the center of the dry ingredients and add the water, oil, vinegar, and vanilla extract. Whisk until the batter is smooth and glossy.
Step 4: Fill the Muffin Cups
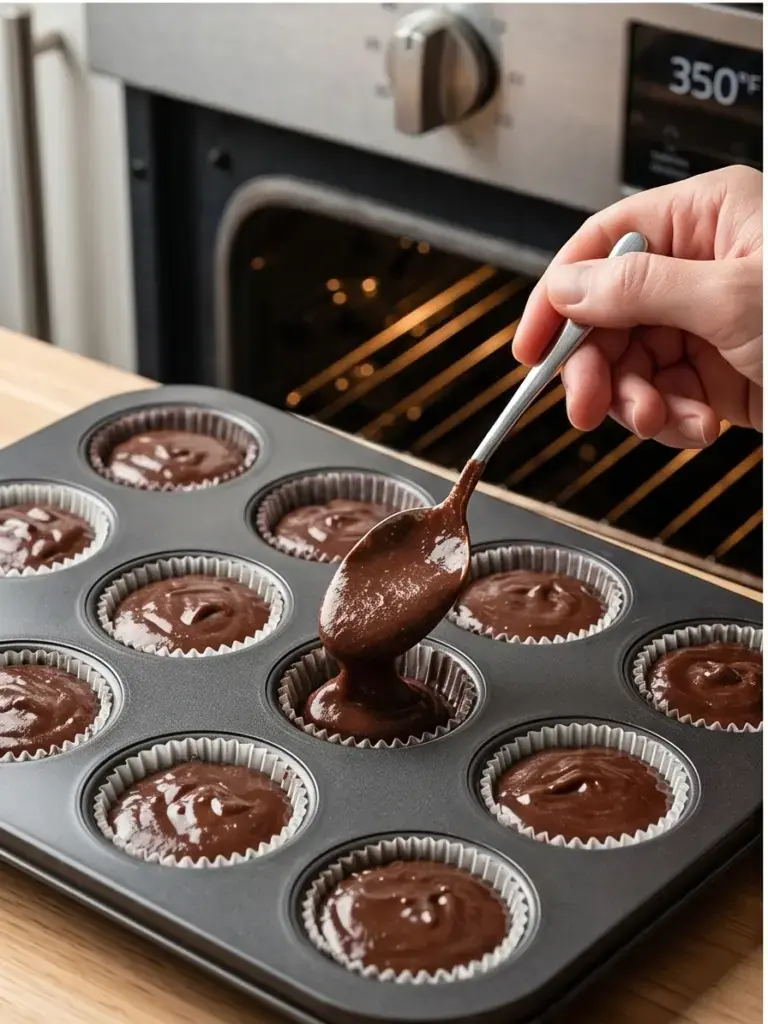
Spoon the batter into the prepared muffin liners, filling each about two-thirds full to allow room for the cupcakes to rise.
Step 5: Bake and Cool
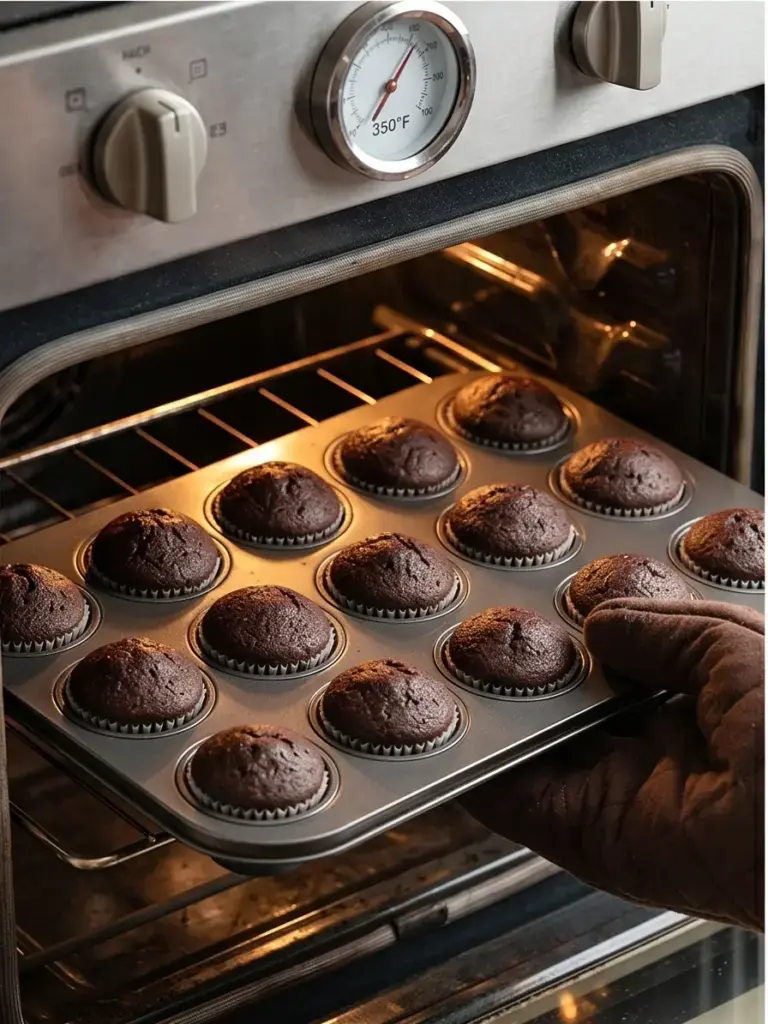
Bake for 12 to 15 minutes, or until a toothpick inserted into the center comes out clean. Let the cupcakes cool in the pan for a few minutes, then transfer them to a wire rack to cool completely before frosting and serving.
Billy’s Tips and Mistakes to Avoid
- Avoid overfilling the liners because mini cupcakes can get messy if they rise over the edges. I usually use a small cookie scoop to keep the portions consistent and clean.
- Make sure your baking soda is fresh so you get that perfect fluffy lift. I once used old soda and they came out quite flat, which was a sad day in my kitchen.
- Don’t skip the vinegar as it is the secret to the texture here. You will not taste it at all in the finished cupcake, I promise it just helps them rise.
- Let them cool completely before you even think about frosting them. If the centers are still warm, your frosting will slide right off and make a mess.
- This is a great step for kids to help with. My daughter loves placing the paper liners into the tins while I measure out the flour.
Storage Tips
You can keep these Mini Chocolate Cupcakes in an airtight container at room temperature for up to 3 days. If you want them to last longer, they stay fresh in the fridge for about 5 days, or you can freeze the unfrosted cakes for up to 1 month. I usually pull them out of the freezer an hour before we want to eat them.
Variations and Swaps
- Try adding a half cup of mini chocolate chips to the batter for an extra hit of chocolate in every bite.
- For a dairy-free version, these are already naturally dairy-free if you check your cocoa powder, making them great for school treats.
- Top them with a simple peppermint frosting during December for a lovely holiday twist that my family always asks for.
Why This Recipe Works Every Time
The science behind the vinegar and baking soda reaction is what makes these so reliable. It creates tiny bubbles that lift the batter without needing eggs, resulting in a soft texture every single time I bake them. I have made these for years and they never let me down when I need a quick dessert.
One thing I learned after a few batches is that the oil really is key for the moisture. I tried substituting applesauce once to be healthier, but the texture was not quite as decadent. Sticking to the oil ensures they stay soft even on the second or third day after baking.
Ingredients
- 1.5 cups all -purpose flour
- 1 cup granulated sugar
- 1/4 cup unsweetened cocoa powder
- 1 teaspoon baking soda
- 1/2 teaspoon sal t
- 1 cup wate r
- 1/3 cup vegetable oil
- 1 teaspoon distilled white vinegar
- 1 teaspoon pure vanilla extract
Instructions
- Preheat oven to 350°F (175°C) and line two 24-cup mini muffin tins with paper liners.
- In a large mixing bowl, whisk together the flour, sugar, cocoa powder, baking soda, and salt until well combined.
- Make a well in the center of the dry ingredients and pour in the water, oil, vinegar, and vanilla extract.
- Whisk the mixture starting from the center and moving outward until the batter is smooth and free of large lumps.
- Distribute the batter into the prepared mini muffin liners, filling each approximately two-thirds full.
- Bake for 12 to 15 minutes, or until a wooden skewer inserted into the center of a cupcake comes out clean.
- Remove the tins from the oven and allow the cupcakes to cool in the pan for 5 minutes.
- Transfer the cupcakes to a wire cooling rack to cool completely before frosting or serving.
Frequently Asked Questions
Can I use this Mini Chocolate Cupcakes batter for regular-sized cupcakes?
Yes, you certainly can, but you will need to increase the baking time to about 18 to 22 minutes. Just keep an eye on them and use the toothpick test to make sure they are done in the middle.
What is the best frosting for these?
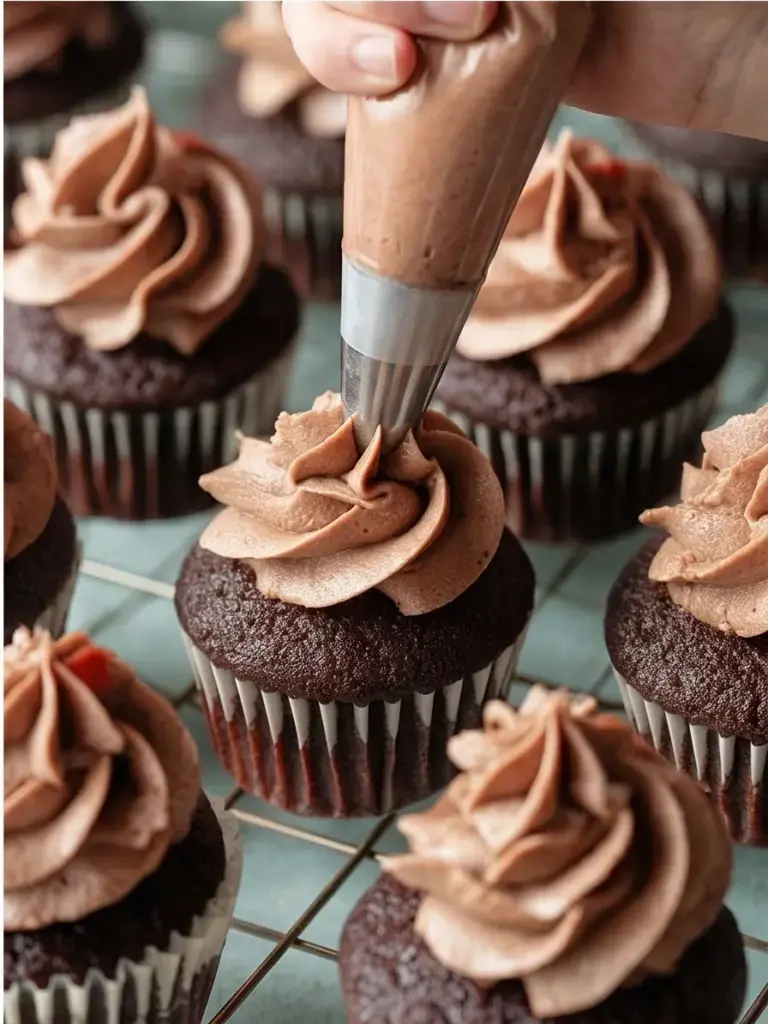
I personally love a simple vanilla buttercream or a rich chocolate ganache. Since they are small, a little bit of frosting goes a long way, so you do not need much to make them look pretty.
Why did my cupcakes stick to the liners?
This often happens if you try to peel the liners off while the cupcakes are still warm. Let them cool completely on a wire rack and they should pull away much easier without leaving half the cake behind.
The Bottom Line
These little chocolate treats are such a joy to bake and even better to share with the people you love. Whether it is a holiday party or just a rainy Tuesday afternoon, they always bring a smile to my daughter’s face. Sweet moments don’t have to be complicated. Let’s make something wonderful together.
I hope your kitchen fills with that wonderful chocolate aroma today. It is the perfect excuse to put on some music and enjoy a quiet moment of baking. Billy
Billy