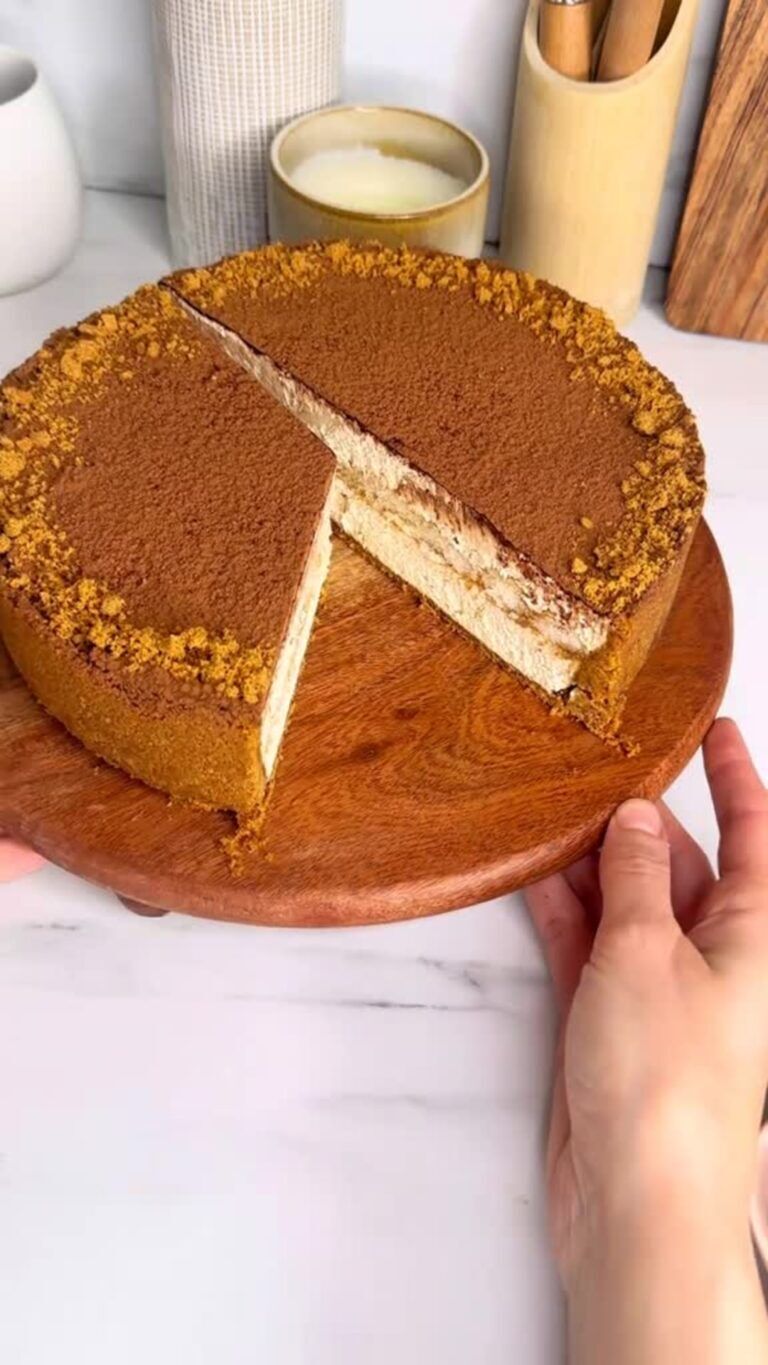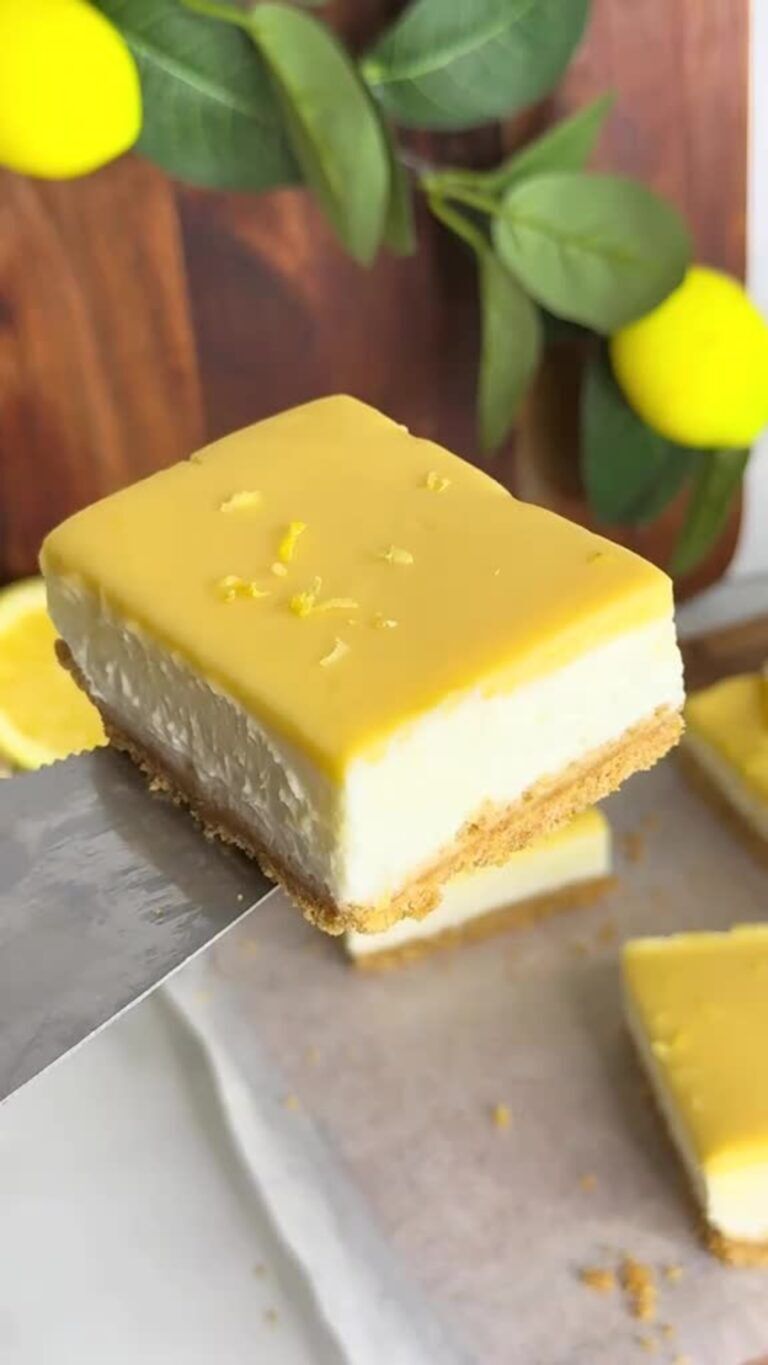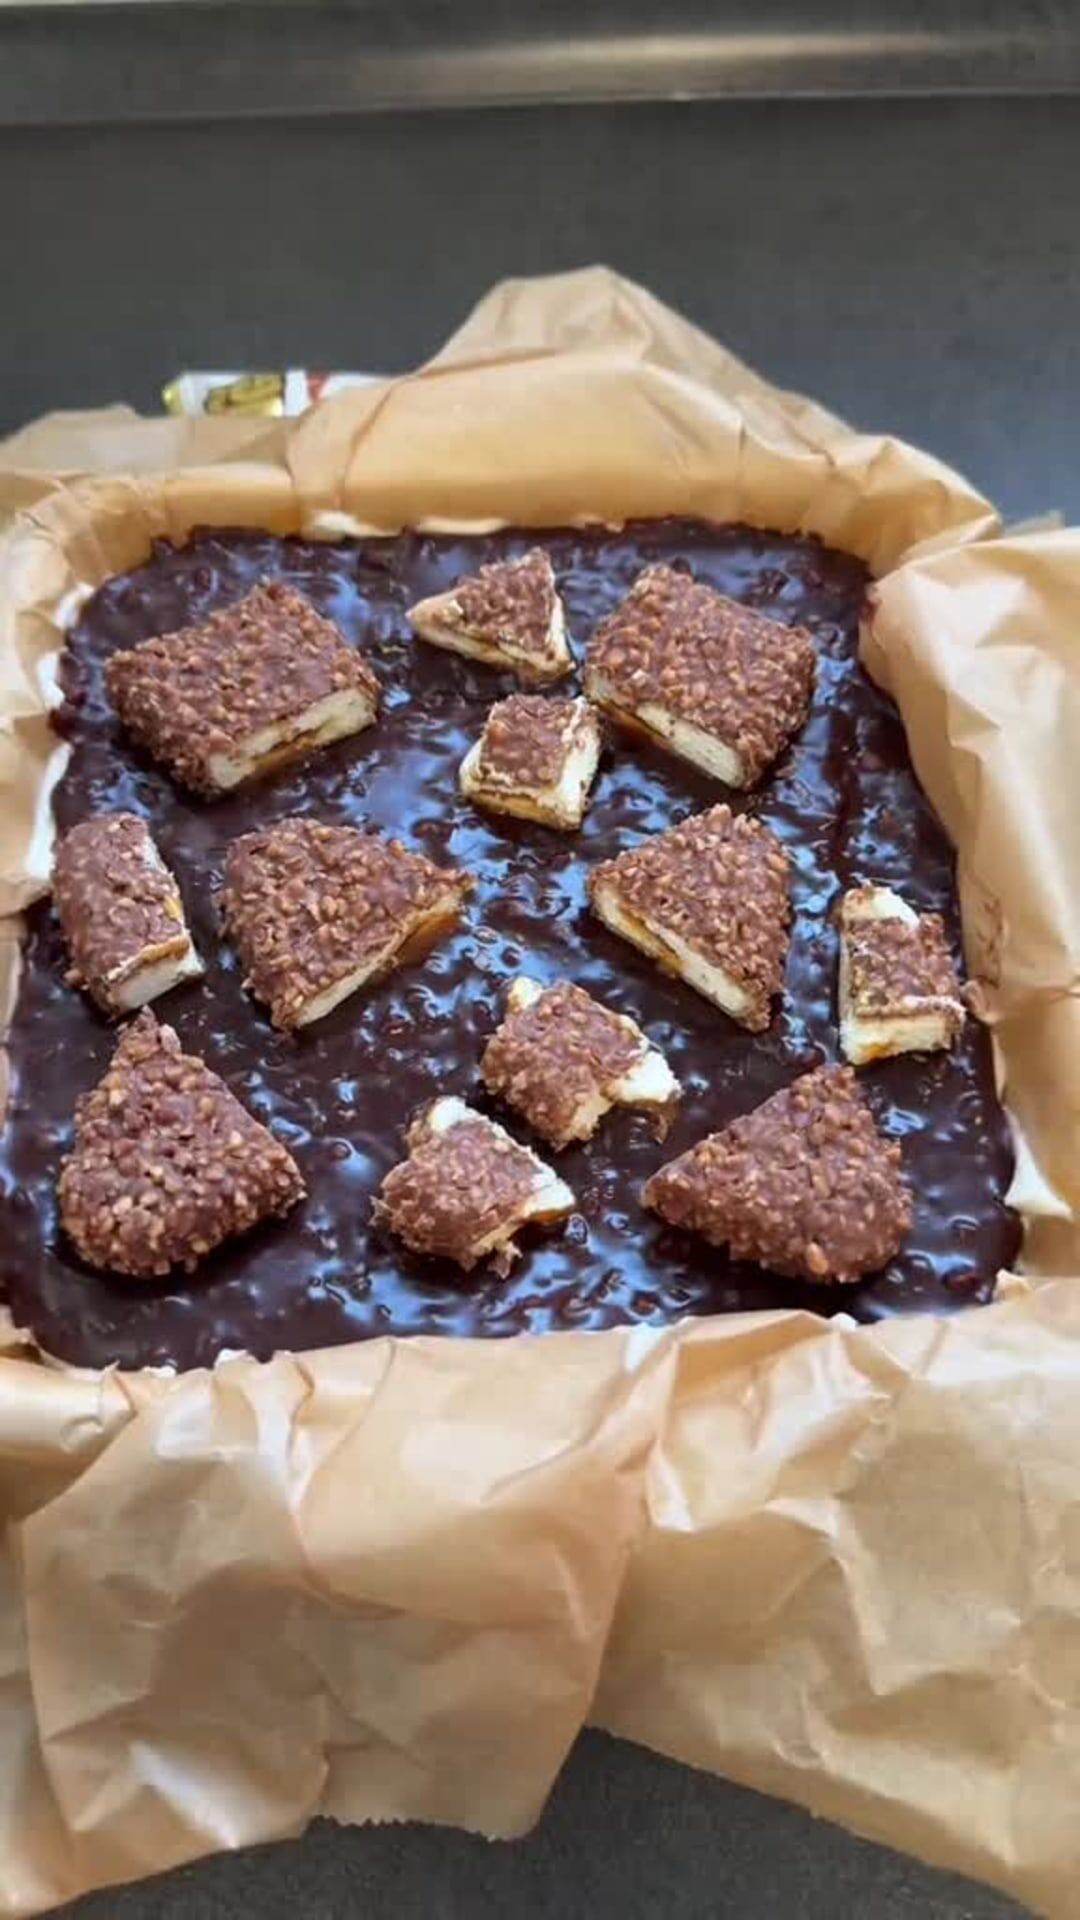
There are nights guests call and say they’re at the door in under an hour, and the oven suddenly feels like a commitment. This no-bake Kinder Max King Cake is exactly the kind of fix I turn to when time is short and I still want something that feels special. It layers cocoa biscuits, a whipped mascarpone cream, caramel, and a glossy hazelnut-chocolate topping so you get creamy, gooey, and crispy textures without heating up the kitchen. My daughter usually helps me press the cookies into the pan, and that small ritual makes it feel like a real dessert moment even when it’s thrown together last minute.
Why You’ll Love This No-Bake Kinder Max King Cake
This cake is the kind of thing you can assemble while greeting guests at the door, and it actually comes together without any baking fuss. I love that the layers set up in the fridge so you still get a slice that holds its shape.
There’s comfort in the combination of mascarpone and dulce de leche; it reminds me of the kind of treat my mother would pull out for unexpected company. It’s rich without being complicated, and it’s a fun one to make with a kid underfoot.
What Makes this Recipe Unique
– Speed: No oven required, so you can assemble and chill while you finish tidying the kitchen.
– Key ingredient: Mascarpone gives a silky, stable cream that holds layers together without fuss.
– Layered shortcut: Cocoa biscuits create instant structure, so there’s no need for baking a cake base.
– Texture contrast: The crunchy biscuits, soft whipped cream, gooey caramel, and chopped bars on top give a satisfying mix in every bite.
– Kid-friendly step: Pressing the biscuit layers is simple enough for little helpers to enjoy.
Estimated Macros & Calories
A rough estimate to help plan ahead. (estimated per serving, without optional ingredients)
- Calories: 630
- Protein: 9 g
- Carbohydrates: 57 g
- Fat: 41 g
- Fiber: 2 g
The Most Authentic No-Bake Kinder Max King Cake Recipe
No fuss, direct instructions that follow the original recipe steps — you’ll layer, chill, and finish with a nutty chocolate glaze and chopped Kinder bars.
Ingredient Notes
– Mascarpone: Gives that rich, creamy body to the layers; don’t substitute with something much tangier unless you want a different flavor.
– Heavy cream: Use cold cream for a better whip and firmer texture; I keep a little extra in the fridge for melting chocolate if needed.
– Sweetened condensed milk: Adds sweetness and a bit of chew to the whipped cream; it also helps stabilize the mixture.
– Cocoa biscuits: These form the cake’s structure; break a few to fill gaps so the layers sit evenly.
– Dulce de leche (or boiled condensed milk): The caramel layer gives a sticky, gooey counterpoint to the creamy layers — warm briefly to make it spreadable.
– Dark chocolate: Melts into a shiny glaze that sets with the nuts for a satisfying top layer.
– Toasted hazelnuts: Toasted first they bring a warm crunch and nutty aroma; cool them so they don’t keep cooking.
– Kinder Max King bars: Chop and scatter on top while the chocolate is still warm so they adhere.
Instructions
Step 1: Line and Layer the Base
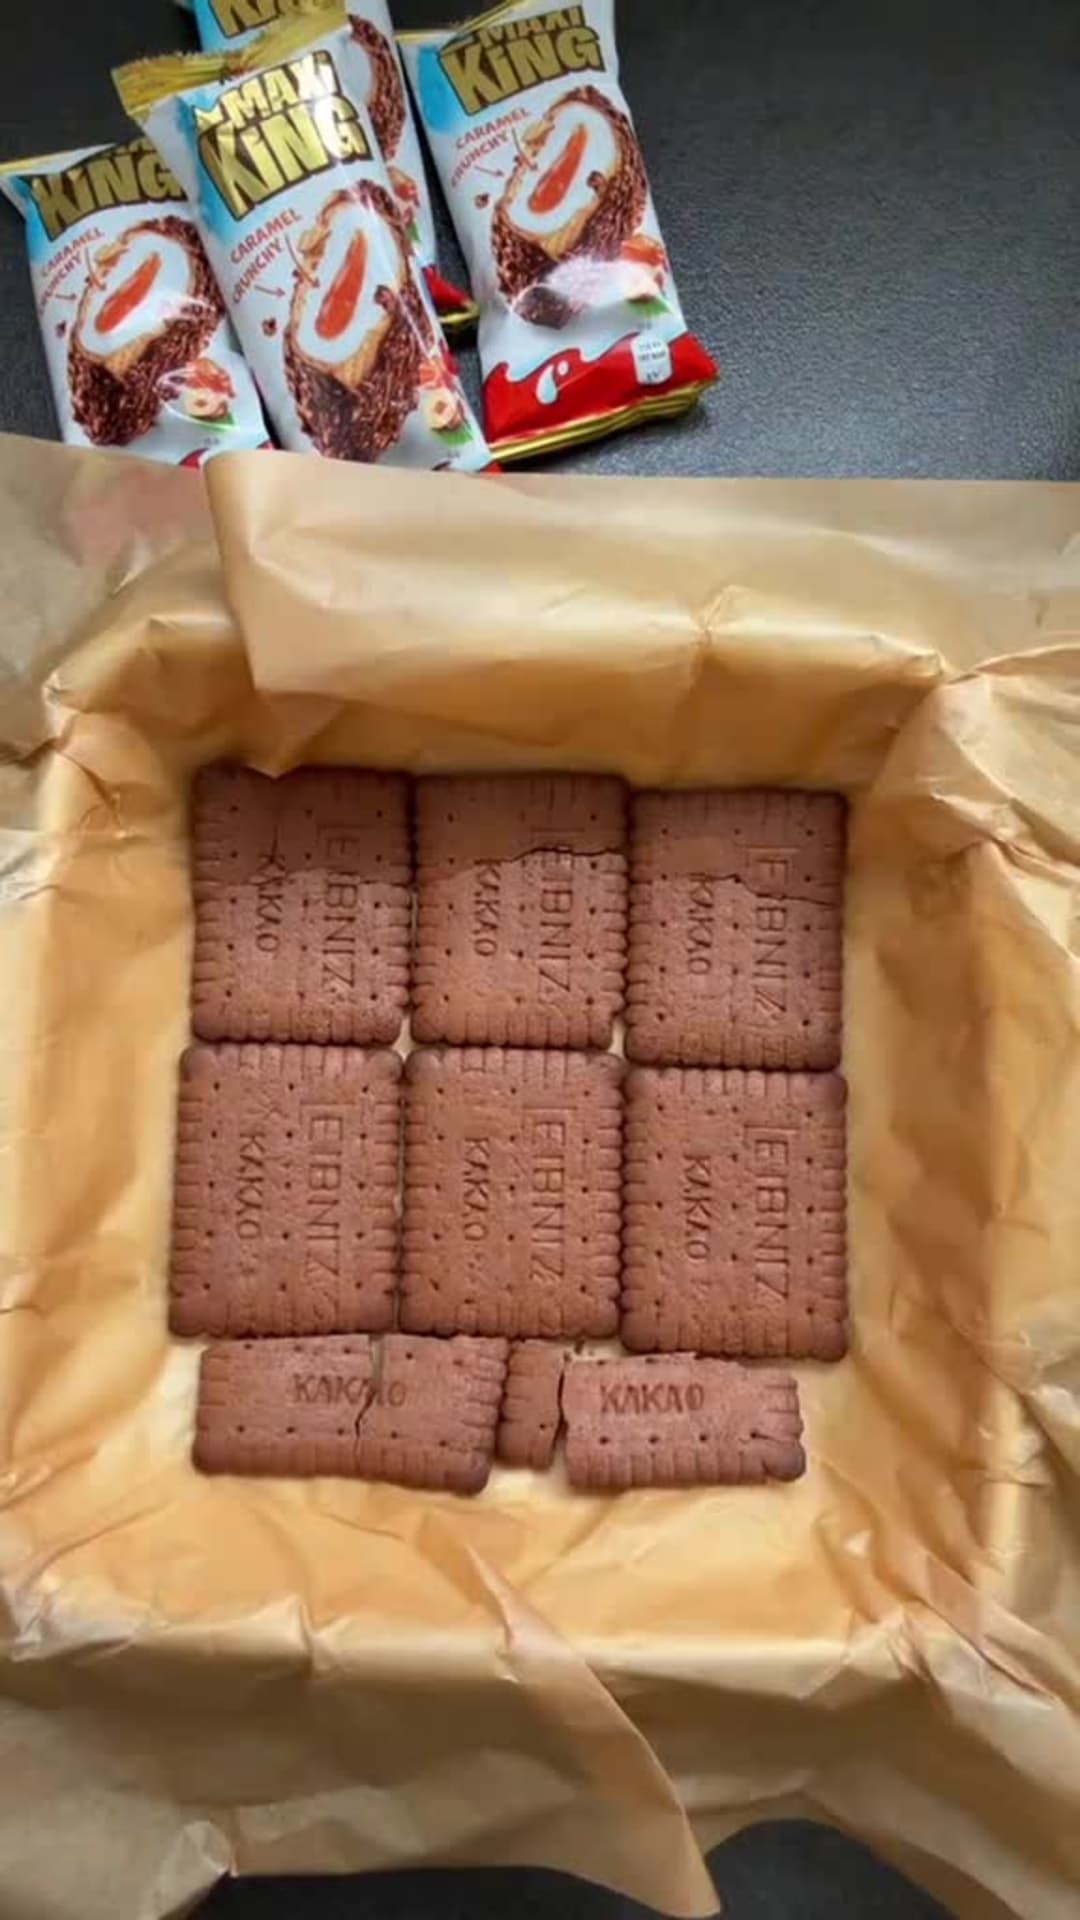
Line an 8×8-inch pan with parchment, leaving an overhang for easy lifting later. Arrange a single even layer of cocoa biscuits across the base, breaking a few to fill any small gaps.
Step 2: Whip the Mascarpone Cream
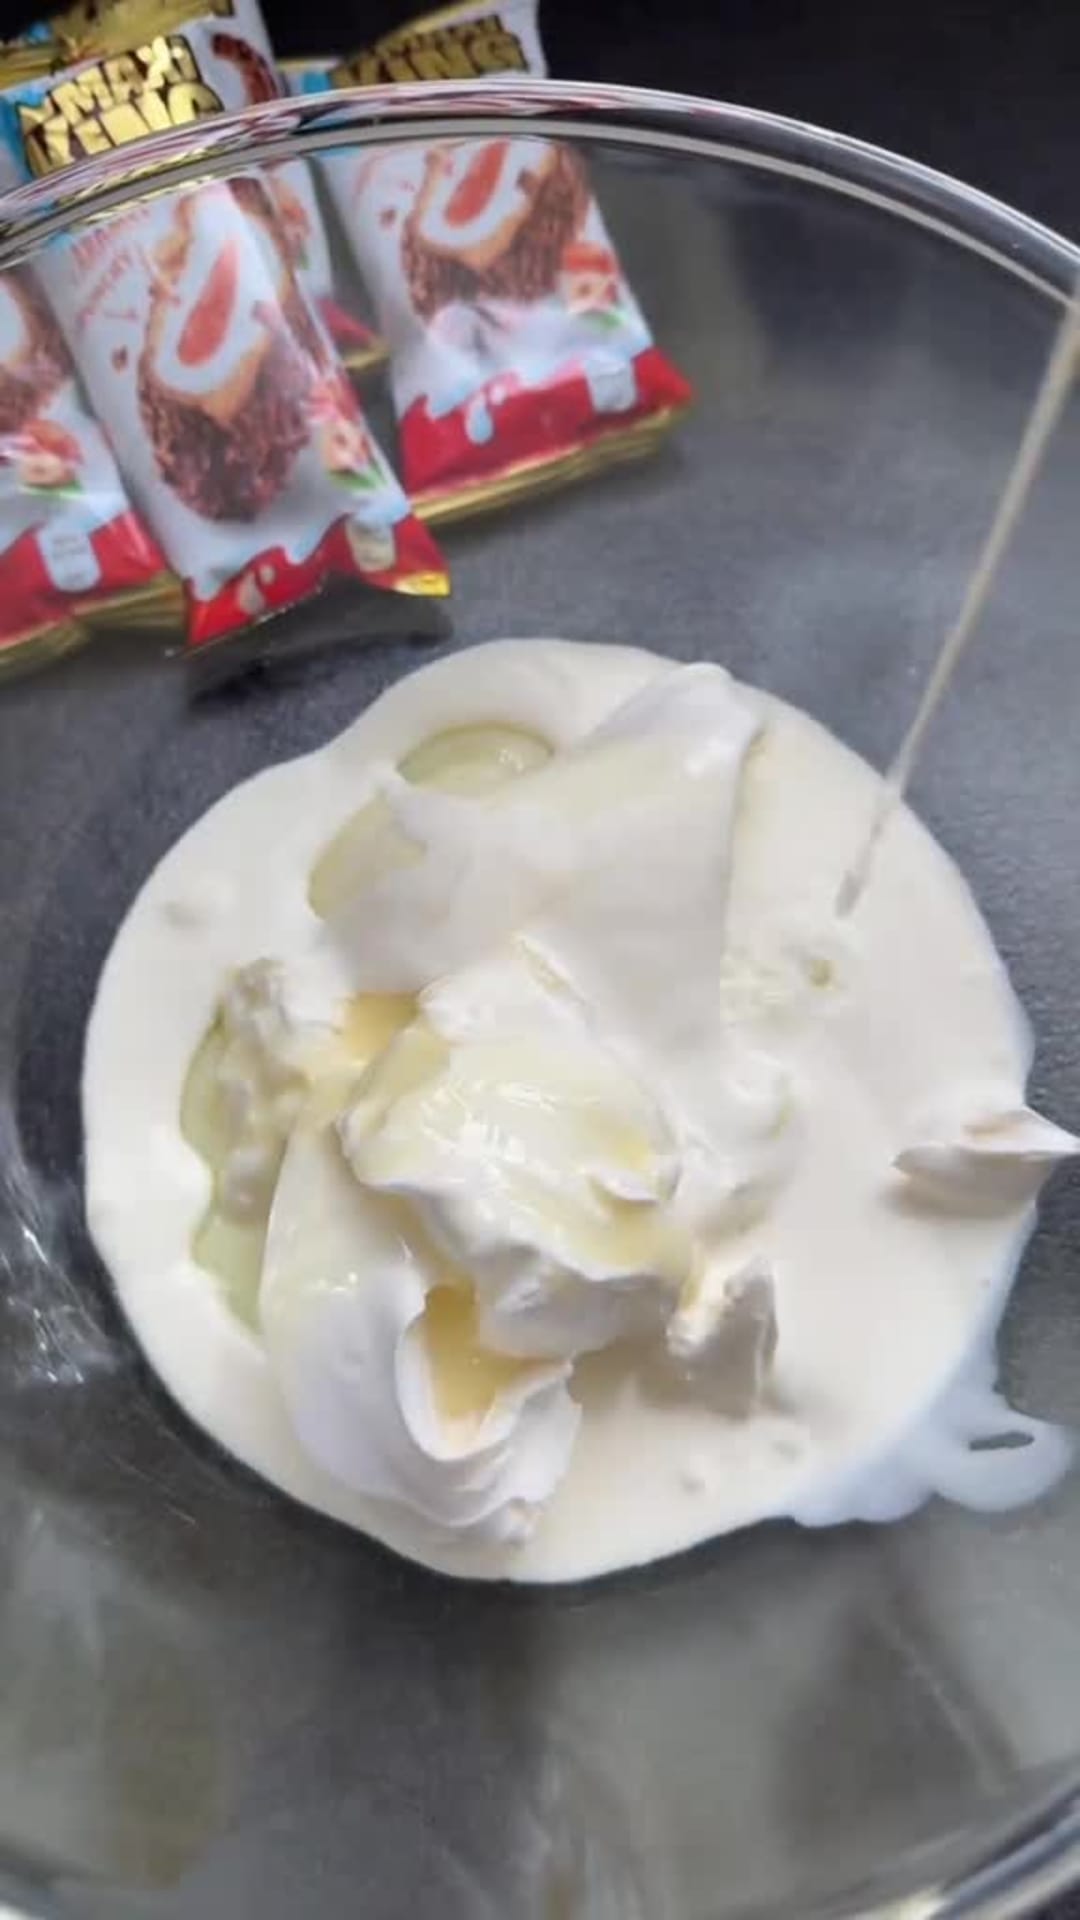
Combine mascarpone, cold heavy cream, sweetened condensed milk, and vanilla in a large bowl. Start mixing on low, then increase speed and beat until the mixture thickens to soft peaks and is smooth, scraping down the bowl once or twice.
Step 3: Spread and Press the Second Layer
Spread about half of the mascarpone cream over the first biscuit layer and smooth it flat. Press a second layer of biscuits gently into the cream so they sit snugly.
Step 4: Warm and Spread the Caramel
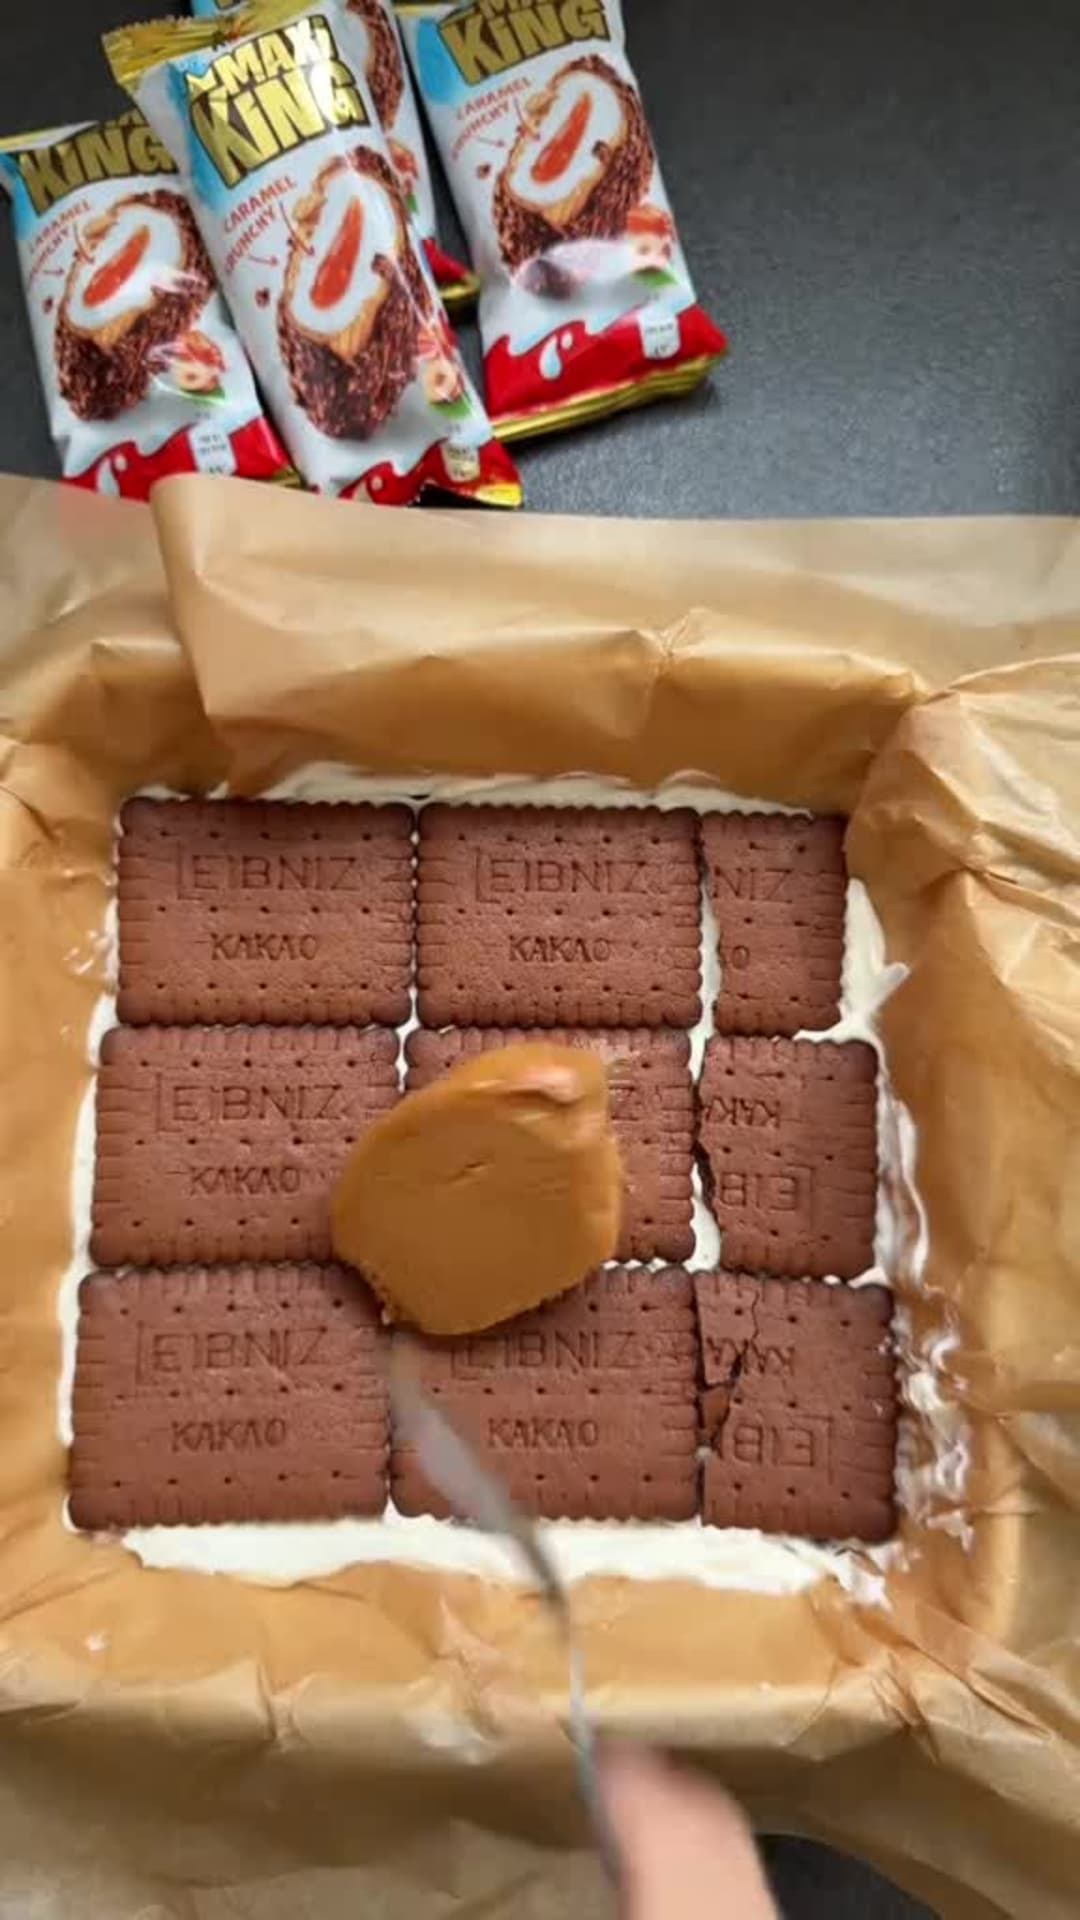
Warm the dulce de leche briefly until it’s fluid and easy to spread; spoon and smooth it over the second biscuit layer in an even coat.
Step 5: Add the Final Cookie Layer and Remaining Cream
Place a third layer of cookies on top of the caramel, then spread the remaining mascarpone cream over that final cookie layer. Smooth the top neatly and tap the pan on the counter to settle the layers and remove air pockets.
Step 6: Toast the Hazelnuts
Toast the chopped hazelnuts in a dry skillet over medium heat until they’re fragrant and lightly browned, stirring often. Transfer them to a small bowl to cool so they don’t overcook from residual heat.
Step 7: Melt Chocolate and Make the Glaze
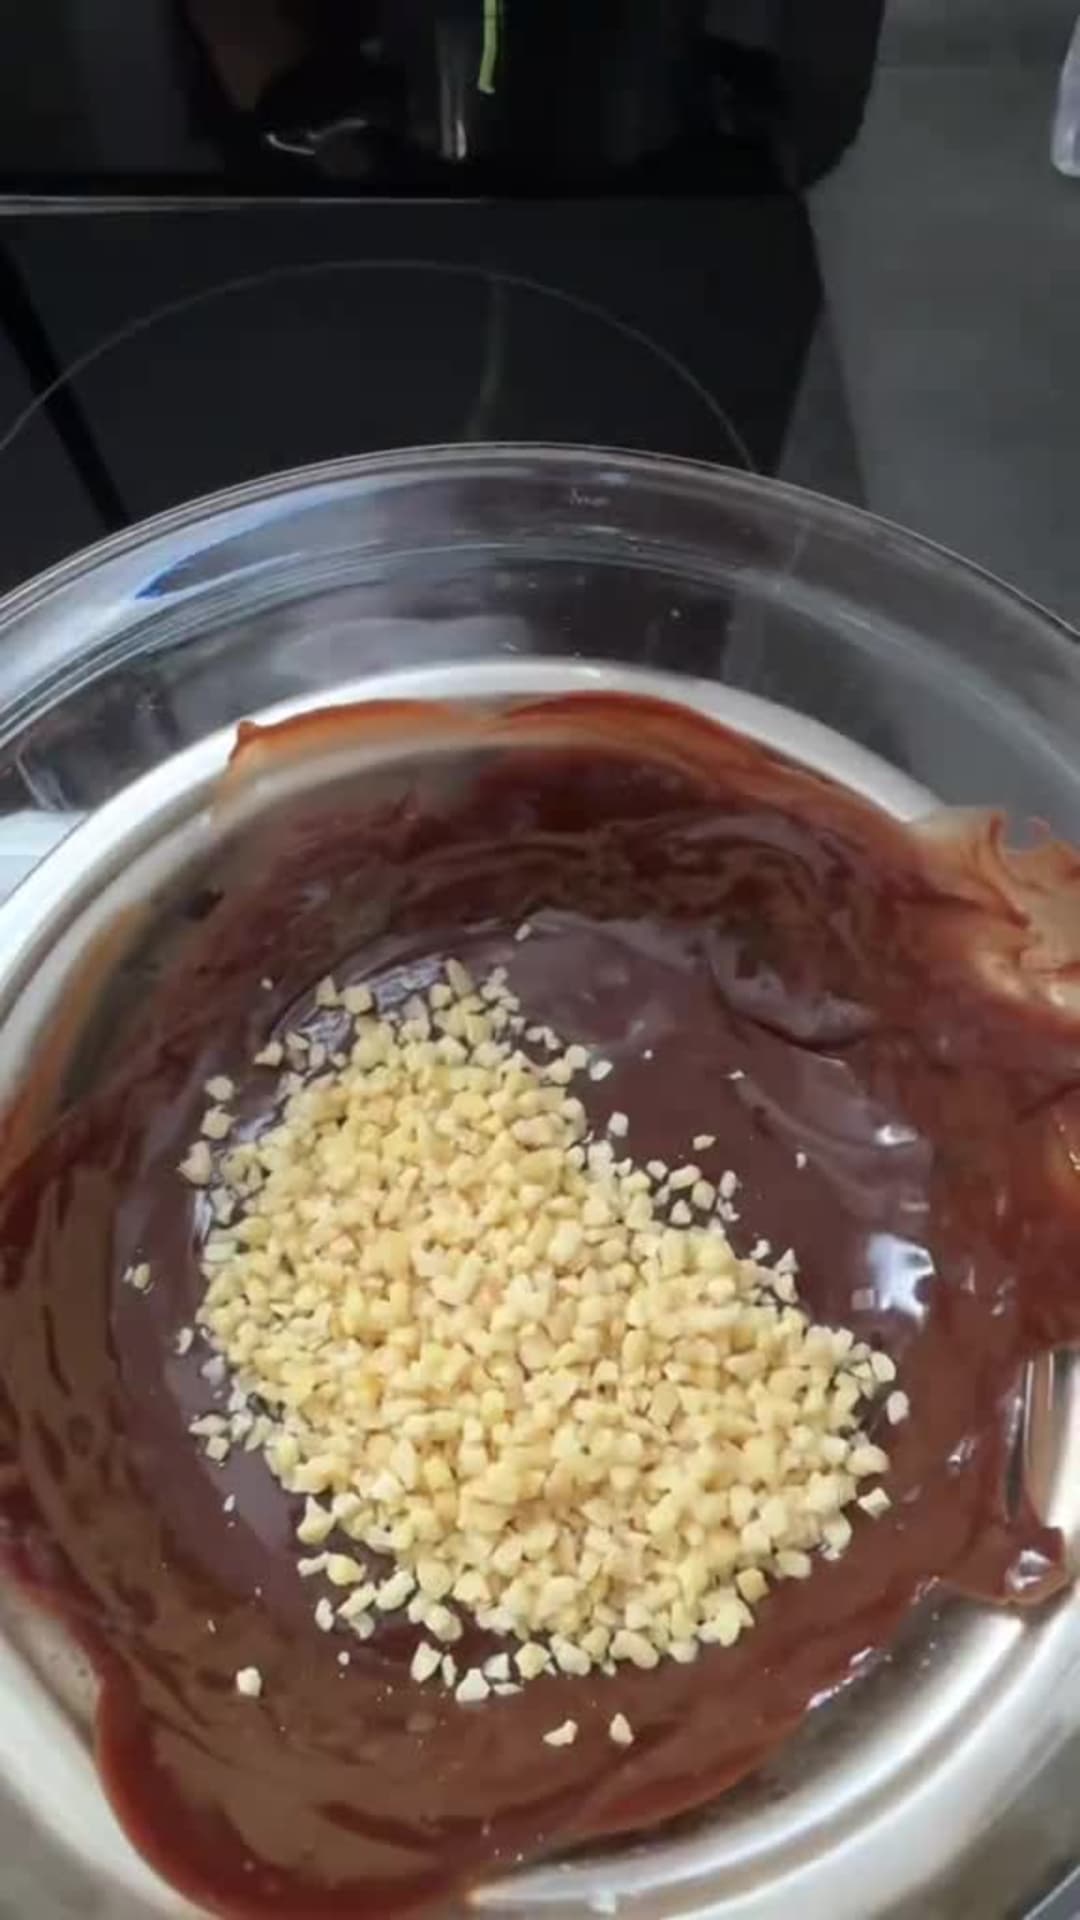
Place chopped dark chocolate in a heatproof bowl with a little cream or water and melt gently over simmering water or in short microwave bursts, stirring until glossy. Fold the toasted hazelnuts into the melted chocolate, then pour the mixture over the chilled cream layer and spread to the edges.
Step 8: Top with Chopped Kinder Bars
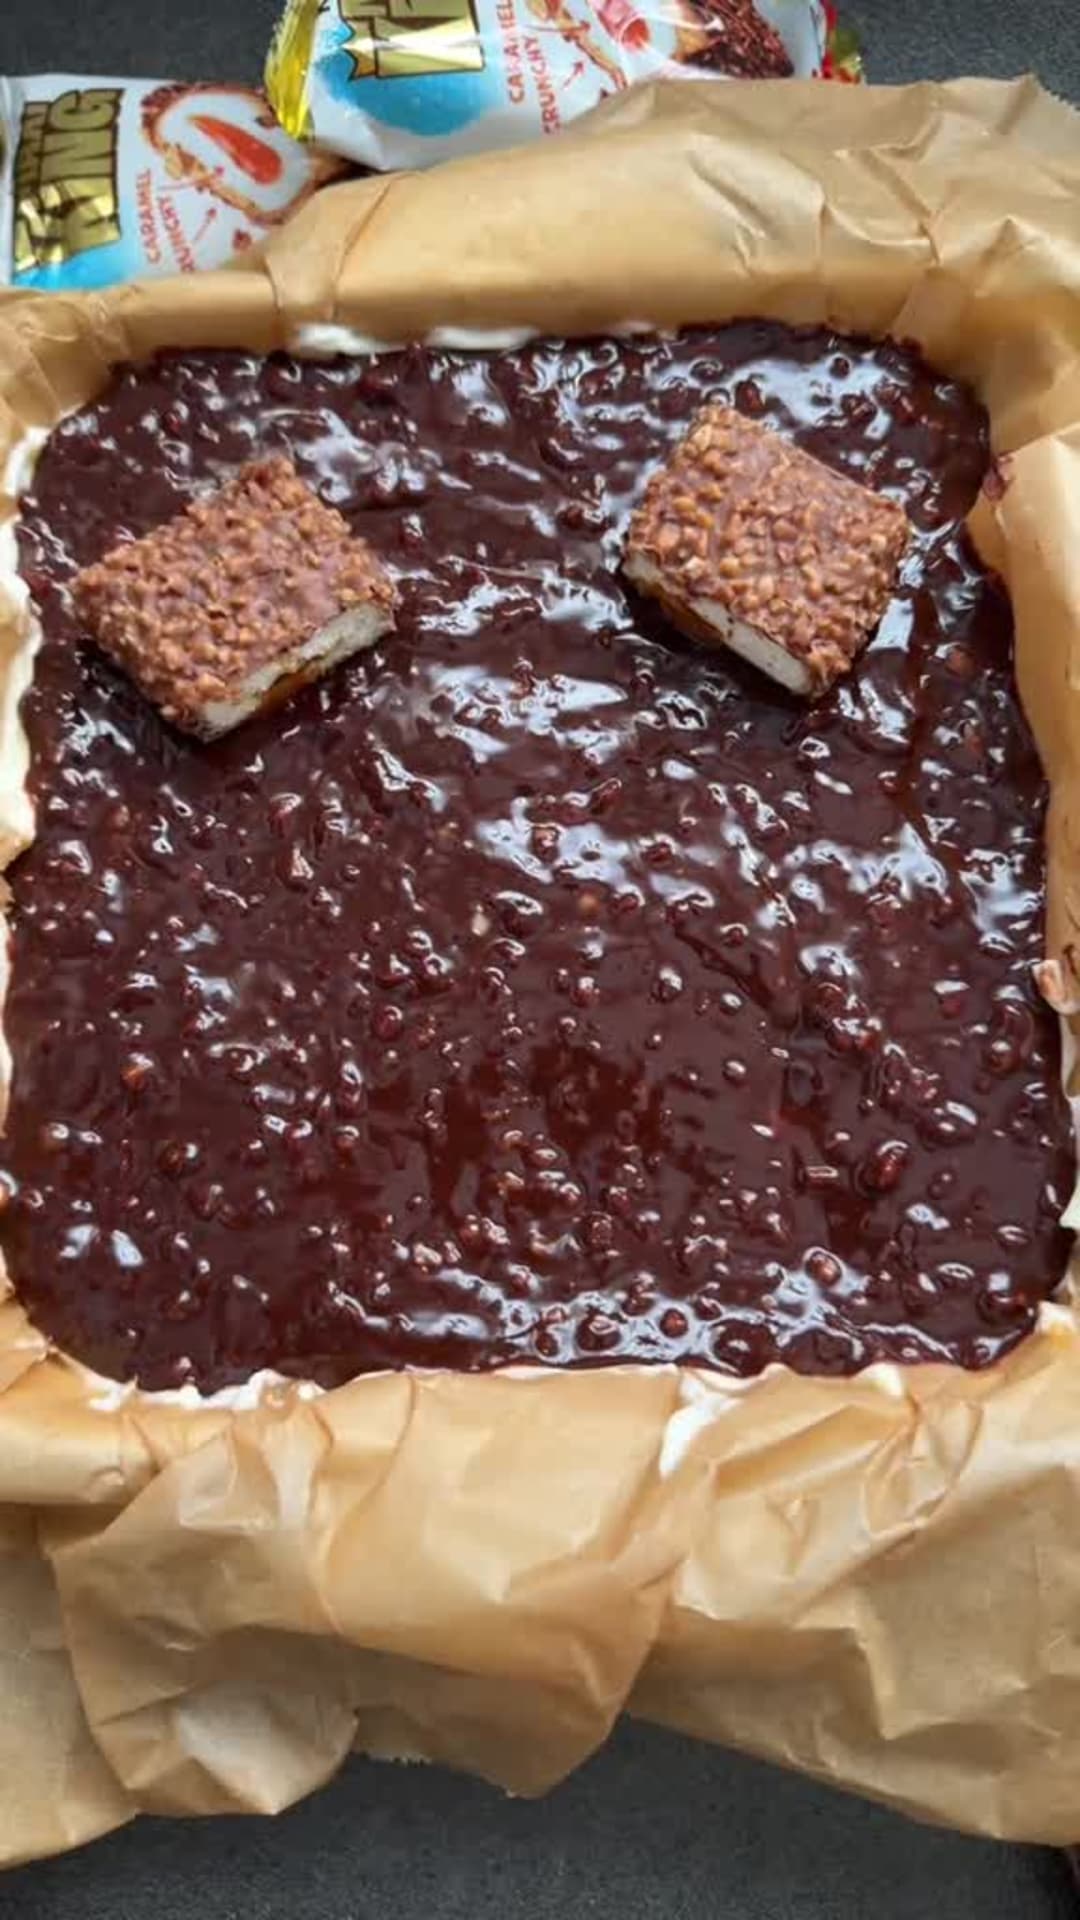
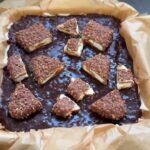
Scatter the chopped Kinder Max King pieces across the chocolate while it is still warm so they stick, and finish with a light sprinkle of extra chopped hazelnut if you like.
Step 9: Chill and Slice
Cover the pan with plastic wrap and chill in the refrigerator until firm, a few hours or overnight. When fully set, lift the cake from the pan using the parchment overhang, place on a cutting board, and slice into squares with a sharp knife, wiping the blade between cuts for clean edges.
Tips and Mistakes to Avoid
– Make sure the cream is cold before whipping so it reaches soft peaks rather than staying loose.
– Don’t let the hazelnuts sit in the hot pan; move them to a bowl to stop them cooking.
– Warm the dulce de leche just enough to spread; if it sits too long it’ll cool and become hard to smooth.
– Press the biscuit layers gently; too much force can squeeze out the cream and make the cake dense.
– Wipe your knife between cuts for neat slices and minimal smudging.
Storage Tips
Keep the cake refrigerated, covered, for a few days and it will hold up well for family dessert night or a potluck. You can freeze individual slices wrapped tightly for longer storage; let them thaw in the fridge before serving. If you plan to serve at cool room temperature, remove from the fridge shortly before slicing so it’s easier to cut.
Variations and Substitutions
– Swap the cocoa biscuits for a similar chocolate cookie if you prefer a different crunch.
– Use boiled condensed milk in place of store-bought dulce de leche for a homemade caramel option.
– For a gluten-free version, choose a certified gluten-free cocoa biscuit and keep the rest of the layers the same.
– To make a dairy-free alternative, try a plant-based whipped cream and a dairy-free spread instead of mascarpone, though texture will change.
Why This Recipe Is The Real Deal
The one technique that makes this stand out is the whipped mascarpone cream — it gives structure and the right kind of richness without complicated steps. I’ve found using a stable, silky cream means the layers slice cleanly and the dessert doesn’t collapse after chilling.
The combination of a caramel layer and a nutty chocolate glaze is simple but intentional; it balances the soft cream and crunchy biscuits in a way that feels thoughtful, not fussy. My kitchen usually looks a mess after this one, but everyone asks for seconds anyway.
The Bottom Line
When guests are unexpected and time is short, this no-bake Kinder Max King Cake delivers a hands-off, impressive dessert that still tastes like you put thought into it. Give it a try and tell me how your family — and your little helpers — reacted in the comments.
Billy Mackenzie
Founder of MerryDessert.com
Simple, joyful homemade desserts — sweet moments, made with love.
No-Bake Kinder Max King Cake
Ingredients
Mascarpone filling
- 1 1/4 cup mascarpone cheese, softened
- 3/4 cup heavy cream, cold
- 1/2 cup sweetened condensed milk
- 1 tsp pure vanilla extract
Layers
- 24 pieces cocoa biscuits (such as Leibniz Kakao)
- 1 cup dulce de leche (or boiled condensed milk)
Chocolate topping & garnish
- 3 oz dark chocolate, finely chopped
- 1/3 cup chopped toasted hazelnuts
- 4 bars Kinder Max King snacks, roughly chopped for topping
Instructions
Preparation Steps
- Line an 8x8-inch square pan with parchment paper, leaving an overhang on two sides to help lift the cake out later. Arrange a single even layer of cocoa biscuits across the base; break a few cookies to fill any small gaps.
- Whip the mascarpone, cold heavy cream, sweetened condensed milk, and vanilla in a large bowl. Start on low speed, then increase to medium-high and beat until the mixture thickens to soft peaks and is smooth (about 2–3 minutes by electric mixer). Scrape down the bowl once or twice.
- Spread about half of the mascarpone cream evenly over the first cookie layer, using an offset spatula to make a flat surface. Press a second layer of biscuits gently into the cream so they sit snugly.
- Warm the dulce de leche briefly in a small saucepan or microwave until it’s fluid and easy to spread (about 20–30 seconds in the microwave). Spoon and smooth the dulce de leche over the second biscuit layer in an even coat.
- Add a third layer of cookies on top of the caramel. Spread the remaining mascarpone cream over that final cookie layer, smoothing the top neatly. Tap the pan on the counter to settle the layers and remove air pockets.
- Toast the chopped hazelnuts in a dry skillet over medium heat for 3–4 minutes, stirring often, until fragrant and lightly browned. Transfer to a small bowl to cool so they don’t overcook in the residual heat.
- Place the chopped dark chocolate in a heatproof bowl with a tablespoon of cream or water and melt gently over a pan of simmering water (double boiler) or in short bursts in the microwave, stirring until glossy. Fold the toasted hazelnuts into the melted chocolate, then pour the mixture over the chilled cream layer and spread to the edges.
- Scatter the chopped Kinder Max King pieces across the chocolate while it is still warm so they stick, and finish with a light sprinkle of extra chopped hazelnut if desired. Cover the pan with plastic wrap and chill in the refrigerator for at least 3 hours (or overnight) until firm.
- When fully set, lift the cake from the pan using the parchment overhang. Place on a cutting board and slice into 9 squares with a sharp knife, wiping the blade between cuts for clean edges. Serve chilled or at cool room temperature.