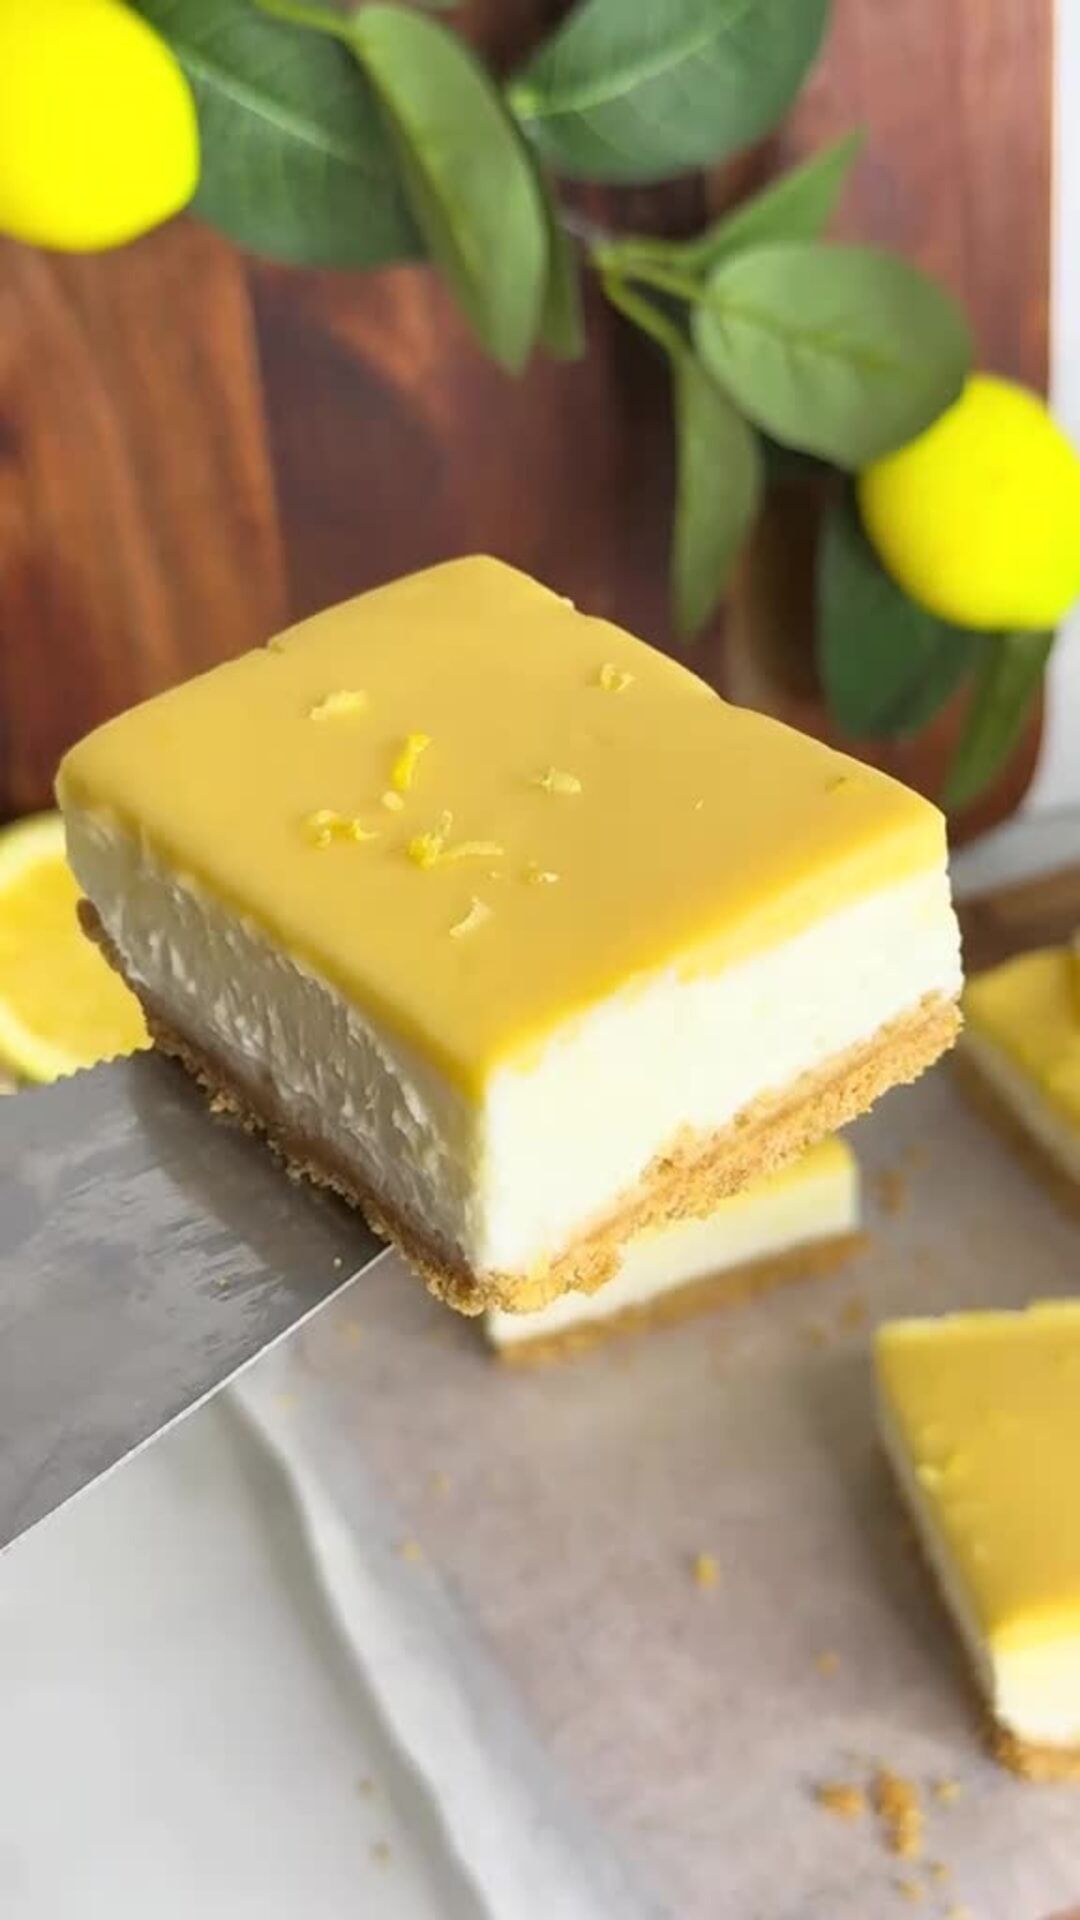
Confession: I often promise my daughter a homemade treat right before school pickup and then realize the oven is full of excuses. These No-Bake Lemon Cheesecake Bars have saved more than one harried afternoon because they don’t need baking, only a little patience while they chill. Creamy, tangy, and buttery, they’re the kind of dessert we pull out when I want something that feels special without a lot of fuss.
Why You’ll Love This No-Bake Lemon Cheesecake Bars
I discovered that cooking a quick lemon curd and letting it cool before layering gives you bright lemon flavor without a runny finish. It felt like a small kitchen revelation the first time the curd glossy-joined the creamy cheesecake layer and held up in neat bars.
My daughter loves to help press the crust and taste-test the curd (her job is quality control), so this recipe became our go-to when I needed a sweet pick-me-up right before pickup or for an easy family dessert night. It’s reliable and forgiving, which suits my messy-counter style perfectly.
What Makes this Recipe Unique
– Fresh lemon juice: The brightness comes from real lemon juice, which makes the curd lively and unmistakably lemony.
– Cooked lemon curd: Cooking the curd with cornstarch and sugar creates a glossy, stable topping that spreads beautifully.
– Simple crust shortcut: Crushed butter biscuits mixed with melted butter give a crunchy, buttery base without baking.
– Two-part filling: A whipped cream–folded cheese layer keeps the bars light and airy under a pleasantly tart curd.
Estimated Macros & Calories
A rough estimate per portion follows.
(estimated per serving, without optional ingredients)
- Calories: 620
- Protein: 7 g
- Carbohydrates: 46 g
- Fat: 45 g
- Fiber: 1 g
The Most Authentic No-Bake Lemon Cheesecake Bars Recipe
This is a straightforward, practical walk-through of the method I use at home; nothing fancy, just clear steps so you can make the bars with confidence.
Ingredient Notes
– Fresh lemon juice: The main flavor driver for both the cooked curd and the cheesecake layer; use freshly juiced lemons for the best brightness.
– Lemon zest: Adds concentrated lemon oils and a little texture; it really lifts the cream cheese and mascarpone mix.
– Cornstarch: Thickens the curd so it sets glossy rather than runny; don’t skip it if you want clean slices.
– Brown sugar: Balances the tartness in the curd and gives it a subtle caramel hint.
– Eggs and extra yolks: Provide structure and silkiness to the curd when gently cooked.
– Unsalted butter (cubed and melted): Cubed butter enriches the hot curd, while melted butter binds the biscuit crust.
– Butter biscuits / Petit Beurre: The crunchy, buttery crumbs form the base; swap for a similar plain cookie if needed.
– Fine salt: Just a pinch in the crust rounds out sweetness.
– Heavy whipping cream: Chilled cream whips to soft peaks and lightens the cheese layer; chilling the bowl helps.
– Mascarpone and cream cheese: The combo gives richness and a smooth texture; bring them to room temperature to avoid lumps.
– Powdered sugar: Smoothly sweetens the cheese layer without graininess.
– Vanilla extract: A little vanilla rounds the lemon and dairy flavors nicely.
– Thin lemon slices and extra zest: Optional garnishes that add color and a fresh snap to each square.
Instructions
Step 1: Line and chill the pan
Line a square pan with parchment, leaving some overhang so the bars lift out easily. Pop the pan in the fridge while you prep the crust so everything stays tidy.
Step 2: Make the crust
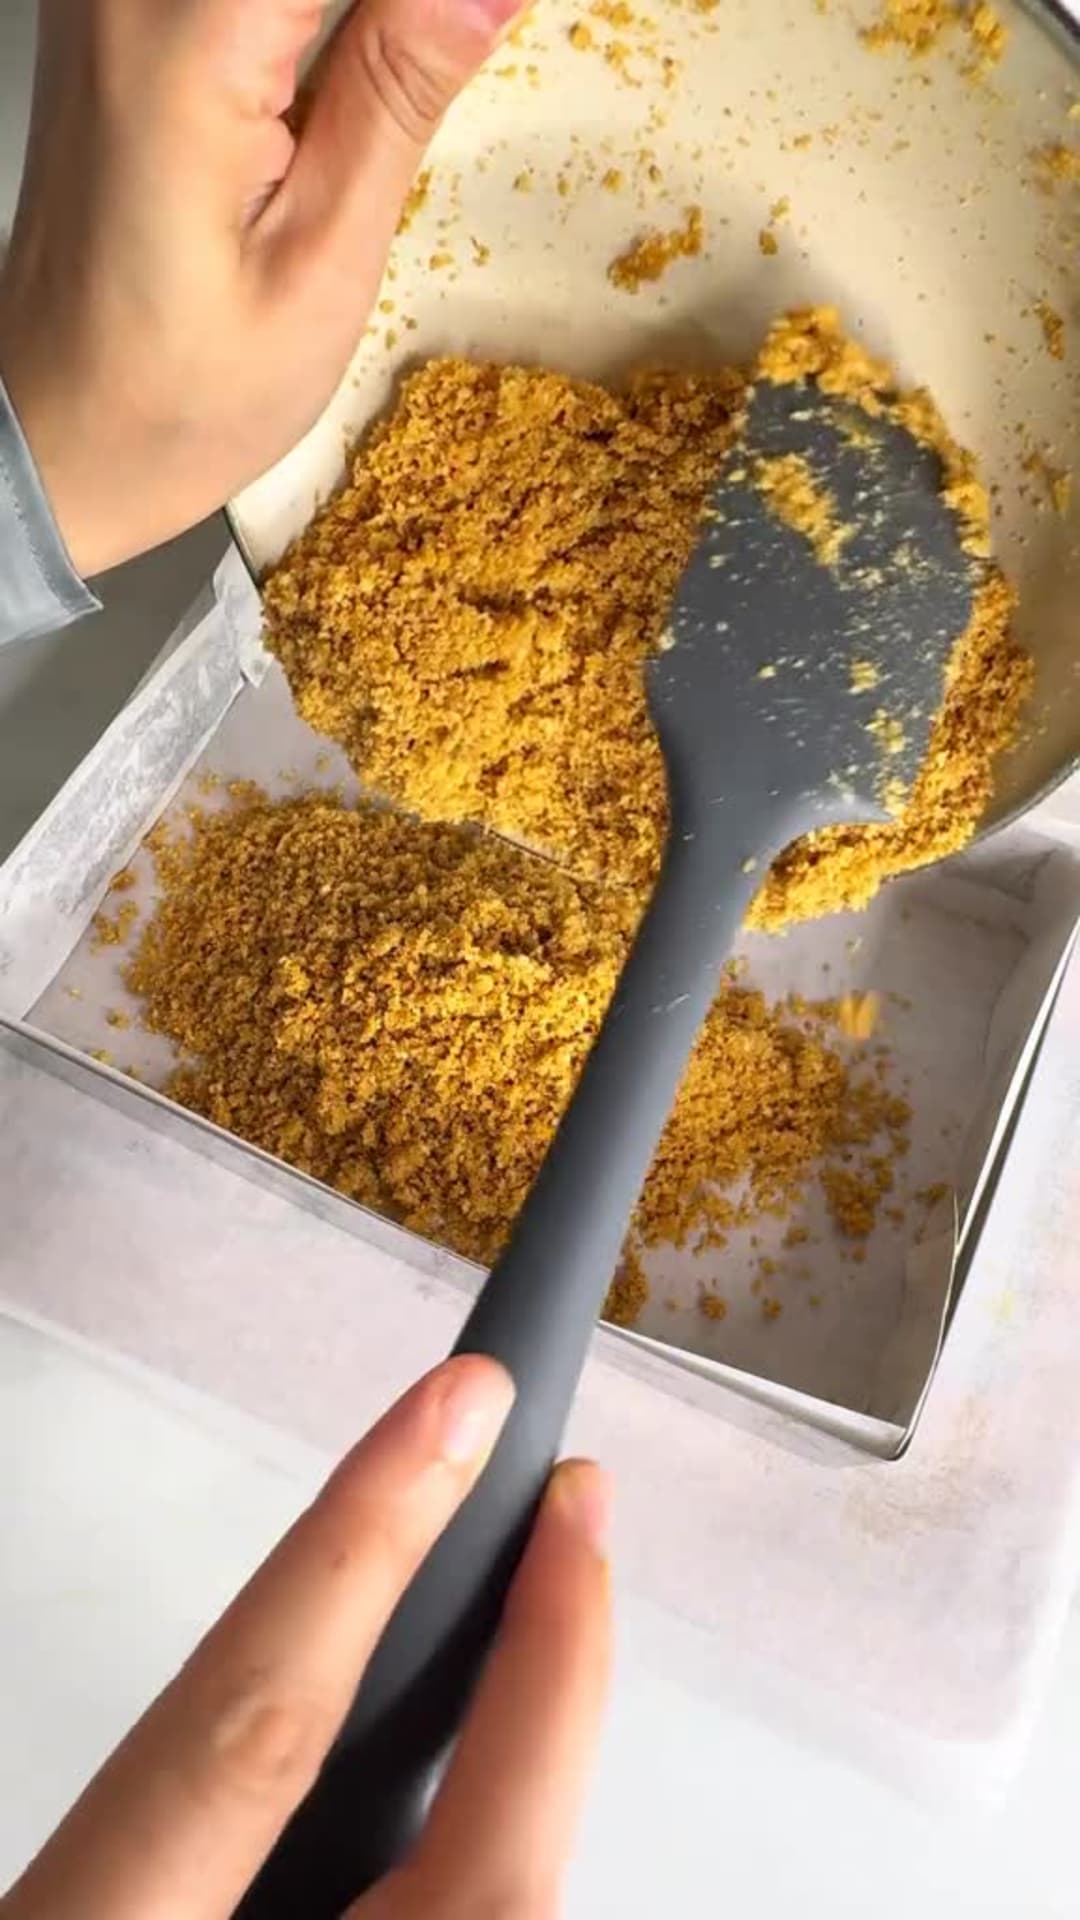
Crush the butter biscuits until very fine, then stir them with melted butter and a pinch of salt so the crumbs are evenly moistened. Press the mixture firmly into the bottom of the chilled pan in an even layer, then return the pan to chill until the crust feels firm.
Step 3: Whisk the lemon curd base
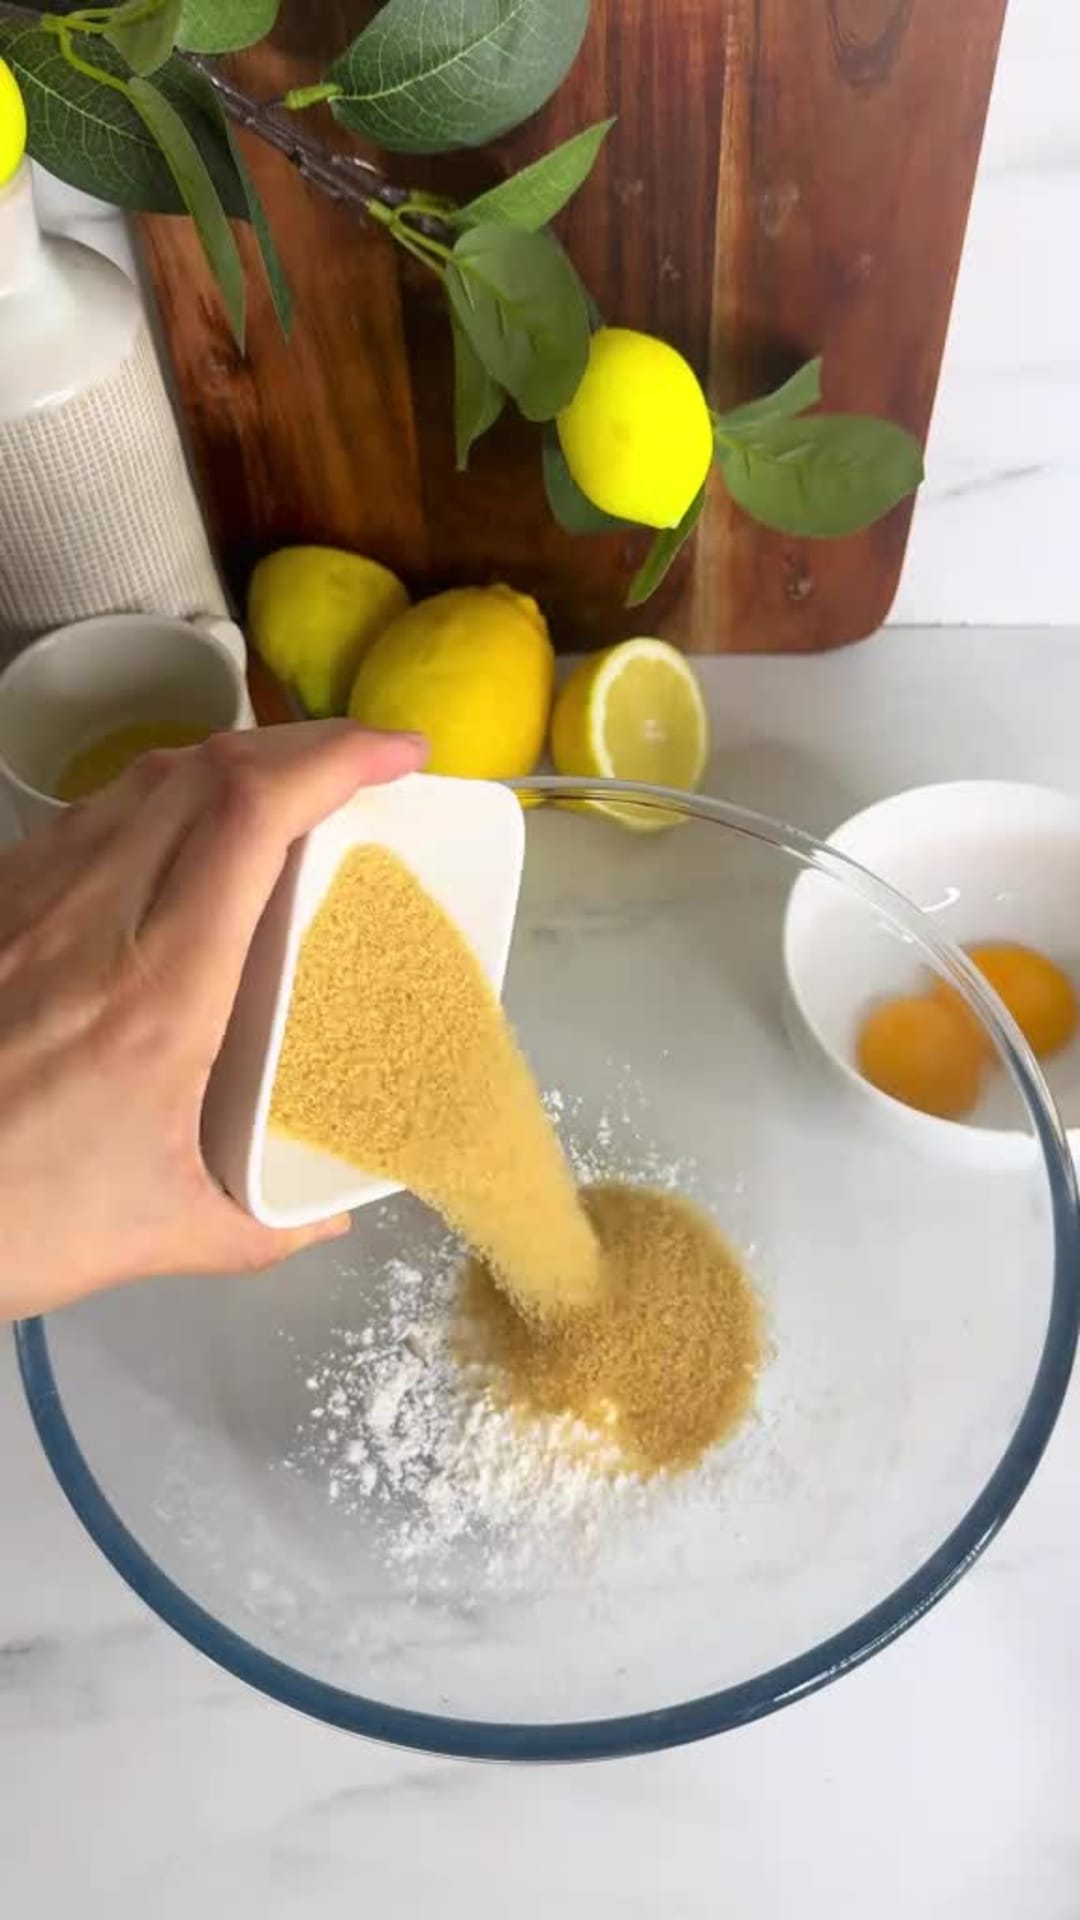
In a bowl, whisk together cornstarch, brown sugar, lemon zest from two lemons, whole eggs and extra yolks, and the larger portion of lemon juice until very smooth. Transfer this mixture to a saucepan to cook gently into curd.
Step 4: Cook and finish the curd
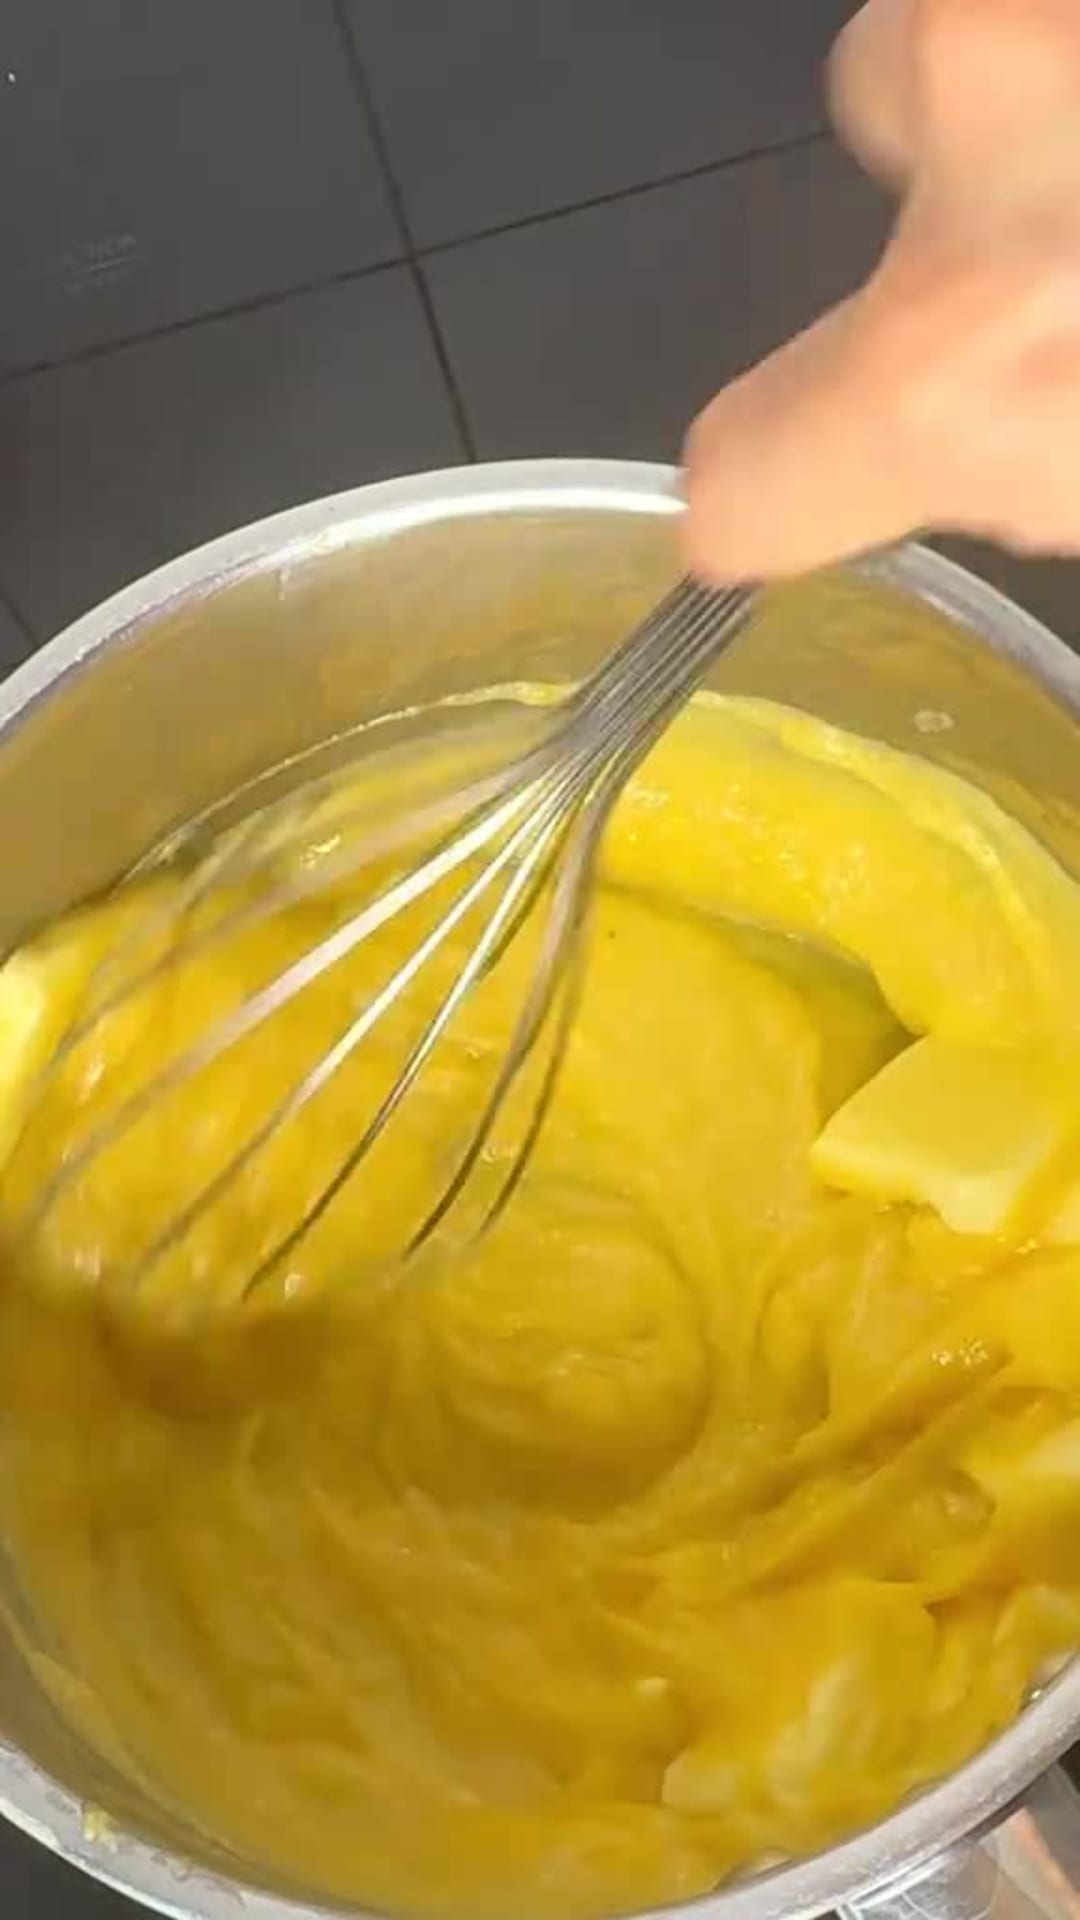
Cook the curd over low to medium-low heat while whisking constantly; it will thicken and coat your spoon when ready. Take it off the heat, whisk in the cubed butter until glossy, strain through a fine sieve, press plastic wrap on the surface, and chill the curd until set.
Step 5: Whip the cream
Chill a mixing bowl briefly, then whip the cold heavy cream to soft peaks; set this aside for folding. Cold cream whips quicker and gives a lighter texture to the cheesecake layer.
Step 6: Combine the cheesecake filling
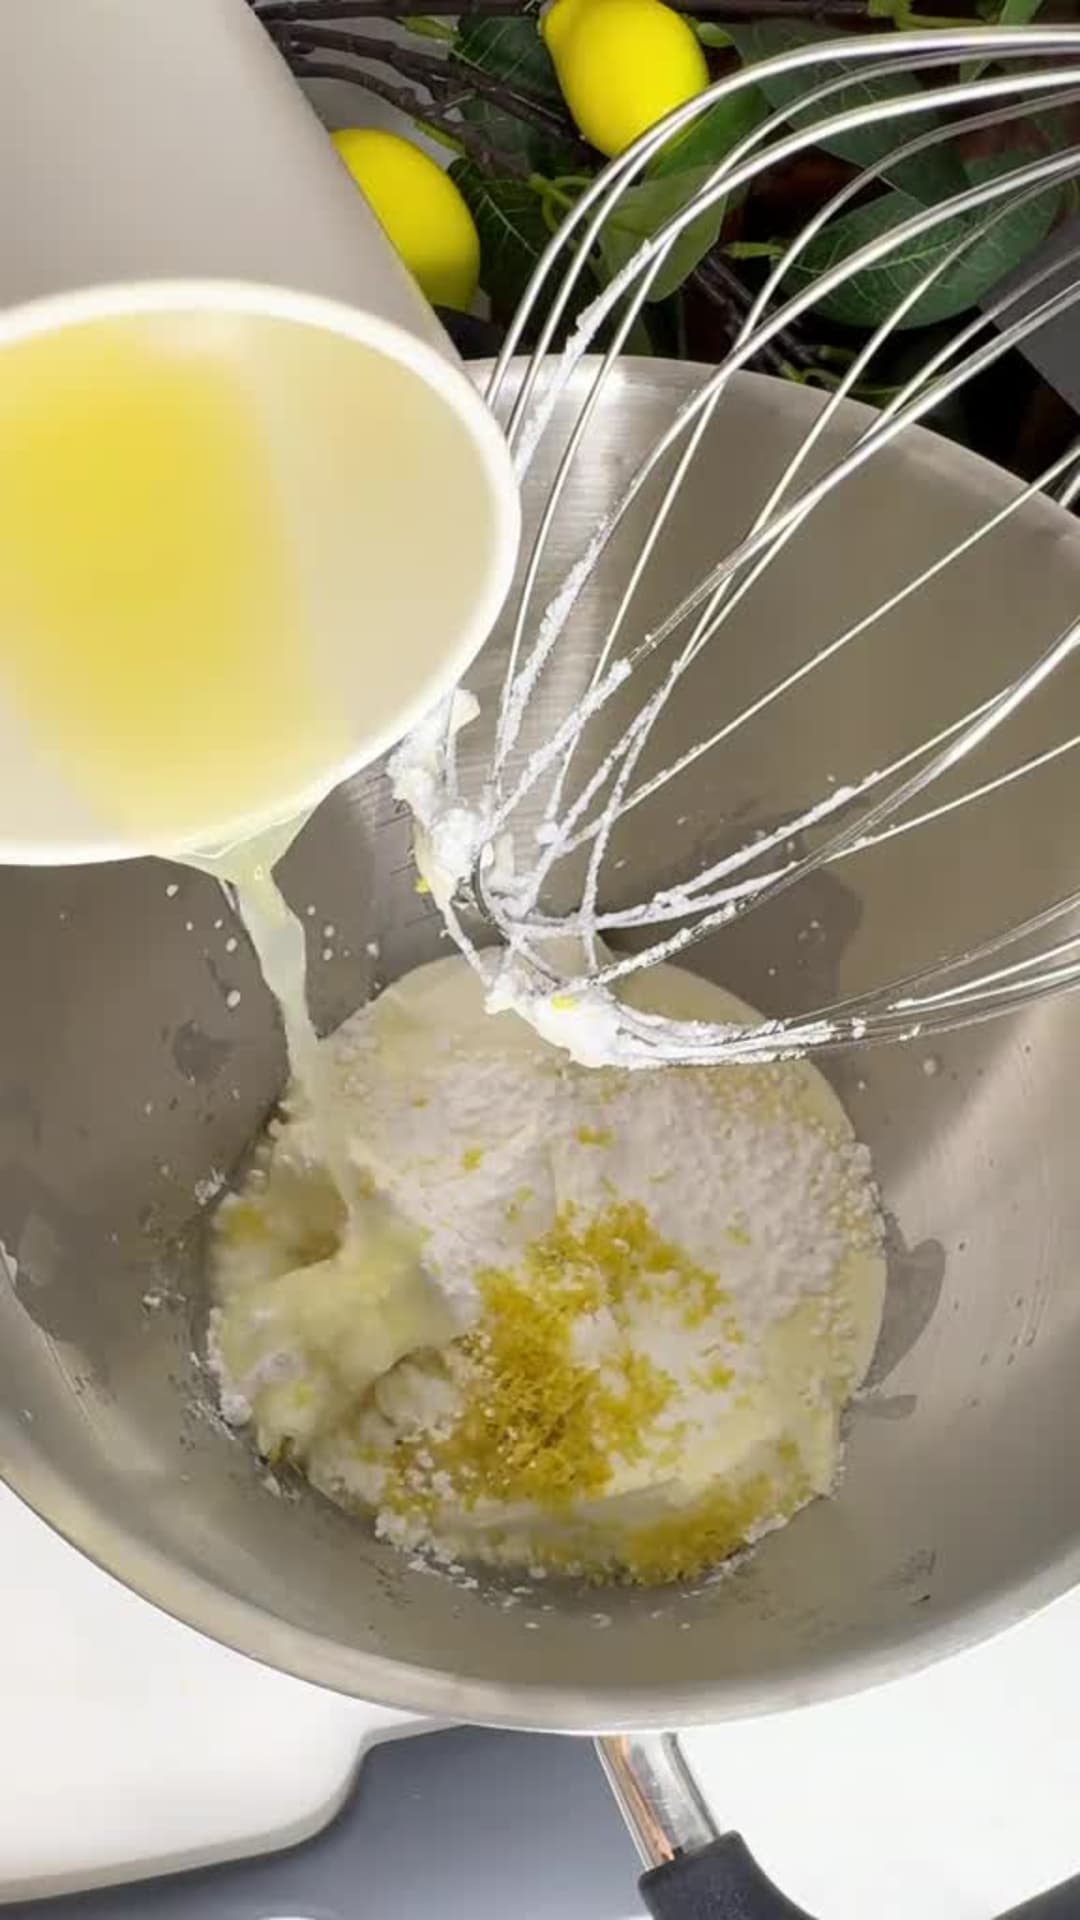
Beat room-temperature cream cheese and mascarpone with powdered sugar, lemon zest from one lemon, a splash of lemon juice, and vanilla until smooth and lump-free. Gently fold the whipped cream into this mixture until uniform and airy, taking care not to deflate it.
Step 7: Chill the cheesecake layer
Spread the cheesecake filling evenly over the chilled crust and smooth the top with an offset spatula or the back of a spoon. Return the pan to the refrigerator and chill until the layer feels set to the touch.
Step 8: Top with lemon curd
Give the chilled lemon curd a gentle stir, then spoon it over the set cheesecake in an even layer and smooth it out. Place the bars back in the fridge for the final chill so everything firms completely before cutting.
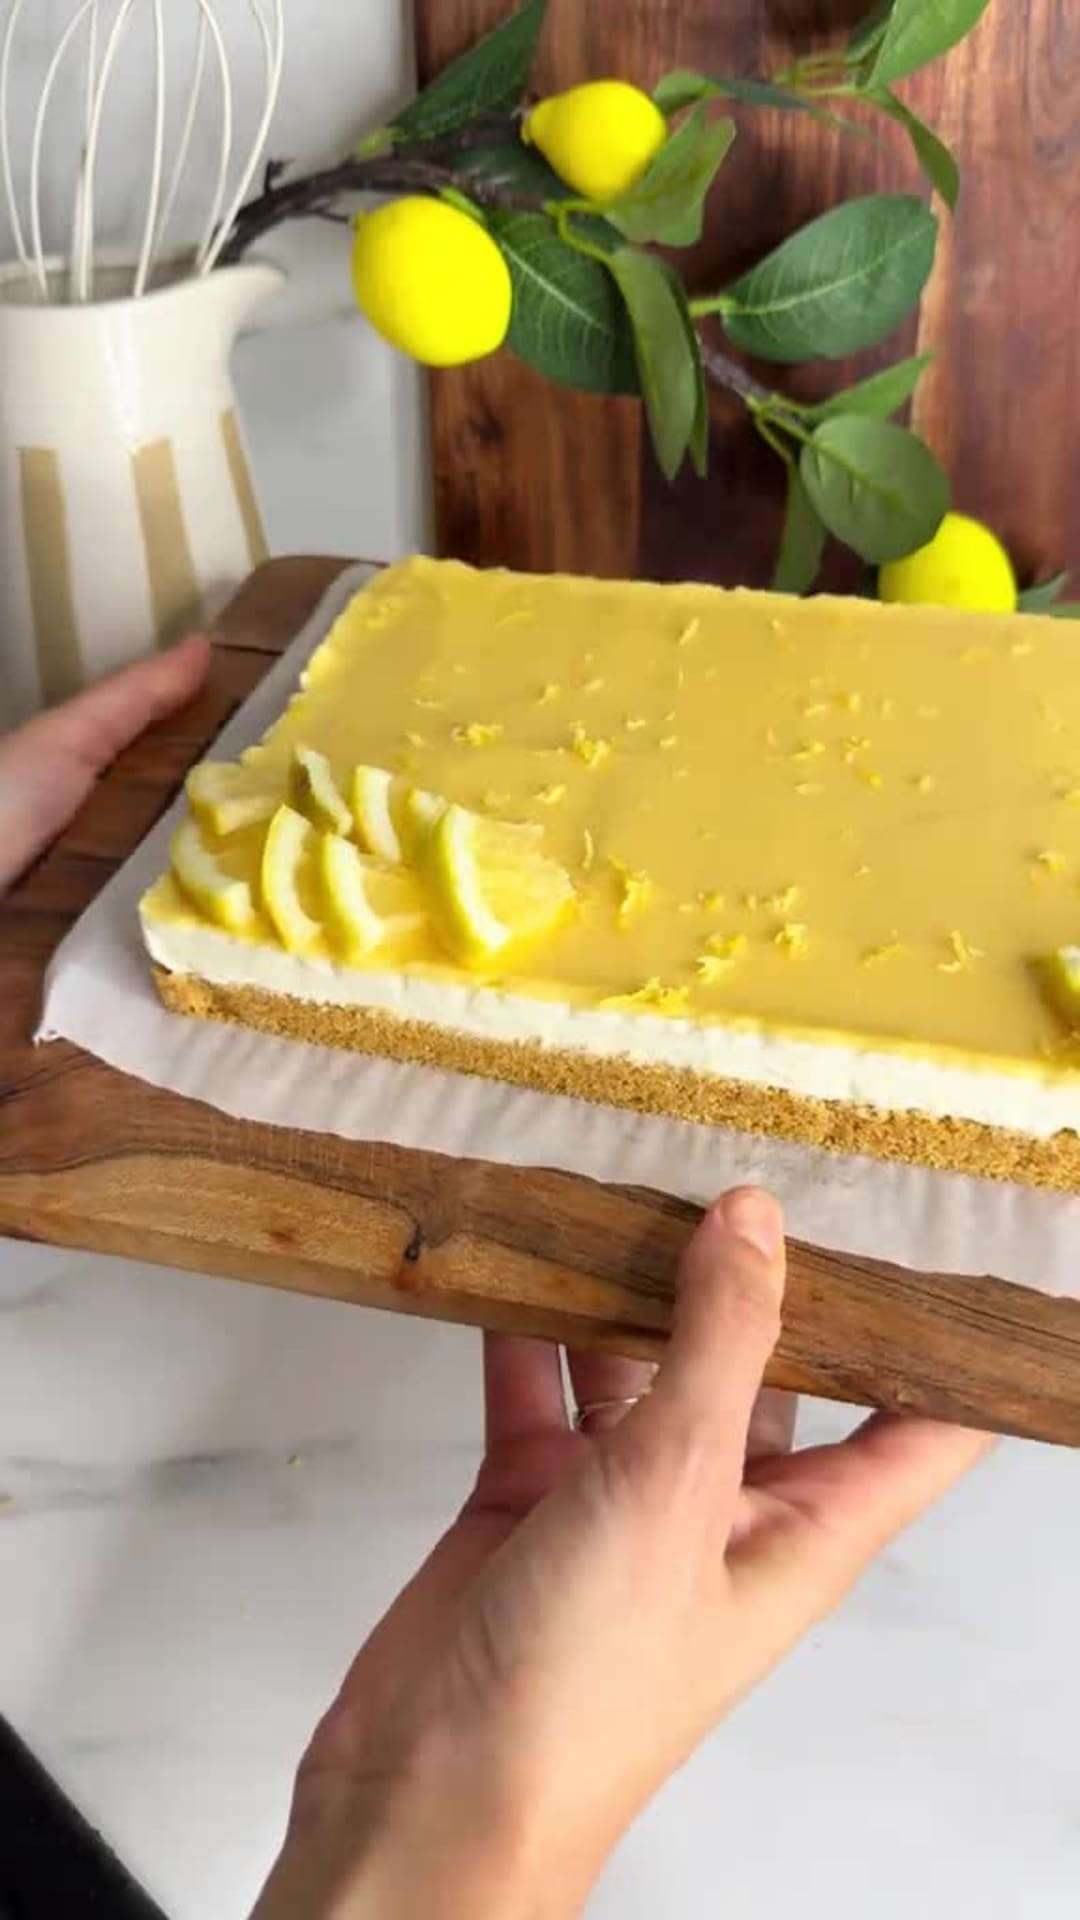
Step 9: Slice and serve
Lift the bars from the pan using the parchment overhang and trim edges for neat squares. Garnish with thin lemon slices and extra zest if you like, and wipe a knife with hot water between cuts for clean slices.
Tips and Mistakes to Avoid
– Keep the cream and bowls cold before whipping to reach soft peaks quickly and avoid overbeating.
– Don’t add the butter to the curd while it’s still boiling; remove from heat first so the butter emulsifies smoothly.
– If the cream cheese has lumps, beat it until smooth at room temperature before folding in the whipped cream.
Storage Tips
Store the bars covered in the refrigerator; they hold their texture well and travel fine for a picnic or potluck. For longer keeping, freeze individual squares wrapped tightly and thaw in the fridge before serving. These bars are great to make ahead for a family gathering or school pickup treat.
Variations and Substitutions
– Try swapping the butter biscuits for a different plain cookie to change the crust flavor.
– Add extra lemon zest to the filling for a brighter citrus hit.
– Gluten-free option: use a gluten-free crunchy cookie in place of the butter biscuits to make the crust gluten-free.
Why This Recipe Is The Real Deal
The specific technique of cooking the lemon curd with cornstarch and finishing it with cold butter is what makes these bars stand up neatly while staying glossy and bright. I learned this by trial and error; when I stopped skimping on the curd step, everything sliced cleanly and tasted bolder.
I also love the mascarpone-plus-cream-cheese filling because it gives richness without heaviness once folded with whipped cream. For a busy mom who forgets to preheat the oven half the time, this method reliably delivers a fresh-tasting dessert the family really asks for.
The Bottom Line
Give these bars a try when you need something lemony, creamy, and made with ingredients you probably already have; they’re forgiving, family-friendly, and great for last-minute dessert plans. Let me know how your batch turns out in the comments.
Billy Mackenzie
Founder of MerryDessert.com
Simple, joyful homemade desserts — sweet moments, made with love.
No-Bake Lemon Cheesecake Bars
Ingredients
Lemon curd
- 2 tbsp cornstarch
- 1/3 cup packed brown sugar
- 2 large eggs
- 2 egg yolks
- 1/2 cup fresh lemon juice (about 3 lemons)
- 6 tbsp unsalted butter, cubed
Crust
- 2 cups butter biscuits or Petit Beurre, finely crushed
- 6 tbsp unsalted butter, melted
- 1 pinch fine salt
Cheesecake filling
- 3/4 cup heavy whipping cream, chilled
- 8 oz mascarpone cheese, room temperature
- 8 oz cream cheese (Philadelphia-style), room temperature
- 1/2 cup powdered sugar
- 1 tbsp fresh lemon juice (about 1 lemon)
- 1 tsp vanilla extract
- 1 tsp lemon zest (from 1 lemon)
Citrus and garnish
- 4 lemons, zested and juiced (divided as noted above)
- as needed thin lemon slices and extra zest for garnish
Instructions
Preparation Steps
- Line a 9x9-inch square pan with parchment, leaving an overhang for easy removal. Place the pan in the fridge while you assemble the crust.
- Make the crust: pulse the biscuits in a food processor or smash in a zip-top bag until very fine. Mix the crumbs with the melted butter and a pinch of salt until evenly moistened. Press the mixture firmly into the bottom of the chilled pan in an even layer. Return the pan to the refrigerator to firm while you make the filling (about 15 minutes).
- Prepare the lemon curd: in a medium bowl whisk together the cornstarch, brown sugar, lemon zest (from two lemons), whole eggs and yolks, and 1/2 cup fresh lemon juice until smooth and no lumps remain. Transfer the mixture to a medium saucepan.
- Cook the curd over low to medium-low heat, stirring constantly with a whisk. It will thicken after several minutes; once it coats the back of a spoon and you can draw a line through it, remove from heat. Immediately whisk in the cubed butter until glossy and incorporated. Pour the curd through a fine-mesh sieve into a shallow bowl to remove any bits, press plastic wrap directly on the surface, and chill in the refrigerator for at least 30 minutes to set.
- While the curd cools, make the cheesecake layer: chill a mixing bowl and whisk or beaters for a few minutes. Whip the cold heavy cream to soft peaks and set aside.
- In a separate large bowl, beat the room-temperature cream cheese and mascarpone with the powdered sugar, lemon zest (from 1 lemon), 1 tablespoon lemon juice, and vanilla until smooth and free of lumps. Fold the whipped cream into the cheese mixture gently with a spatula until uniform and airy.
- Spread the cheesecake filling evenly over the chilled crust, smoothing the top with an offset spatula. Return the pan to the refrigerator and chill the cheesecake layer for about 60 minutes, until it feels set to the touch.
- Remove the chilled lemon curd briefly from the fridge, give it a gentle stir if needed, then spoon it over the set cheesecake in an even layer. Smooth the curd and return the bars to the refrigerator for a final chill of at least 90 minutes (or overnight) so everything firms completely.
- To serve, lift the bars from the pan using the parchment overhang. Trim the edges for neat squares, garnish with thin lemon slices and extra zest if desired. For clean slices, wipe a knife with hot water and dry between cuts.