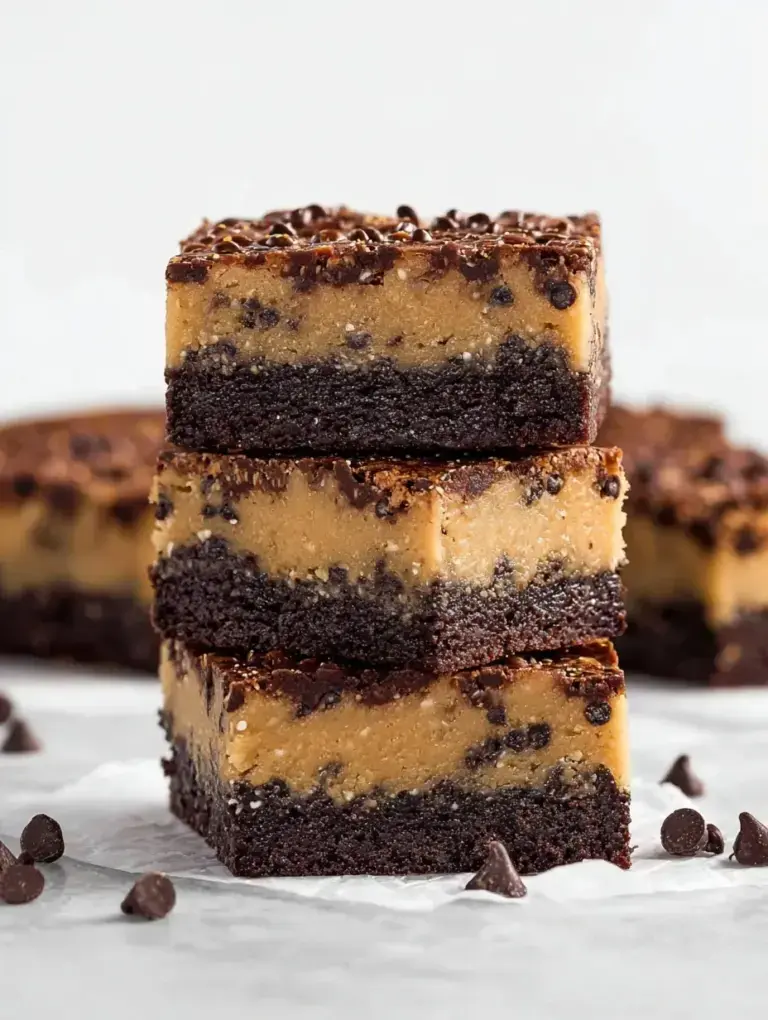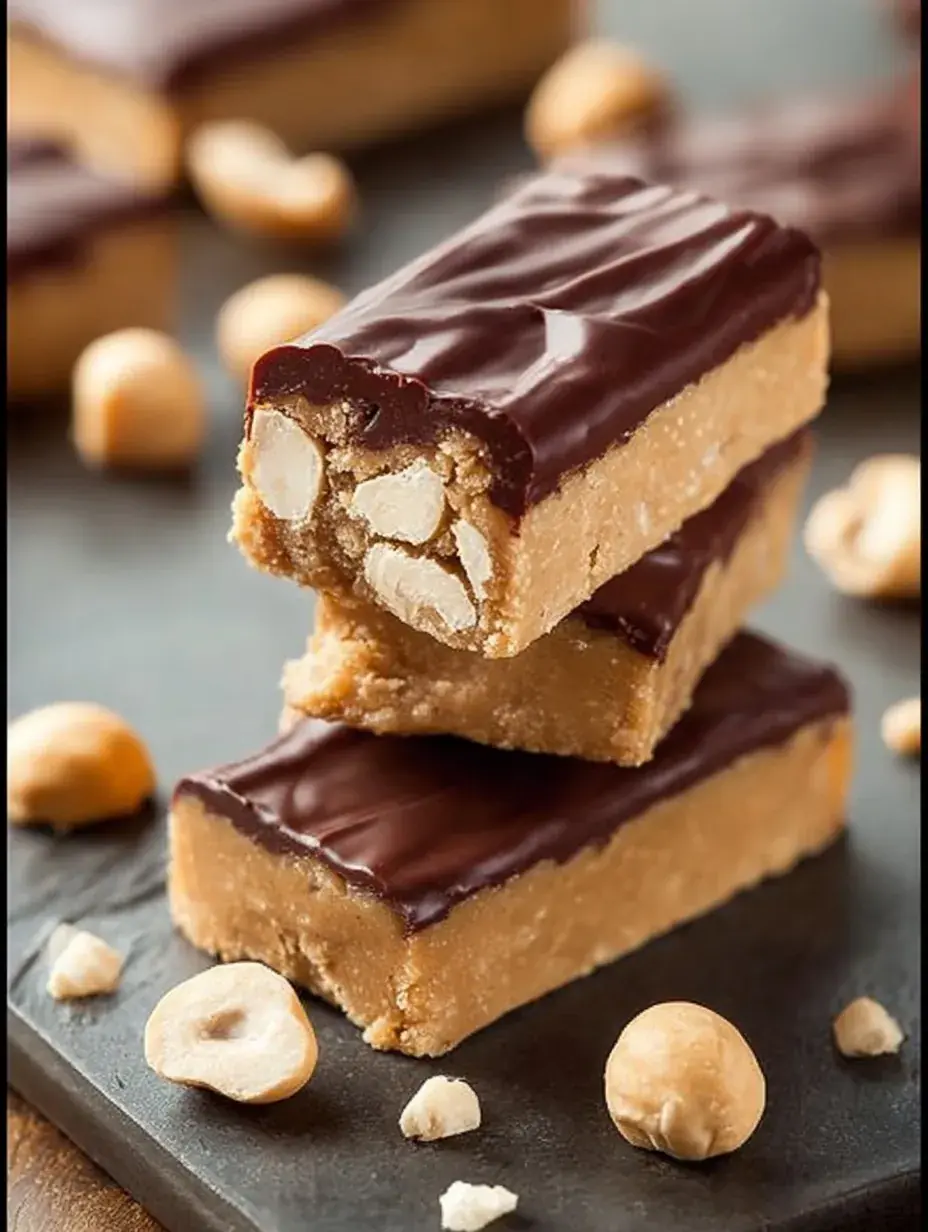
There is a specific kind of quiet that fills the kitchen on a Sunday afternoon when the light hits the counter just right. My daughter and I usually spend this time preparing for the busy week ahead, and lately, she has been my official taster for everything protein related. These bars came about because I wanted a snack that felt like a treat but actually kept us going during long afternoons.
Why You Will Love This Homemade Whey Protein Bars
I used to spend a small fortune on those fancy bars at the grocery store until I realized how many strange ingredients were hidden inside. Honestly, I just wanted something simple that tasted like real food and didn’t require me to turn on the oven when the house was already warm. This recipe has become a staple in our home because it fills that gap between lunch and dinner without any fuss.
The first few times I tried making these, I struggled with the texture being either too dry or far too sticky to handle. After testing this recipe five times, I learned that adding the liquid slowly is the secret to getting that perfect chewy bite. Now, my daughter can practically make these herself while I clean up the breakfast dishes.
What Makes This Homemade Whey Protein Bars Special
- Key feature: The texture is wonderfully dense and chewy without being overly sweet or chalky like many commercial versions.
- Key ingredient: Natural peanut butter acts as the primary binder and provides a rich, nutty base that balances the sweetness of the honey.
- Ease factor: This is a completely no-bake process which means you can have the dough ready in about fifteen minutes.
- Seasonal fit: I find myself making these year-round because they are just as good for a summer hike as they are for a quick winter breakfast.
- Kid-friendly note: Children love helping press the mixture into the pan and, of course, adding the chocolate chips is always the highlight.
The Best Homemade Whey Protein Bars Recipe
This is my go-to version of the recipe because it uses pantry staples I almost always have on hand. It is straightforward, honest food that makes our mornings much smoother when we are running out the door.
Ingredient Notes
- Rolled Oats: These provide the structure and a lovely rustic texture; avoid using instant oats as they can turn mushy.
- Whey Protein Isolate: This is what gives the bars their boost, and I personally prefer vanilla or unflavored to let the peanut butter shine.
- Natural Peanut Butter: Use the drippy kind that only contains peanuts and salt for the best mixing experience.
- Honey: This acts as our natural glue and sweetener, keeping everything held together firmly.
- Dark Chocolate Chips: A little bit of indulgence goes a long way here and adds a nice snap to the soft bar.
Instructions
- Prep the Pan. Line your square baking pan with parchment paper so that the edges hang over the sides. This makes it so much easier to lift the whole block out once it has set.
- Mix Dry Ingredients. In a large mixing bowl, whisk together the oats, protein powder, and salt. You want to make sure there are no large clumps of protein powder before you add the wet ingredients.
- Combine the Binders. Stir in the peanut butter and honey using a sturdy spatula. At first, it will look quite crumbly and you might think it won’t come together, but keep working it.
- Add Liquid Slowly. Pour in the almond milk one tablespoon at a time while you continue to stir. Stop as soon as you have a firm, thick dough that holds its shape when you squeeze a bit in your hand.
- Fold in Chocolate. Gently mix in the chocolate chips so they are scattered evenly throughout the dough. I sometimes press a few extra on top because my daughter thinks it looks prettier that way.
- Press and Chill. Transfer the mixture to the pan and press it down very firmly into an even layer. Pop the pan into the fridge for at least an hour to let the oats soften and the bars firm up.
Billy’s Tips and Mistakes to Avoid
- Do not pour all the milk in at once because different protein powders absorb liquid differently. Start slow to avoid a runny mess.
- I have found that using the bottom of a flat measuring cup to press the dough into the pan creates a much smoother and more professional-looking bar.
- If your peanut butter is very stiff, warm it up in the microwave for ten seconds to make it easier to incorporate.
- Make these on a Sunday night so they are perfectly chilled and ready for the Monday morning rush.
- Let your kids help with the pressing stage; it is a great sensory activity and they feel proud eating something they helped build.
Storage Tips
These bars stay fresh and delicious in an airtight container in the refrigerator for up to 10 days. I usually keep them in the fridge because they have the best chew when they are cold. You can also freeze them for up to 2 months if you wrap them individually in parchment paper and then place them in a freezer bag.
Variations and Swaps
- Swap the peanut butter for almond butter or sunflower seed butter if you have a nut allergy in the family.
- Add a teaspoon of cinnamon and some dried cranberries for a more autumnal, festive flavor profile.
- Use maple syrup instead of honey for a slightly different sweetness that works beautifully with the oats.
Why This Recipe Works Every Time
The balance of fiber from the oats and the healthy fats from the peanut butter makes these bars incredibly satisfying. They don’t give you that quick sugar crash that some snacks do, which is why I trust them for my family. The simplicity of the no-bake method means there is very little room for error as long as you watch the moisture levels.
One thing I learned the hard way is that the chilling time is not optional. The first time I tried to cut these after only twenty minutes, they just fell apart into sweet crumbs. Giving them that full hour in the fridge allows the oats to fully hydrate and bond with the other ingredients, creating that sturdy bar shape we want.
Ingredients
- 2 cups rolled oats
- 1 cup whey protein isolate powder
- 0.5 cup natural peanut butter
- 0.33 cup hone y
- 0.25 cup unsweetened almond milk
- 0.25 cup dark chocolate chips
- 0.5 teaspoon sal t
Instructions
- Line an 8x8 inch square pan with parchment paper leaving an overhang on two sides.
- In a large bowl, whisk together the rolled oats, protein powder, and salt until evenly distributed.
- Add the peanut butter and honey to the dry ingredients, mixing with a heavy spatula until a crumbly texture is achieved.
- Incorporate the almond milk one tablespoon at a time, stirring constantly until a thick, firm dough forms that holds its shape.
- Fold in the dark chocolate chips until distributed.
- Transfer the mixture to the prepared pan and press down firmly using a flat-bottomed measuring cup to create an even layer.
- Refrigerate the pan for at least 60 minutes to allow the oats to hydrate and the bars to set.
- Lift the parchment paper to remove the slab from the pan and slice into 10 equal rectangular bars.
- Store in an airtight container in the refrigerator for up to 10 days.
Frequently Asked Questions
Can I use a different type of protein powder?
Yes, you can use plant-based protein, but keep in mind it often absorbs more liquid than whey. You might need to add an extra splash of almond milk to get the right consistency. Always add it one tablespoon at a time.
Why are my protein bars falling apart?
This usually happens if the mixture is too dry or if they haven’t chilled long enough. Make sure you press the dough firmly into the pan and give them at least sixty minutes in the refrigerator to set completely.
Do I have to keep these in the refrigerator?
While they can sit out for a few hours in a lunchbox, they are best kept in the fridge to maintain their firm texture. At room temperature, the natural oils in the peanut butter can make them a bit too soft.
The Bottom Line
There is something so rewarding about making your own snacks from scratch and knowing exactly what went into them. These bars are a perfect example of how a few simple ingredients can turn into something that makes daily life just a little bit easier. Sweet moments don’t have to be complicated. Let’s make something wonderful together.
I hope these bars bring a little extra energy to your busy afternoons this week. Happy no-baking! Billy
Billy