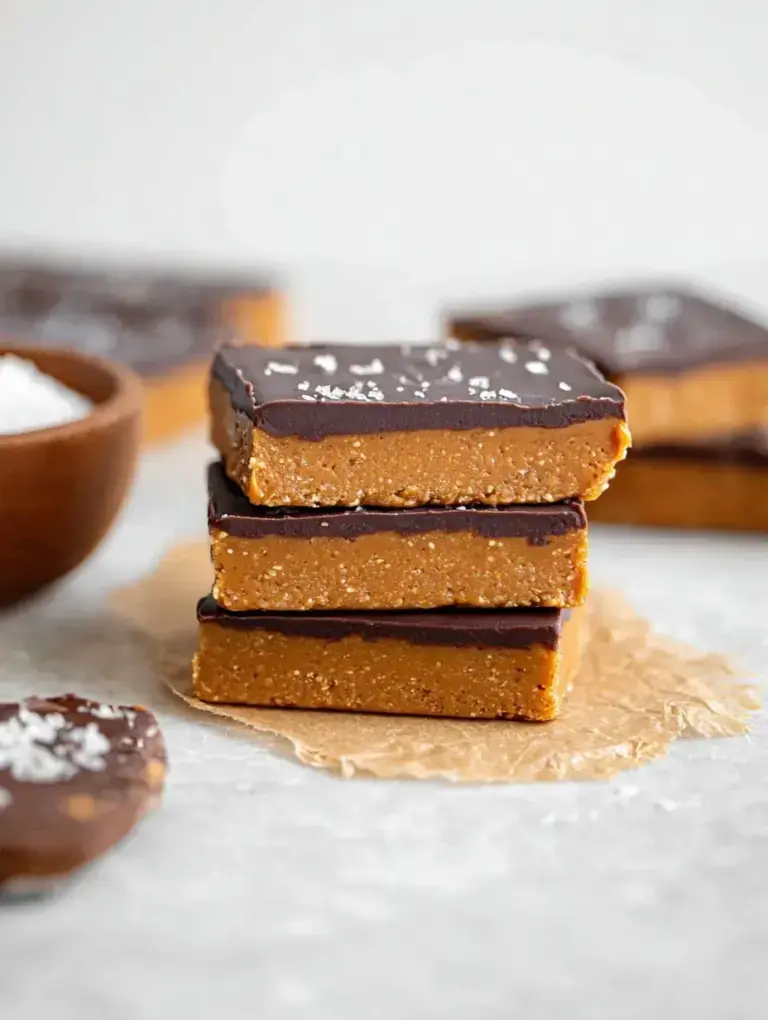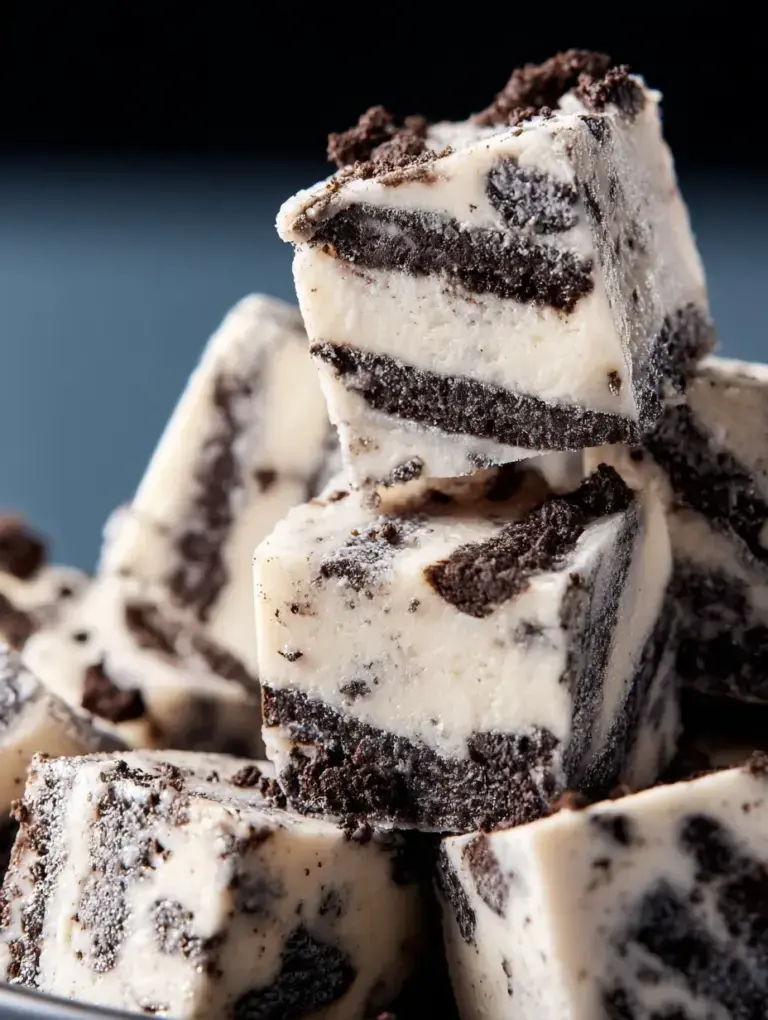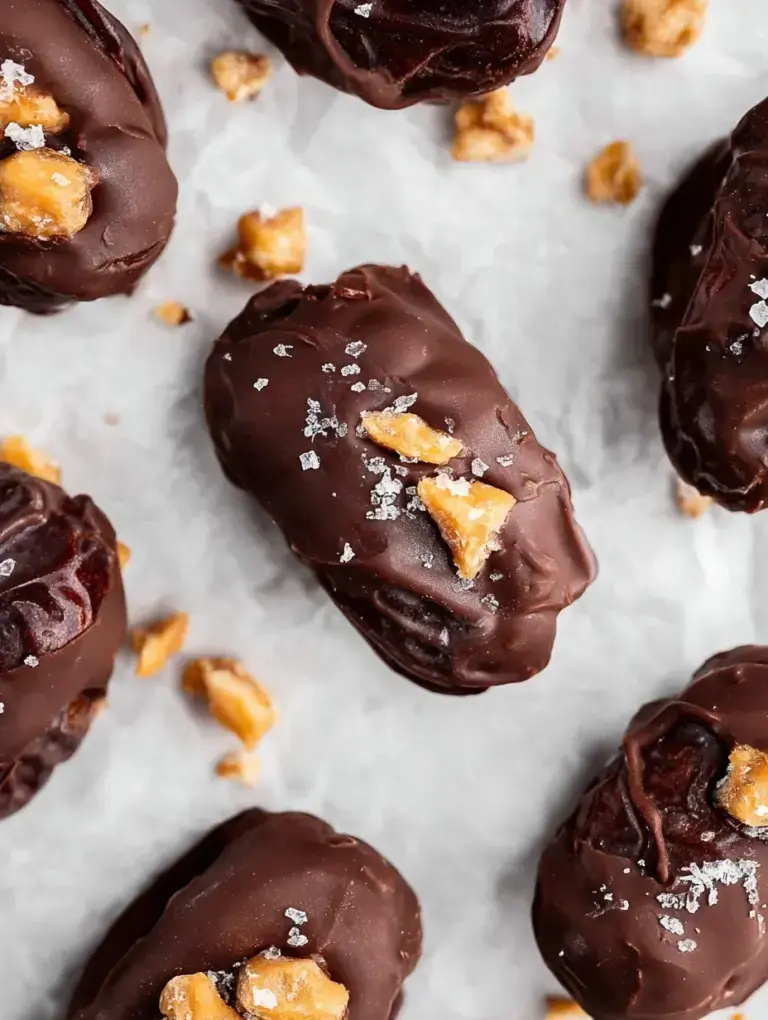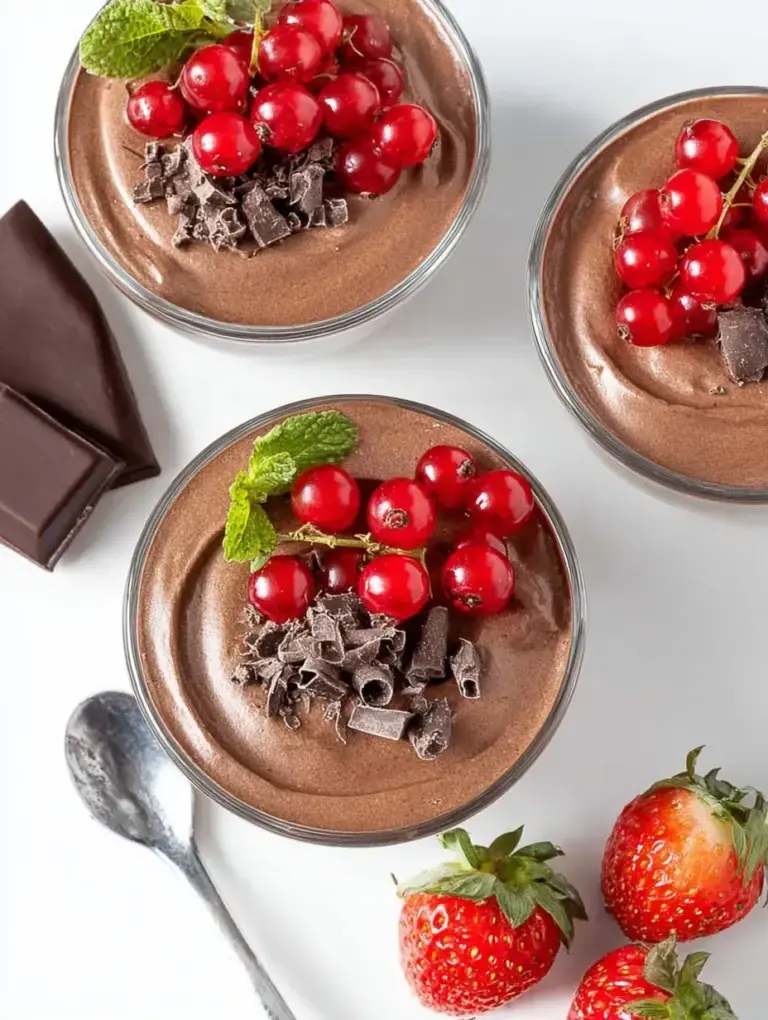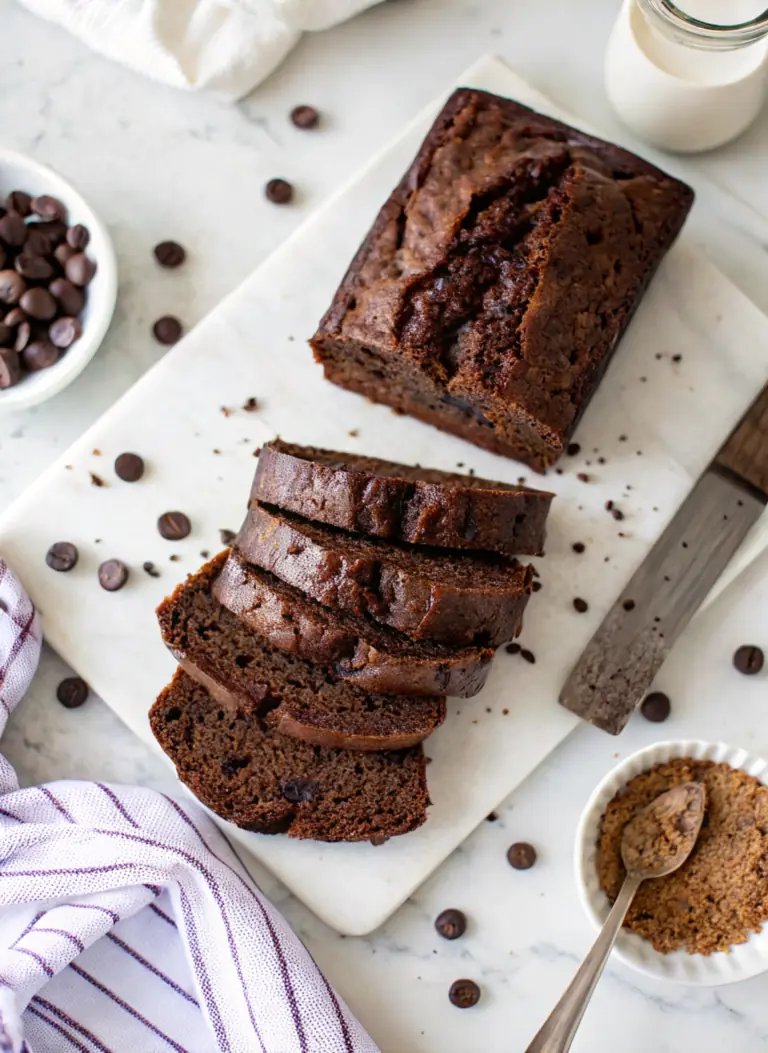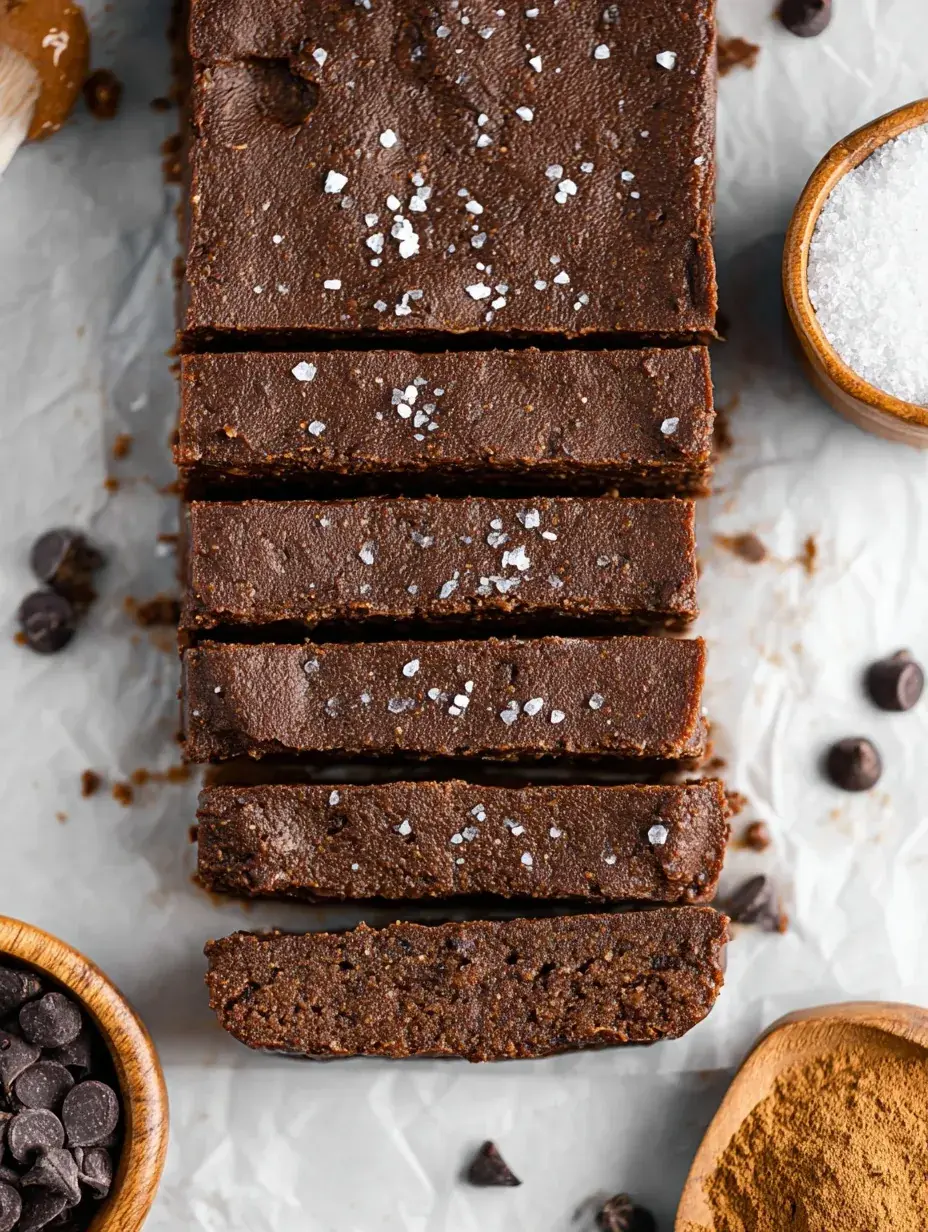
The scent of rich, dark cocoa powder always seems to hang in the air the moment I open the pantry door on a busy afternoon. My daughter usually comes running when she hears the crinkle of the chocolate chip bag, hoping for a few stray pieces. These Brownie Protein Bars are our favorite way to satisfy that chocolate craving without making a whole mess in the oven.
Why You Will Love This Brownie Protein Bars
I remember the first time I tried making my own snacks instead of buying the boxed ones at the store. I wanted something that felt like a treat but actually kept us going during long park trips or busy school mornings. Personally, I have found that most store-bought bars are either too chalky or way too sweet, so I set out to make a version that tasted like actual fudge.
After testing this recipe four times, I finally figured out that the almond butter is what gives it that perfect, chewy bite. It feels so good knowing exactly what is inside every bar my daughter grabs from the fridge.
What Makes This Brownie Protein Bars Special
- Key feature: A dense, fudge-like texture that feels more like a dessert than a simple protein snack.
- Key ingredient: Chocolate protein powder provides the base and ensures these actually keep you full.
- Ease factor: This is a completely no-bake recipe, making it perfect for when you do not want to turn on the oven.
- Seasonal fit: I make these year-round, but they are a lifesaver during the busy holiday season when we need quick energy.
- Kid-friendly note: Children love pressing the dough into the pan and helping by licking the spoon since there are no raw eggs.
The Best Brownie Protein Bars Recipe
Making these bars has become a Sunday ritual in our house because they stay fresh all week long. It is a simple process that honestly takes less time than a trip to the grocery store.
Ingredient Notes
- Chocolate Protein Powder: This provides the main flavor and structure, so use a brand you actually enjoy the taste of.
- Oat Flour: I usually just pulse some rolled oats in the blender until they are fine and powdery for a rustic feel.
- Almond Butter: Make sure it is the creamy kind so the bars do not turn out too dry or crumbly.
- Maple Syrup: This adds just enough natural sweetness to balance the bitter cocoa powder.
- Almond Milk: Use this sparingly to help the dough come together without getting it too sticky to handle.
Instructions
- Prep Pan. Line an 8×4 inch loaf pan with parchment paper so you can easily lift the bars out later. Make sure the paper hangs over the edges for a better grip.
- Mix Dry. Whisk the protein powder, oat flour, and cocoa together in a large bowl until the color is uniform. You want to break up any large clumps of protein powder now.
- Add Wet. Stir in the almond butter and maple syrup until the mixture looks like thick, dark crumbs. It might seem too dry at first, but keep stirring until it is well incorporated.
- Adjust Texture. Add the almond milk one tablespoon at a time until the dough is thick and pliable. It should feel like heavy play-dough and hold its shape when pressed firmly.
- Fold Chips. Gently stir in the mini chocolate chips so they are scattered throughout the dough. These add a nice little crunch to every bite.
- Set Bars. Press the mixture firmly into the pan and chill in the fridge for at least 30 minutes. Slicing them while they are cold makes for much cleaner edges.
Billy’s Tips and Mistakes to Avoid
- Do not add all the milk at once or the bars might turn into a sticky mess that will not set properly.
- I learned that using a flat-bottomed glass helps press the dough down much more evenly than using your hands.
- If your protein powder is already very sweet, you can slightly reduce the maple syrup to suit your personal taste.
- Let them sit in the fridge for the full 30 minutes; if you cut them too early, they might fall apart.
- Use mini chocolate chips rather than full-sized ones so they distribute better in this dense dough.
Storage Tips
Keep these in an airtight container in the refrigerator for up to 7 days. If you want them to last longer, they freeze beautifully for up to 60 days when wrapped individually in plastic wrap. I like to eat mine straight from the fridge because the texture is much more fudge-like when it is cold.
Variations and Swaps
- Swap the almond butter for peanut butter if you want a classic chocolate and peanut butter flavor combination.
- For a gluten-free version, just ensure your oat flour is certified gluten-free at the store.
- Sprinkle a little flaky sea salt on top before chilling to make them feel a bit more like a gourmet treat.
Why This Recipe Works Every Time
These bars work because they rely on simple ratios that produce a consistent, chewy result every time you make them. The combination of healthy fats from the almond butter and the fiber in the oats makes them much more satisfying than a standard brownie.
On my second batch, I discovered that if the dough feels too sticky, a tiny bit more oat flour fixes it instantly. It is a very forgiving recipe that I have adjusted many times based on what I had in the pantry that day.
Ingredients
- 1 cup chocolate whey protein powder
- 1/2 cup oat flour
- 1/4 cup unsweetened cocoa powder
- 1/2 cup creamy almond butter
- 1/4 cup maple syrup
- 1/4 cup unsweetened almond milk
- 1/4 cup mini dark chocolate chips
Instructions
- Line an 8x4 inch loaf pan with parchment paper.
- In a large mixing bowl, whisk together the chocolate protein powder, oat flour, and cocoa powder until well combined.
- Add the almond butter and maple syrup to the dry ingredients and stir until a crumbly dough forms.
- Gradually add almond milk one tablespoon at a time, mixing until the dough is thick and pliable, similar to brownie batter.
- Fold in the chocolate chips.
- Press the mixture firmly and evenly into the prepared loaf pan.
- Refrigerate for at least 30 minutes to set.
- Lift the bars out of the pan using the parchment paper and slice into 8 equal bars.
Frequently Asked Questions
Can I use a different type of protein powder?
Yes, but keep in mind that whey blends tend to have the best texture for this specific recipe. Plant-based powders often absorb more liquid, so you might need a splash more almond milk to get it right.
Do these bars need to stay refrigerated?
They are best kept cold to maintain that dense and chewy texture we all love. If left out in a warm kitchen for too long, they can become quite soft and lose their shape.
Can I make these without a loaf pan?
You can definitely press them into a small square container or even roll them into bite-sized protein balls if that is easier for you. The flavor stays exactly the same no matter the shape.
The Bottom Line
These Brownie Protein Bars are proof that you can have a treat that makes you feel good too. My daughter and I love having a batch ready for busy mornings or quiet afternoons at home together. Sweet moments don’t have to be complicated. Let’s make something wonderful together.
I hope these bring a little bit of chocolatey joy to your kitchen this week. Happy snacking from my home to yours. Billy
Billy