The kitchen smells like warm chocolate and melted butter before we even start mixing. My daughter usually stands by the counter with her favorite wooden spoon, ready to help whisk the cocoa powder. It is the kind of aroma that makes a house feel instantly cozy on a quiet Sunday afternoon.
Why You Will Love This Homemade Chocolate Cake
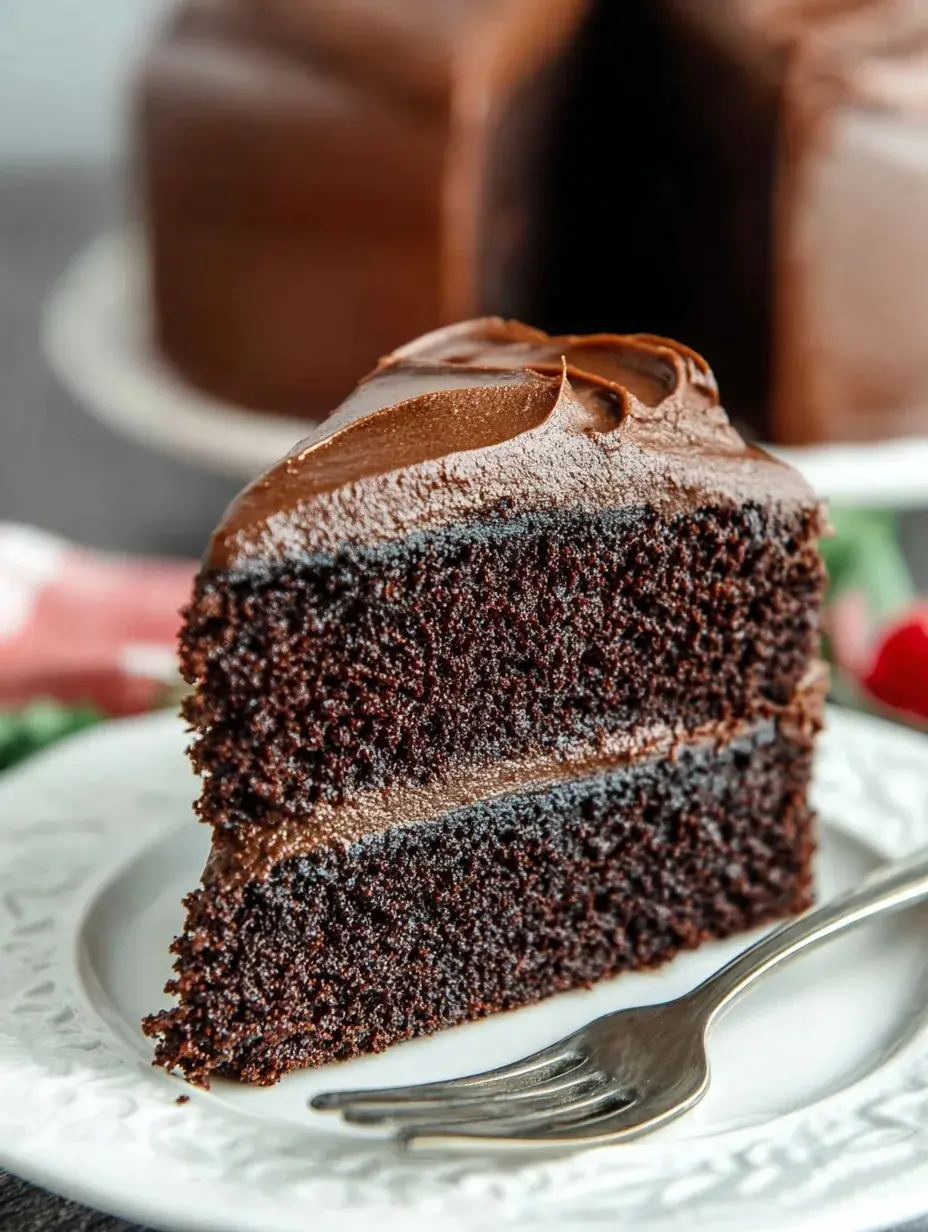
This recipe is my absolute favorite for the holiday season because it feels so festive without being complicated. When the weather turns cold and we are decorating the house, a warm slice of Homemade Chocolate Cake is exactly what we need after a long day of hanging lights.
Personally I have found that this recipe is the best companion for a snowy evening. It is sturdy enough for a tall layer cake but soft enough to enjoy with just a dusting of powdered sugar while watching Christmas movies.
What Makes This Homemade Chocolate Cake Special
- Blooming the Cocoa: Using boiling water at the end releases the full intensity of the chocolate flavor for a deeper taste.
- Buttermilk Crumb: The acidity in the buttermilk reacts with the leavening agents to create an incredibly tender and soft texture.
- Simple Pantry Staples: You likely already have every single ingredient you need in your kitchen right now.
- Perfectly Level Layers: This batter bakes up so evenly that you do not need to do much trimming before you start frosting.
The Best Homemade Chocolate Cake Recipe
I have tried dozens of versions over the years, but I always come back to this one. It is the recipe I reach for every single birthday in our family because it never lets me down and always stays moist.
Ingredient Notes
- Cocoa Powder: Use a high-quality unsweetened cocoa for the deepest flavor and the richest color in your cake.
- Buttermilk: This is the secret to a moist crumb, and I have found it makes a huge difference compared to regular milk.
- Boiling Water: It might seem strange to add hot water to cake batter, but it melts the cocoa and creates a smooth finish.
- Vegetable Oil: I prefer oil over butter here because it keeps the cake soft even if you store it in the refrigerator.
- Eggs: Make sure these are at room temperature so they incorporate easily into the batter without overmixing.
Instructions
- Prep and Heat. Start by preheating your oven to 350°F and preparing your two round pans with grease and flour. This ensures your cake layers pop right out after they have cooled for a few minutes.
- Whisk Dry Ingredients. Combine the flour, sugar, cocoa, and leavening agents in a large bowl until the mixture looks like uniform dark sand. I like to use a whisk to make sure there are no large lumps of cocoa left in the bowl.
- Add Wet Ingredients. Pour in the buttermilk, oil, eggs, and vanilla directly into the dry mixture. Mix these on medium speed for about two minutes until the batter is thick, glossy, and well combined.
- Stir in Water. Carefully pour the boiling water into the bowl and stir it in by hand using a spatula. The batter will look very thin and watery, but I promise that is exactly how it should look.
- Bake the Layers. Divide the liquid batter between your pans and bake for about 30 to 35 minutes. You will know they are done when a toothpick comes out clean or with just a few moist crumbs attached.
- Cool and Invert. Let the pans sit on a wire rack for ten minutes before trying to remove the cakes. Run a thin knife around the edge to help them release cleanly onto the rack to cool completely.
Billy’s Tips and Mistakes to Avoid
- Do not overbake the cakes or they will lose that signature moist texture. I usually start checking mine at the 28-minute mark just to be safe.
- The boiling water is non-negotiable for the best chocolate flavor. I once tried using warm tap water and the result was nowhere near as rich or smooth.
- Make sure your baking soda is fresh so the cake rises properly. If your cake comes out flat, your leavening agents might be expired.
- Wait until the layers are completely cold before you even think about frosting them. A warm cake will melt your buttercream and create a messy disaster.
- Grease your pans thoroughly and use a circle of parchment paper at the bottom if you want extra insurance against sticking.
Storage Tips
This cake stays fresh at room temperature for up to 3 days if kept in an airtight container or under a cake dome. If you want to keep it longer, it lasts in the refrigerator for about 5 days. You can also freeze the unfrosted layers for up to 3 months by wrapping them tightly in plastic wrap and aluminum foil.
Variations and Swaps
- Coffee Twist: Swap the boiling water for hot brewed coffee to make the chocolate taste even more intense and dark.
- Dairy-Free: Use a plant-based milk with a teaspoon of lemon juice added as a quick substitute for the buttermilk.
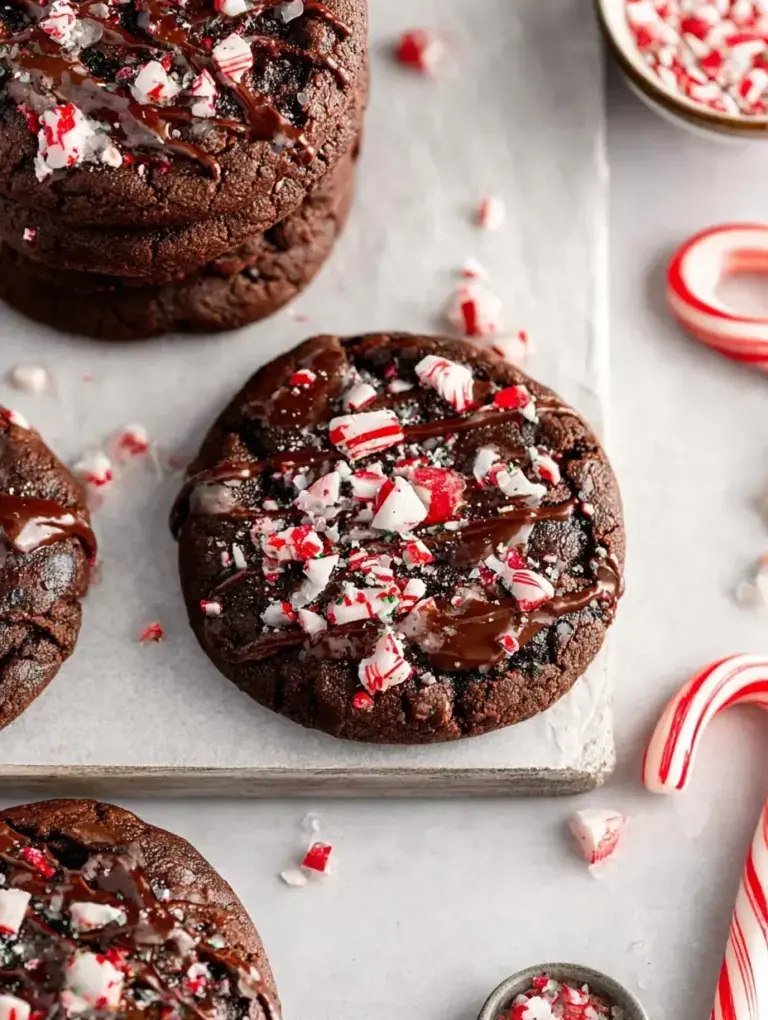
- Festive Topping: My daughter loves adding crushed candy canes or festive sprinkles to the frosting during the month of December.
Why This Recipe Works Every Time
The combination of oil and buttermilk creates a fat content that stays liquid even at cooler temperatures. This is why the cake feels so soft on your tongue compared to butter-based cakes that can sometimes feel stiff or dry.
I learned the hard way that mixing the boiling water in by hand is much better than using the electric mixer. The first time I used the mixer for that step, I splashed hot batter all over my favorite apron and the kitchen counter.
Ingredients
- 2 cups all -purpose flour
- 2 cups granulated sugar
- 3/4 cup unsweetened cocoa powder
- 2 teaspoons baking soda
- 1 teaspoon baking powder
- 1 teaspoon sal t
- 1 cup buttermilk , room temperature
- 1/2 cup vegetable oil
- 2 large eggs , room temperature
- 2 teaspoons vanilla extract
- 1 cup boiling water
Instructions
- Preheat oven to 350°F (175°C). Grease and flour two 9-inch round cake pans.
- In a large mixing bowl, whisk together the flour, sugar, cocoa, baking soda, baking powder, and salt until no lumps remain.
- Add the buttermilk, vegetable oil, eggs, and vanilla extract to the dry ingredients.
- Mix on medium speed with an electric mixer or whisk for 2 minutes until well combined.
- Reduce speed and carefully pour in the boiling water. Stir by hand until the batter is smooth (batter will be thin).
- Divide the batter evenly between the two prepared cake pans.
- Bake for 30 to 35 minutes, or until a wooden toothpick inserted into the center comes out clean.
- Cool the cakes in their pans for 10 minutes on a wire rack.
- Run a knife around the edges and invert the cakes onto the racks to cool completely before frosting.
Frequently Asked Questions
Can I use this recipe for cupcakes?
Yes, this batter works beautifully for cupcakes and usually makes about 24 of them. Just reduce the baking time to around 18 to 22 minutes and check them with a toothpick.
Why is my chocolate cake dry?
Dryness usually comes from measuring the flour too heavily or baking it for too long. Try the spoon-and-level method for your flour next time to keep the crumb light and airy.
Can I use Dutch-processed cocoa powder?
This recipe specifically uses baking soda, so natural cocoa powder works best for the chemical reaction. Dutch-processed can be used, but the rise might be slightly less fluffy than the original version.
The Bottom Line
This is the only Homemade Chocolate Cake you will ever need in your recipe box. It is simple, reliable, and brings a little bit of magic to any kitchen table. Sweet moments don’t have to be complicated. Let’s make something wonderful together.
I hope your kitchen fills with the same cozy chocolate aroma that mine does every time I bake this. Happy holiday baking from my family to yours. Billy
Billy