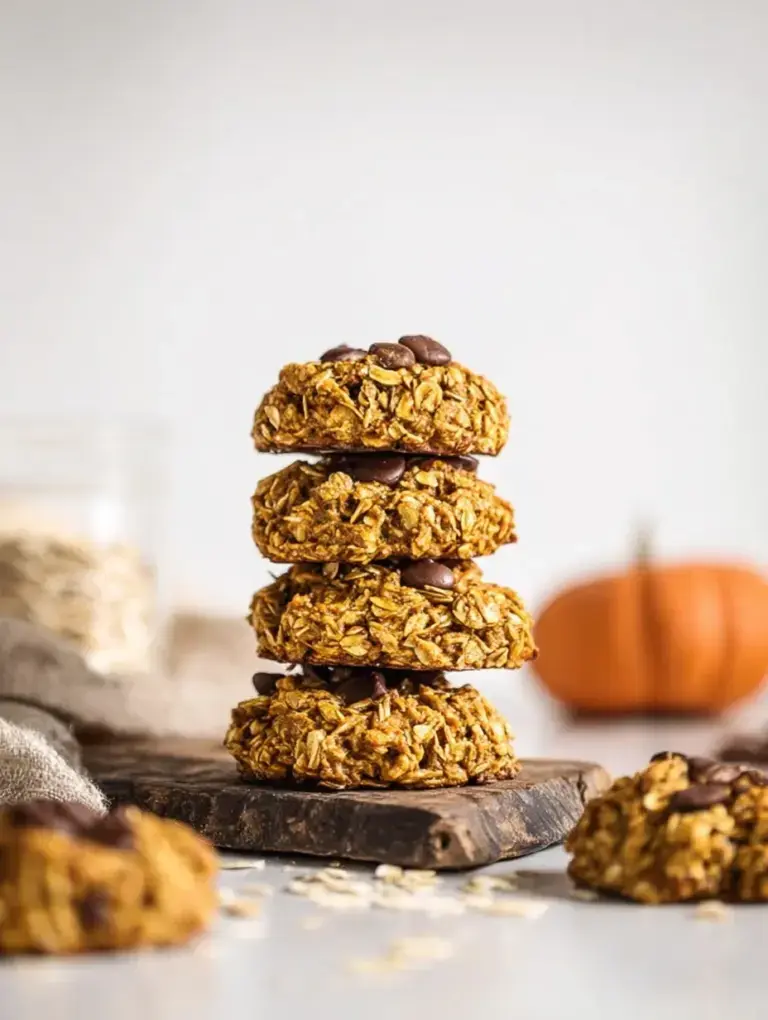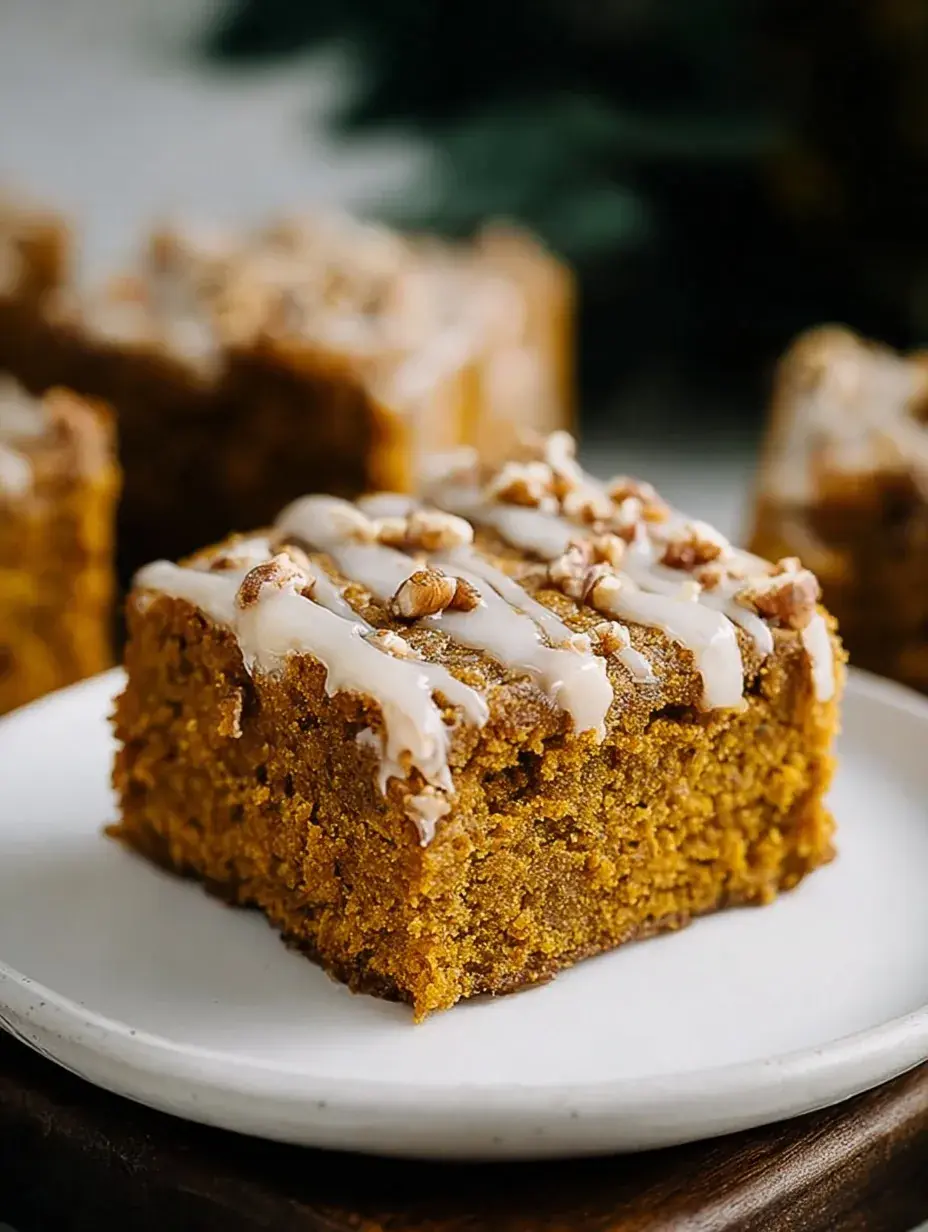
I honestly made three batches of these in one week because my daughter kept sneaking them from the cooling rack before I could even take a photo. I realized pretty quickly that keeping a healthy snack in the house is much harder when it tastes like a treat. It is one of those rare moments where I do not mind the kitchen being a mess because the smell of cinnamon and pumpkin is just so comforting.
Why You Will Love This Healthy Pumpkin Bars
These bars are the first thing I make as soon as the air turns crisp and the leaves start to crunch under my boots. Fall always feels like a race to find something cozy that does not leave me feeling sluggish after a mid-afternoon snack. They capture that specific October magic without being overly sweet, making them the perfect companion for a hot cup of tea while we watch the rain from the porch.
I love that these fit into those busy holiday mornings when we are rushing out the door to see family. Last year, I brought a container of these to a local harvest festival and they were gone in minutes. It feels good knowing I am sharing something made with real ingredients like oat flour and maple syrup during a season that is usually so full of heavy sugars.
What Makes This Healthy Pumpkin Bars Special
- Oat Flour Texture: Using oat flour gives these a dense, satisfying crumb that reminds me of a soft muffin.
- Naturally Sweetened: The combination of pumpkin and maple syrup means we skip the white sugar entirely while keeping that deep autumn flavor.
- One-Bowl Simplicity: I usually end up with a sink full of dishes, but this recipe is so straightforward that my daughter can help without making a huge disaster.
- Fiber-Rich Pumpkin: Using a whole can of pumpkin puree makes these incredibly moist and much more filling than a standard cookie.
- Dark Chocolate Balance: A handful of dark chocolate chips adds just enough richness to make these feel special without being a dessert.
The Best Healthy Pumpkin Bars Recipe
I first tried making these when I wanted a snack that felt like a hug but was actually good for us. My daughter calls them pumpkin cake blocks and honestly, I do not correct her because they really do feel that indulgent.
Ingredient Notes
- Canned Pumpkin: Make sure it is the plain pumpkin puree and not the pie filling with added spices.
- Oat Flour: You can buy this or just blitz some rolled oats in your blender until they look like fine sand.
- Maple Syrup: I always use the real stuff because the flavor is so much richer than the imitation syrups.
- Pumpkin Pie Spice: This is the secret to that warm smell that fills the whole house while these are in the oven.
- Coconut Oil: Melted butter works too if you prefer, but I find the coconut oil keeps the bars really tender.
Instructions
- Prep the Pan. Start by preheating your oven and greasing your square pan so nothing sticks later. You want a light coating of oil or butter across the bottom and sides for an easy release.
- Whisk the Wet. Combine the pumpkin, eggs, syrup, oil, and vanilla in your favorite big bowl. Mix it until everything looks smooth, glossy, and bright orange.
- Sift the Dry. In a separate bowl, get your oat flour and spices together to get rid of any clumps. This helps the baking soda distribute evenly so you do not get any salty bites in the finished bars.
- Fold the Batter. Gently stir the dry ingredients into the pumpkin mixture with a spatula. Stop as soon as you do not see any white flour streaks left in the bowl.
- Add the Chips. Sprinkle in those dark chocolate chips and give it one last quick swirl. I usually save a few extra to press into the top before baking for a prettier look.
- Bake and Cool. Spread the batter into your pan and bake until a toothpick comes out clean. Let them sit on a rack for a bit so they firm up before you try to slice them.
Billy’s Tips and Mistakes to Avoid
- Wait for the cool: If you cut these while they are hot, they might crumble a bit since oat flour needs time to set.
- Spoon and level: When measuring your oat flour, do not pack it into the cup or the bars will be too dry.
- Check your soda: Make sure your baking soda is fresh so you get that lovely little lift in the texture.
- Parchment paper trick: I like to leave a little overhang of paper so I can lift the whole block out once it is cool.
- Let kids help: This is a great recipe for little ones to help whisk because the batter is very forgiving.
Storage Tips
Keep these in an airtight container at room temperature for up to 3 days. If you want them to last longer, they stay fresh in the fridge for about 6 days. You can also freeze individual bars for up to 1 month, which is perfect for quick school lunches.
Variations and Swaps
- Try adding a handful of chopped walnuts or pecans for a little extra crunch that pairs well with the pumpkin.
- For a dairy-free version, just ensure your dark chocolate chips are vegan-friendly or leave them out.
- My daughter likes to add a tiny sprinkle of flaky sea salt on top of the chocolate before they go in the oven.
Why This Recipe Works Every Time
The beauty of these bars is how they stay incredibly moist for days without needing any butter or refined flour. I have found that the pumpkin puree does all the heavy lifting for the texture, creating a soft bite that is not gummy or dense.
I actually learned the hard way that using pumpkin pie filling instead of pure pumpkin makes these way too sweet and soggy. Once I switched back to plain puree and added my own spices, the balance was finally perfect and everyone in my house agreed.
Ingredients
- 15 oz canned pumpkin puree
- 2 large egg s
- 1/2 cup pure maple syrup
- 1/4 cup melted coconut oil
- 1 teaspoon vanilla extract
- 2 cups oat flour
- 1 tablespoon pumpkin pie spice
- 1 teaspoon baking soda
- 1/2 teaspoon sea salt
- 1/4 cup dark chocolate chips
Instructions
- Preheat oven to 350°F (175°C) and grease an 8x8 inch square baking pan.
- In a large mixing bowl, whisk together the pumpkin puree, eggs, maple syrup, melted coconut oil, and vanilla extract until homogenous.
- In a separate medium bowl, sift together the oat flour, pumpkin pie spice, baking soda, and sea salt.
- Incorporate the dry ingredients into the wet mixture using a spatula, folding until no dry streaks remain.
- Gently fold in the dark chocolate chips.
- Transfer the batter into the prepared baking pan and smooth the surface with a spatula.
- Bake for 25 to 28 minutes, or until a toothpick inserted into the center comes out clean.
- Remove from oven and let the bars cool completely in the pan on a wire rack for at least 30 minutes before slicing into 12 bars.
Frequently Asked Questions
Can I use regular all-purpose flour instead of oat flour?
You can substitute regular flour, but the texture will be slightly lighter and less chewy than the oat version. I recommend sticking to the oat flour if you can because it provides a wonderful heartiness.
Are these pumpkin bars gluten-free?
They are gluten-free as long as you make sure your oat flour is certified gluten-free. This makes them a fantastic option for sharing with friends who have dietary restrictions.
Can I leave out the chocolate chips?
Absolutely, the bars are still wonderful with just the warm spices. You could swap the chips for raisins or dried cranberries if you want a fruitier flavor.
The Bottom Line
I hope these bring a little warmth to your kitchen this season and become a staple in your home like they are in mine. It is the kind of recipe that makes the house feel like a home without needing a lot of fancy equipment. Sweet moments don’t have to be complicated. Let’s make something wonderful together.
I am off to pour another cup of coffee and enjoy a quiet moment with one of these bars while my daughter is at school. Happy baking from my kitchen to yours! Billy
Billy